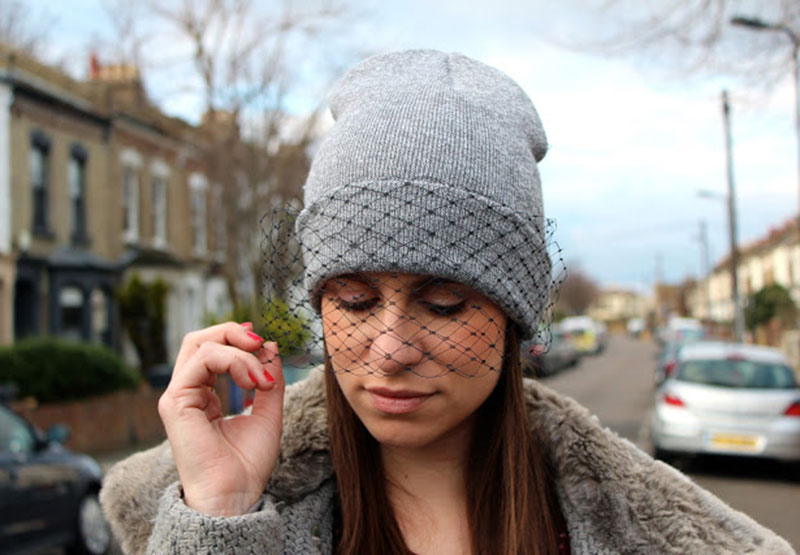
I’m not gonna lie…today’s post inspiration comes from Miley Cyrus’ We Can’t Stop music video where she dons the ever popular veiled beanie. Miley aside, I love this look. It’s a new chic way to sport a plain beanie during the day without feeling like Rocky Balboa. With some netting and thread, it will be super simple to recreate the veiled beanie look on your own. You can also find similar styles of the veil beanie here and here.
It’s a New Year!
12.31.13I can’t believe 2013 is coming to a close! I feel as though my life has made a complete 180 since this time last year. I was so busy earlier this October that I completely missed the blog’s One Year Anniversary! WDYMM has become more than I ever thought it would. I can’t wait to get back to blogging and see where this year takes me!
I’ve complied 13 of some of my favorite and most popular posts from 2013. I hope you enjoy the trip down memory lane as much as I did!
Happy New Year, Everyone!!!
1. Double-Wrapped Braided Chain Bracelet
DIY INSPO // Alphabet Bracelet
12.09.13I first saw these Ryan Porter bracelets on Pinterest. They are a fun and contemporary twist on the friendship bracelets you’d make for your friends in elementary school. I love the grown-up twist and all the colorful phrases people have thought up. With some alphabet beads, these bracelets would be super easy to recreate, and would make a great gift for friends!
P.S. Sorry I’ve been M.I.A for the past two weeks. I am reaching the end of my run in pastry school which means more projects and practicing! I hope to be back to blogging regularly really soon!! As always, thank you for reading!
DIY Inspiration | Burberry Hearts
11.03.13DIY Día de los Muertos Skull
10.31.13Ok, I know the Day of the Dead is not the same as Halloween, but I couldn’t resist the amazing imagery of the holiday. Happy Halloween and Día de los Muertos!!
Materials
– Skull
– Glitter
– Glue
– Paintbrush
– Paint
1. Paint your skull any color you want!
2. Use glue to design the pattern for the glitter. You can plan this out beforehand, or make it up as you go.
3. Fill the areas around the eyes, mouth, and top of skull. I tried to use as many colors as possible!