DIY CLAY GHOSTS FOR HALLOWEEN
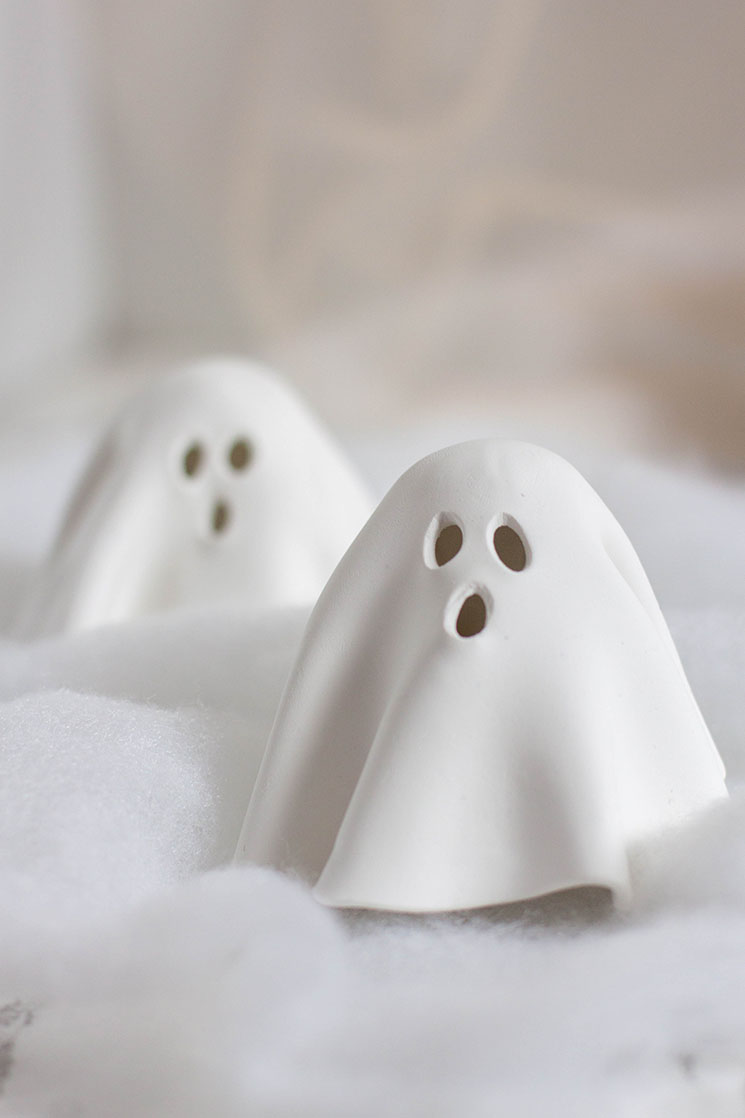
October might be one of my favorite months of the year. Living in Chicago for the past five years, I’ve become partial to cold weather. It’s finally cooled down in the city and I couldn’t be more excited. Chicago also goes pretty hard during the Halloween season. It’s not uncommon to see houses decked out with two-story spiders or full-sized Dracula. While I can’t get that extreme, these DIY Clay Ghosts are the perfect addition to my Halloween decor.
Instructions for making DIY Clay Ghosts
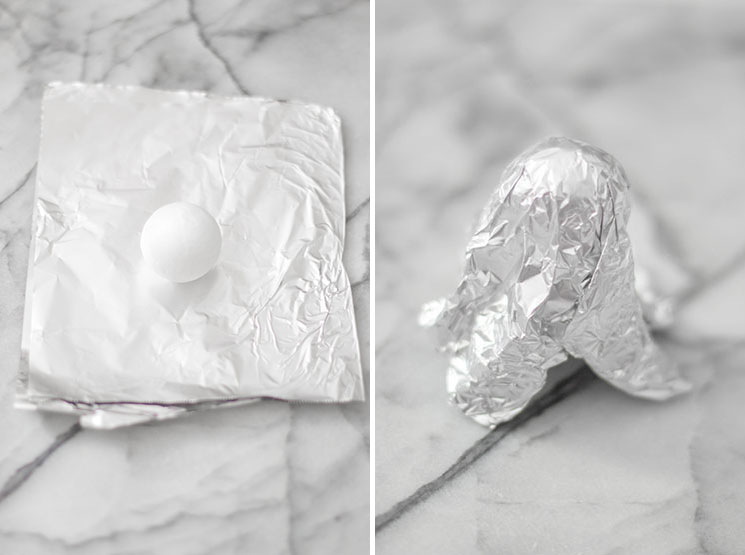
Start by using something round to create a mold to hold the clay ghost as it bakes or air dries. I used a small styrofoam* ball and a folded piece of aluminum foil. *Make sure to remove the styrofoam before putting the mold in the oven if using oven baked clay.

Knead the clay until soft and roll out evenly using a rolling pin into a circular shape. Make sure not to roll it too thin or the clay could tear when you go to shape your ghosts.

I used a piping tip to carve out the eyes and mouth holes a little beneath where the center, or top of the ghost’s head would be.

Carefully lift the clay and place over the foil mold. Folds should naturally form in the clay but you can easily add more or less until you’re satisfied with your ghost shape.
If using an air dry clay, leave the ghosts on the mold to dry. If using an oven baked clay, place the ghosts still on their molds onto a baking sheet. Bake the clay ghosts following instructions on the clay’s packaging. Let the clay ghosts cool completely before removing from the mold.


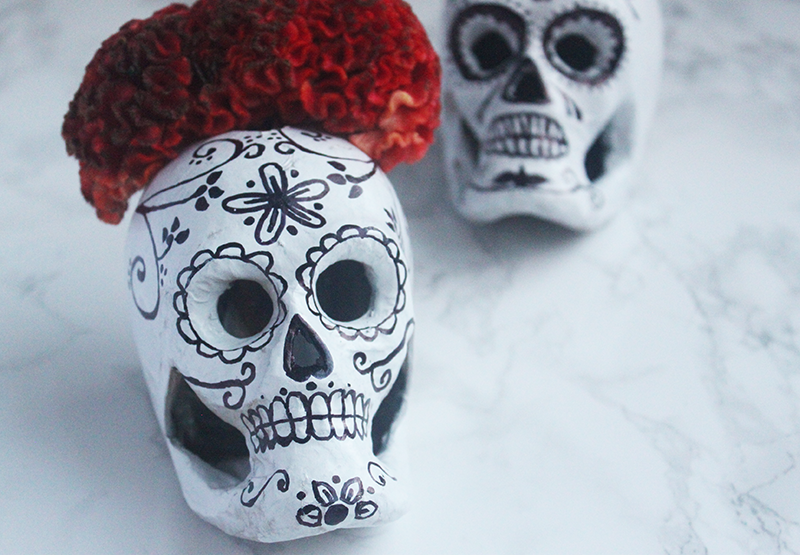
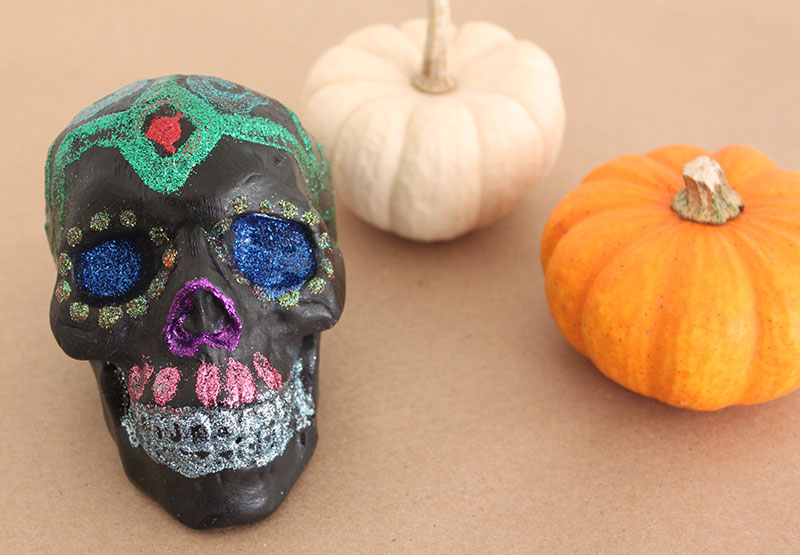
And that’s it for this super easy Halloween DIY! Add some skulls and some stretchy spiderweb or mesh fabric to take your decor to the next level.
Find more clay DIYs here!