


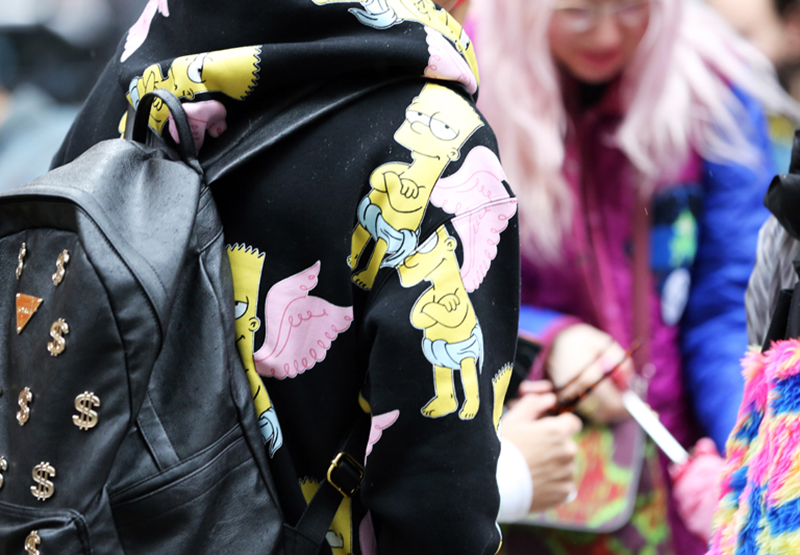
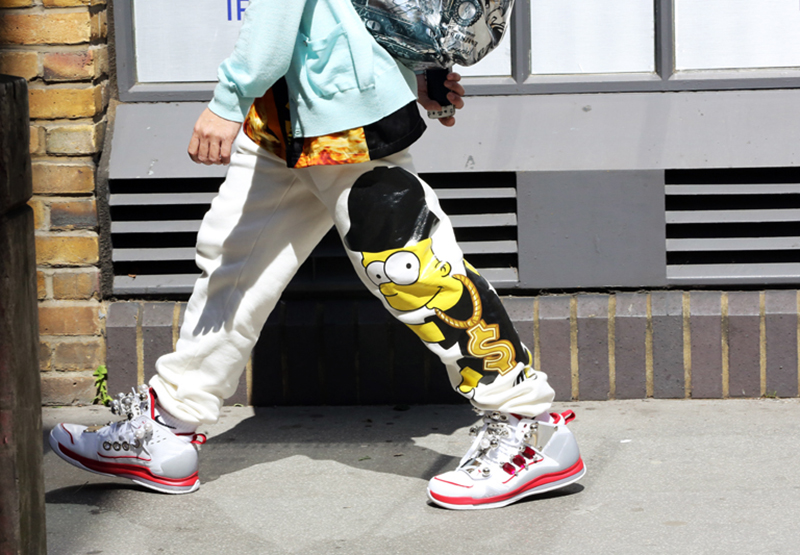
I recently stumbled upon these images of people sporting a cartoon character on their clothing. I love that it’s both daring and playful. Bart Simpson would be proud.

DIY Spike Necklace Tutorial
03.07.13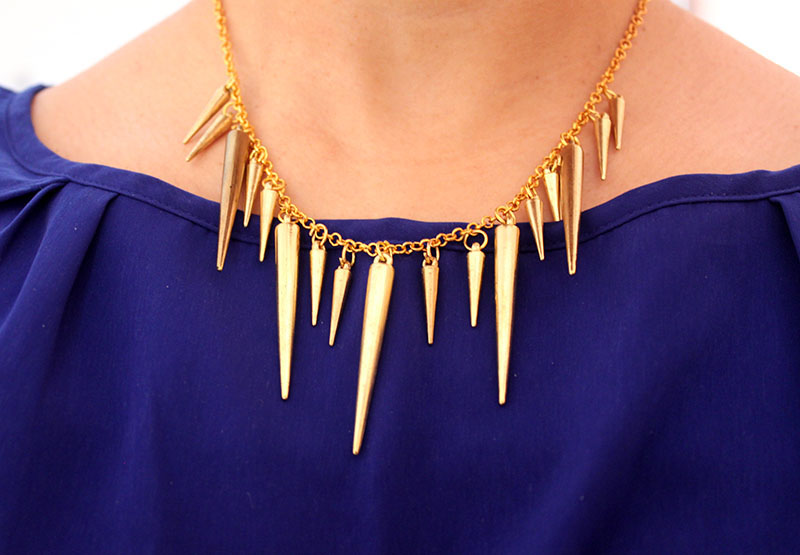
Today’s featured tutorial is of a spike necklace. I saw the spiked beads in AC Moore and knew they would be perfect to recreate the popular look. They came in two sizes which gives the necklace more variety. Once you’ve gathered all of your supplies, this DIY is fast and easy!
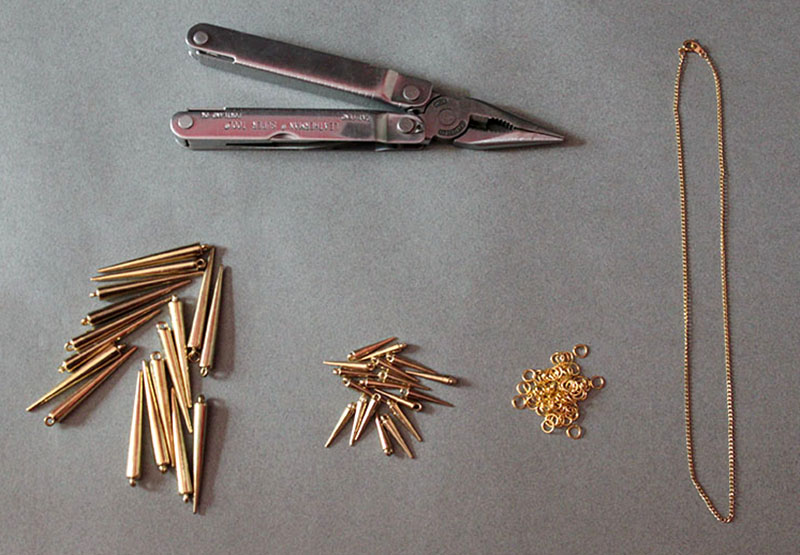
What you’ll need:
-Spike Beads (purchased at AC Moore)
– Jump Rings
– Gold Chain Necklace
– Pliers
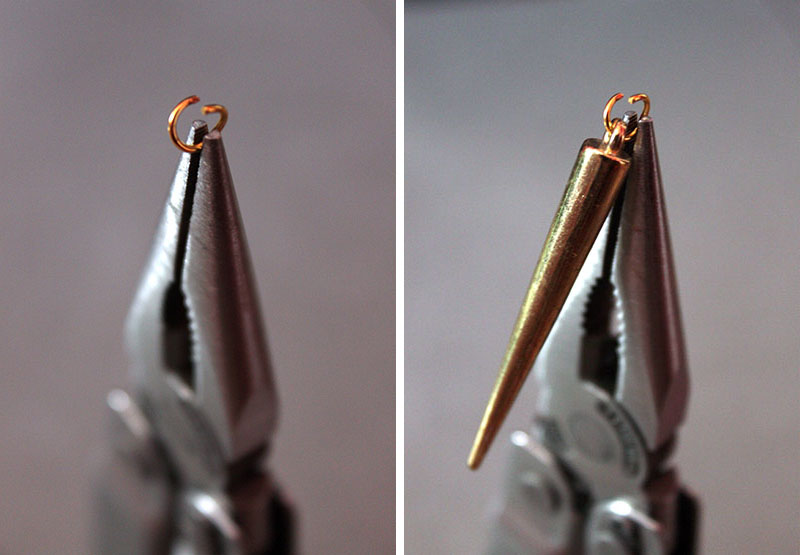 Start by opening a jump ring. Hook one of the large spike beads into the ring.
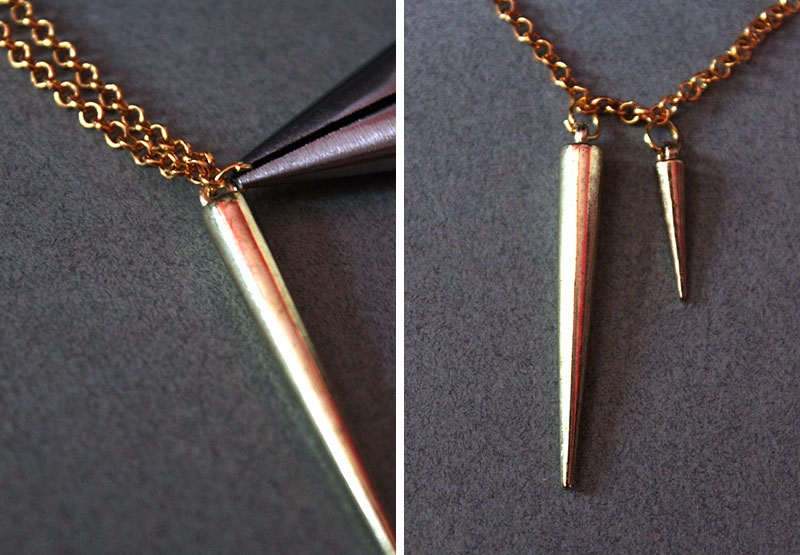 In the centermost area of the chain, attach the first spike bead. Measure how far you want your beads to be spaced. I spaced mine 4 loops apart, but this number will depend on the size of your chain. Attach one of the smaller spikes.
 Continue adding the spikes to your chain. I followed a pattern of 1 big spike, followed by 2 smaller spikes.
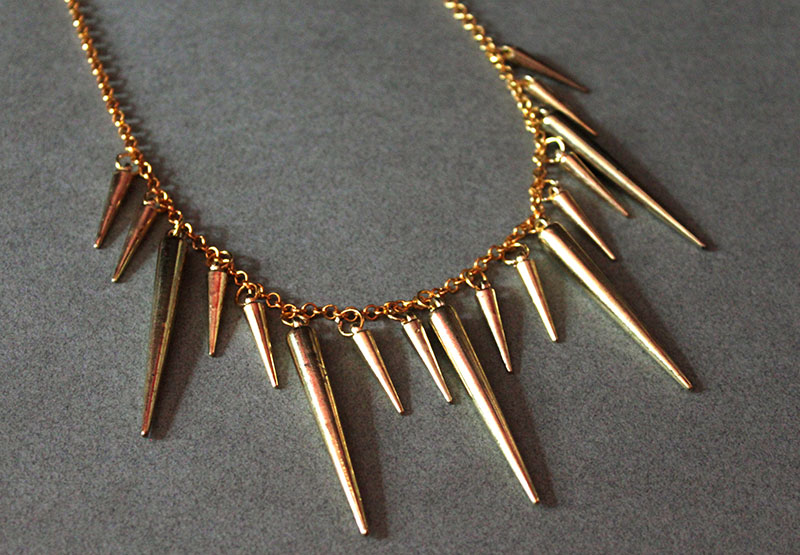 Continue until your necklace is completed.
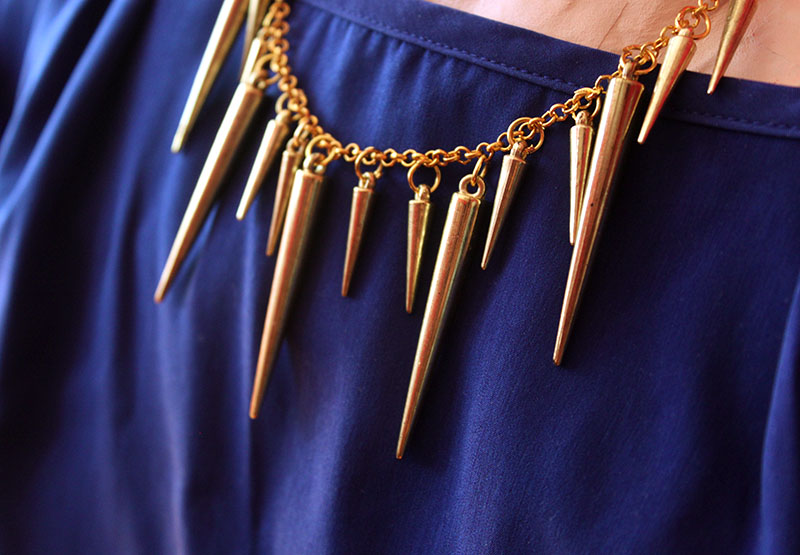 And you’re done! Fast, easy and chic!
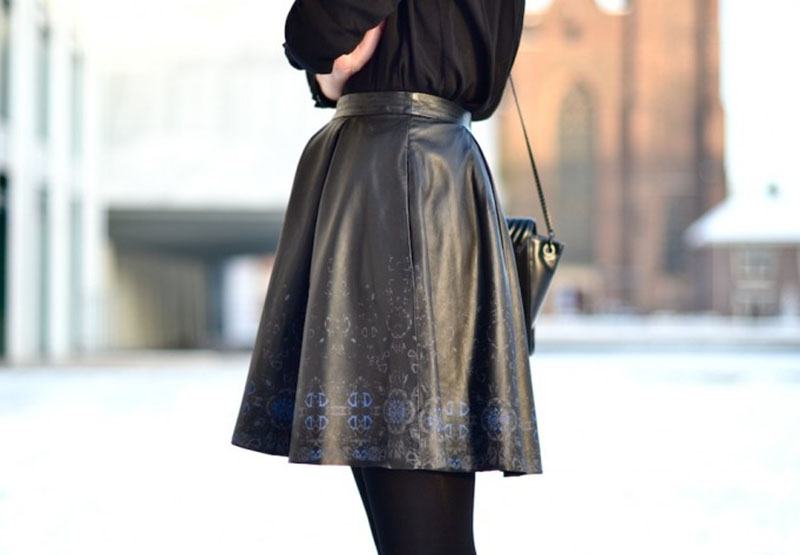
DIY Inspiration: Leather Circle Skirts
03.06.13My most current obsession is leather. Leather peplum, oversized leather clutches, and now leather circle skirts. The leather gives you a more chic and stylish look, but the shape remains playful. I particularly love the printed leather skirt from Lovely by Lucy. I’ve found circle skirts to be fairly simply to make by following this template. I can’t wait to try it with leather!

DIY Makeup Case Tutorial
03.05.13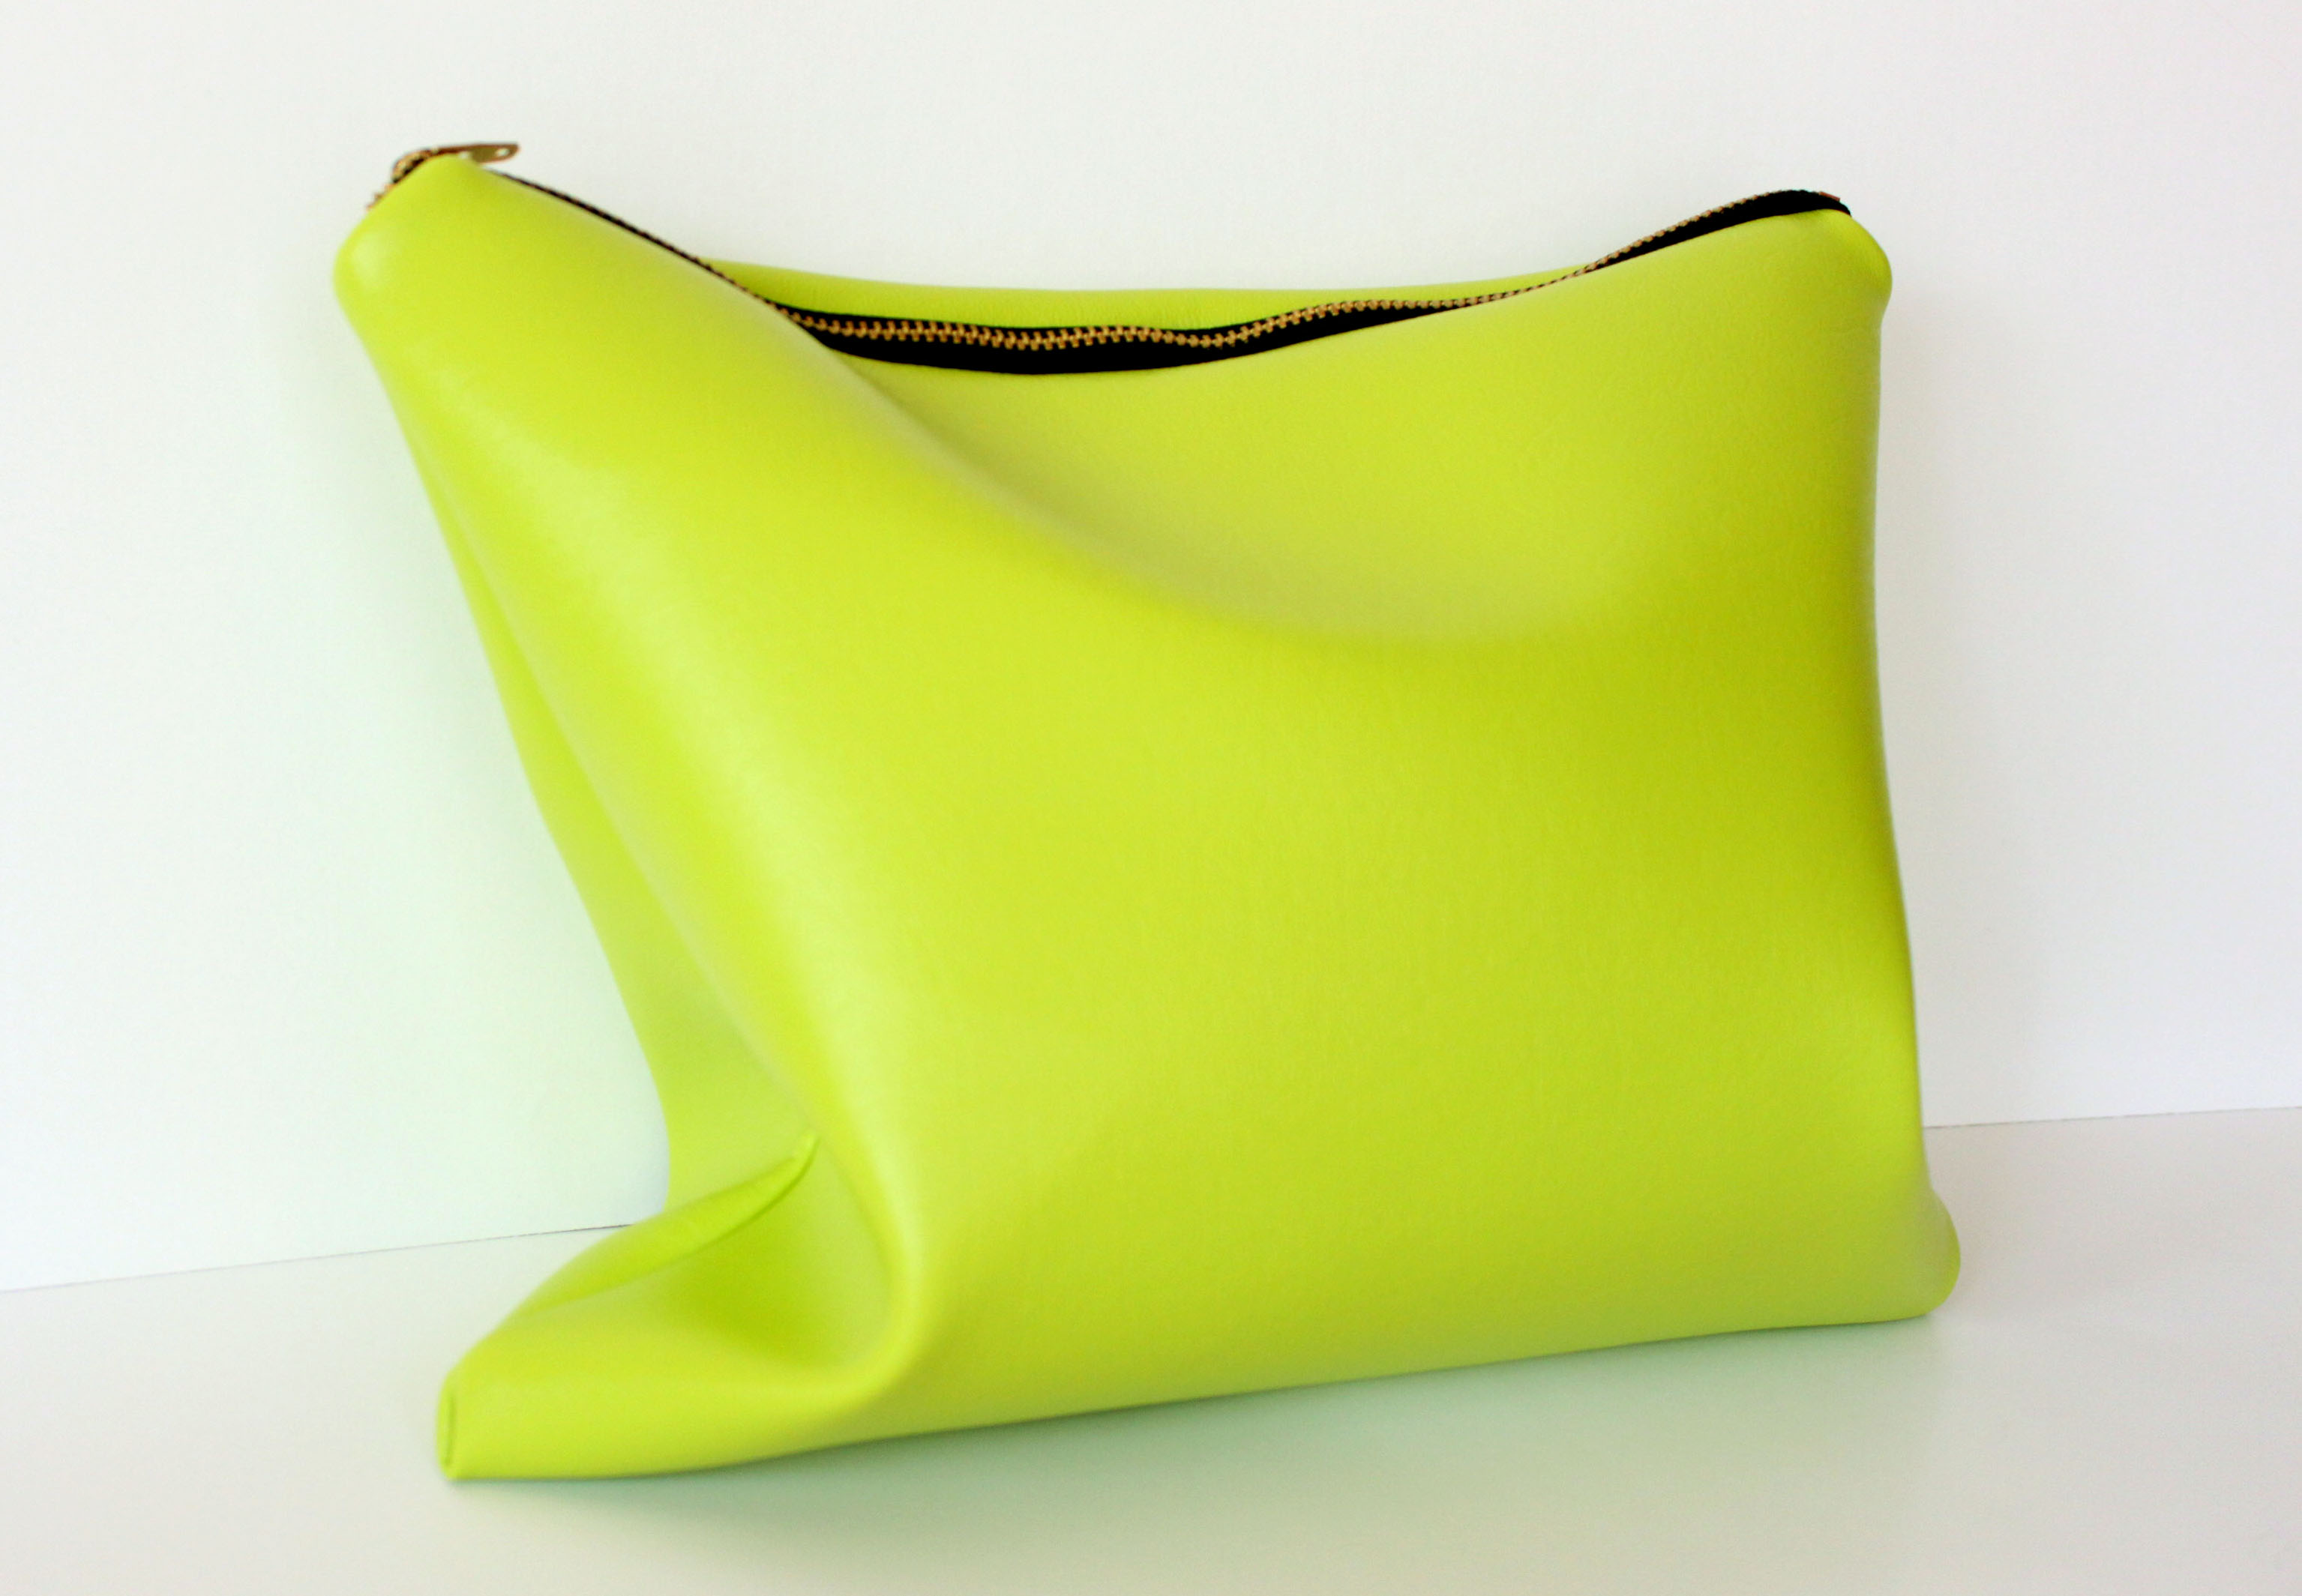 This DIY makeup case tutorial started out as an oversized clutch tutorial. One major aspect about sewing and DIY projects is trial and error. This was my first time sewing a zipper and vinyl. Though it proved simple in the end, the size and shape of the bag didn’t turn out quite like I wanted. The vinyl is very stiff and had I made it bigger would have been a perfect clutch. Oh well, I needed a new makeup case anyway!
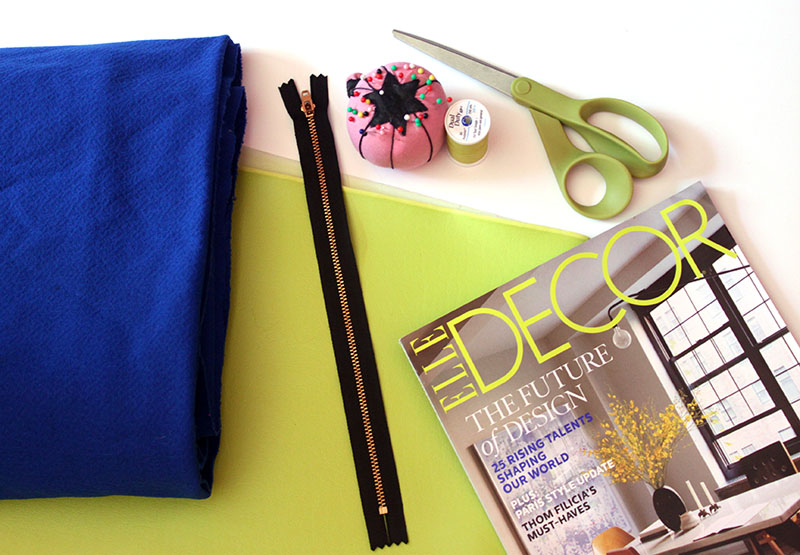
You’ll need:
Vinyl
Fabric for lining (optional)
Zipper
Scissors
Pins and Thread in a matching color
Magazine or Ruler

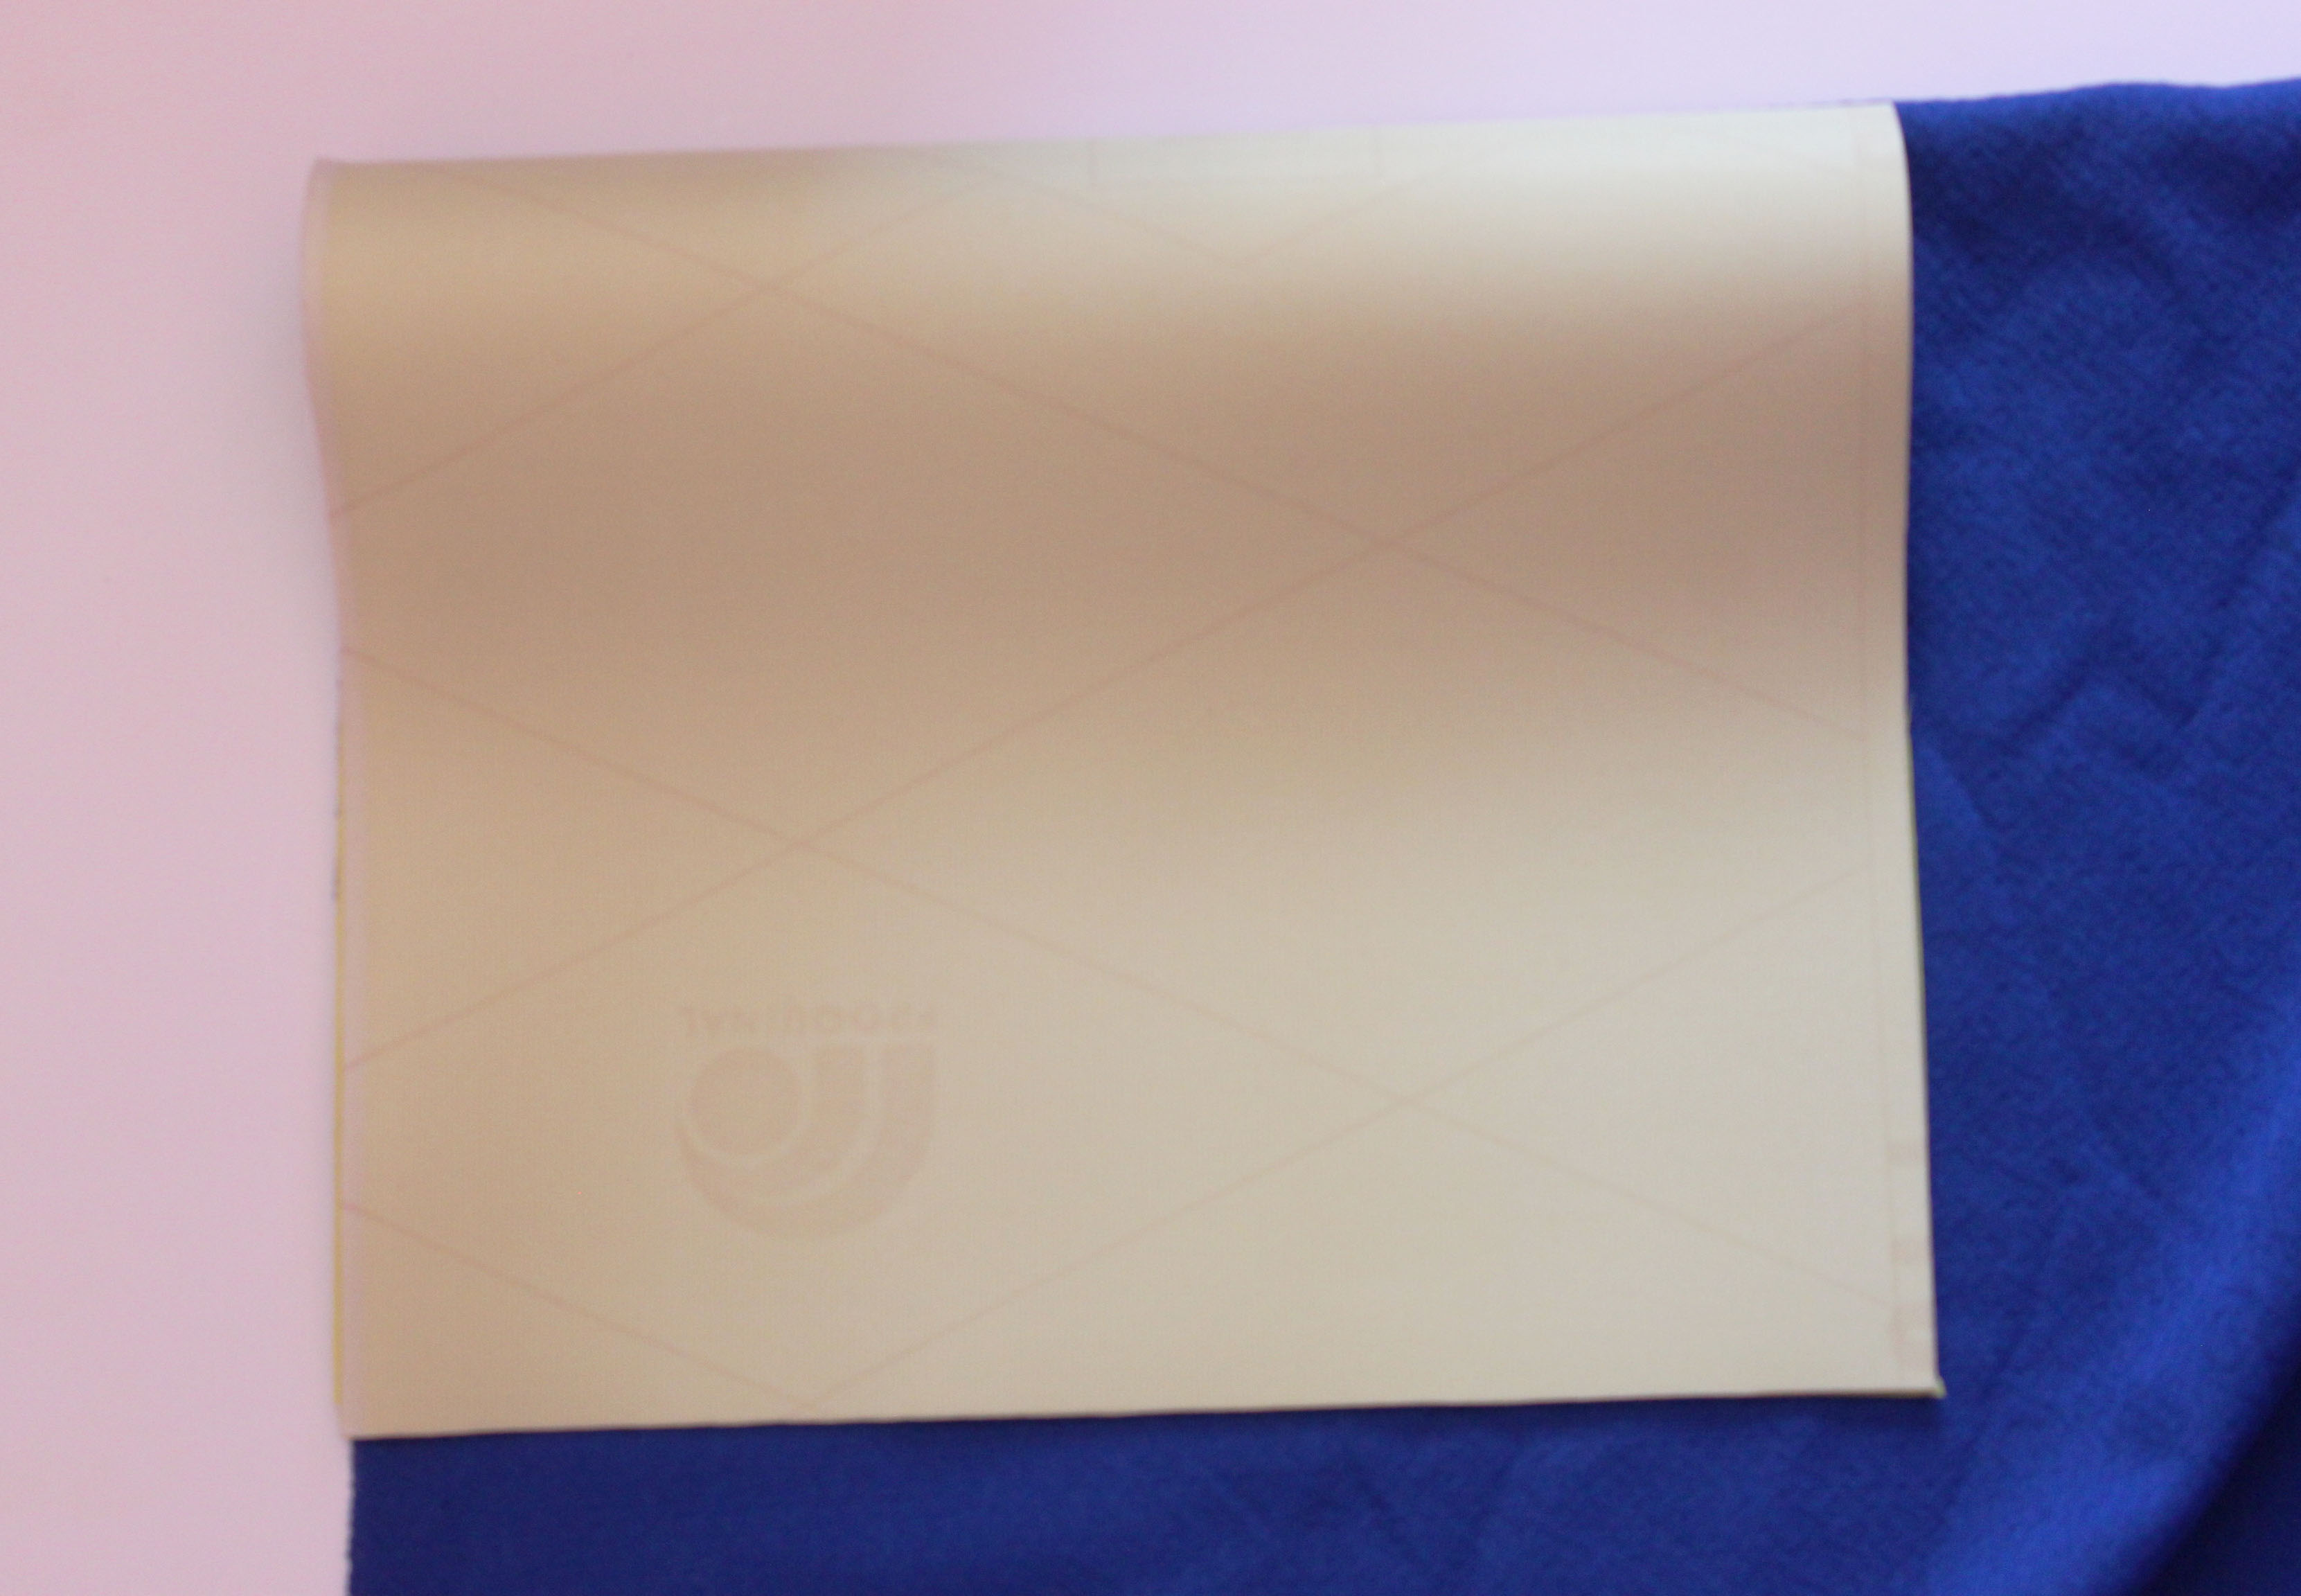
Start by folding your vinyl right sides together. Place your magazine along the folded edge. Measure about a 1/2″ around the sides of the magazine.
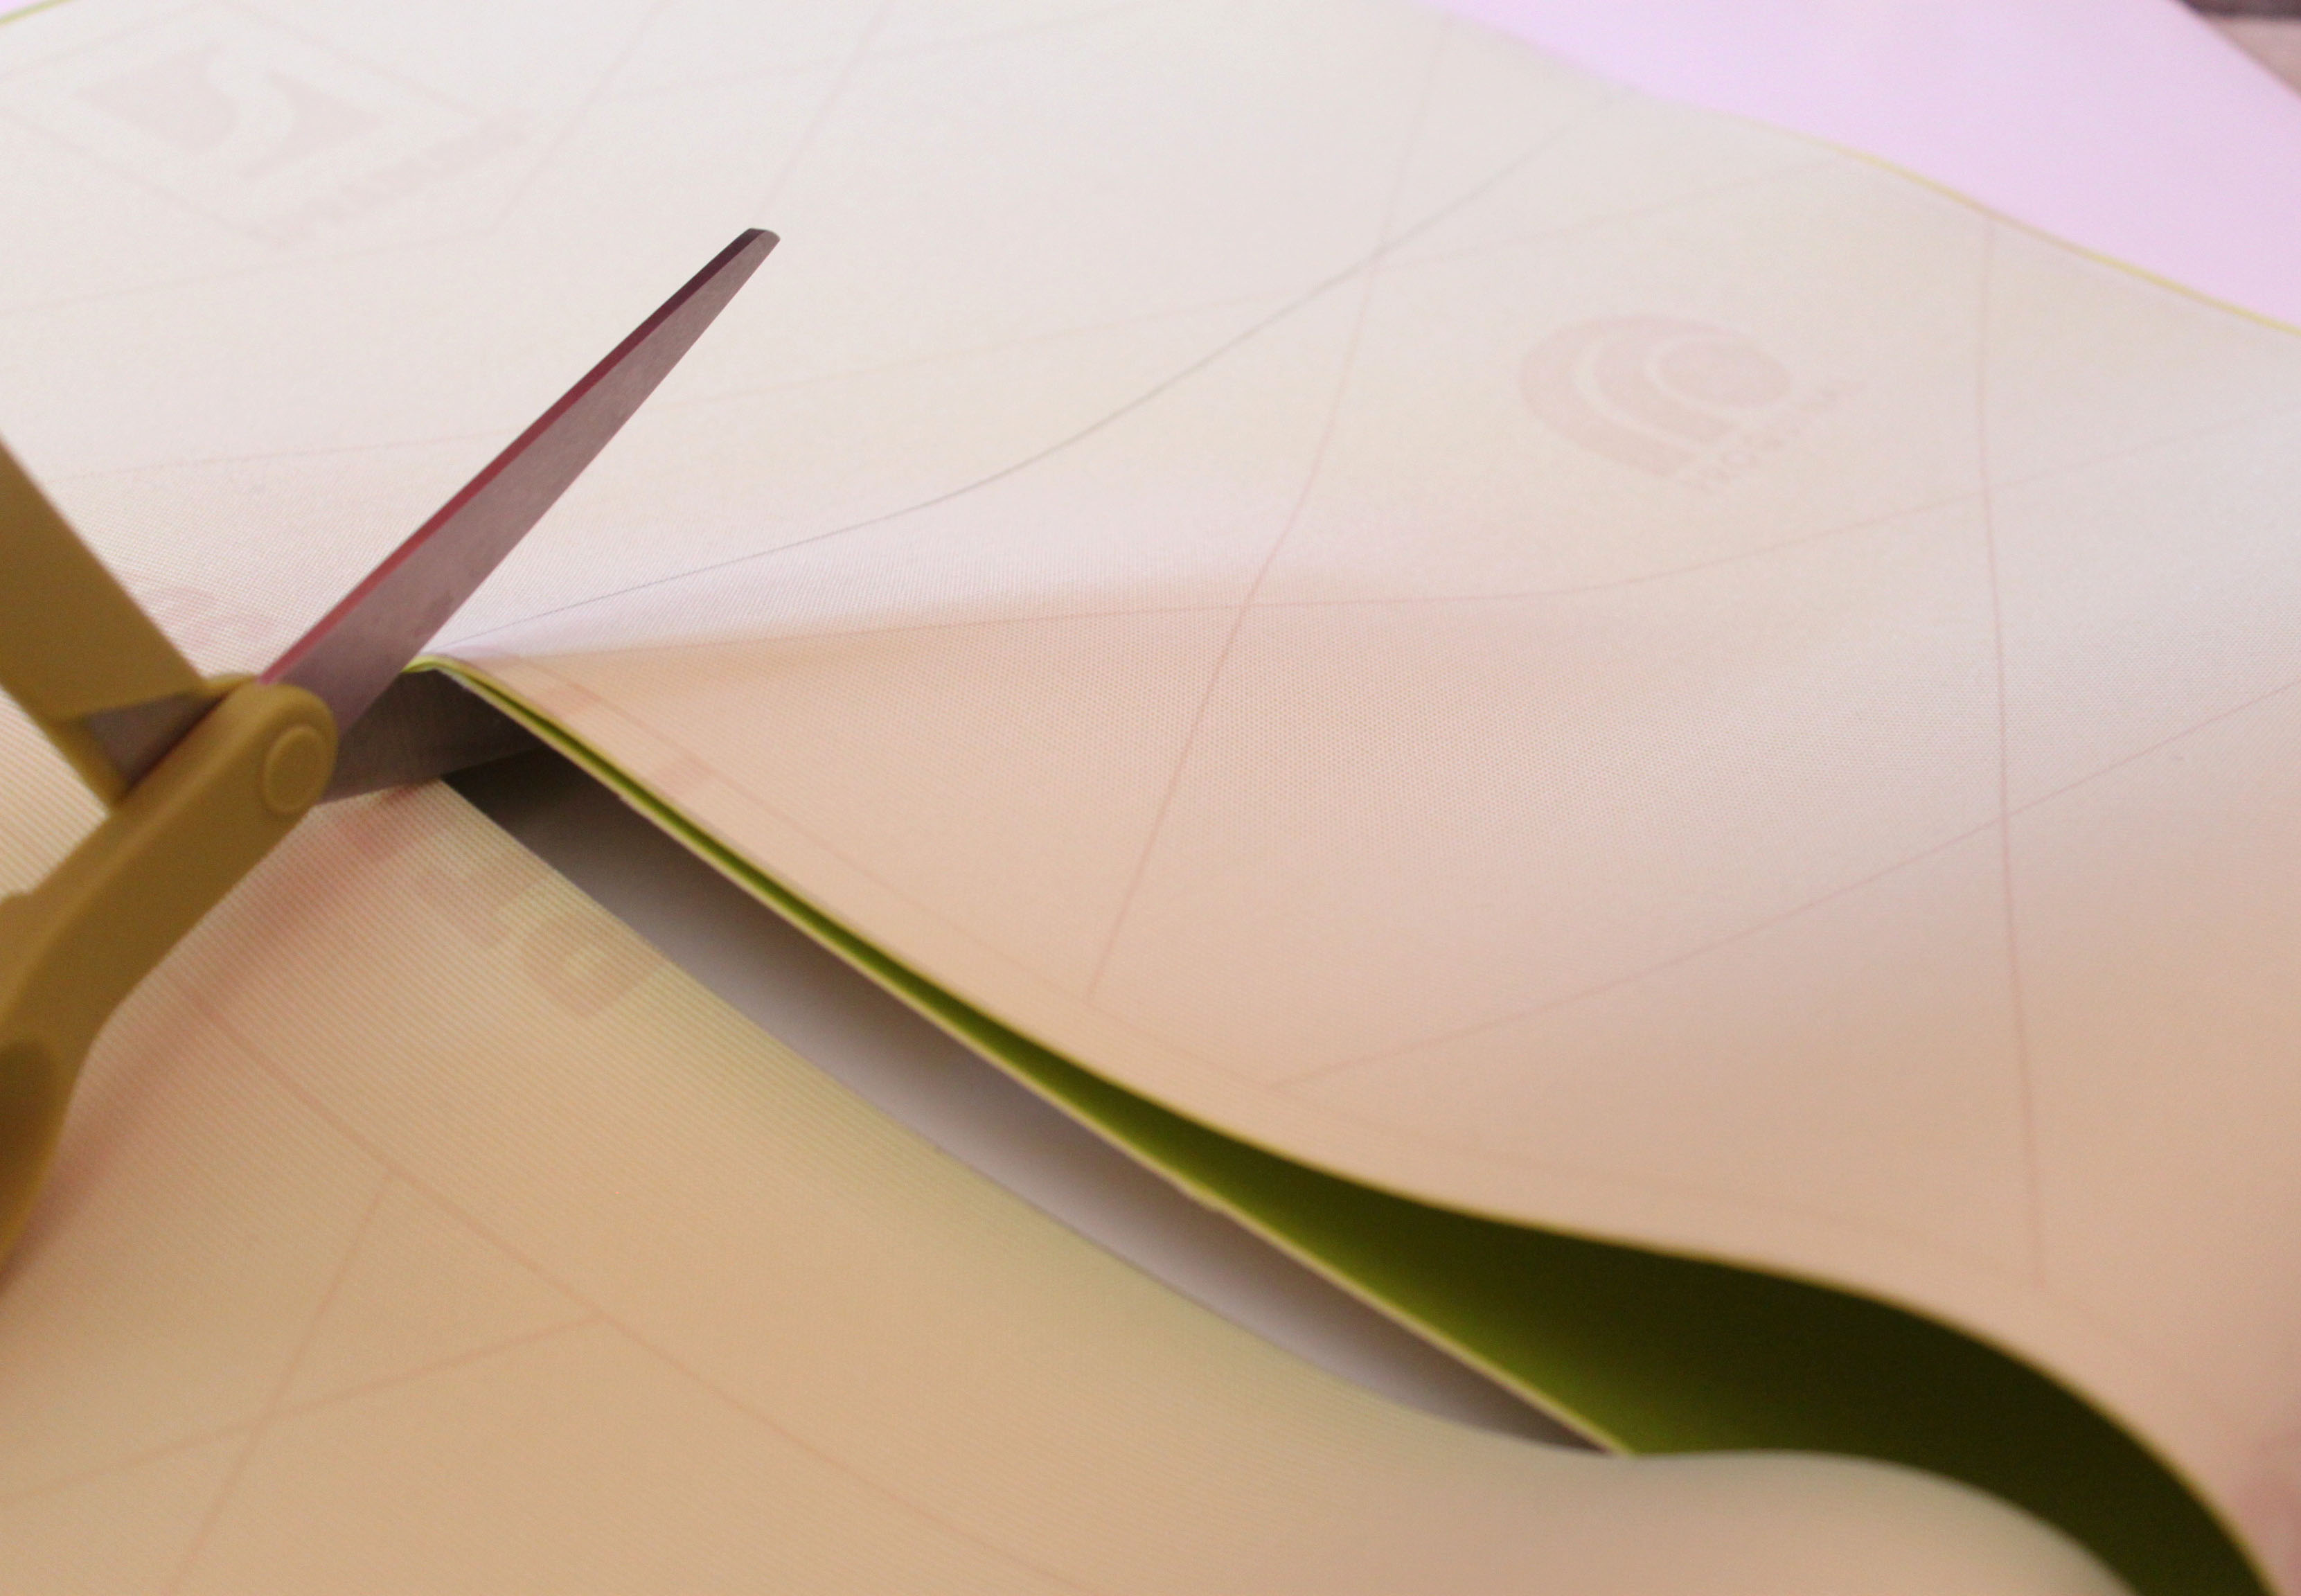 Cut along the drawn lines.
 Place your cut vinyl over the fabric for the lining and cut along the edges. (This step is optional. Only do it if you want a lining for your bag.)
 You will end up with two long pieces of vinyl and lining. Place the lining on the wrong side of the vinyl.
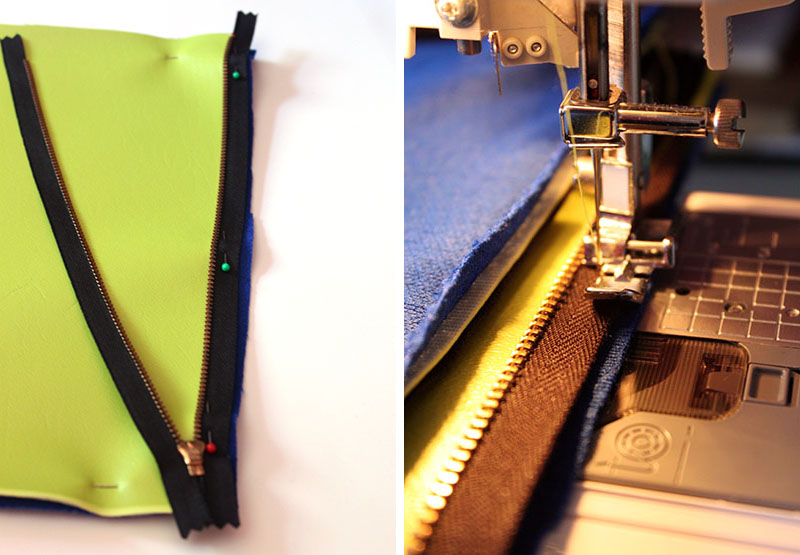 Open and pin the zipper’s right side to the right side of the vinyl. Sew the one side of the zipper to the vinyl. Pin and sew the other side of the zipper in the same fashion.
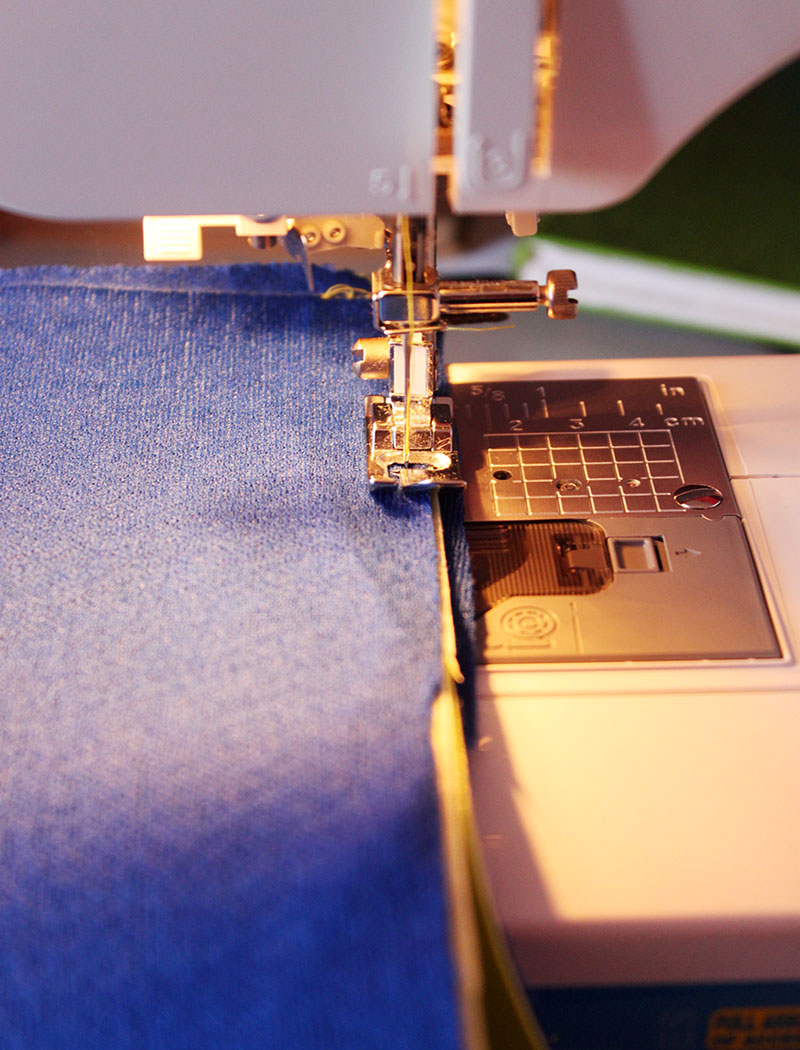 Sew the two edges of the bag.
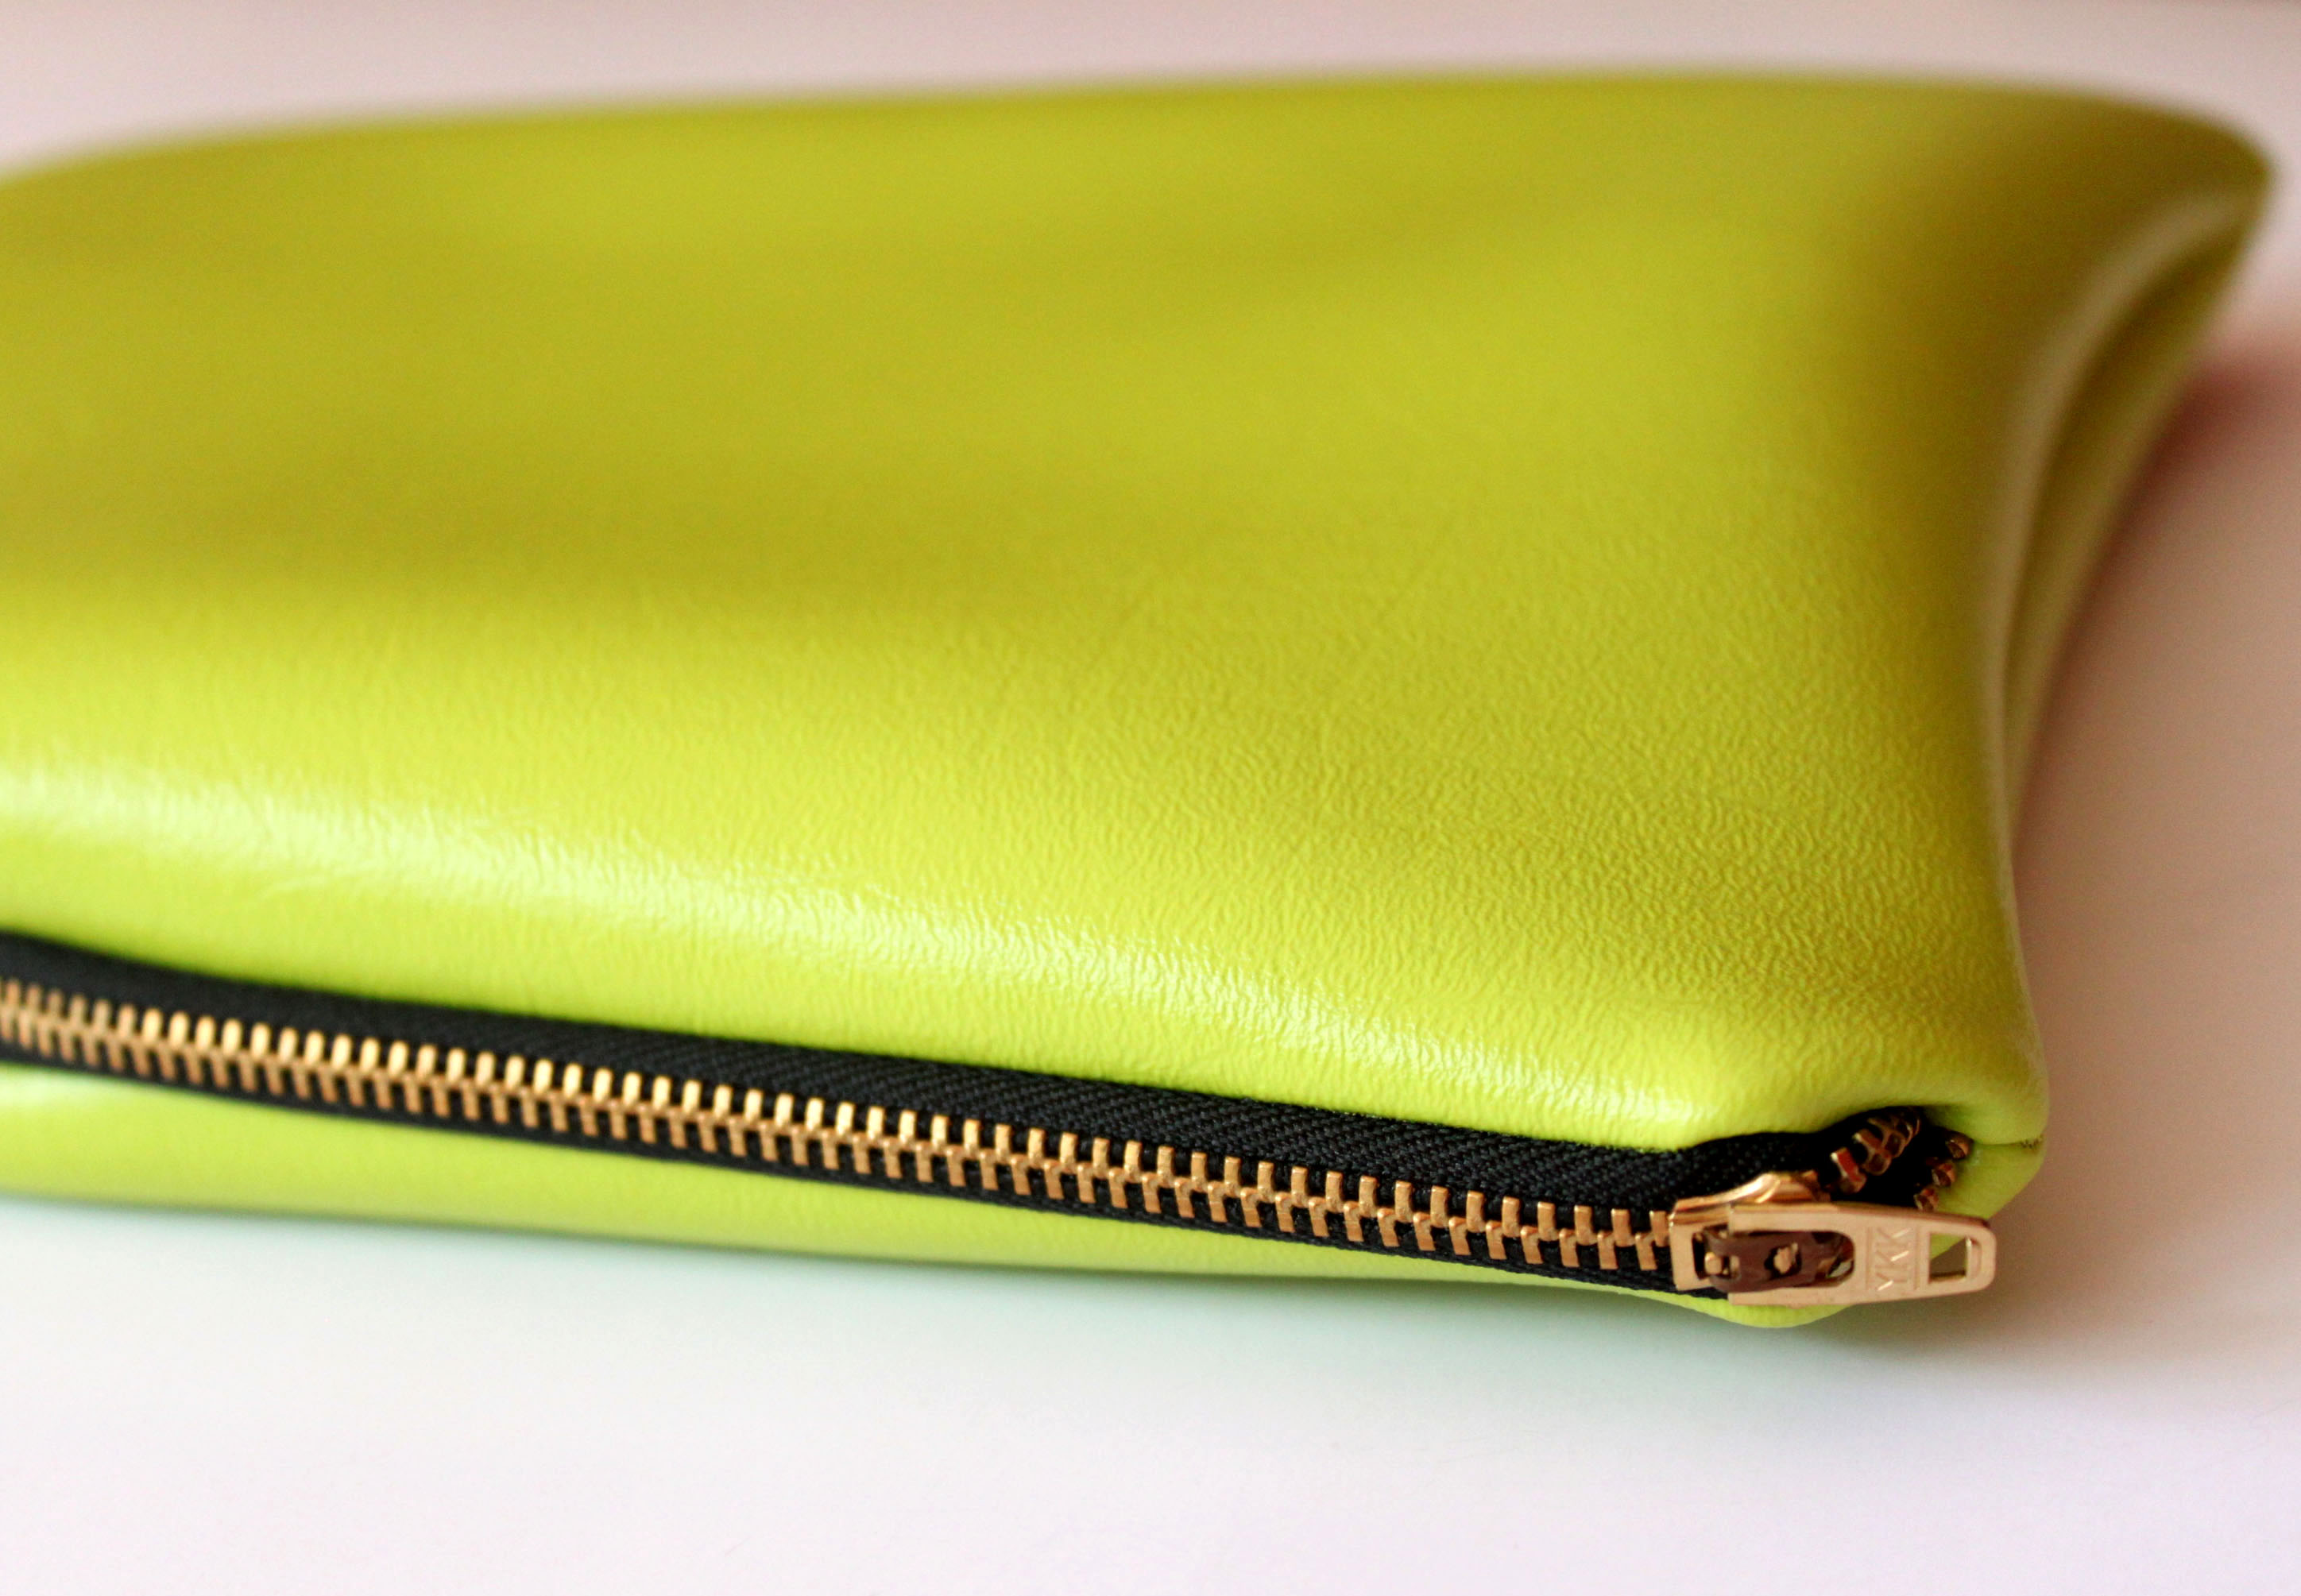 Flip the bag right side out. And voila! You’re done!
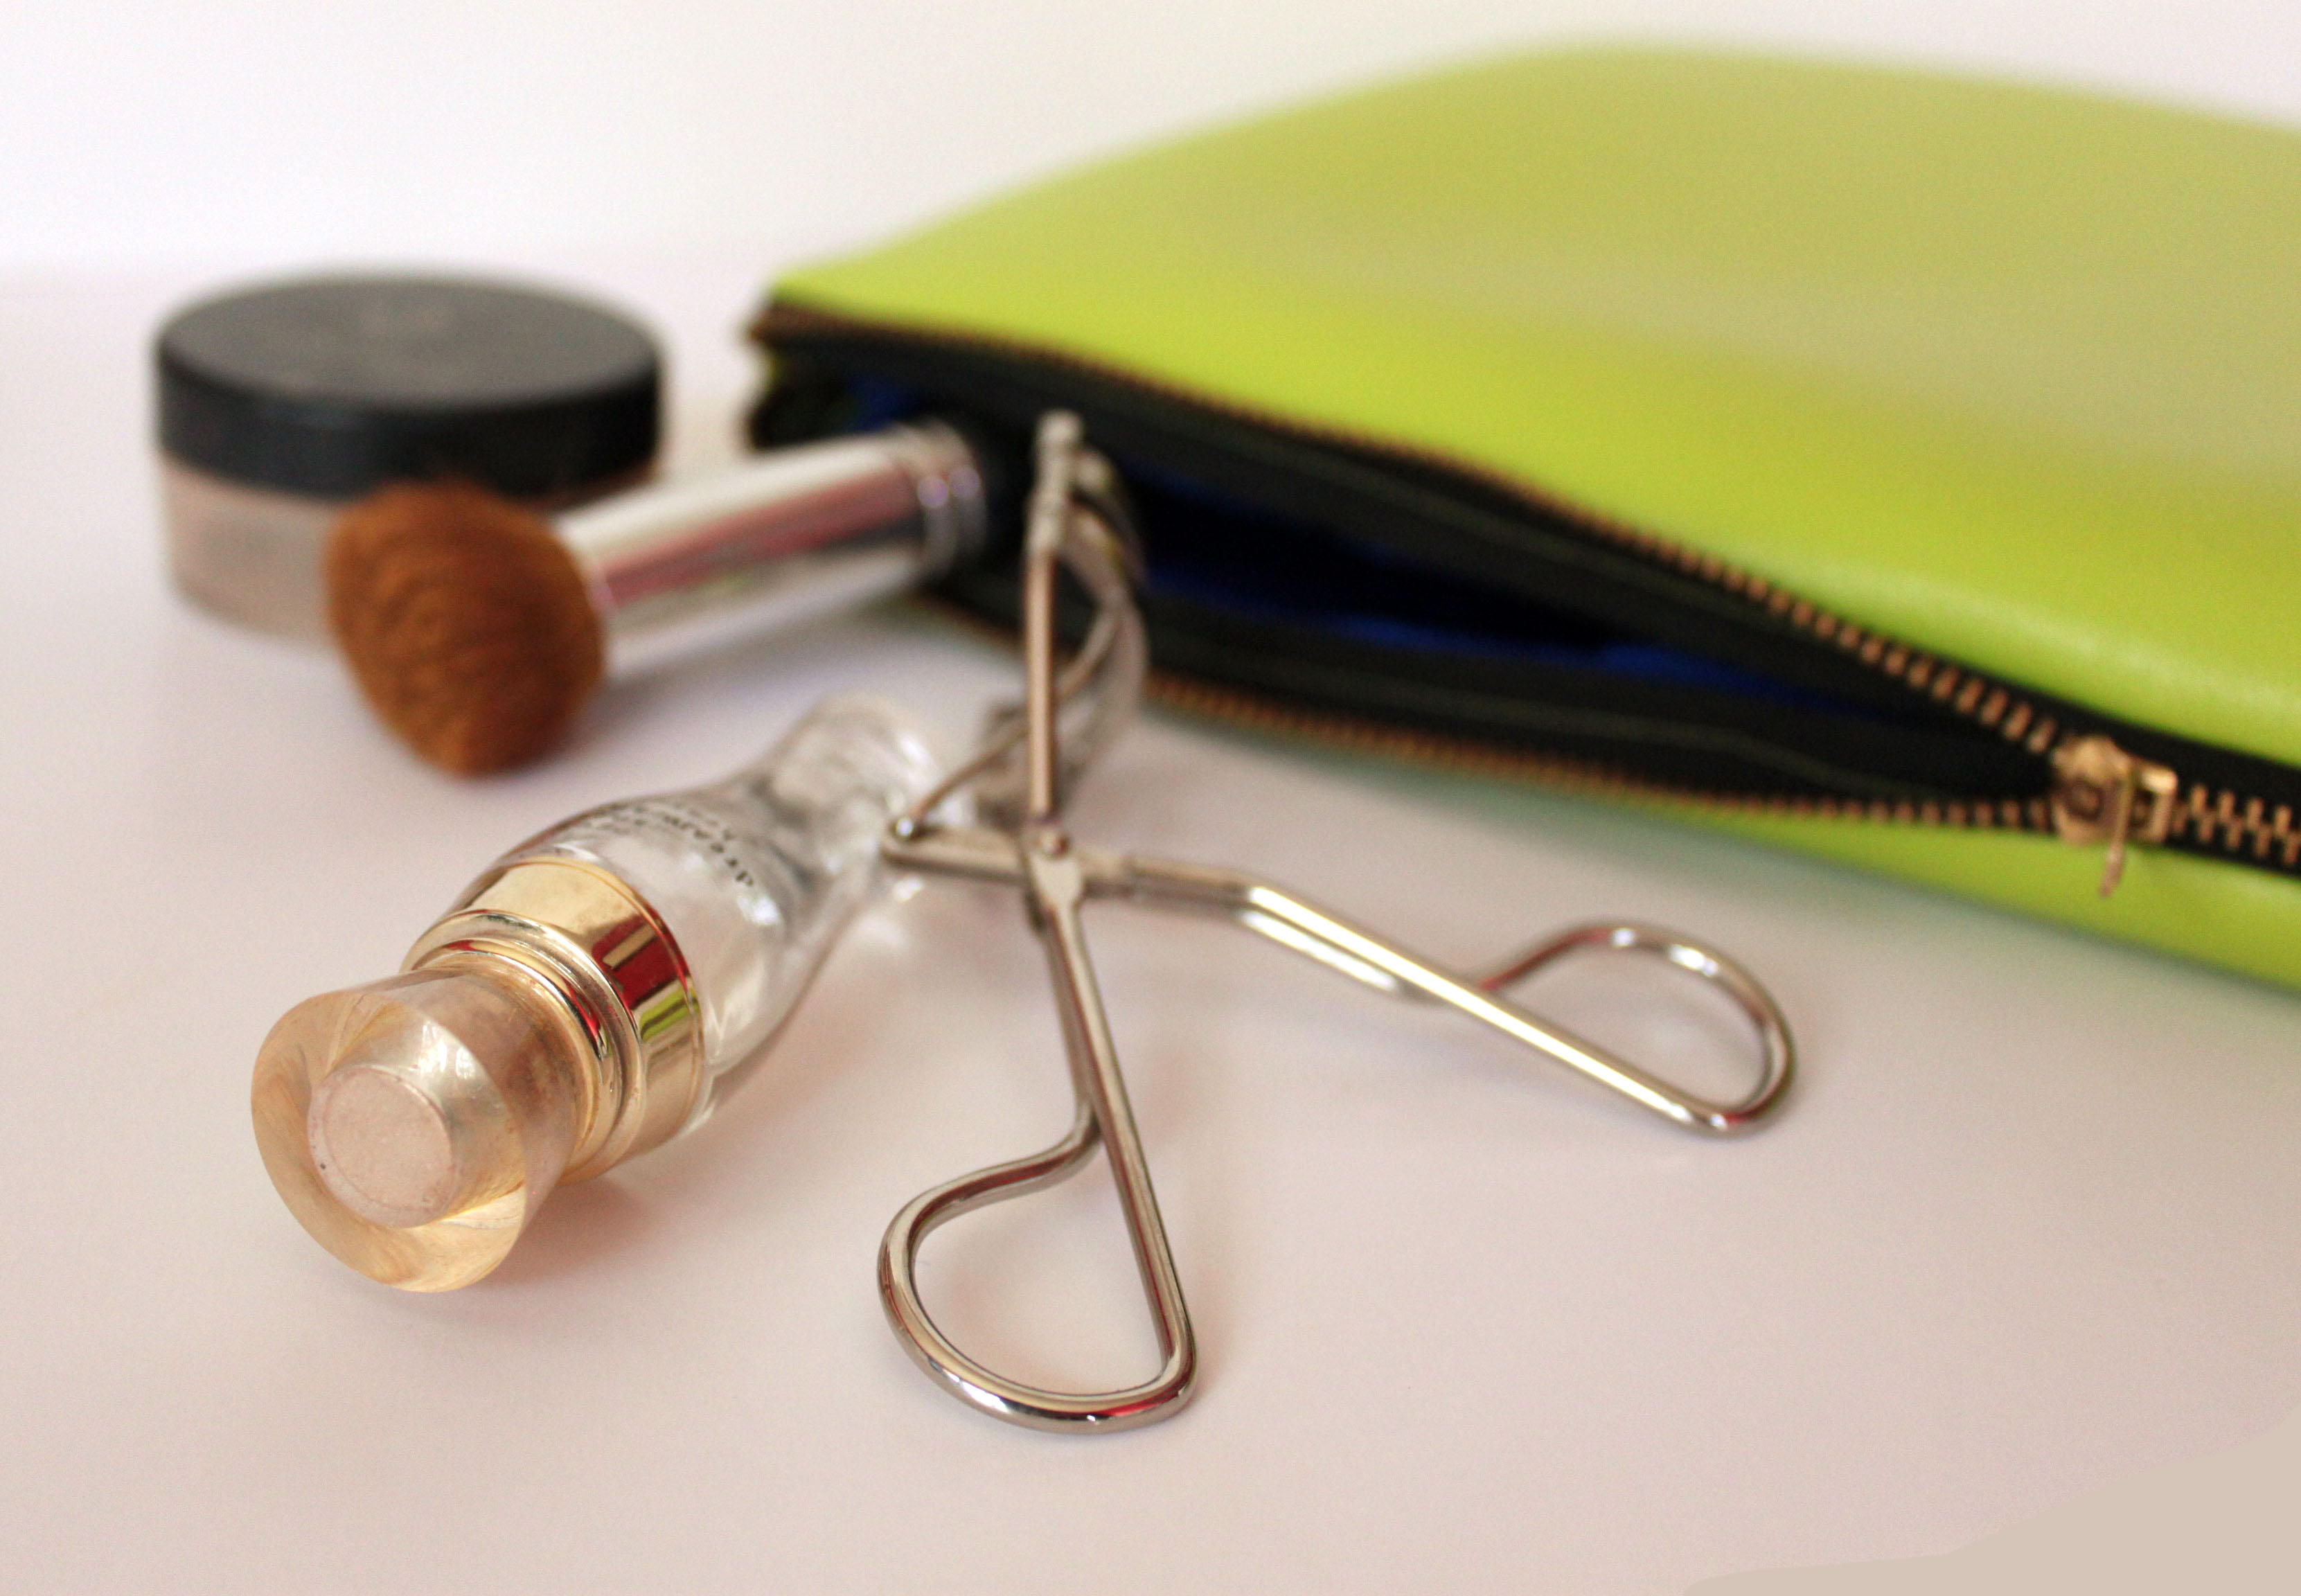
Inspiration Board
02.22.13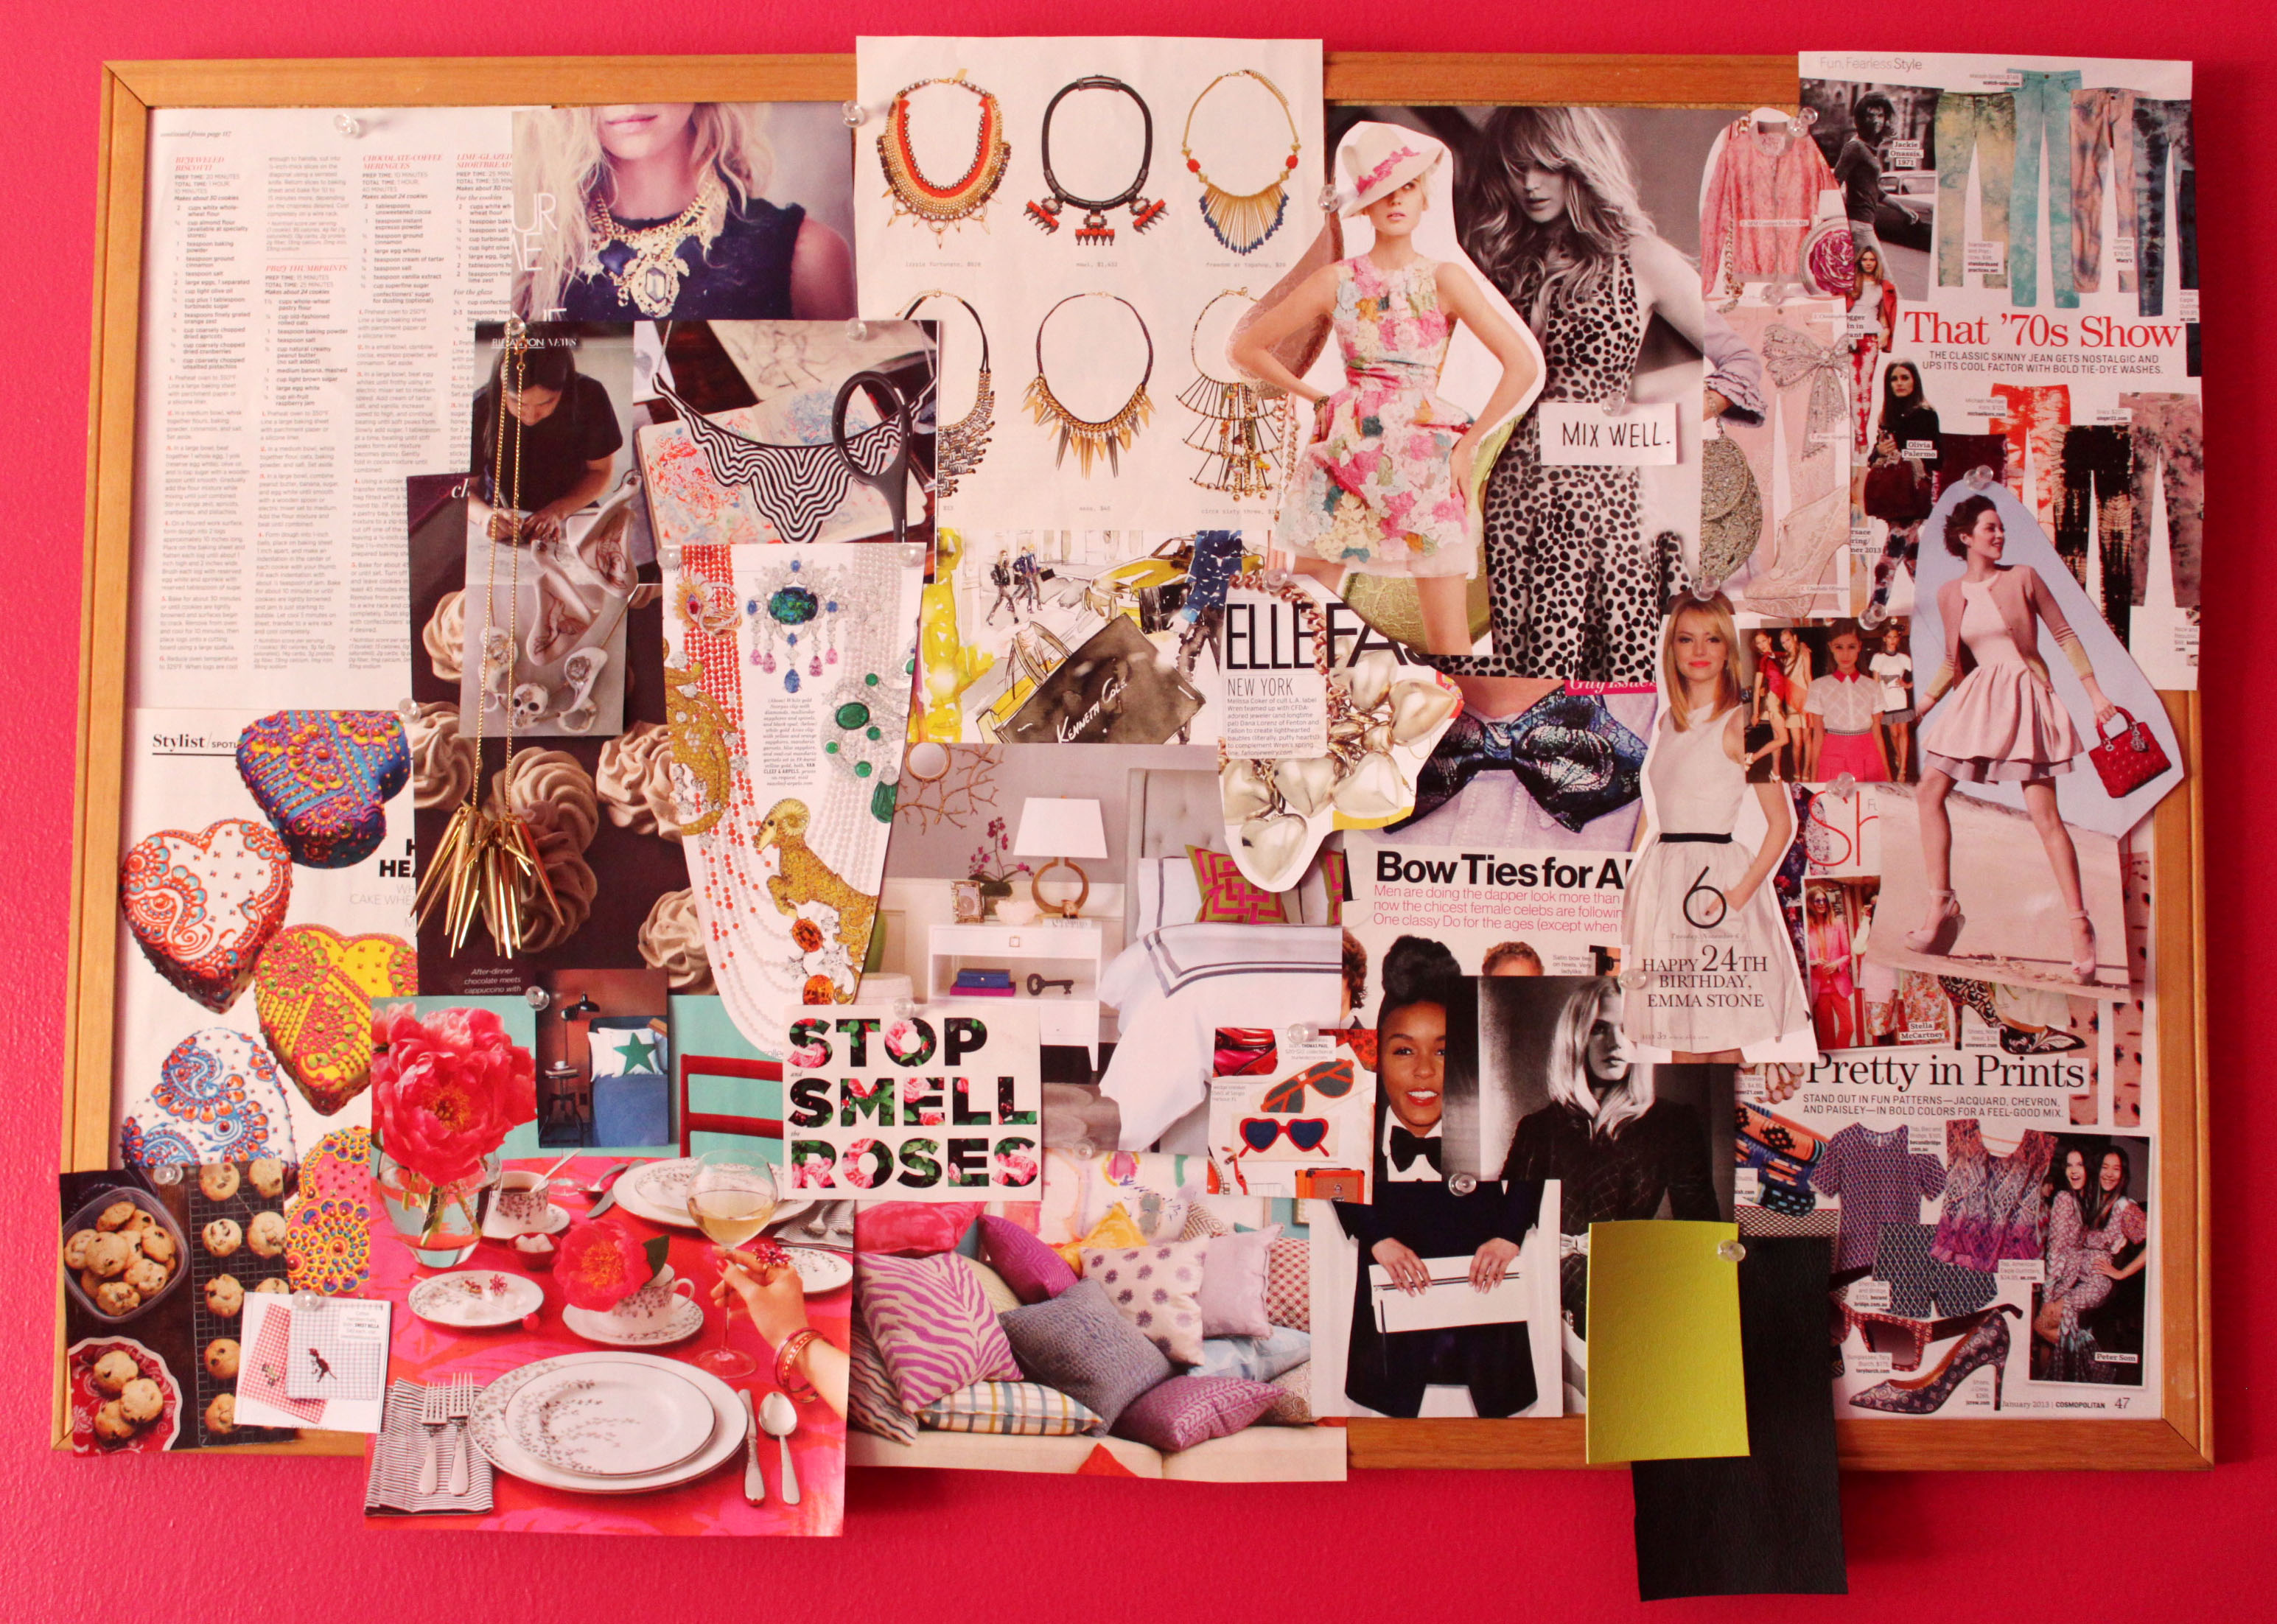
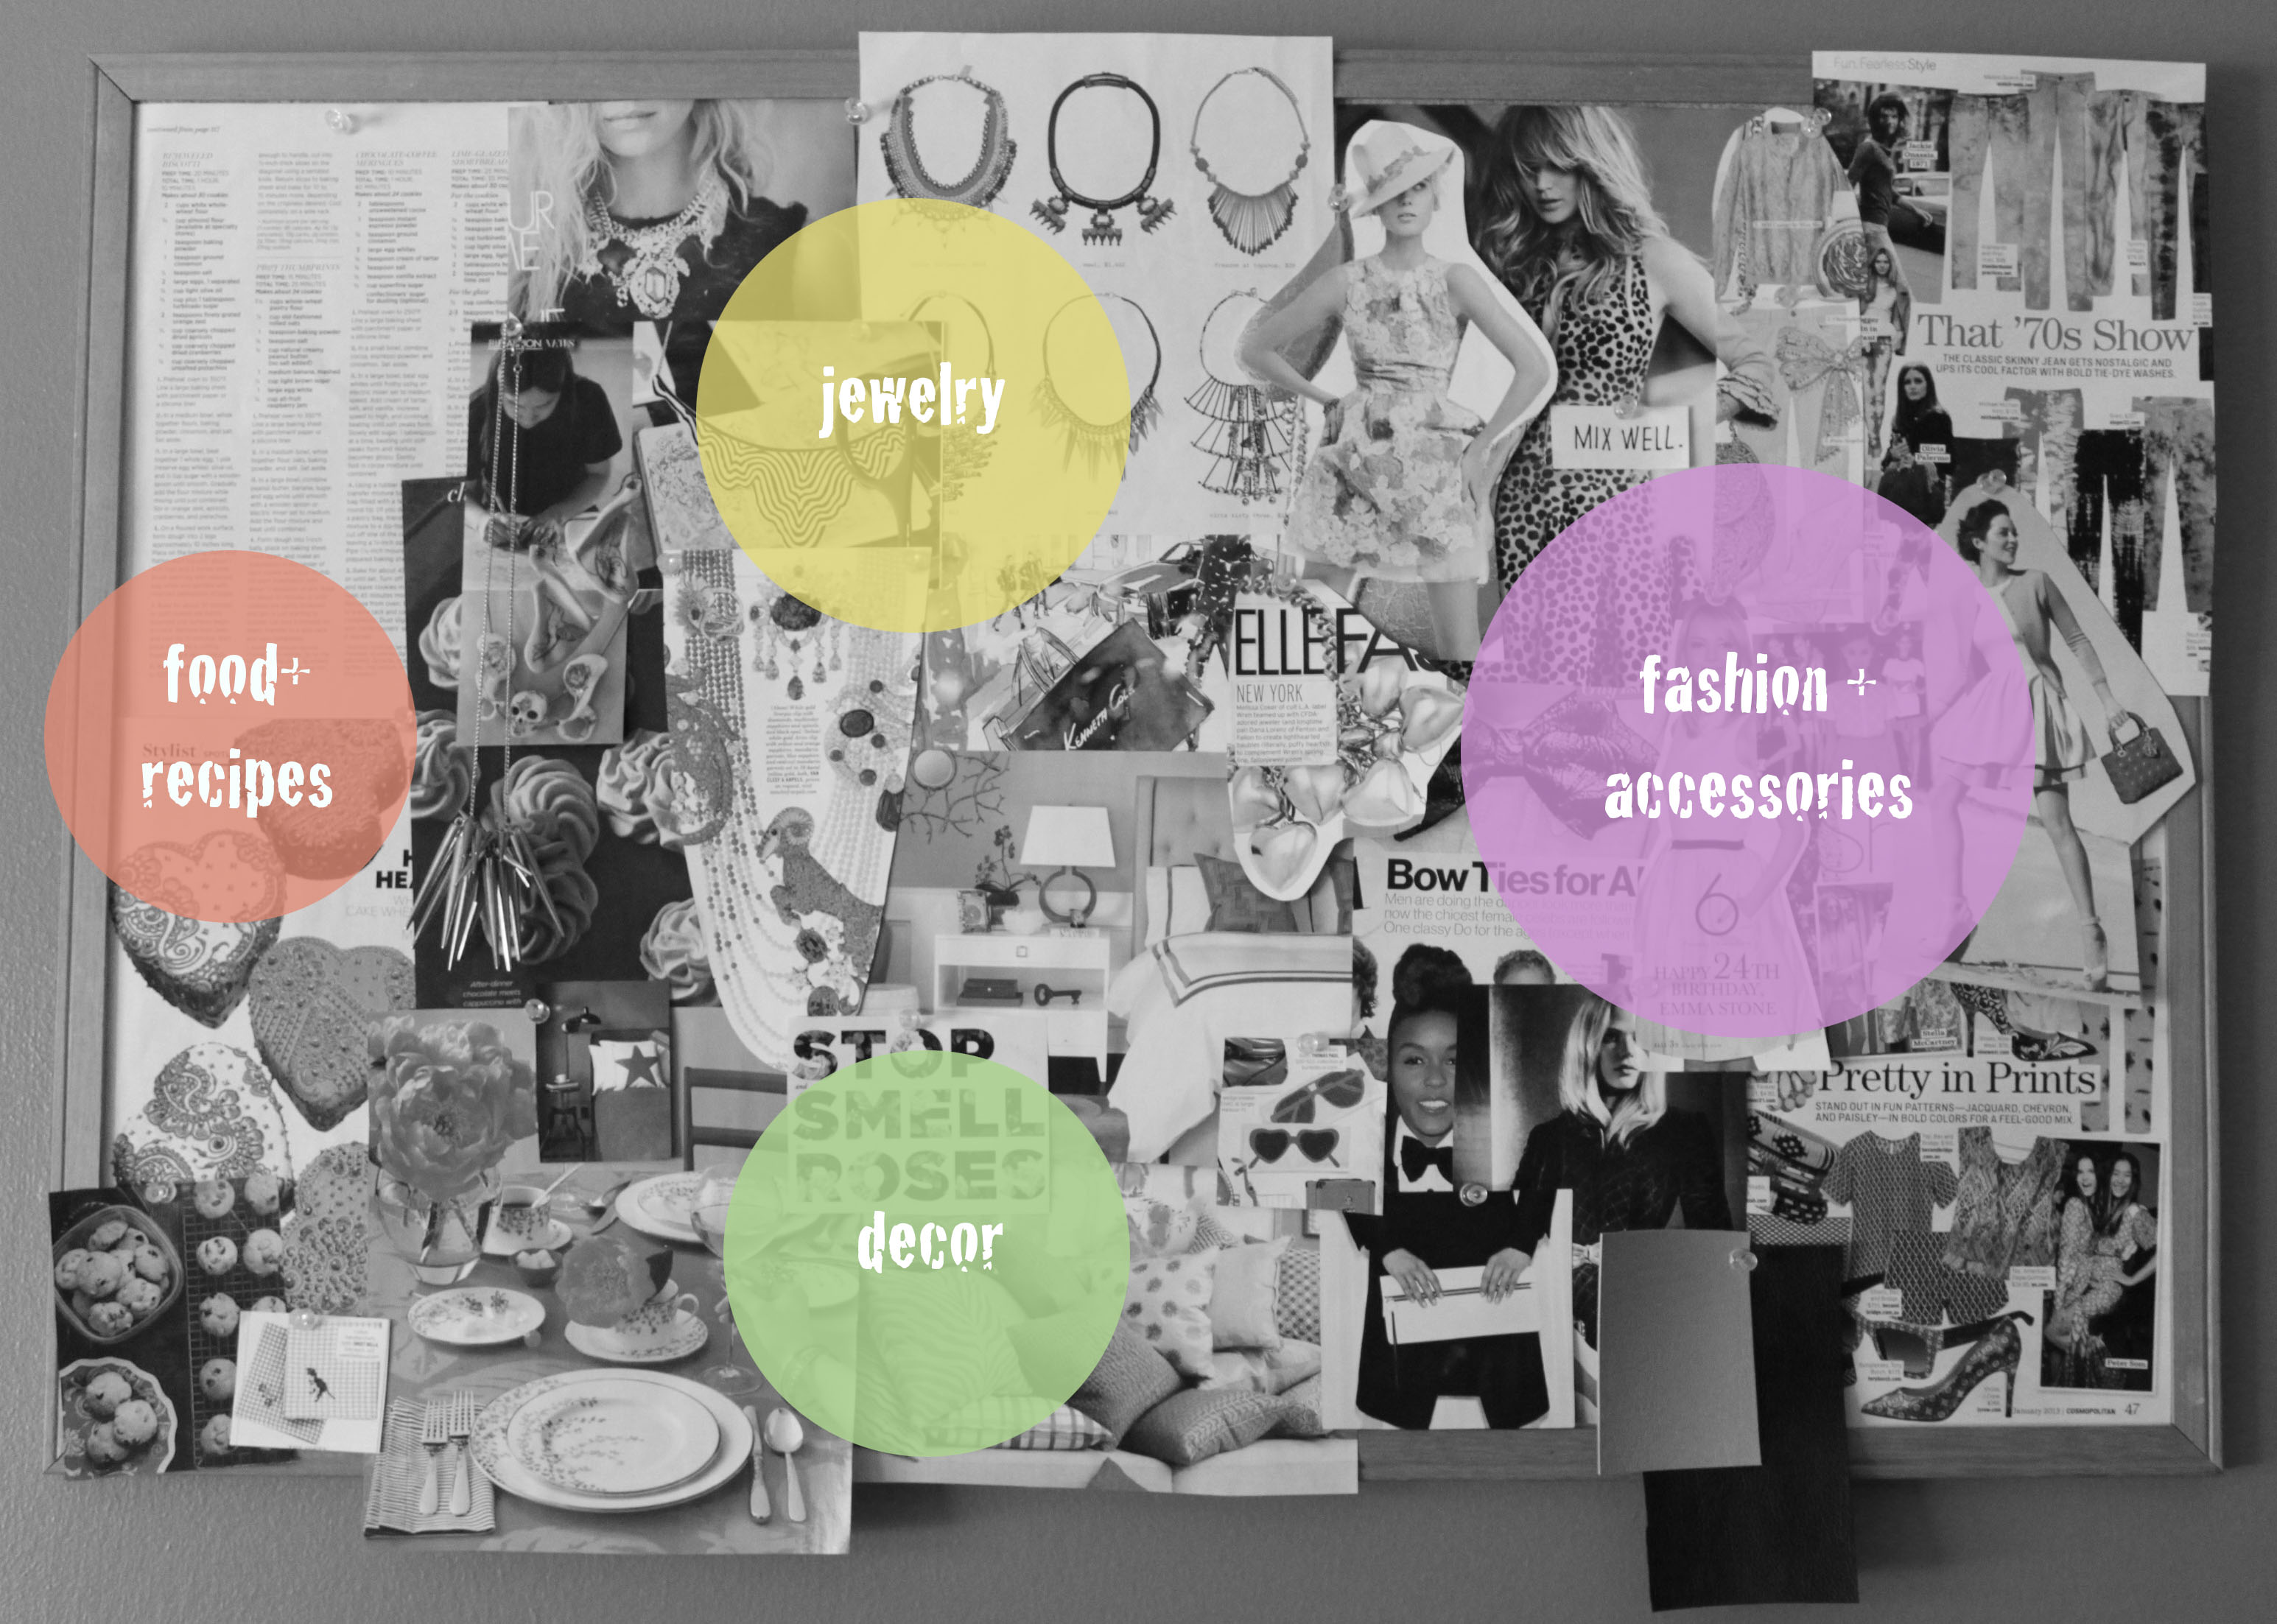
One of my first blog posts was all about Inspiration Boards. I’ve wanted to make my own ever since, and I finally got around to it. Having my inspiration board hanging on my wall inspires me to be creative everyday! Now if I could just get off the computer…
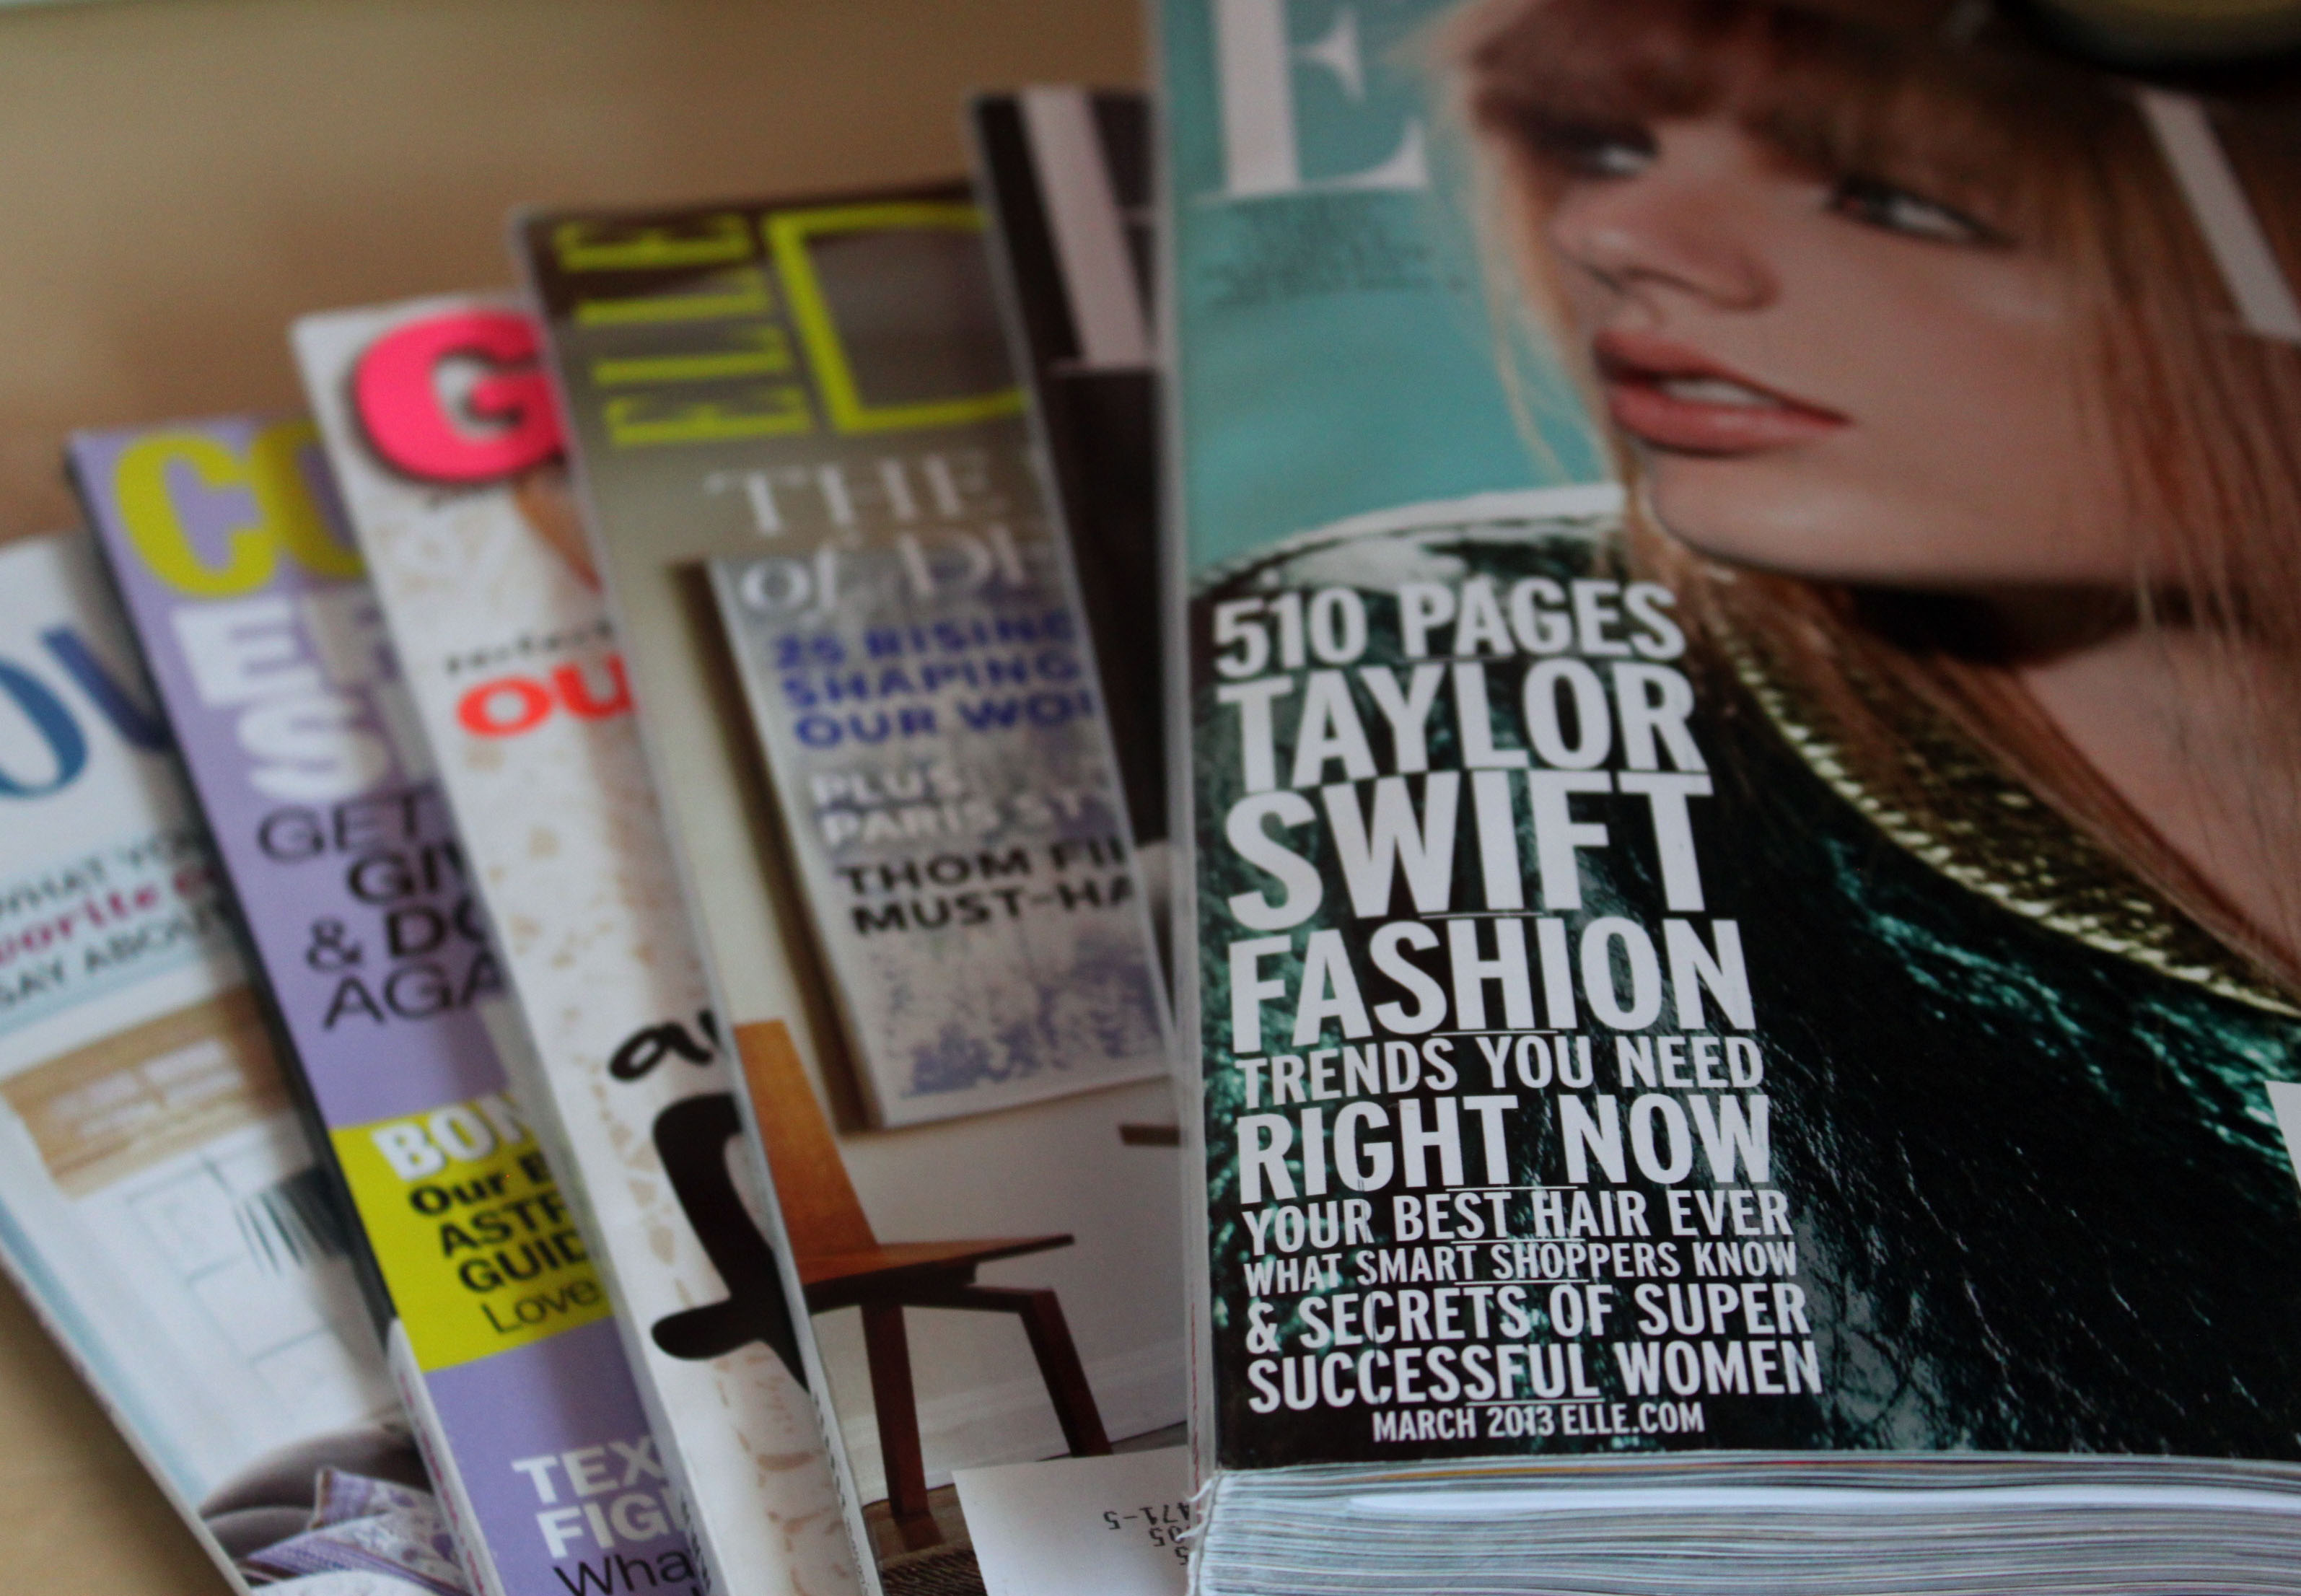 I gathered my biggest source of inspiration…magazines!
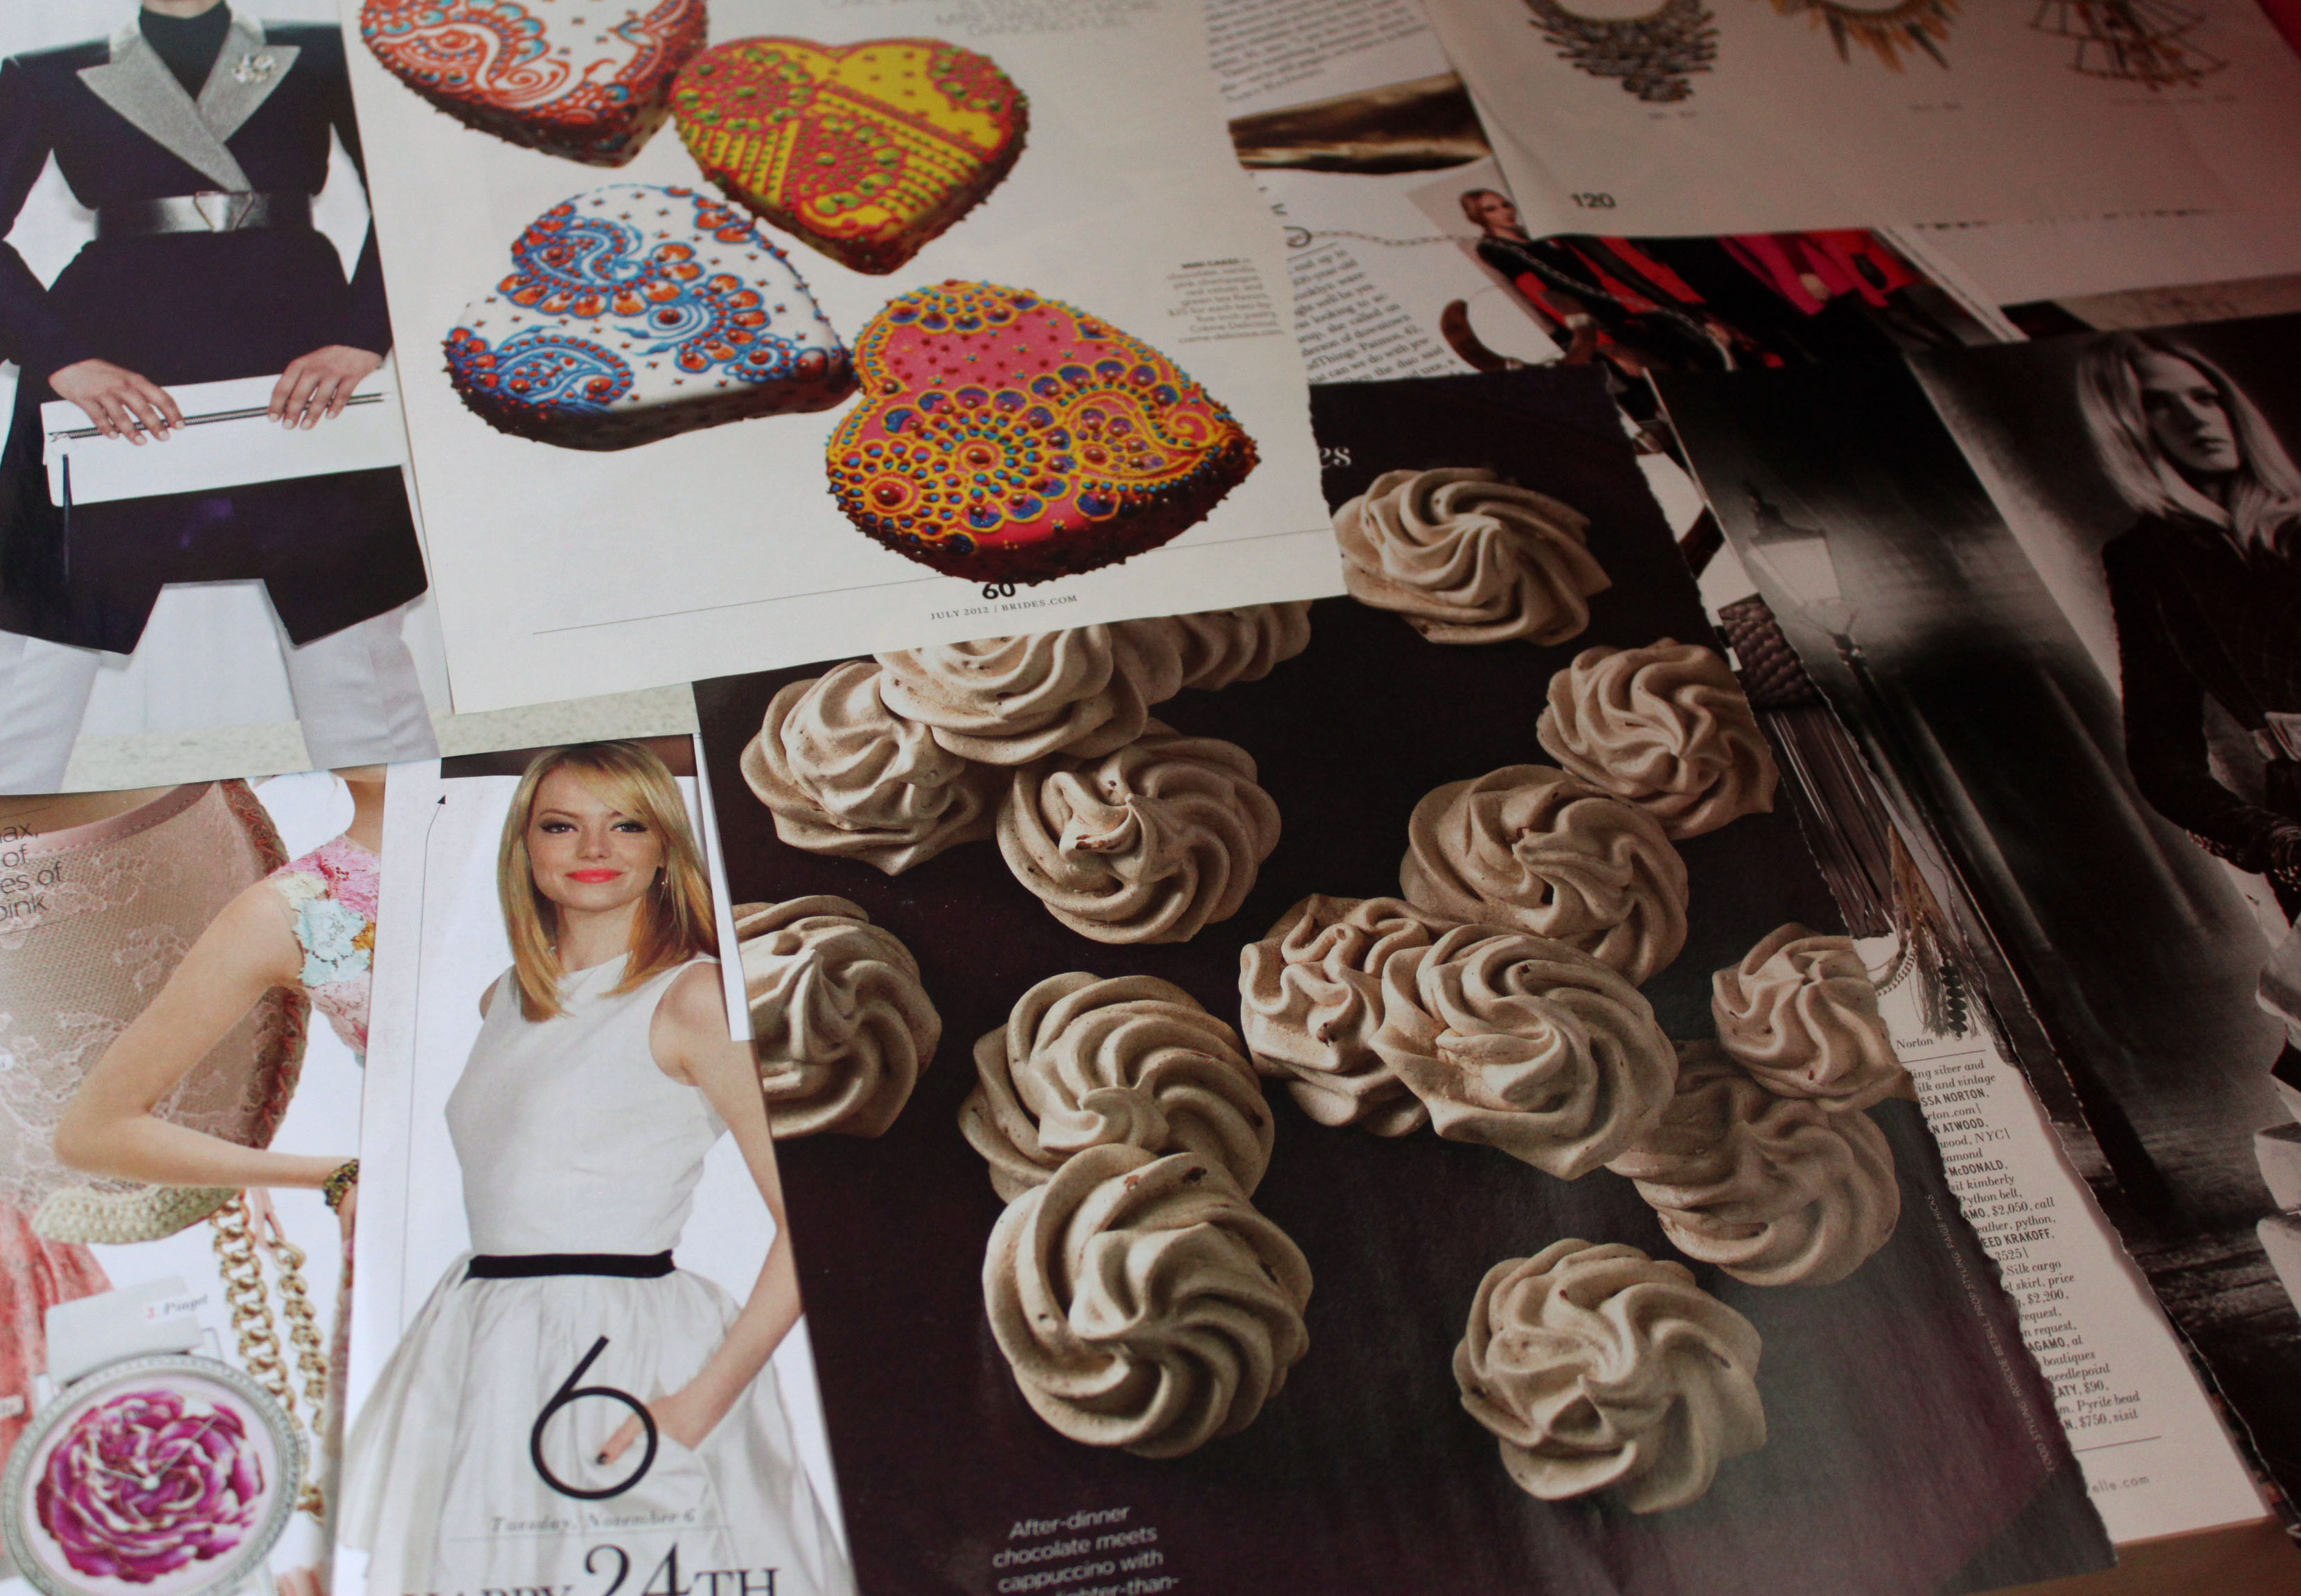 Rip out anything and everything that gives you inspiration.
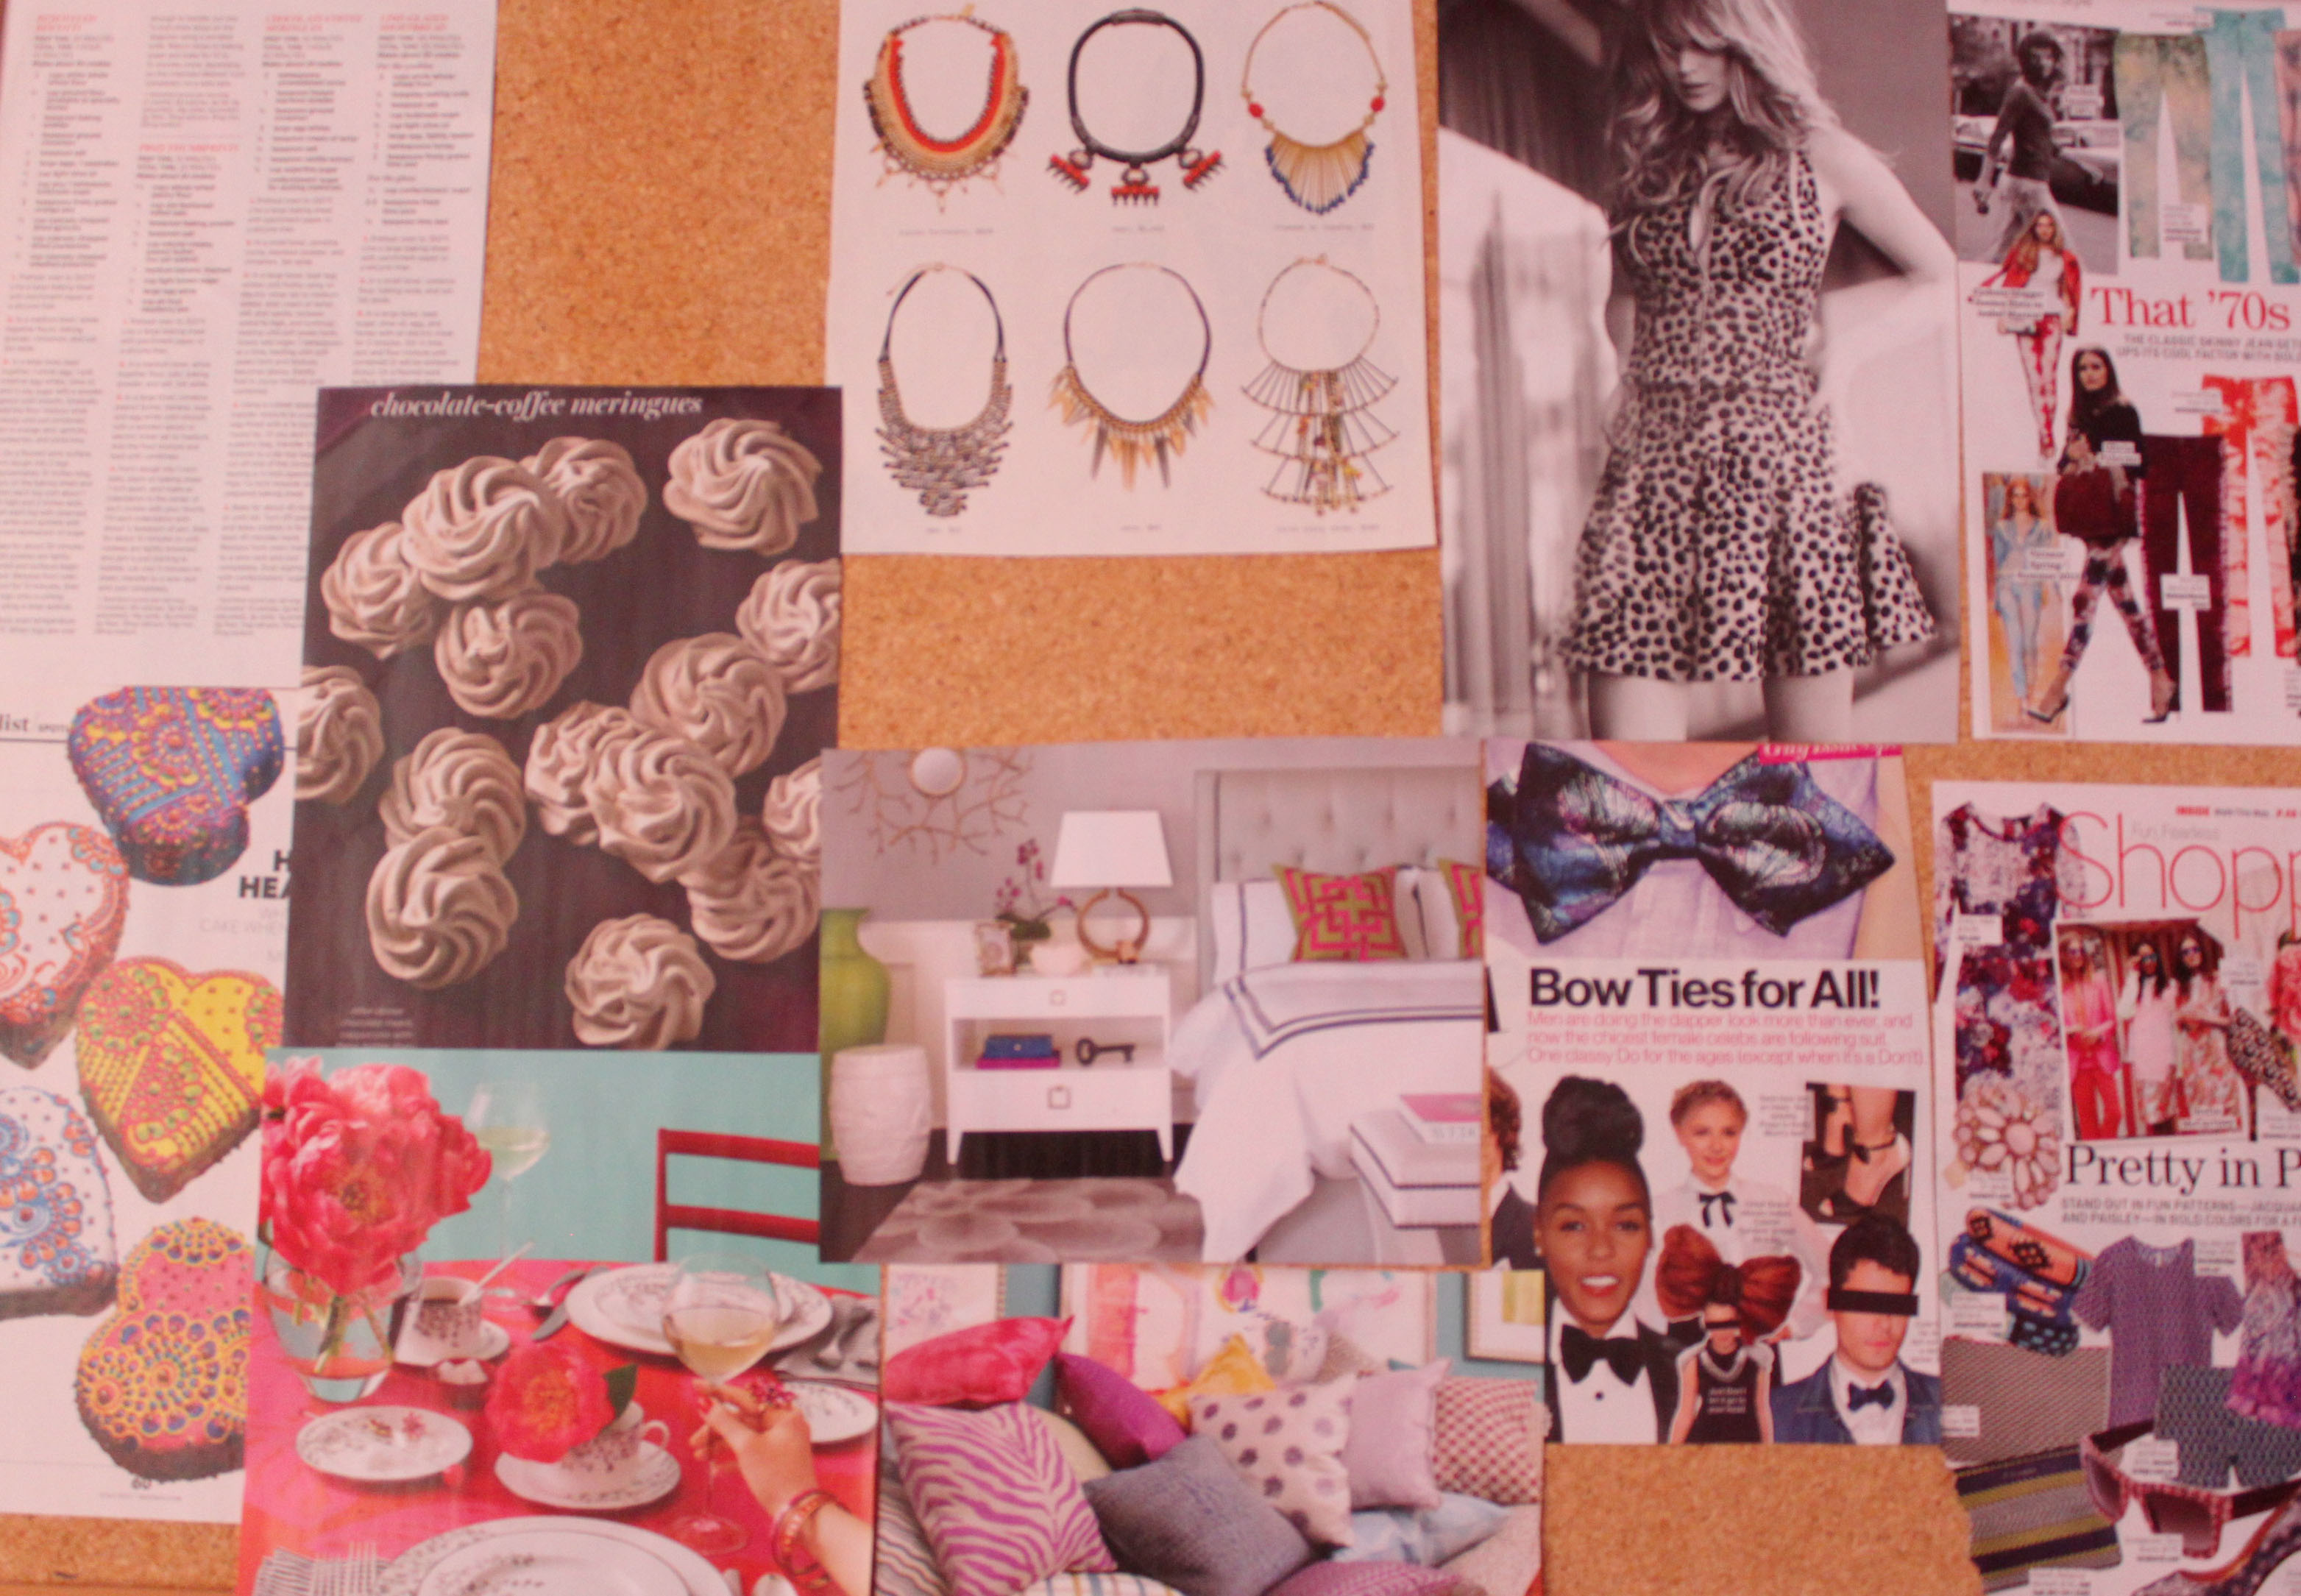 I started by laying out the bigger pages first, and organized everything into categories: food, decor, jewelry and fashion.
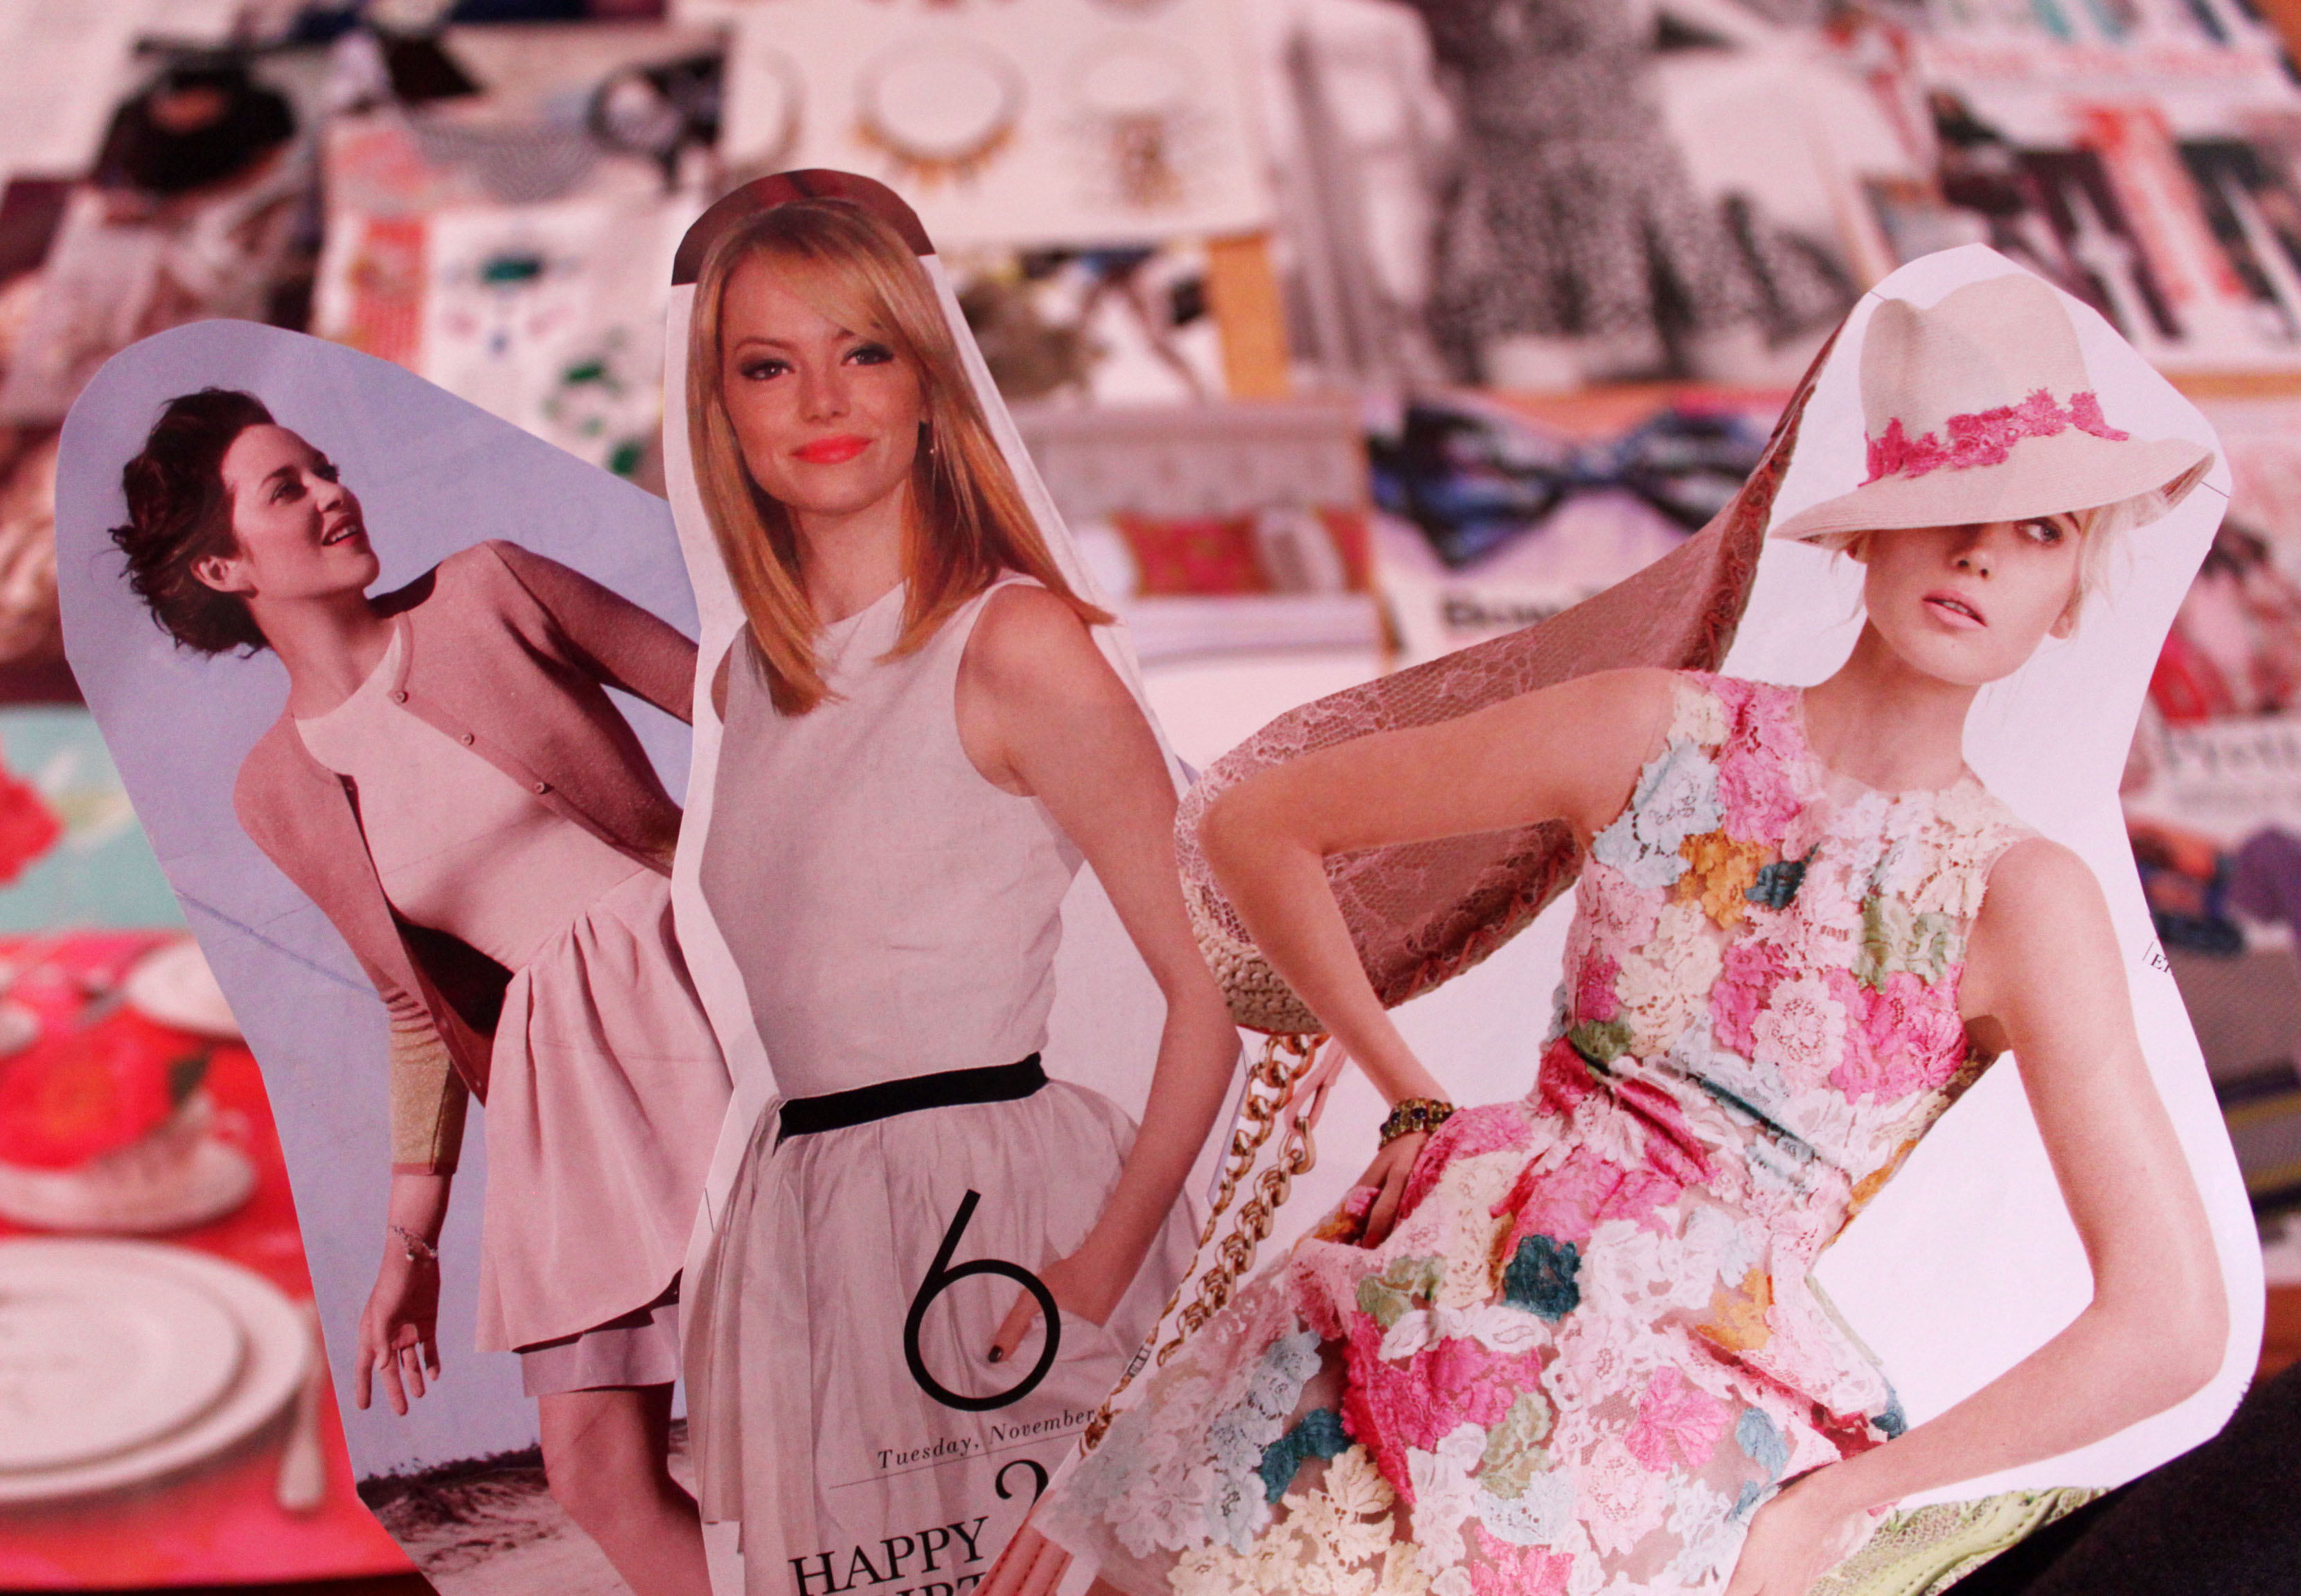 Then I cut out specific images from larger pages to overlay on the board.
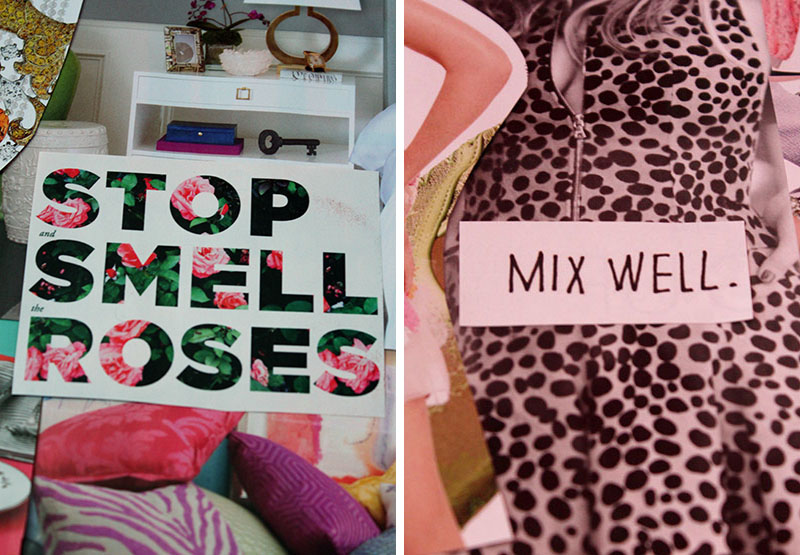 Add quotes!
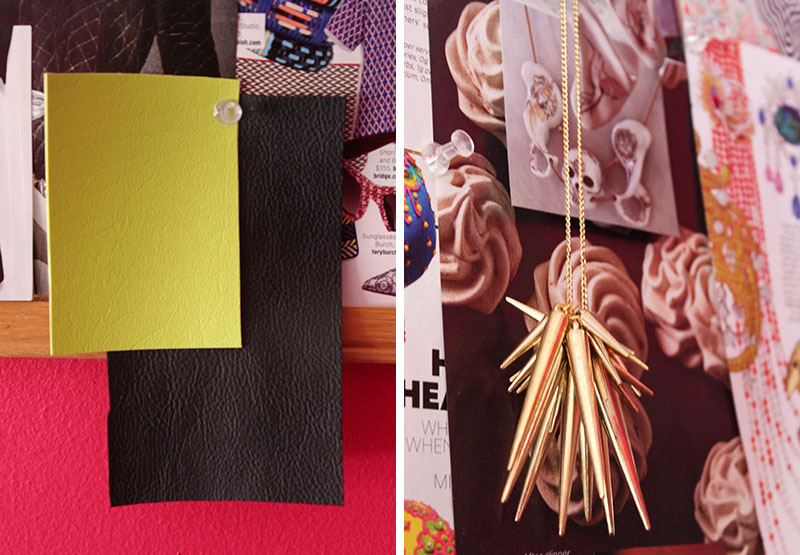 Add fabric and jewelry for a 3-dimensional aspect.
 Time to get creative!