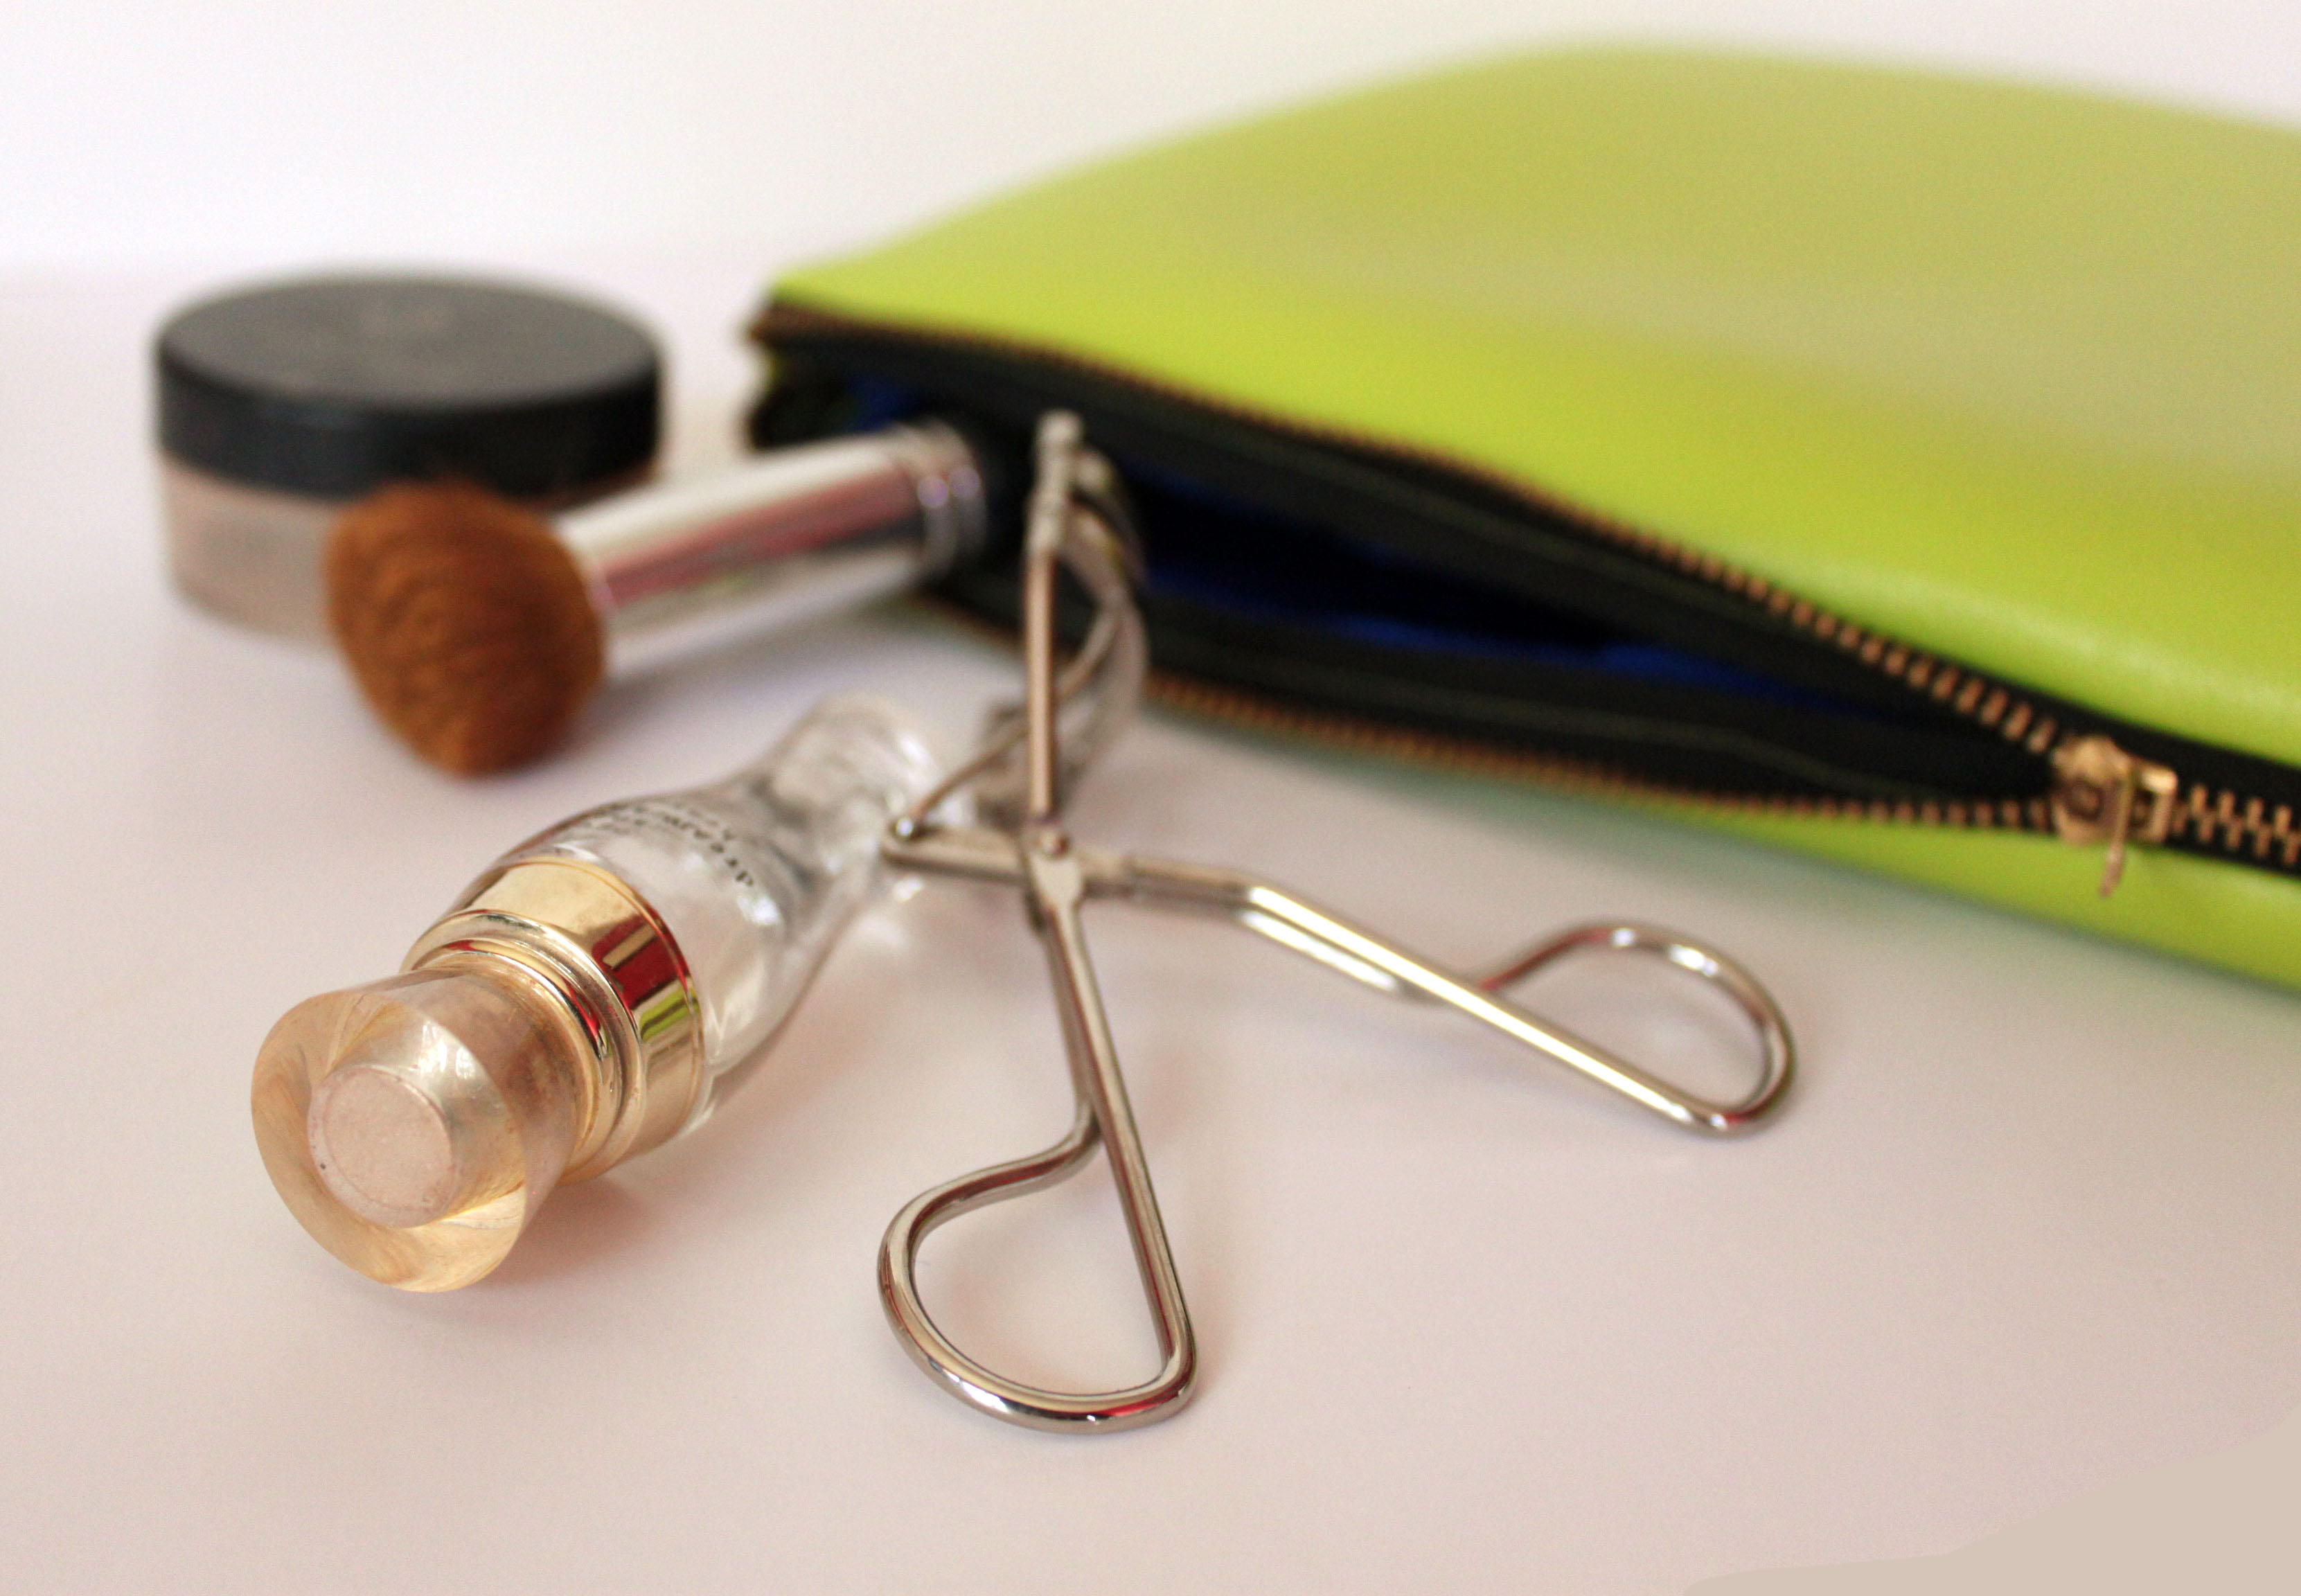
 This DIY makeup case tutorial started out as an oversized clutch tutorial. One major aspect about sewing and DIY projects is trial and error. This was my first time sewing a zipper and vinyl. Though it proved simple in the end, the size and shape of the bag didn’t turn out quite like I wanted. The vinyl is very stiff and had I made it bigger would have been a perfect clutch. Oh well, I needed a new makeup case anyway!
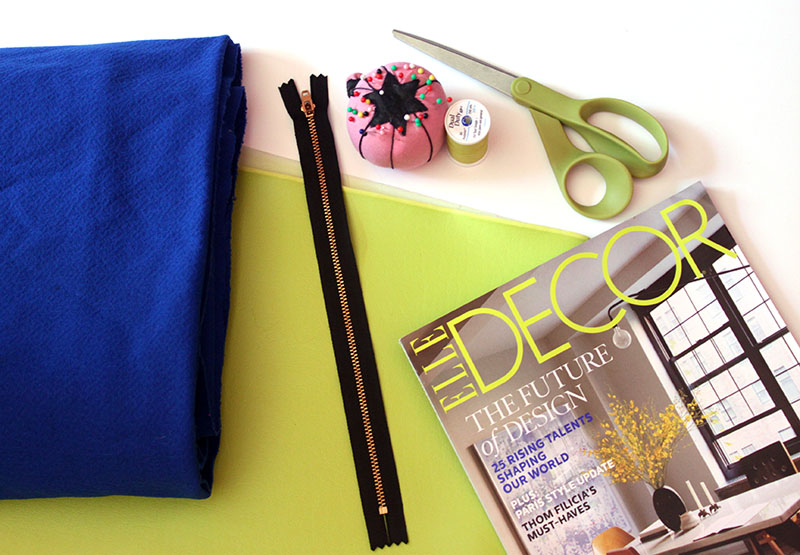
You’ll need:
Vinyl
Fabric for lining (optional)
Zipper
Scissors
Pins and Thread in a matching color
Magazine or Ruler

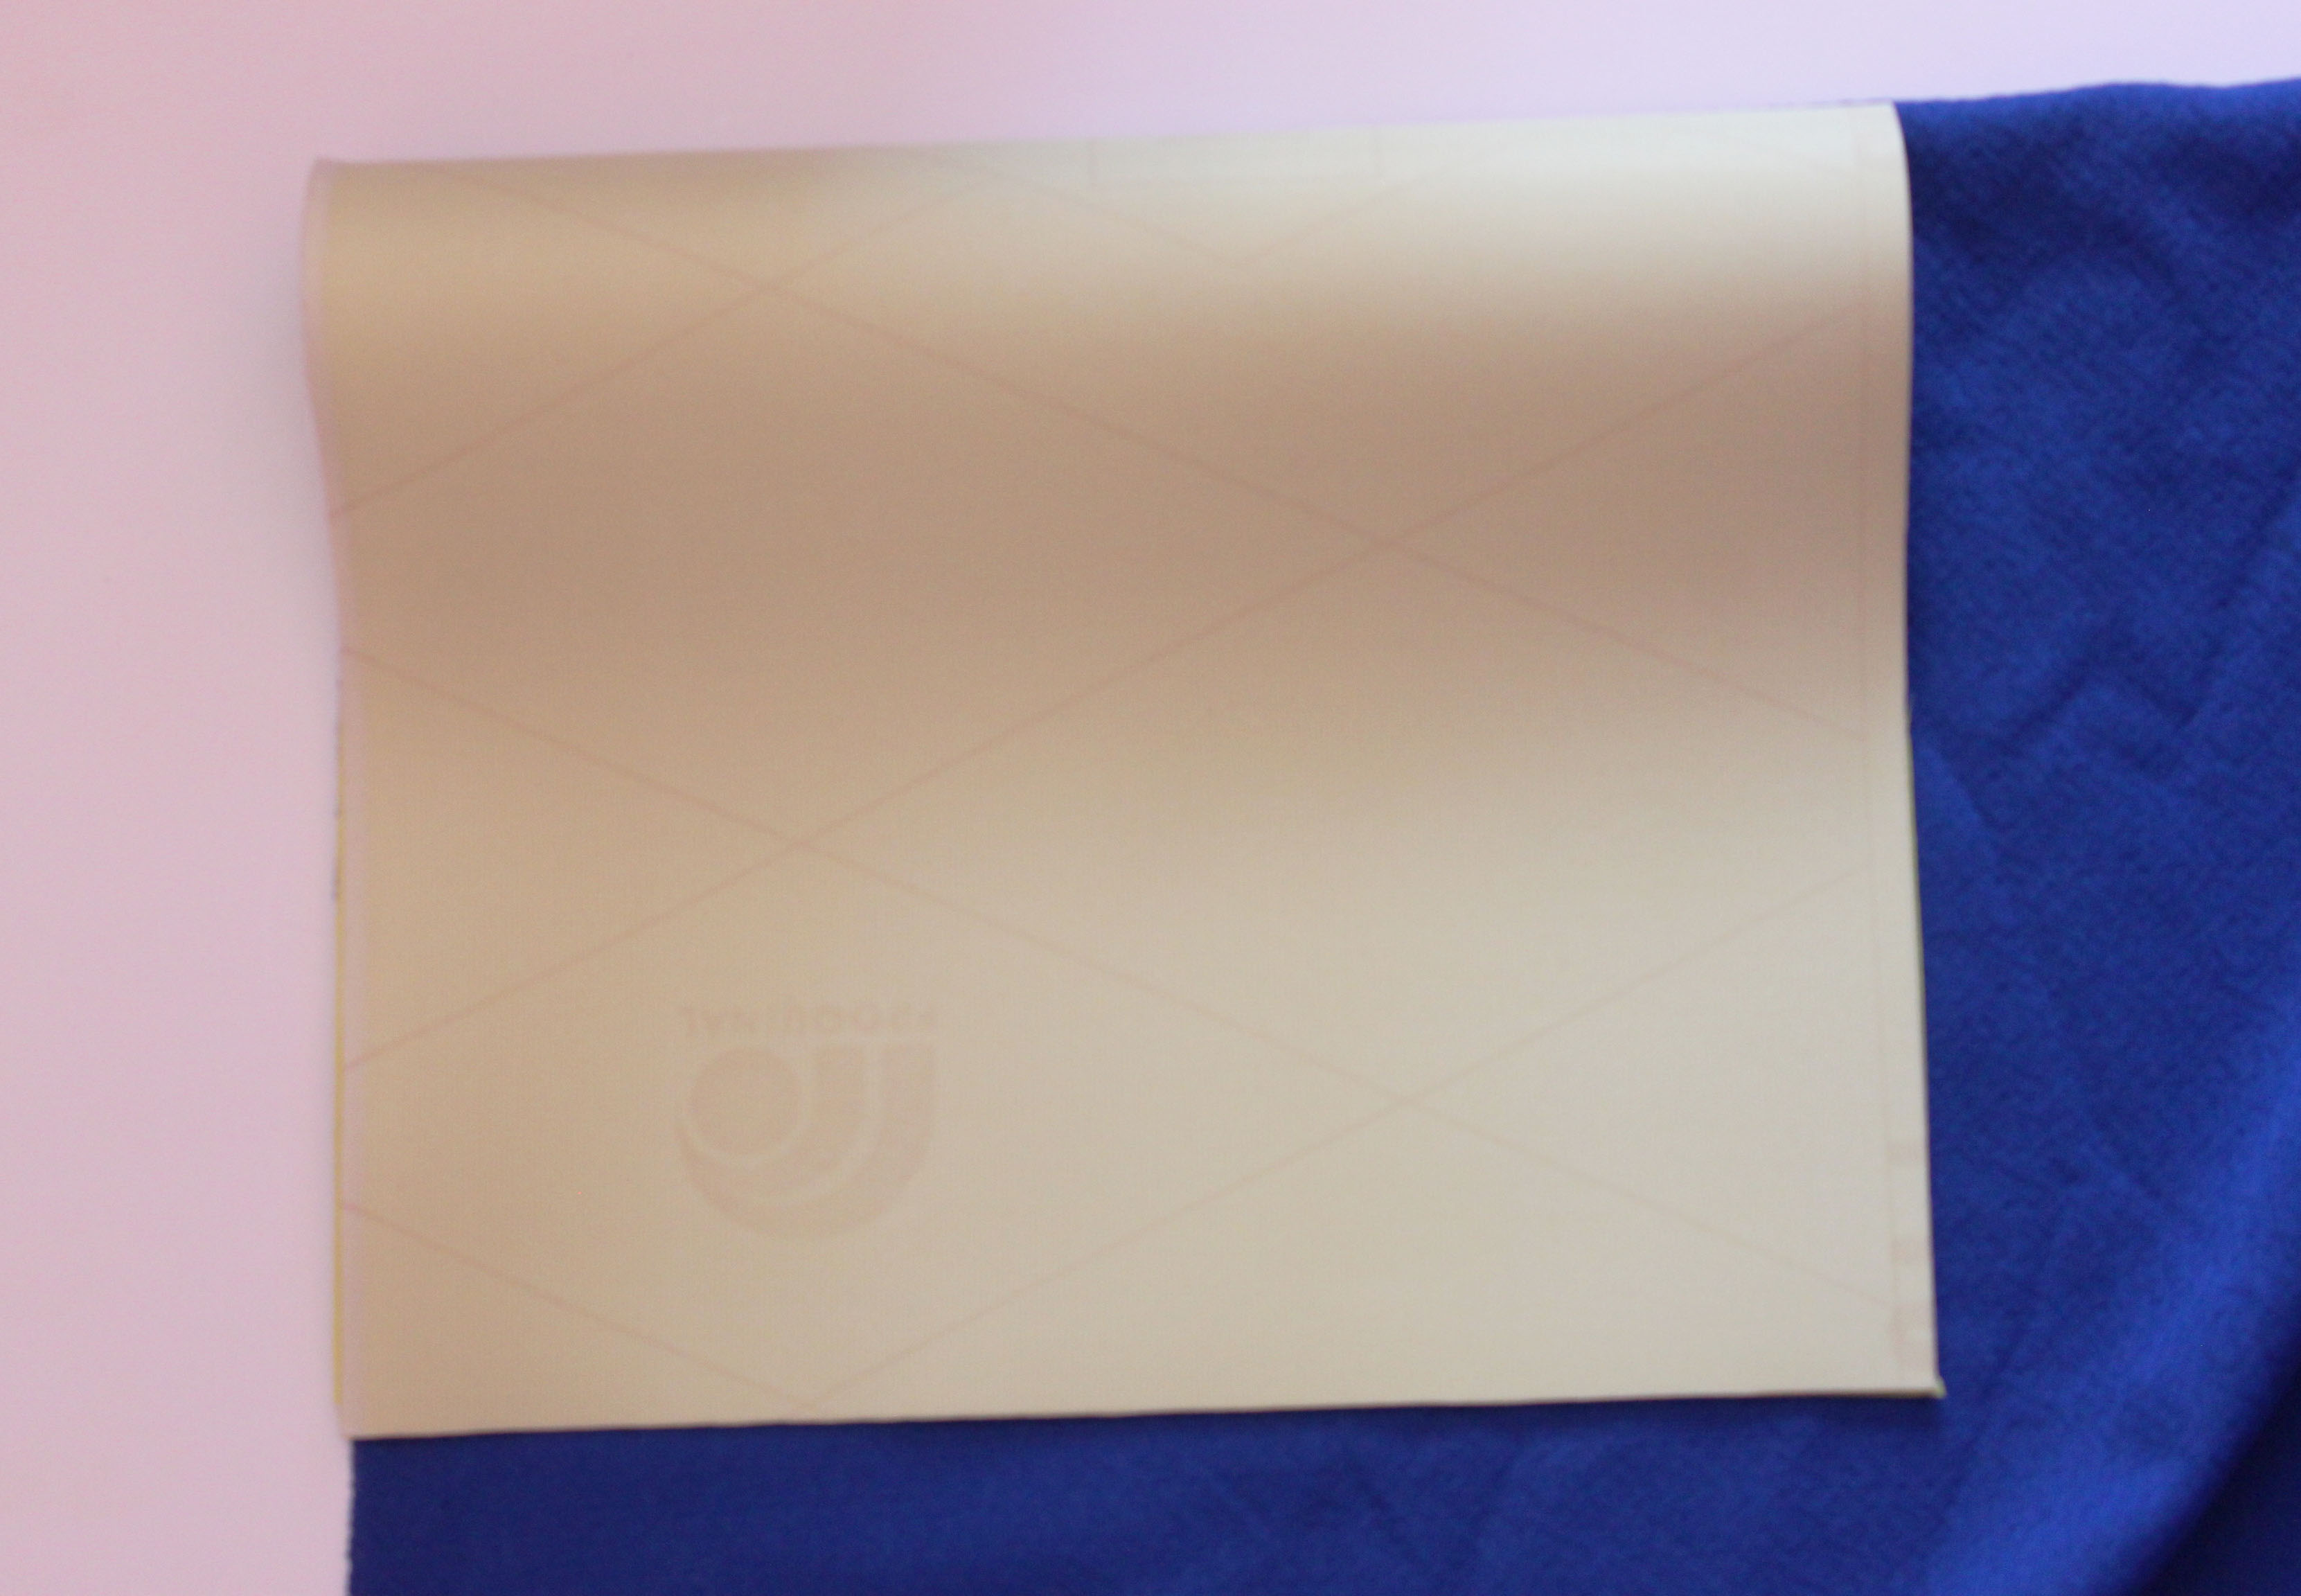
Start by folding your vinyl right sides together. Place your magazine along the folded edge. Measure about a 1/2″ around the sides of the magazine.
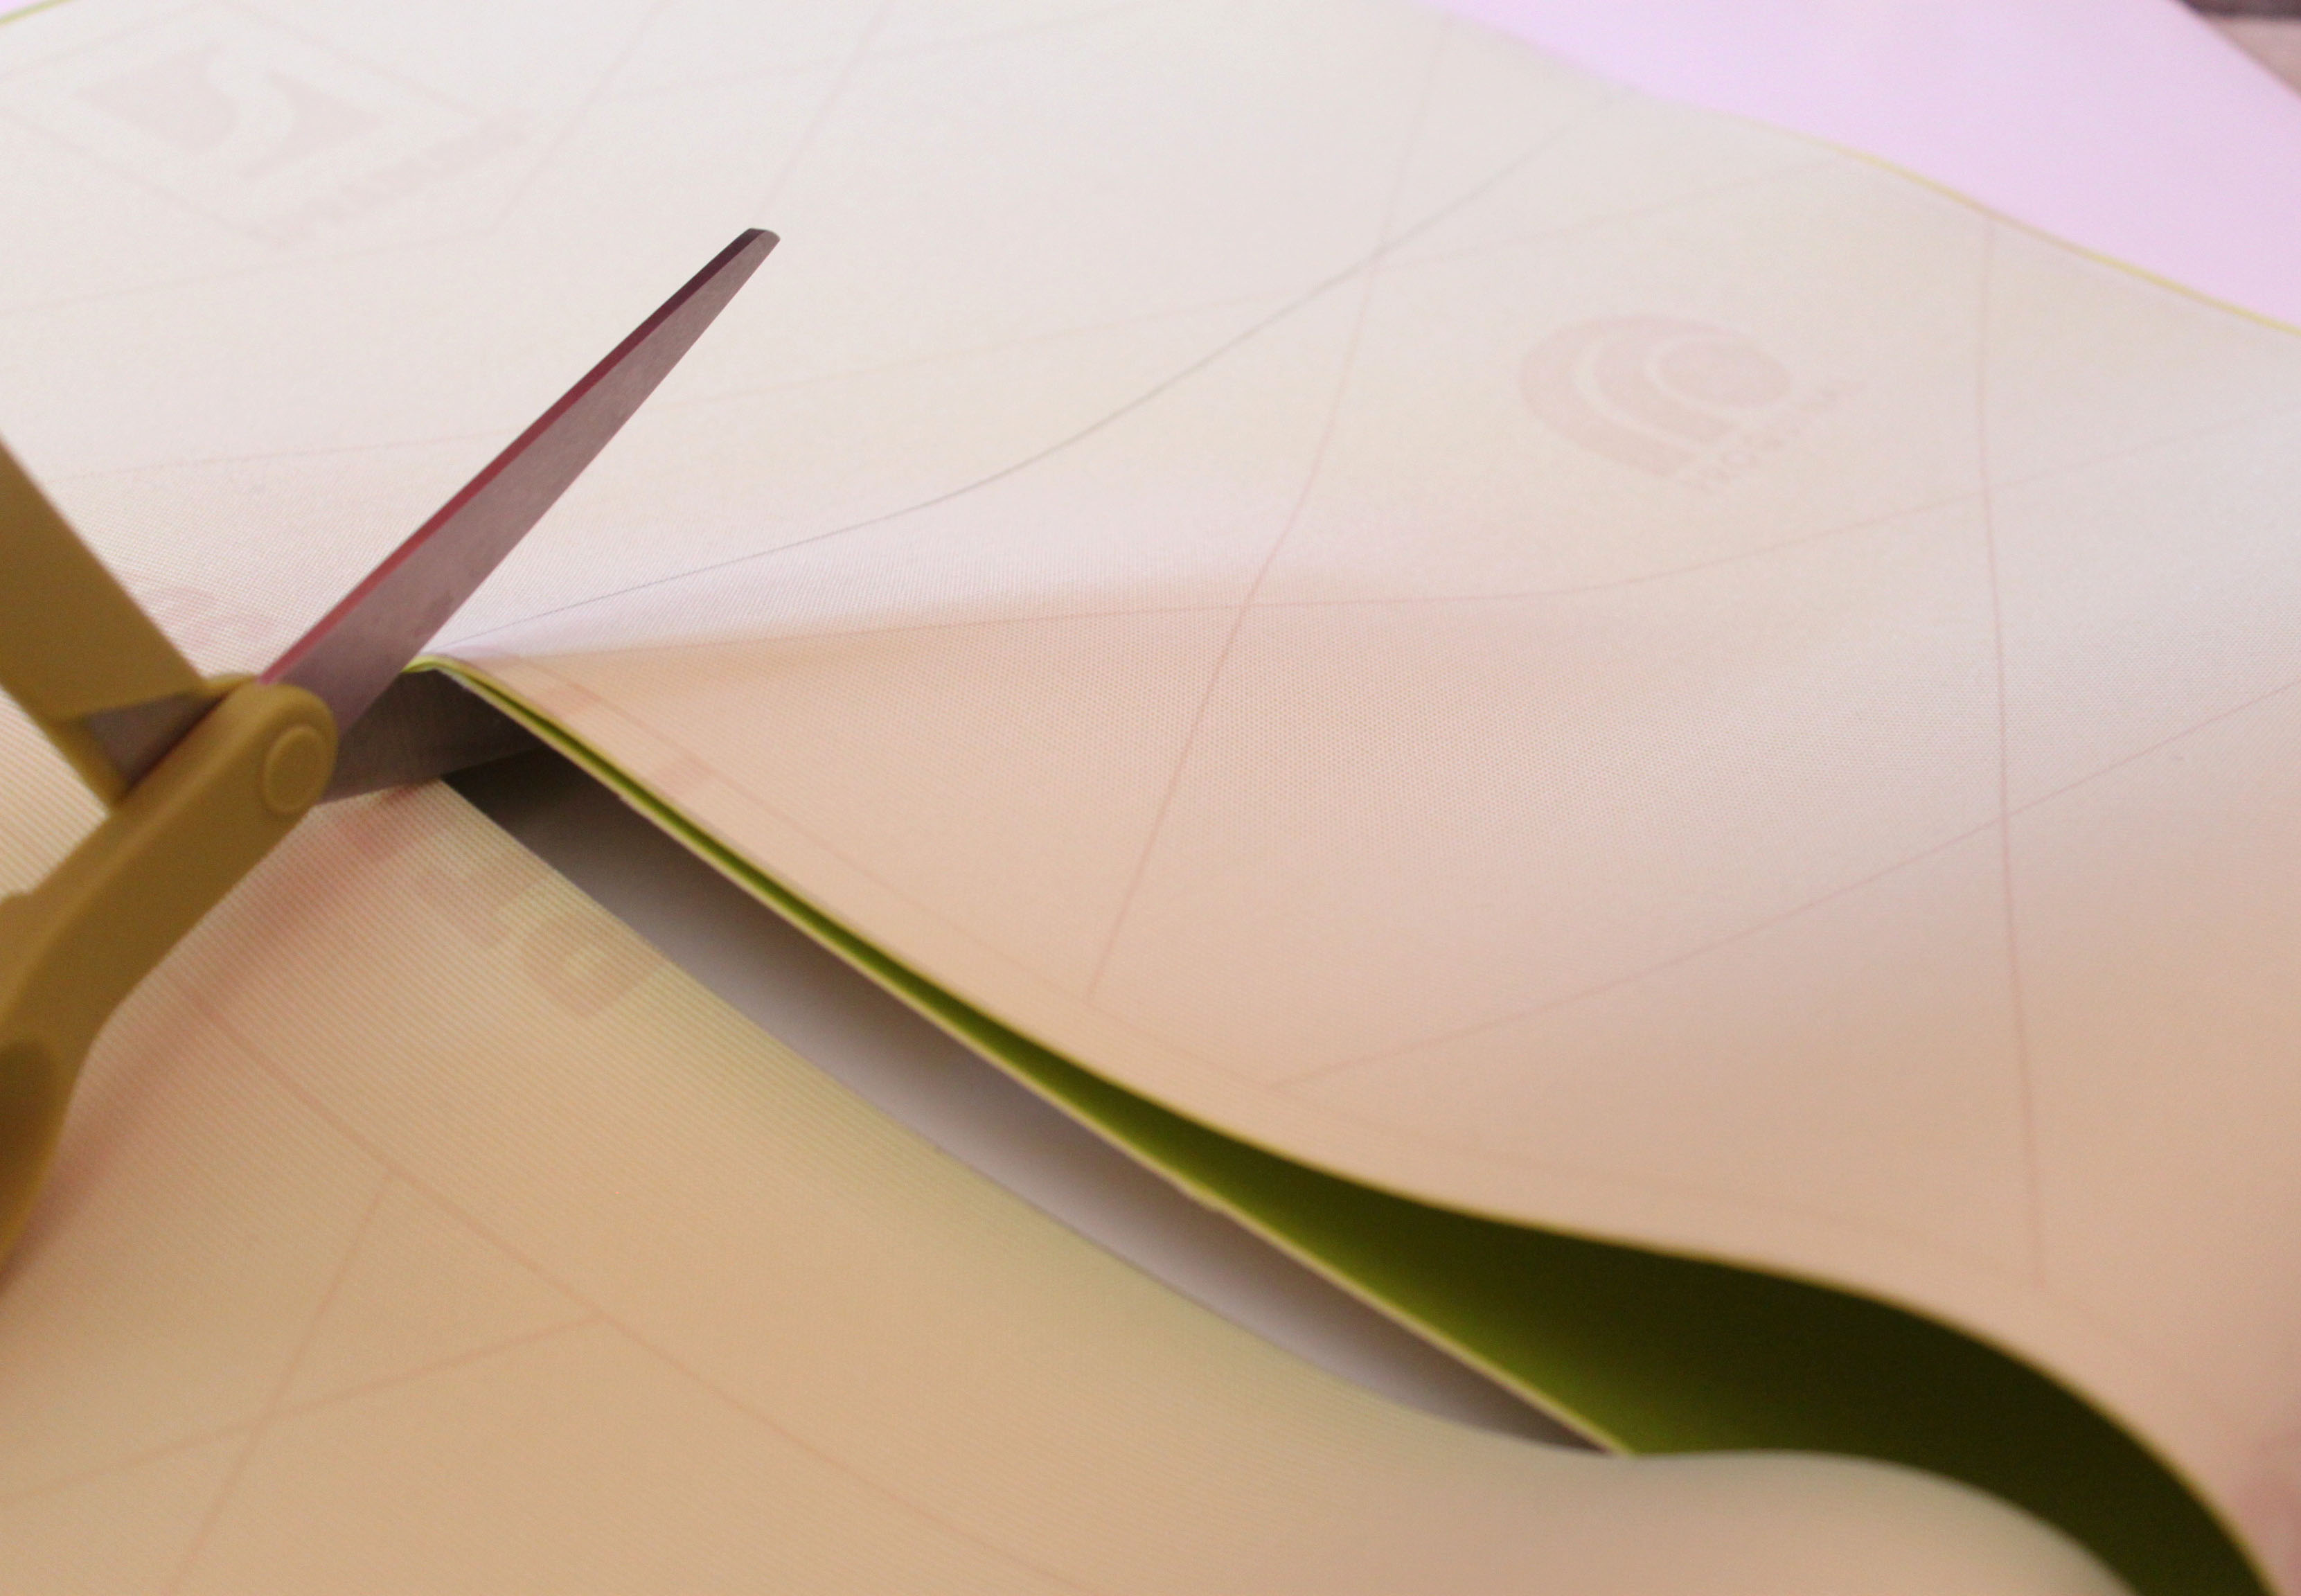 Cut along the drawn lines.
 Place your cut vinyl over the fabric for the lining and cut along the edges. (This step is optional. Only do it if you want a lining for your bag.)
 You will end up with two long pieces of vinyl and lining. Place the lining on the wrong side of the vinyl.
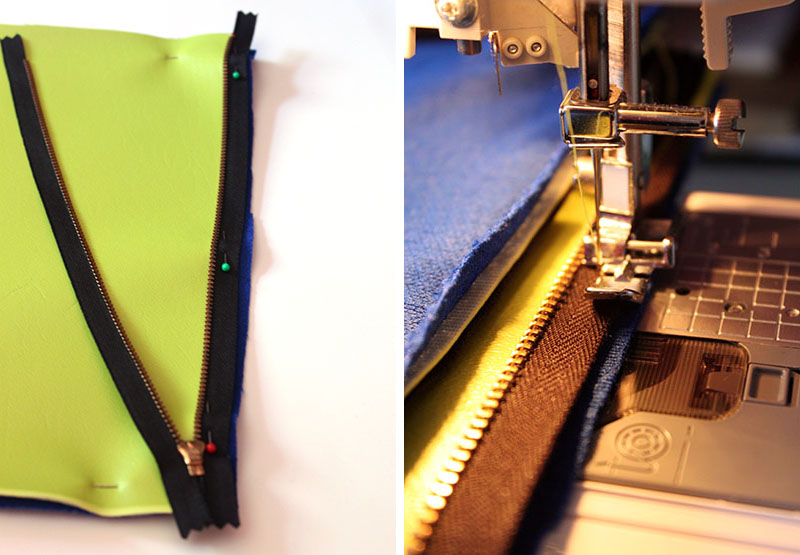 Open and pin the zipper’s right side to the right side of the vinyl. Sew the one side of the zipper to the vinyl. Pin and sew the other side of the zipper in the same fashion.
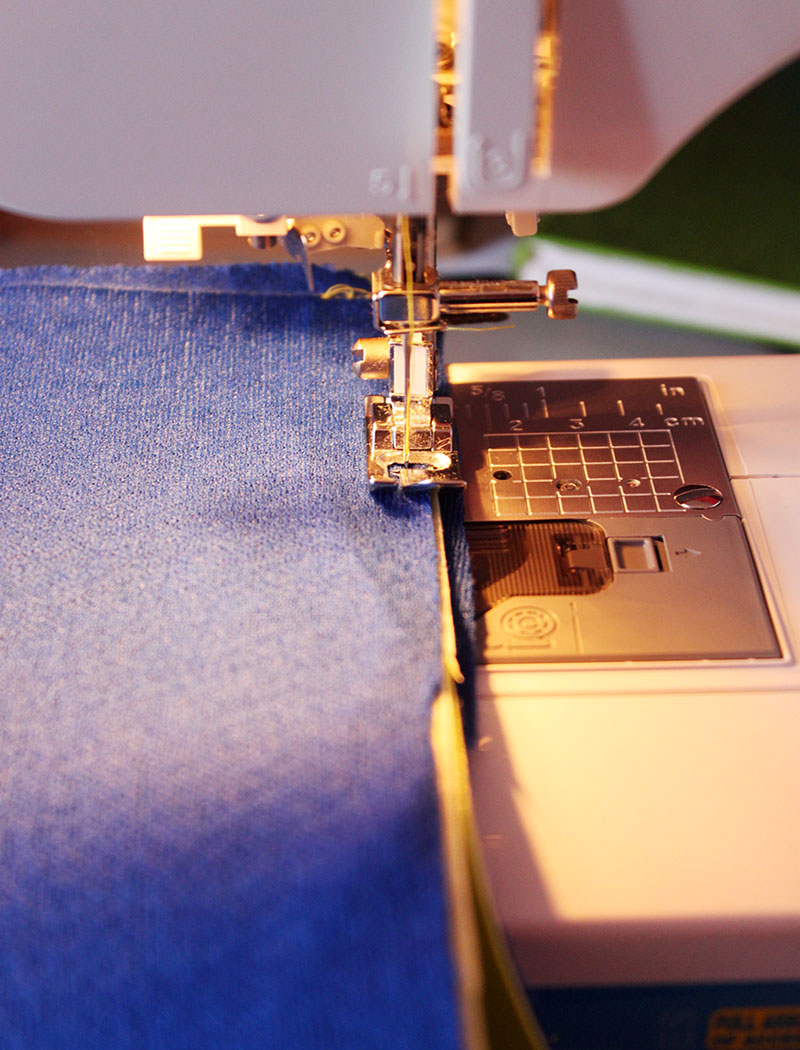 Sew the two edges of the bag.
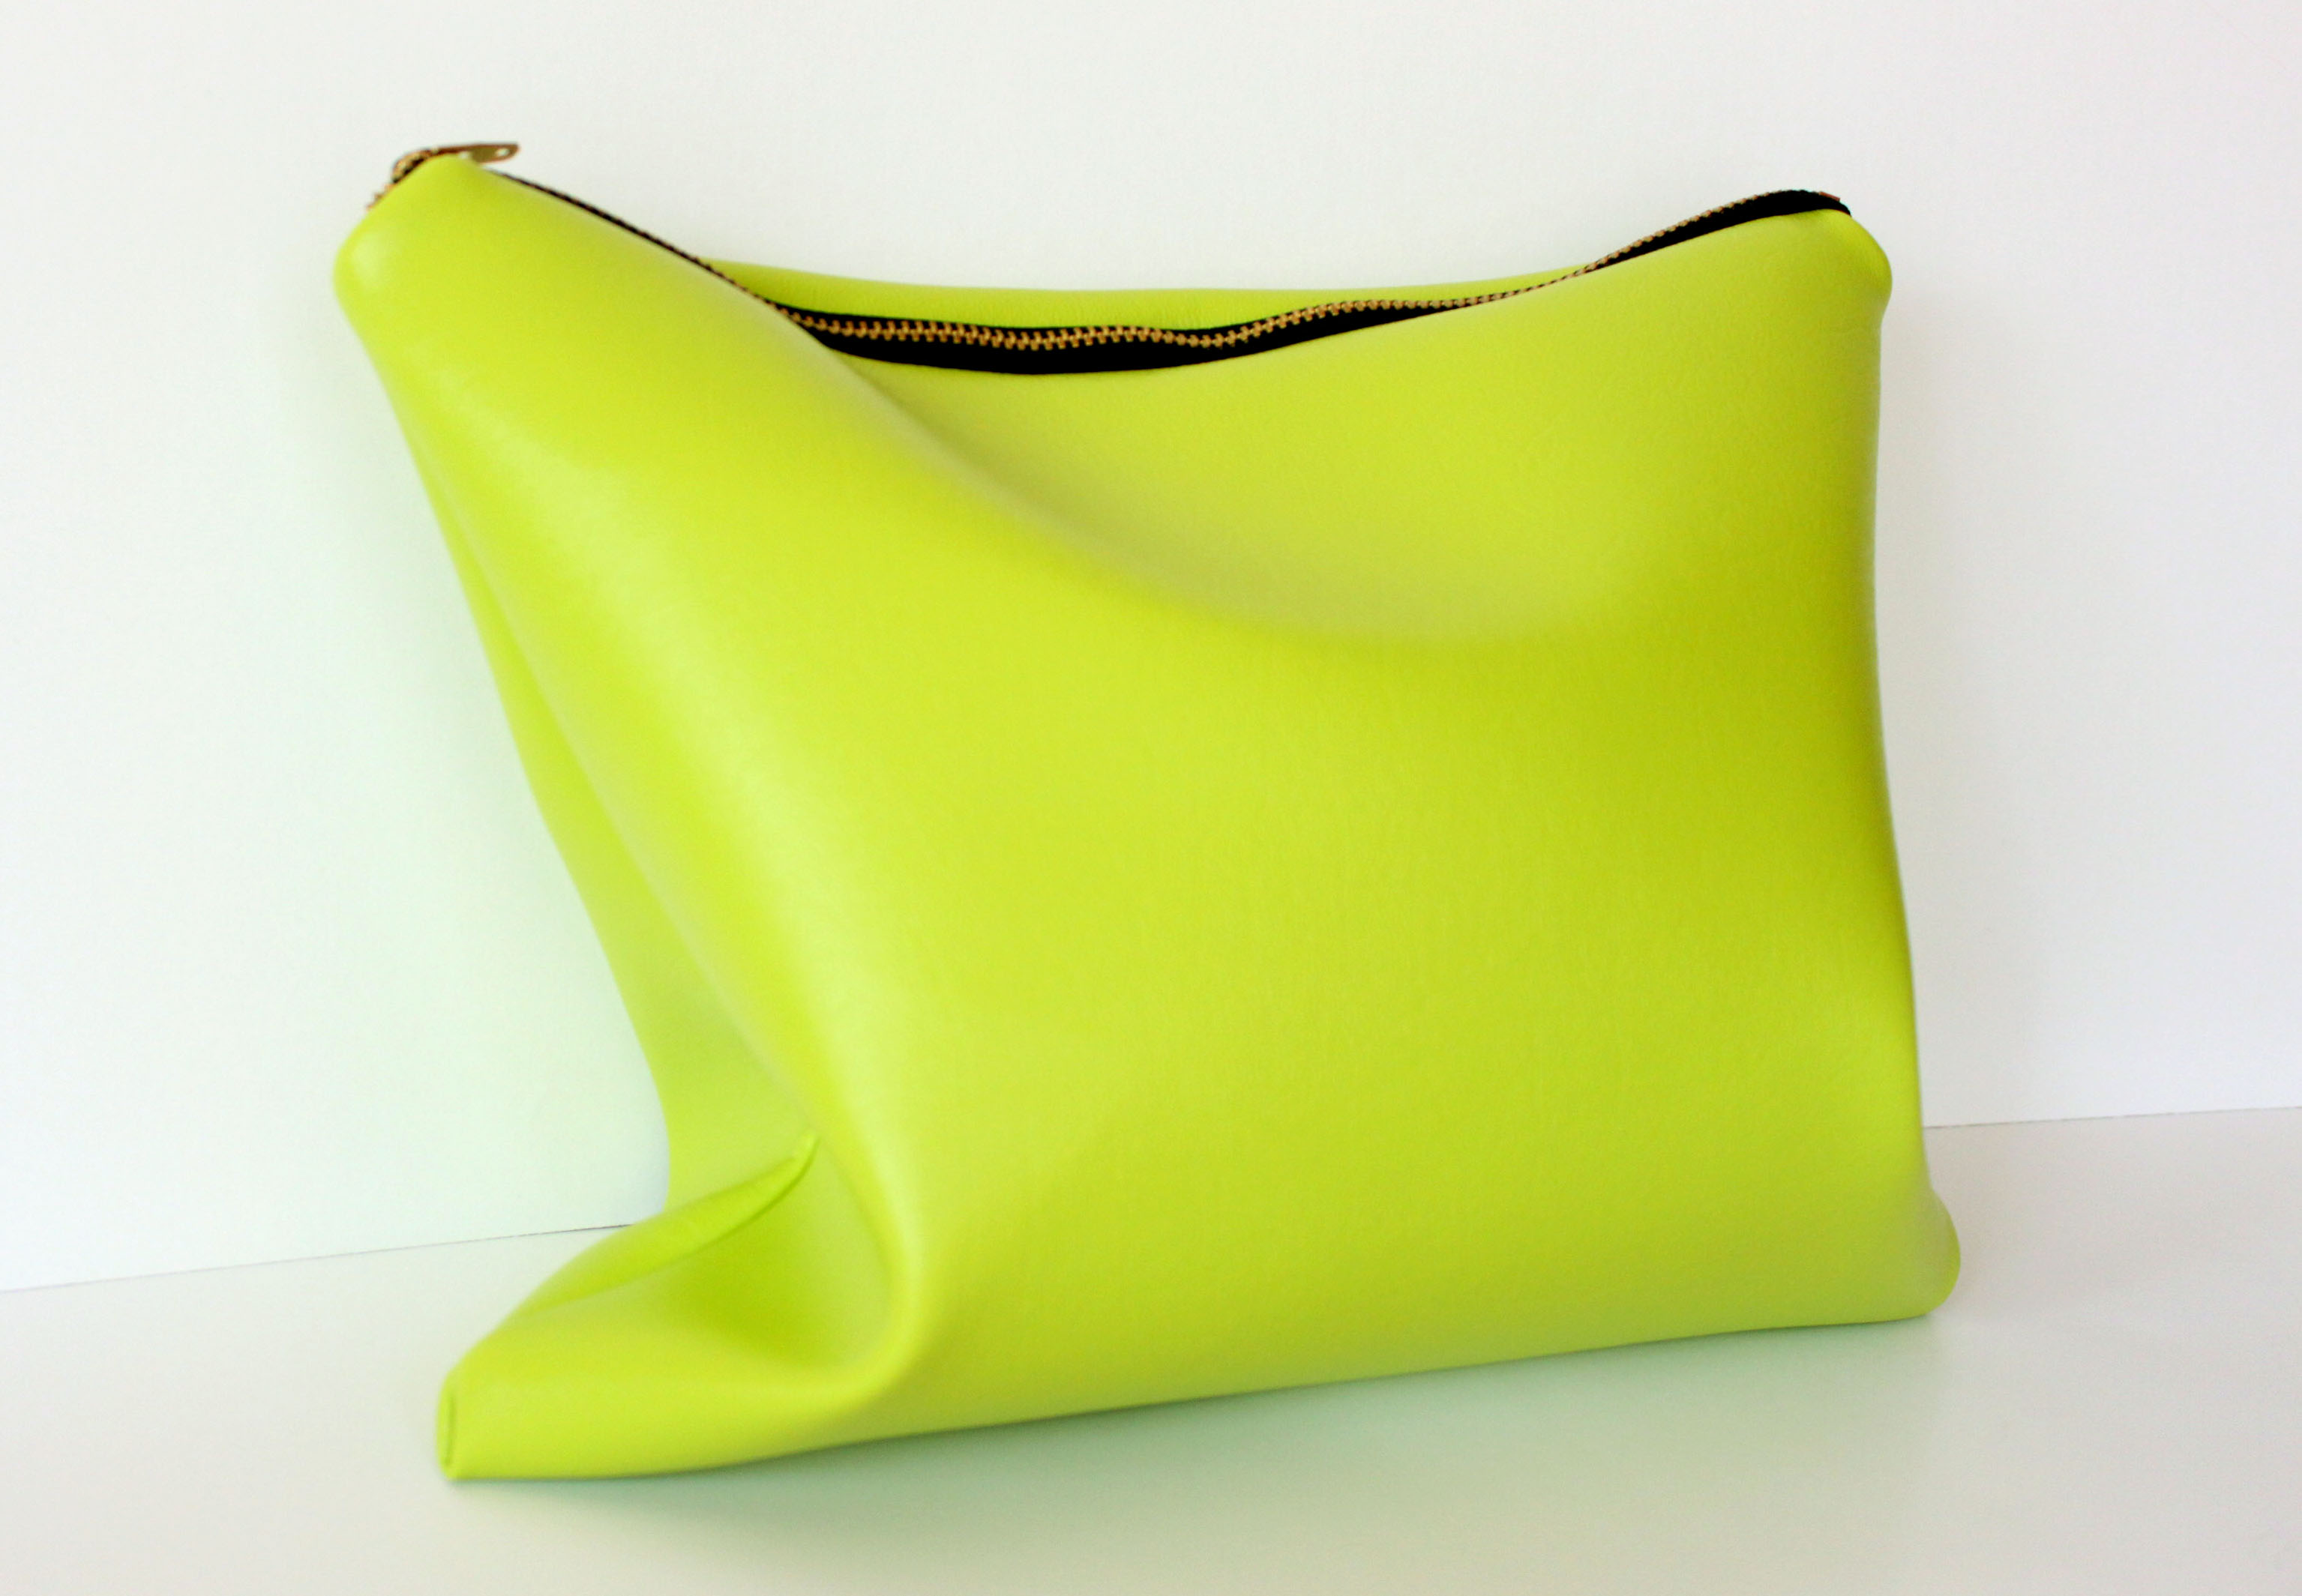
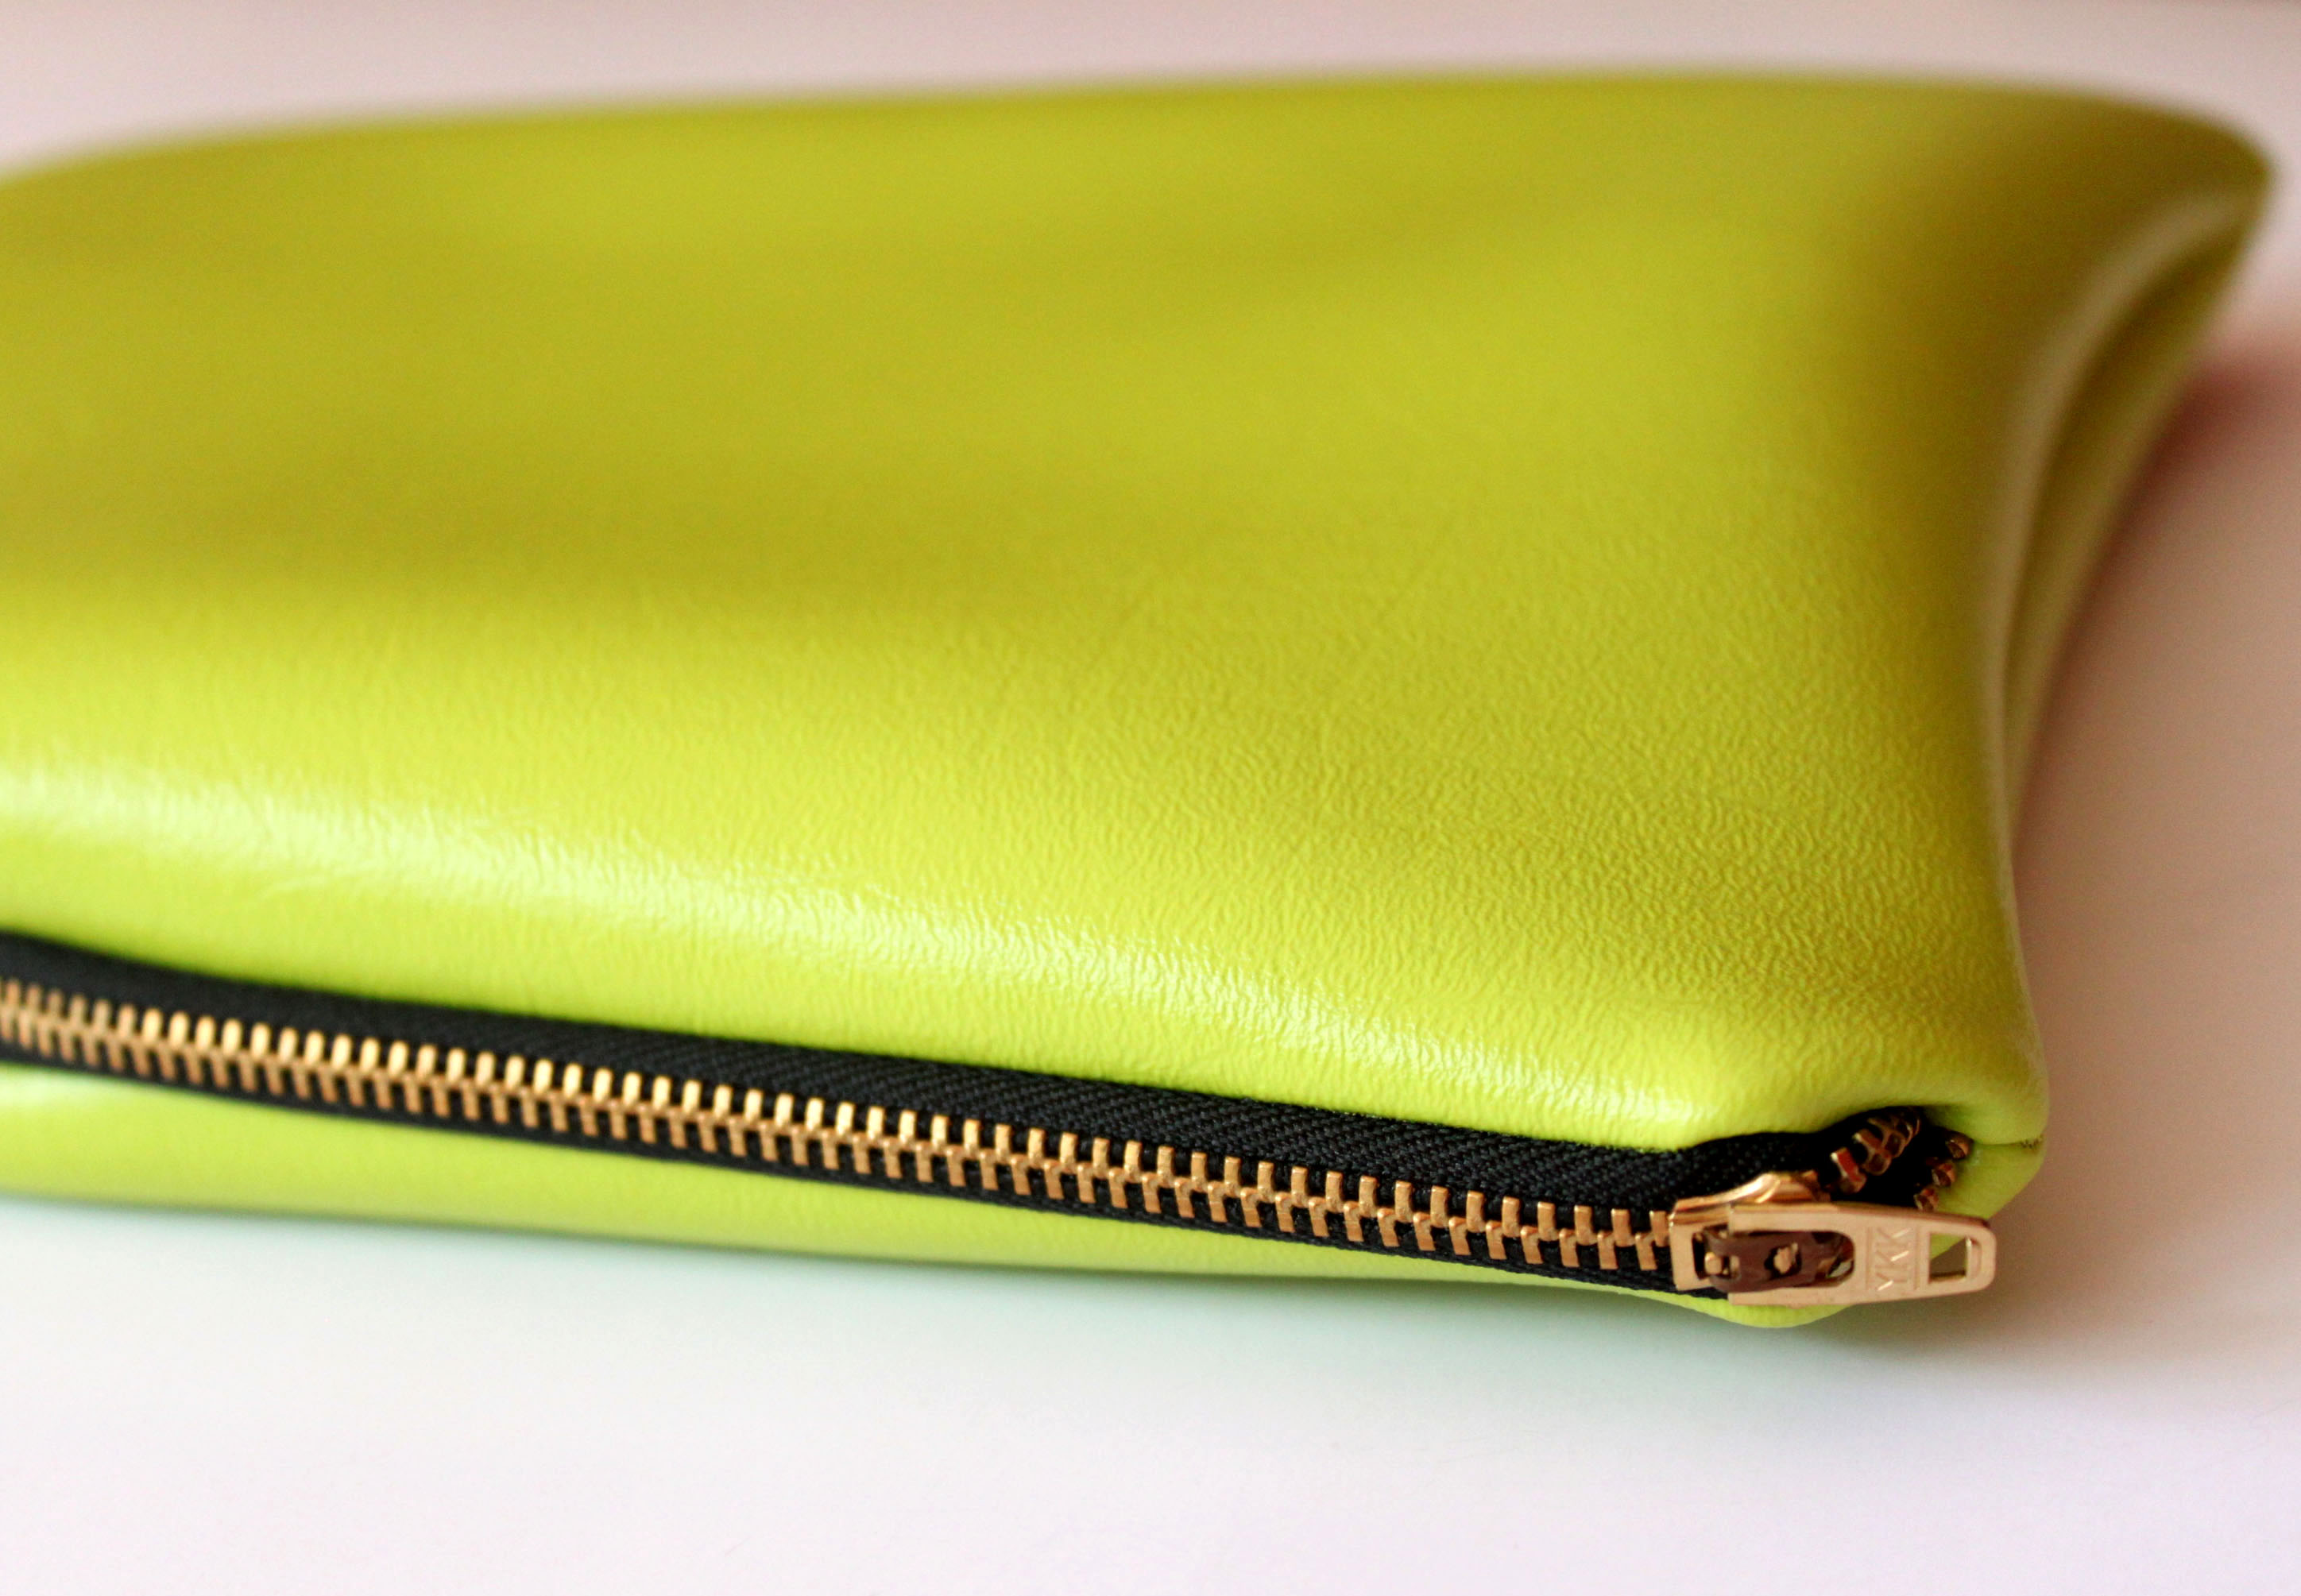 Flip the bag right side out. And voila! You’re done!