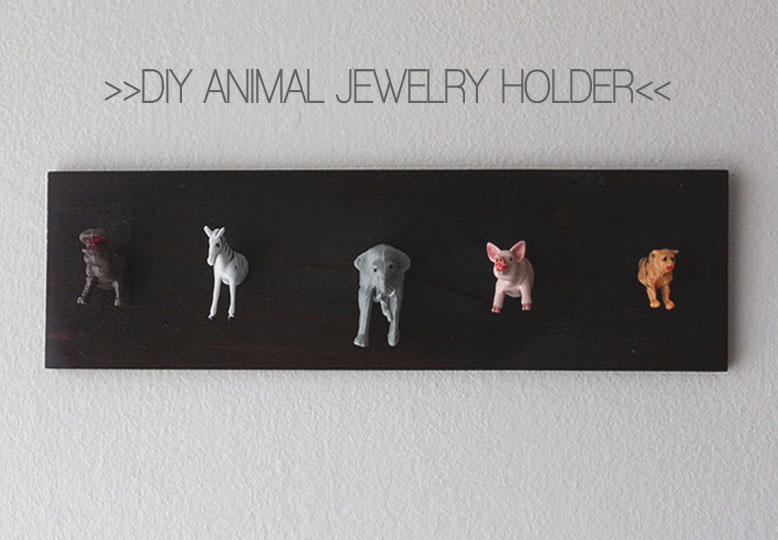
DIY Jewelry Holder
I saw this jewelry holder one day at The Paper Source and knew it could easily be recreated. I had leftover plastic animals from this DIY tutorial, so it was the perfect opportunity to use the rest! You can also see another one of my jewelry organizer tutorials here.
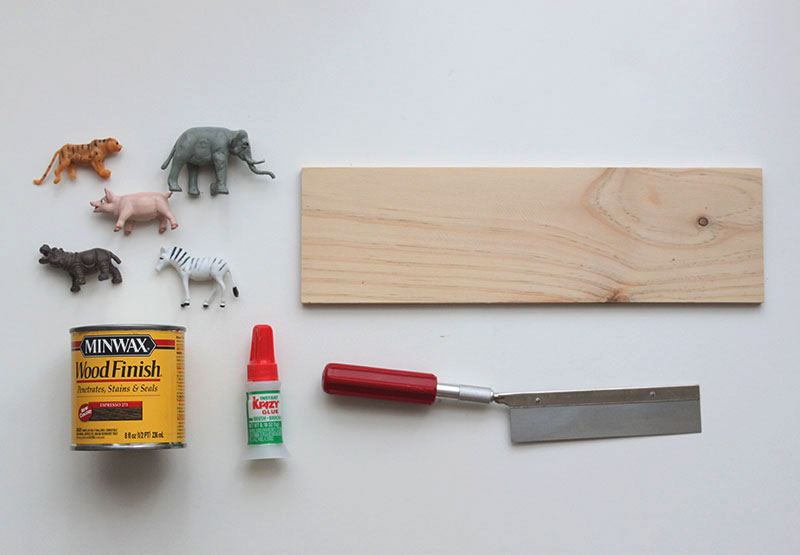
Materials:
– Plastic Animals (I bought these at Michaels)
– Piece of wood (Mine was 12″ x 3.5″)
– Mini Saw
– Super Glue
– Drill
– Wood Stain (Optional)
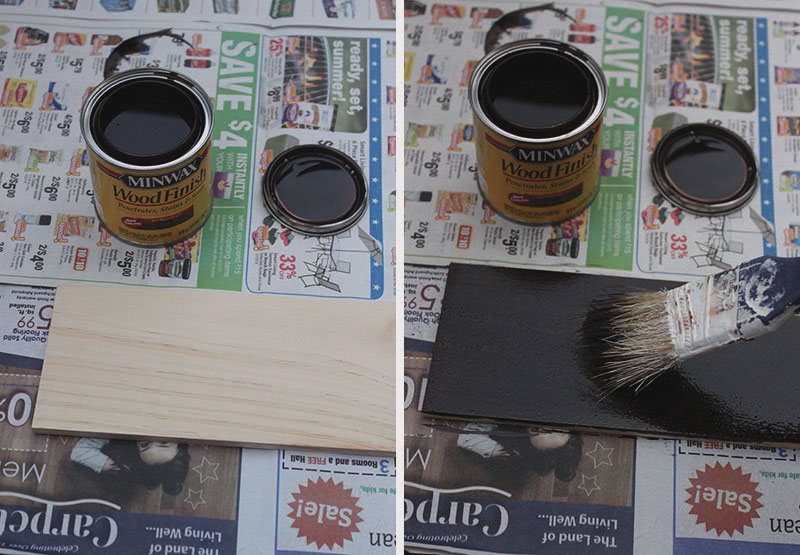 1. This first step is optional, but I chose to stain the piece of wood in a dark Espresso color.
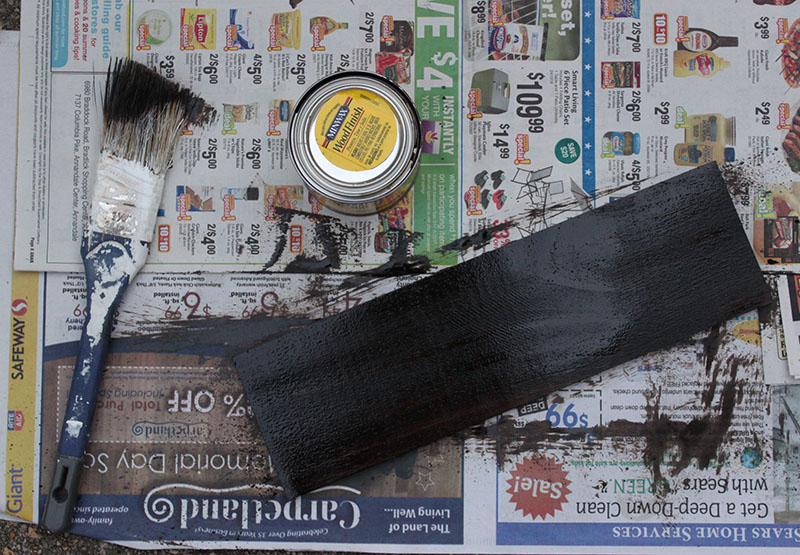 2. Let the stain dry thoroughly! I waited a whole day.
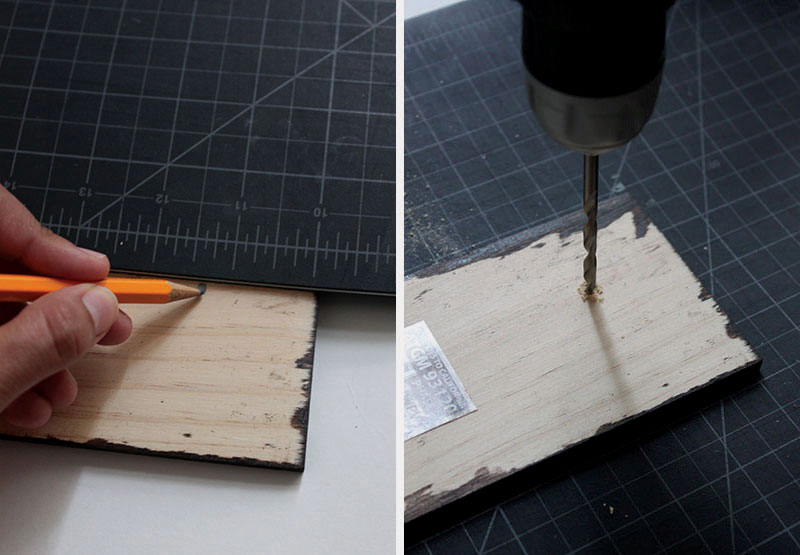 3. Using a straight edge, make two marks on either end of the wood. Drill a small hole over each of the marks. Be careful not to drill through your wood.
 4. Using a miniature saw, carefully cut your animals in half. This was the most tedious step of this project. The elephant took forever!! Make sure your blade is sharp and take extra care when sawing.
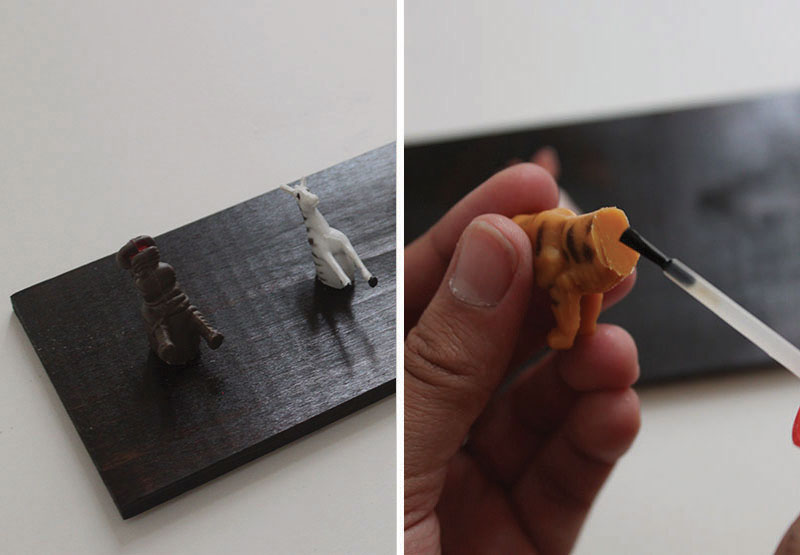 5. Arrange the animals on your piece of wood. Use super glue, or other strong glue to attach the animals to the wood. (So far the animals have held up. For extra strength, you could screw in your animals from behind.)
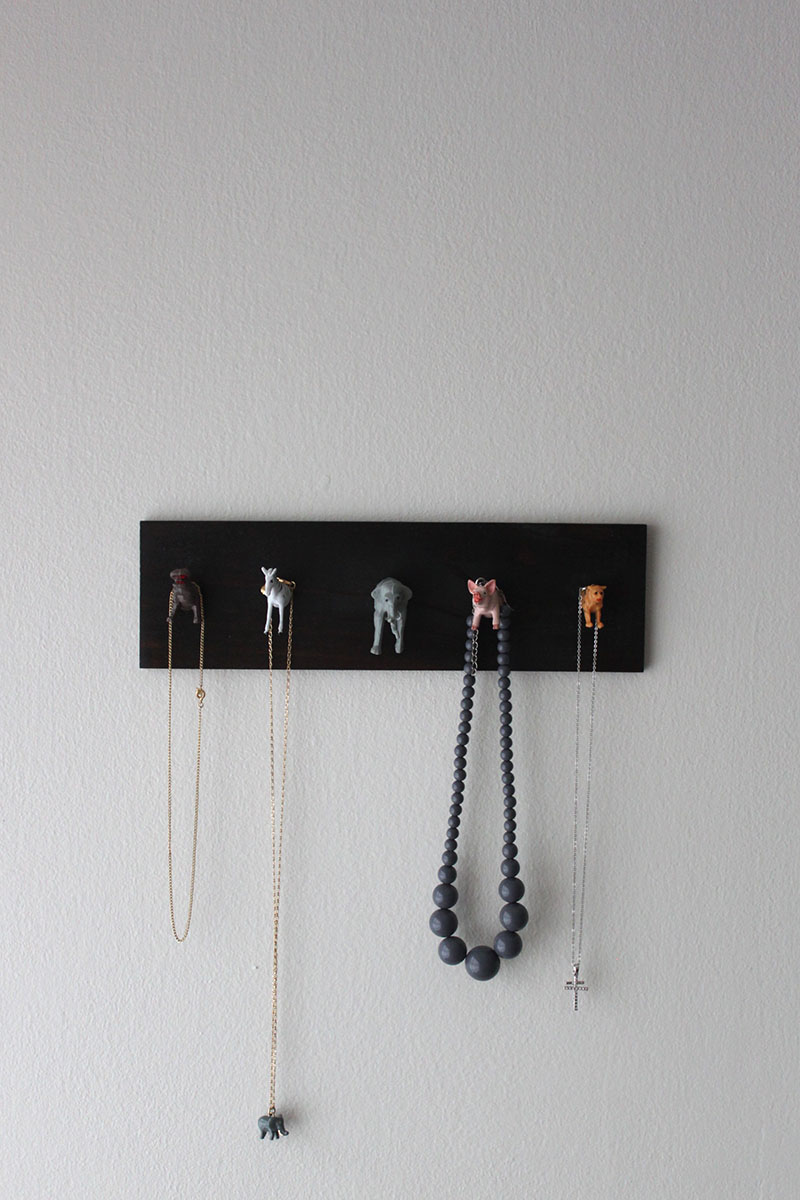
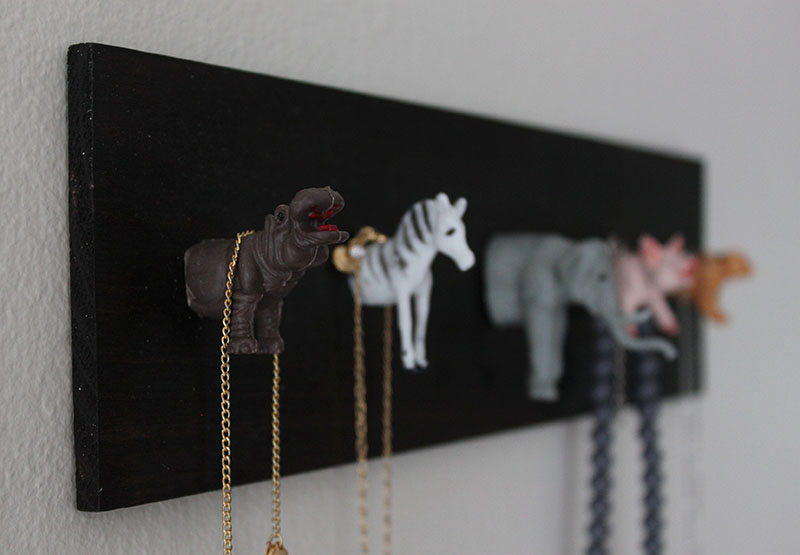 And you’re done! Just let the glue dry before hanging any jewelry.*The Hippo is my favorite!!*


So cute!!! Great idea!!!
http://ainihapsari.wordpress.com/