
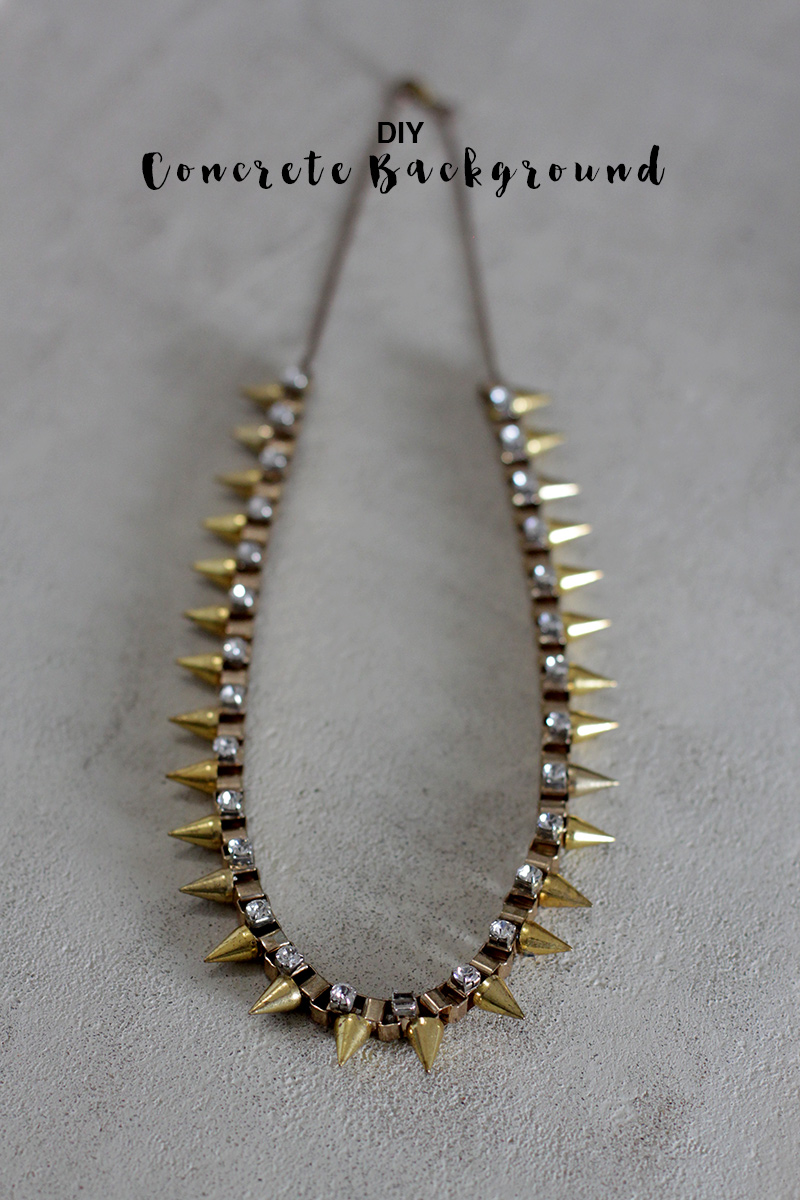
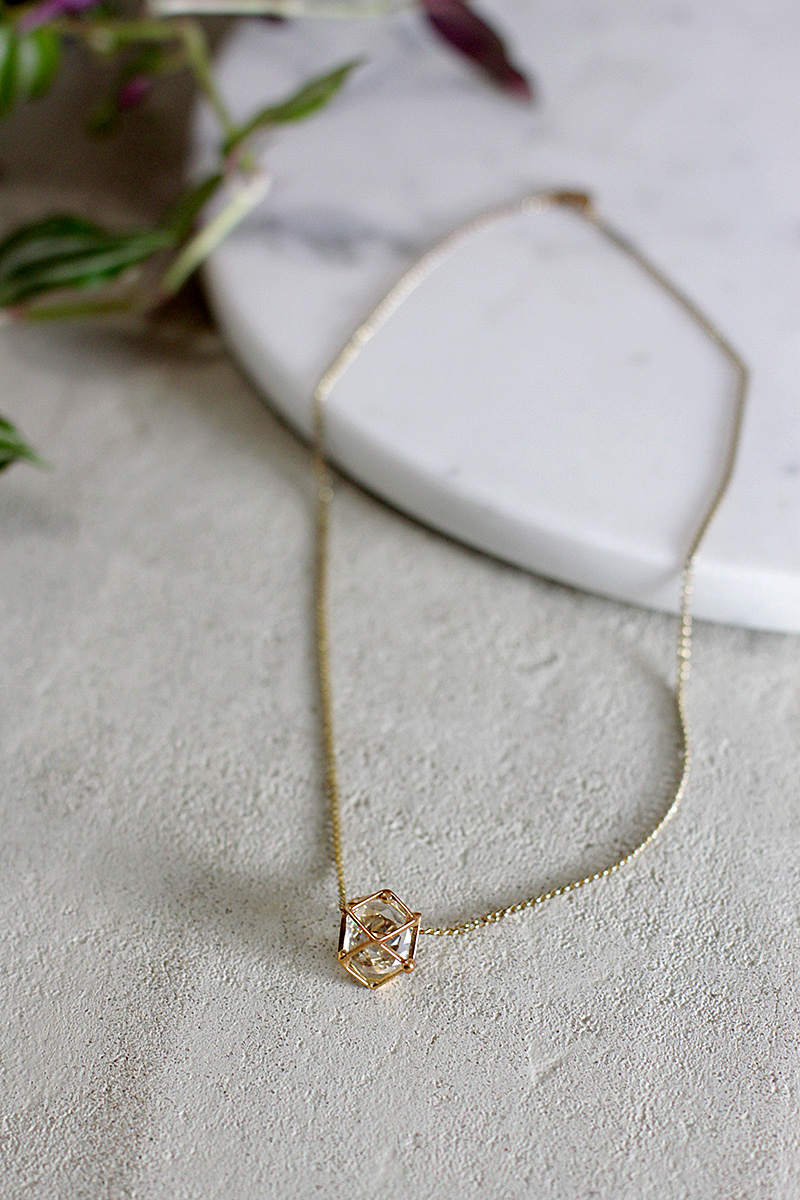
 I’ve been blogging for about 3 years now but I’m always looking for ways to improve my photography. The same plain white, poster board background was starting to get a little old. Literally and figuratively. I had seen some of the concrete countertops other DIY bloggers have been posting. I love the polished industrial look but I doubt my mom would appreciate me pouring concrete on her counters, no matter how much HGTV I watch. I figured I could get similar results on a piece of wood that I could pull out whenever I wanted to take photos, but also store when not in use. A quick trip to the hardware store and a little help from Dad, and I have an awesome new DIY concrete photo background.
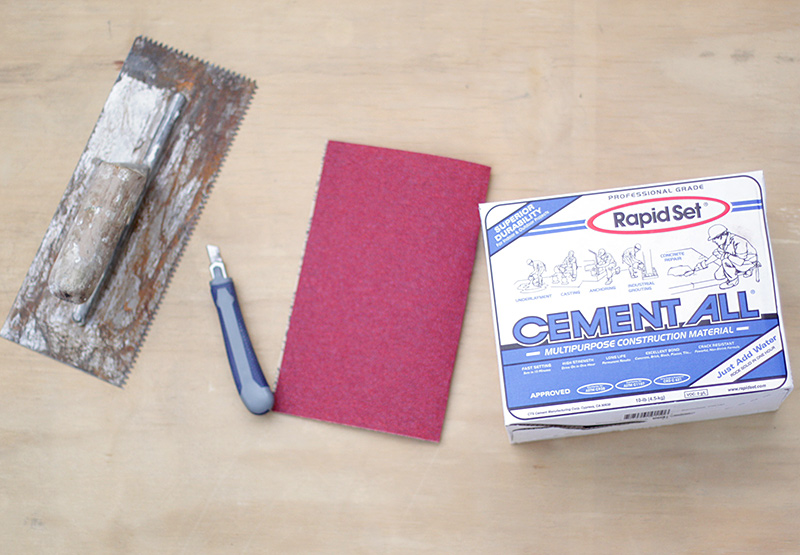
Materials for DIY Concrete Photo Background
Piece of wood, Cement Mix, Cement Spreader, Xacto, Sandpaper
I originally wanted at least a 24″x 36″ piece of wood cut at Home Depot. It’s generally a good size for taking photos of different sized objects. I ended up finding a 28″ square of scrap wood. When I went to pay for it they said it had been used and I could have it for free! Seeing as how I was just going to cover it with concrete, I couldn’t refuse.
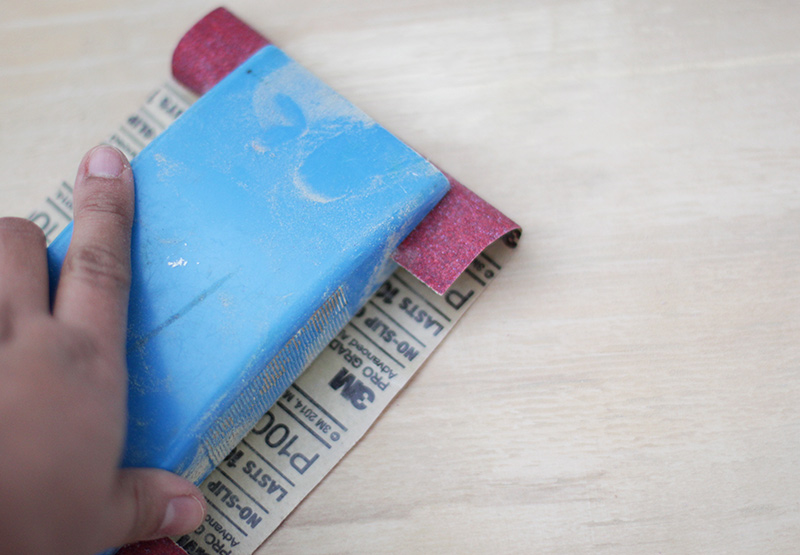 I watched a few youtube tutorials on pouring concrete and they all suggested sanding the surface. This was helpful as my scrap piece of wood had bits of dried glue stuck to it.
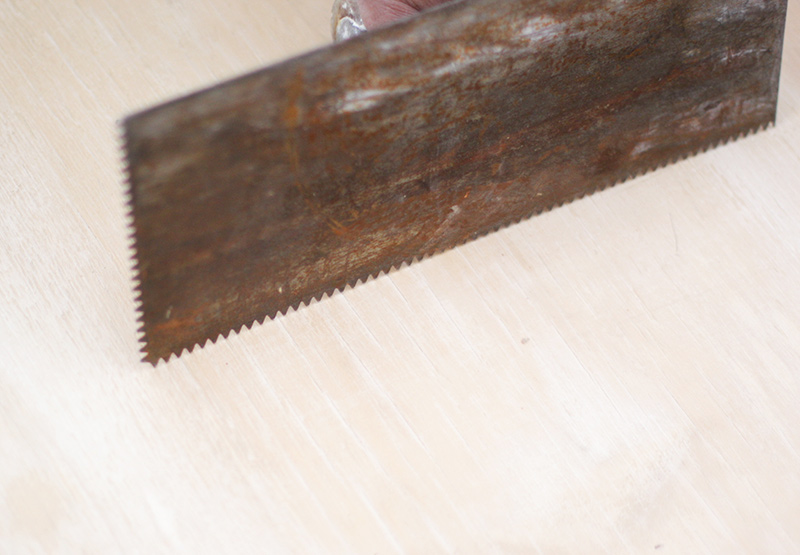 Next you’ll want to rough up the surface of the wood so that the cement can easily adhere to it. Use the cement spreader if it has teeth, or you can use an Xacto knife.
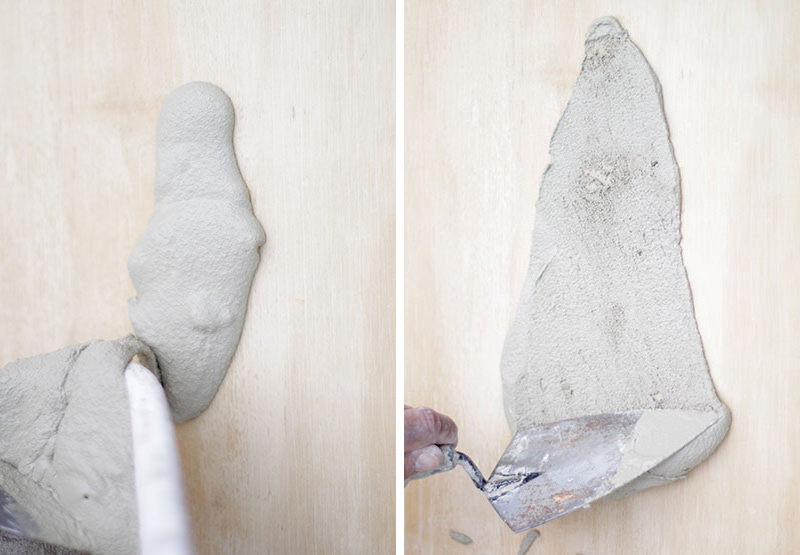 Follow the instructions to mix your cement. Pour it on the wood and spread it out towards the corners.
 I ended up mixing a thinner consistency of concrete to patch and level what I had already poured.
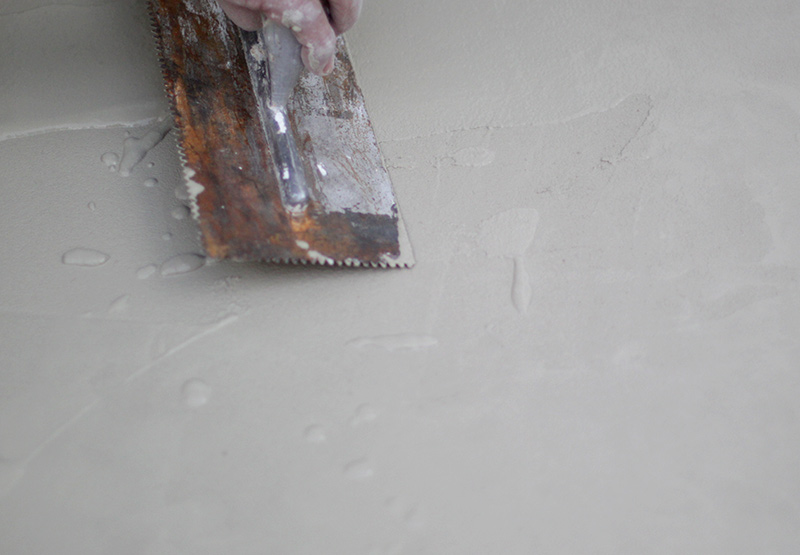
 Go back and forth with the spreader until the cement is as even as you want it.
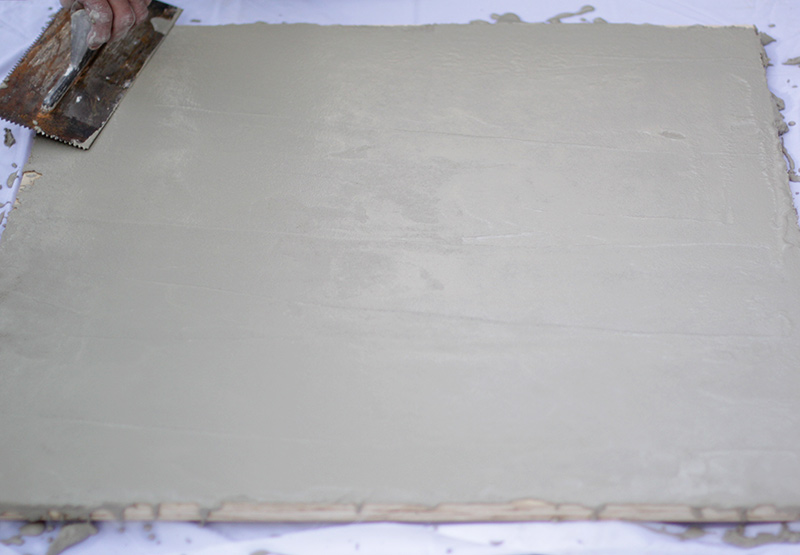
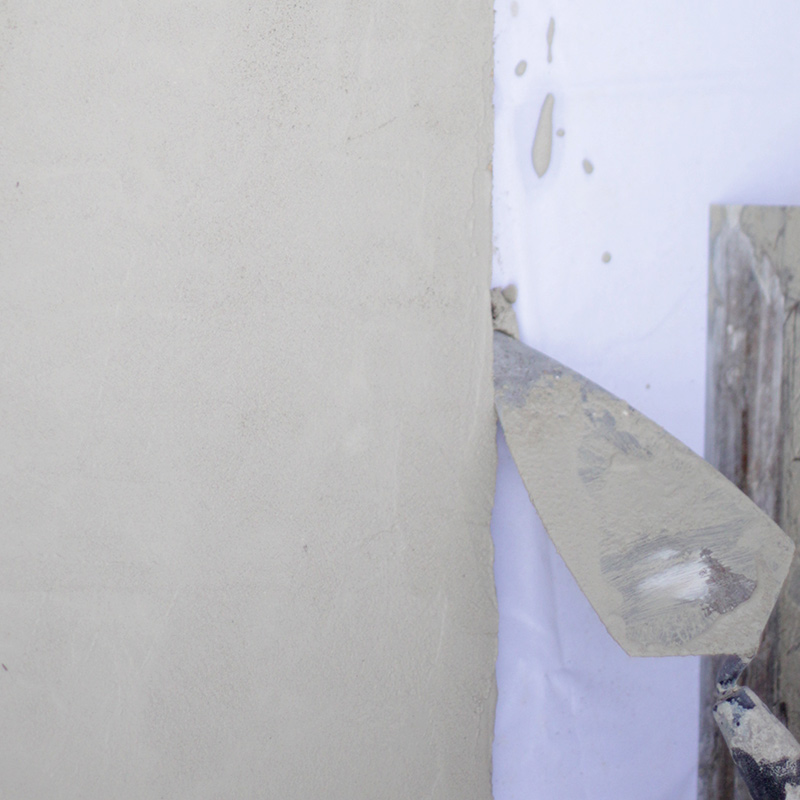 Scrape off excess cement from all four edges.
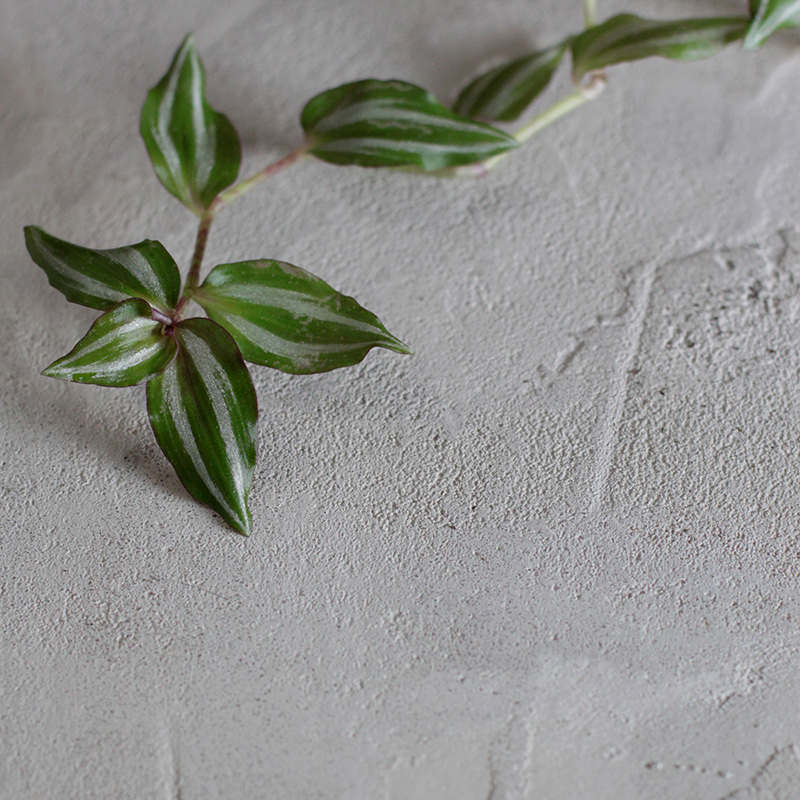 Let it dry completely. I sanded it very lightly once it was dry, but I like that it has a little bit of texture.
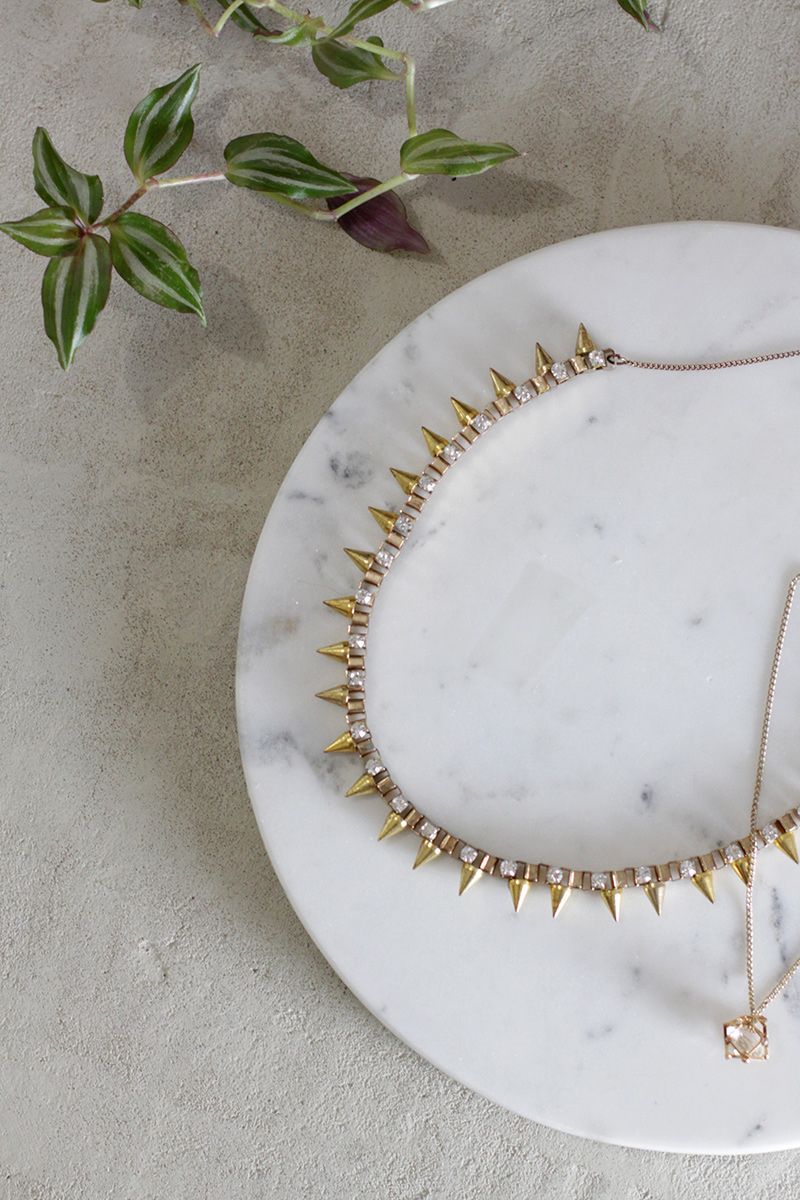 And you’re done! I’ll probably add some felt backing to not scratch whatever surface I lay it on.