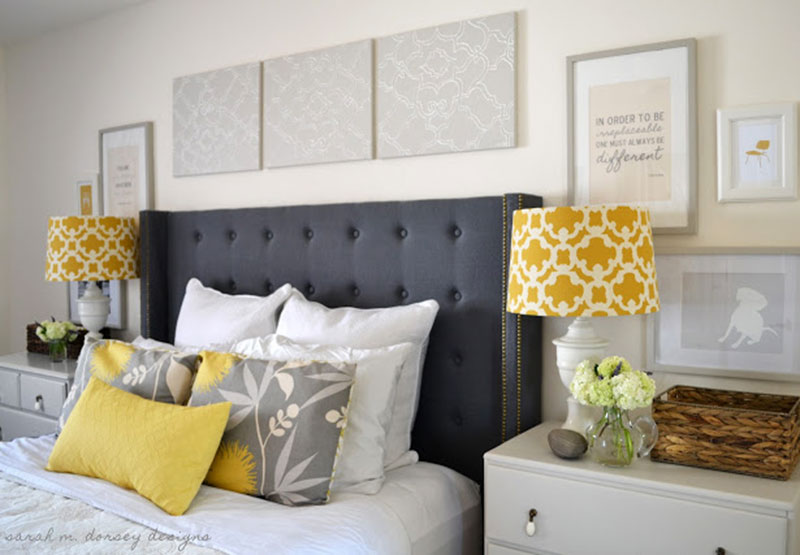
One of the goals on my 26 before 26 list is to build a piece of furniture. After watching The Mindy Project, and scrolling through these behind-the-scenes photos, I had to have a new headboard. I love how elegant upholstered and tufted headboards look. The only downside of them is the price tag…yikes! Though I’ll probably wait until the summer to start the project, I couldn’t help but put together some inspiration for different DIY headboards!
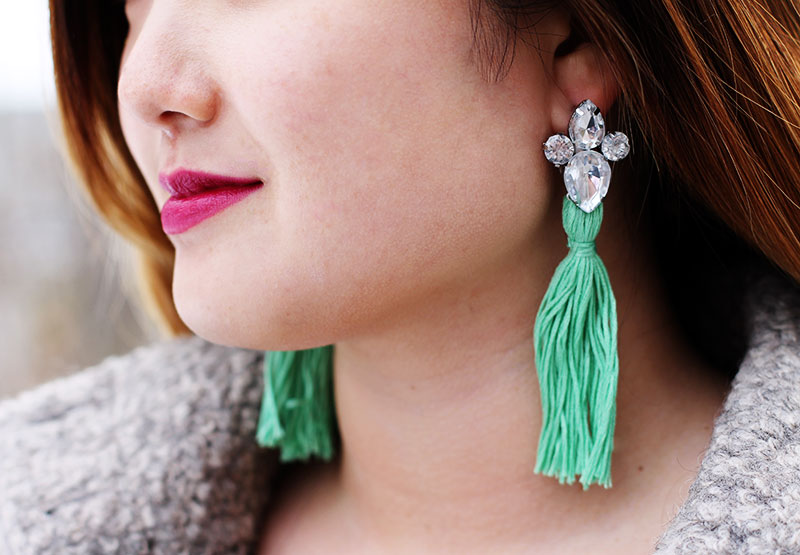
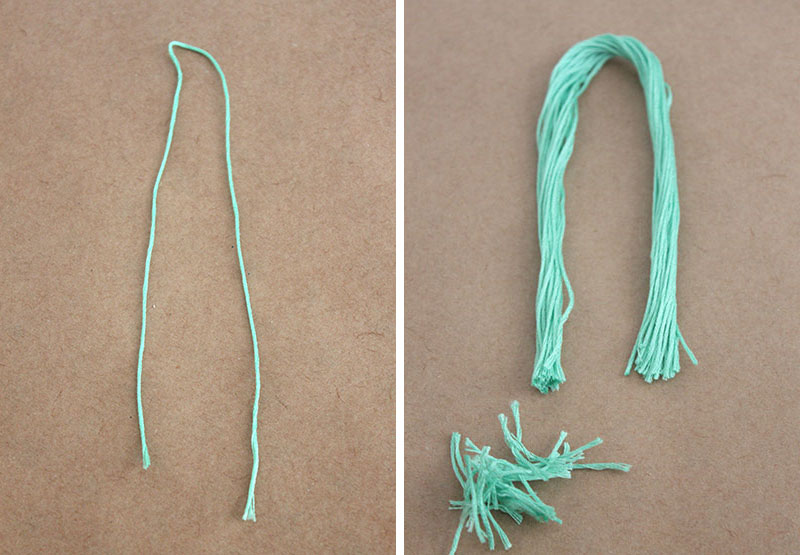
So much of my DIY inspiration comes from seeing something and instantly saying “I could totally make that!” That’s what happened when I saw these neon tassel earrings on Pinterest. Instead of a bright neon, I went with a more subtle seafoam green. Though I wish I had chosen a thinner style of thread, I still love the way this project turned out!
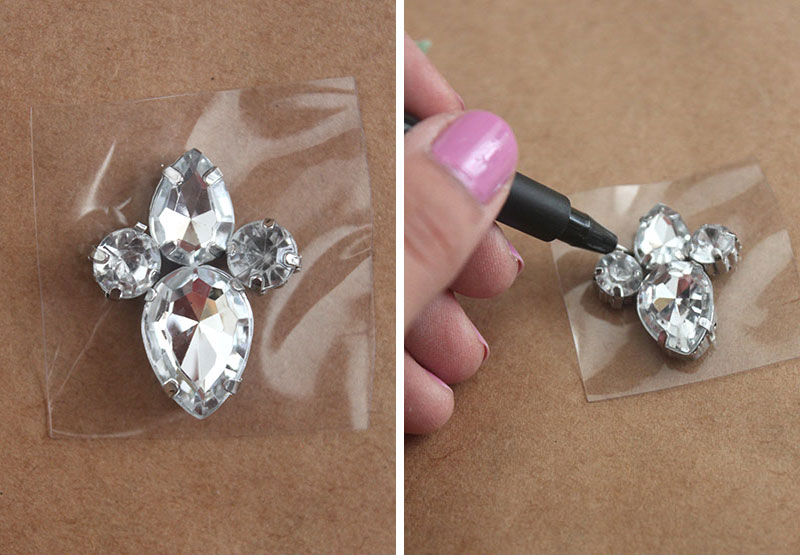
1. Arrange the rhinestones into a simple pattern overtop of the clear vinyl. Trace the pattern with the marker.
2. Cut out the traced pattern on the vinyl. Next, glue the two largest rhinestones to each other.
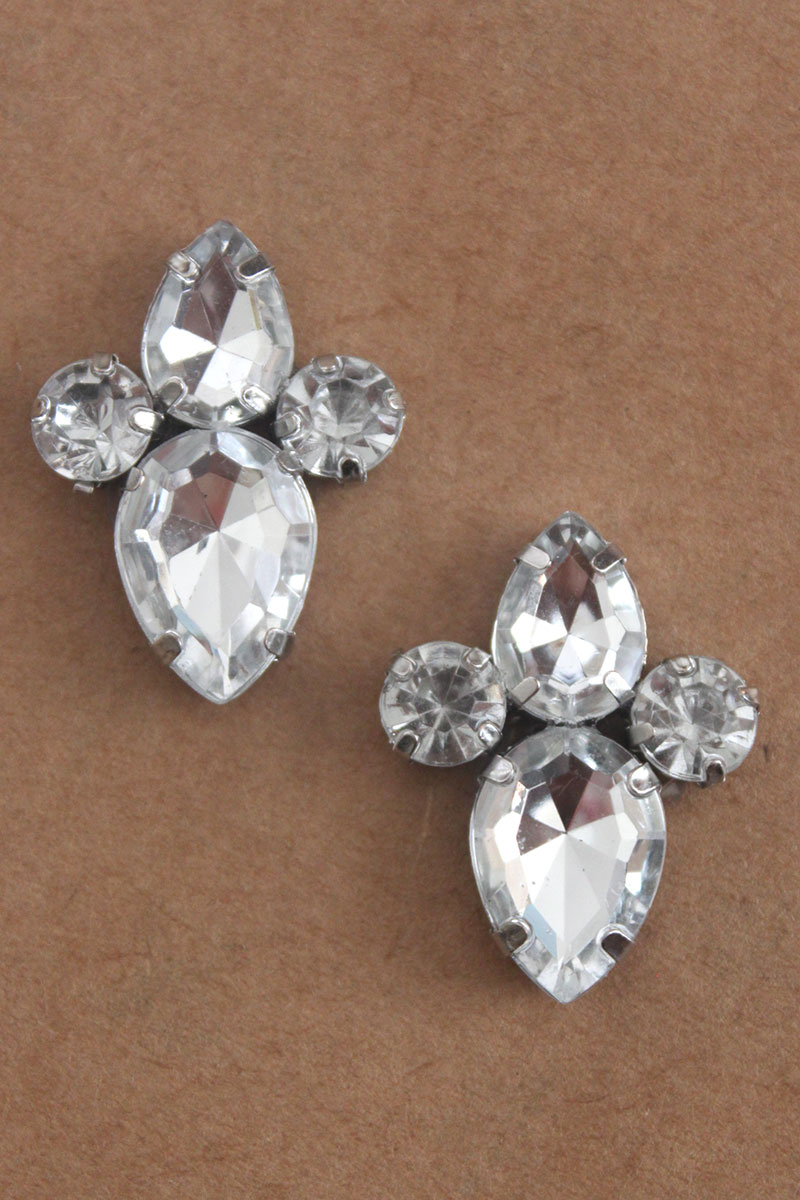
3. Glue the attached rhinestones to the piece of vinyl. Add the additional rhinestones to complete the pattern.
4. Repeat steps 1-3 until you have two identical rhinestone pieces.
5. Cut a piece of embroidery thread to a length longer than you want for the earrings. Continue adding embroidery thread in the same length.
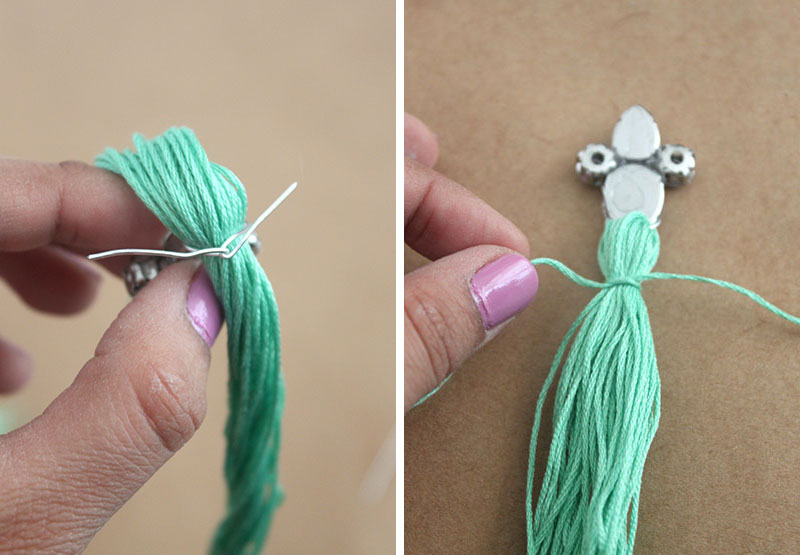
6. Cut a small piece of wire and hook it through the bottom rhinestone piece. Bring the ends of the wire together to make a small loop. Insert the thread pieces through the wire.
7. Secure the thread in place by twisting the end of the wire. Trim the excess wire with a pair of cutters. To make the tassel shape, wrap a piece of thread around the top of the gathered thread pieces. (Similar to this tutorial)
8. Glue earring backs to the top rhinestone piece on your earrings. Let them dry fully before wearing. And voila! Beautiful rhinestone tassel earrings!!
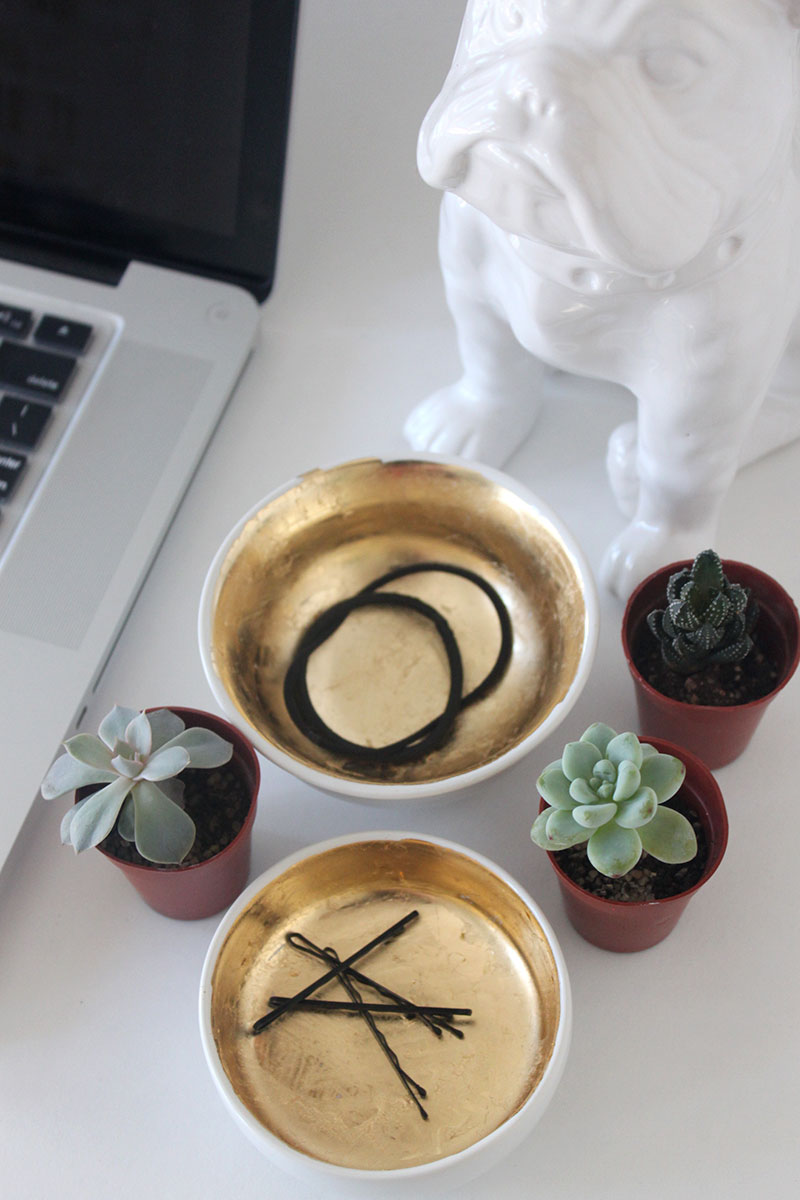
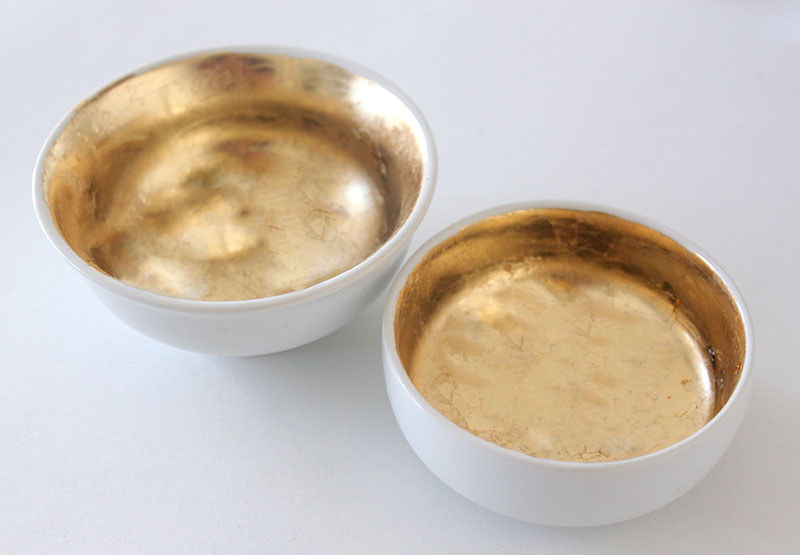
I had recently come across this image on Pinterest and instantly fell in love. I’m currently obsessed with all things gold, so I immediately got started on replicating these gold lined bowls. I found two different sized small bowls at Target that would be perfect for this project. I decided on using gold leaf instead of spray paint for a different effect and texture. This was my first time using gold leaf but it definitely won’t be the last…this stuff is amazing! I am so happy with the final result!
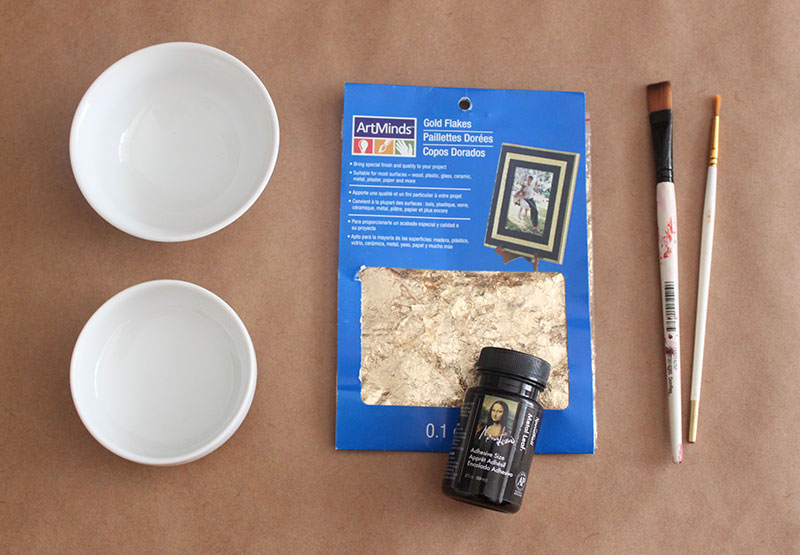
You’ll need:
– Small bowls
– Gold Leaf
– Gold Leaf Adhesive
– Two paintbrushes
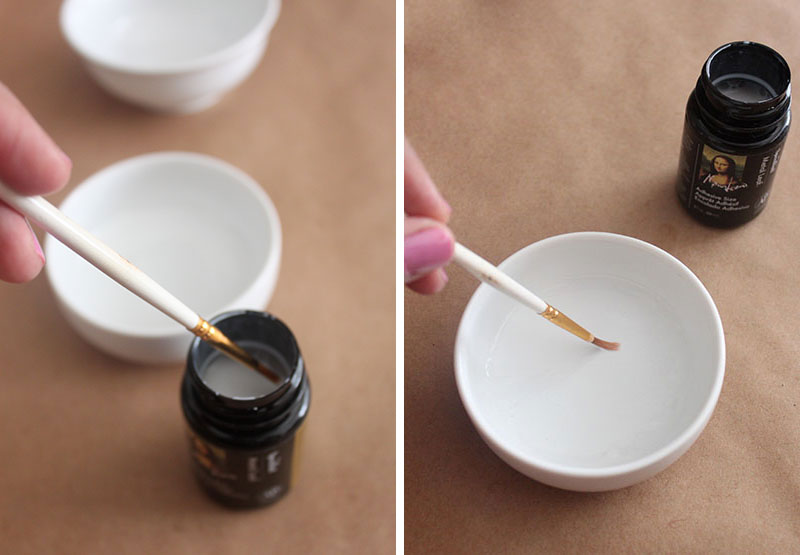
1. Clean your bowls before starting. Follow the instructions for the gold leaf adhesive. I painted a layer of adhesive onto the inside of the bowls, making sure there were no drips. Wait 30 minutes for the adhesive to become tacky.
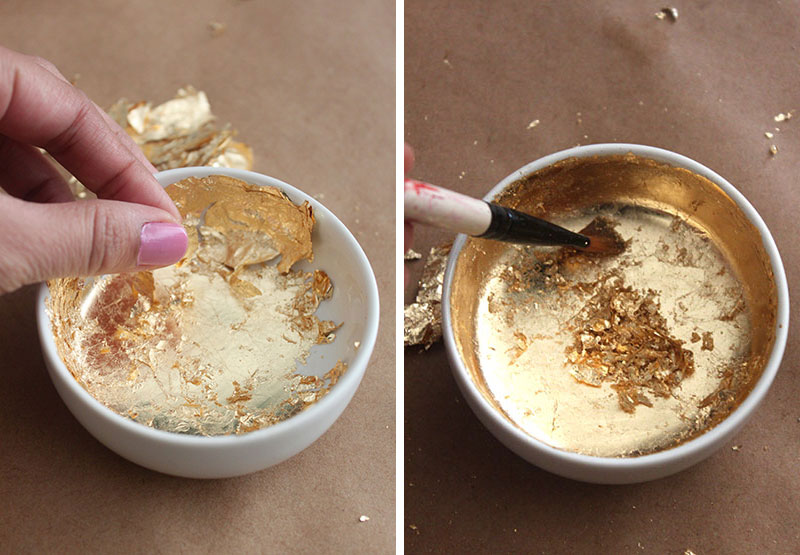
2. Begin adding the gold leaf! Initially I used my fingers to gently press the gold leaf in place, though this did make my fingers sticky so I switched to the paintbrush. I let the gold leaf sit for another 20 minutes before using the paintbrush to brush away the excess gold leaf. Watching the gold leaf become smooth was the most satisfying part!
And you’re done!
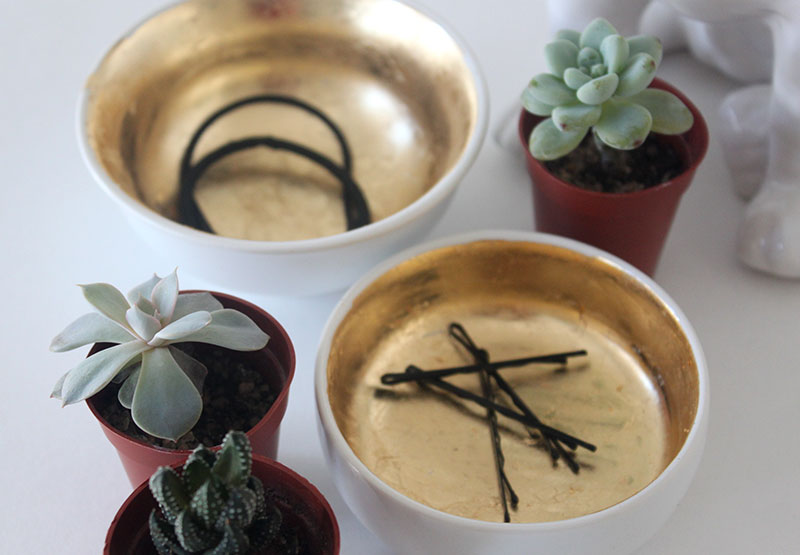
I use mine to store hair ties and bobby-pins. Hopefully this will prevent me from losing them as much! Enjoy!!
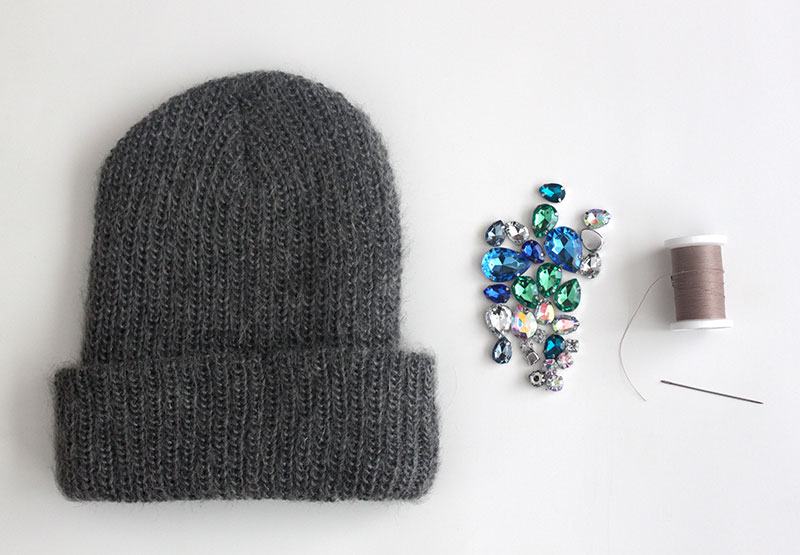
After a beautiful day of 60 degree weather, today we’re back to the chilliness of winter. The only good part about this wind chill is that I get to wear this DIY Rhinestone Beanie another day! I found the rhinestones at A.C. Moore and went a little purchase crazy. I’ve seen the Rhinestone Beanie on streetstyle pics from the fall and have been itching to recreate my own. I found the beanie at Urban Outfitters on sale for $5!! It was DIY destiny!
You’ll need:
– Knit Beanie (similar)
– Rhinestones
– Needle and thread
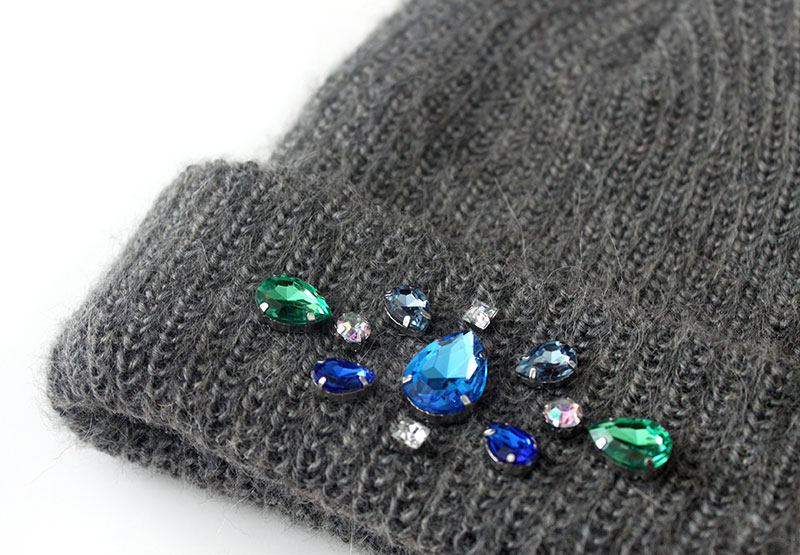
1. Determine how you want to arrange the rhinestones onto the beanie. If you have a terrible memory like myself, move the pattern onto your work surface, or take a picture!
2. I started by sewing the largest rhinestone in the middle of the pattern. For the rhinestone to lay flat, I threaded the needle diagonally across the rhinestone holes. Repeat two times to make sure it is securely attached.
3. Make sure to sew through just the fold of the beanie! Continue to sew the remaining rhinestones onto the beanie to finish the design.
And Voila! A super stylish Rhinestone Beanie perfect for these (hopefully) last days of winter!
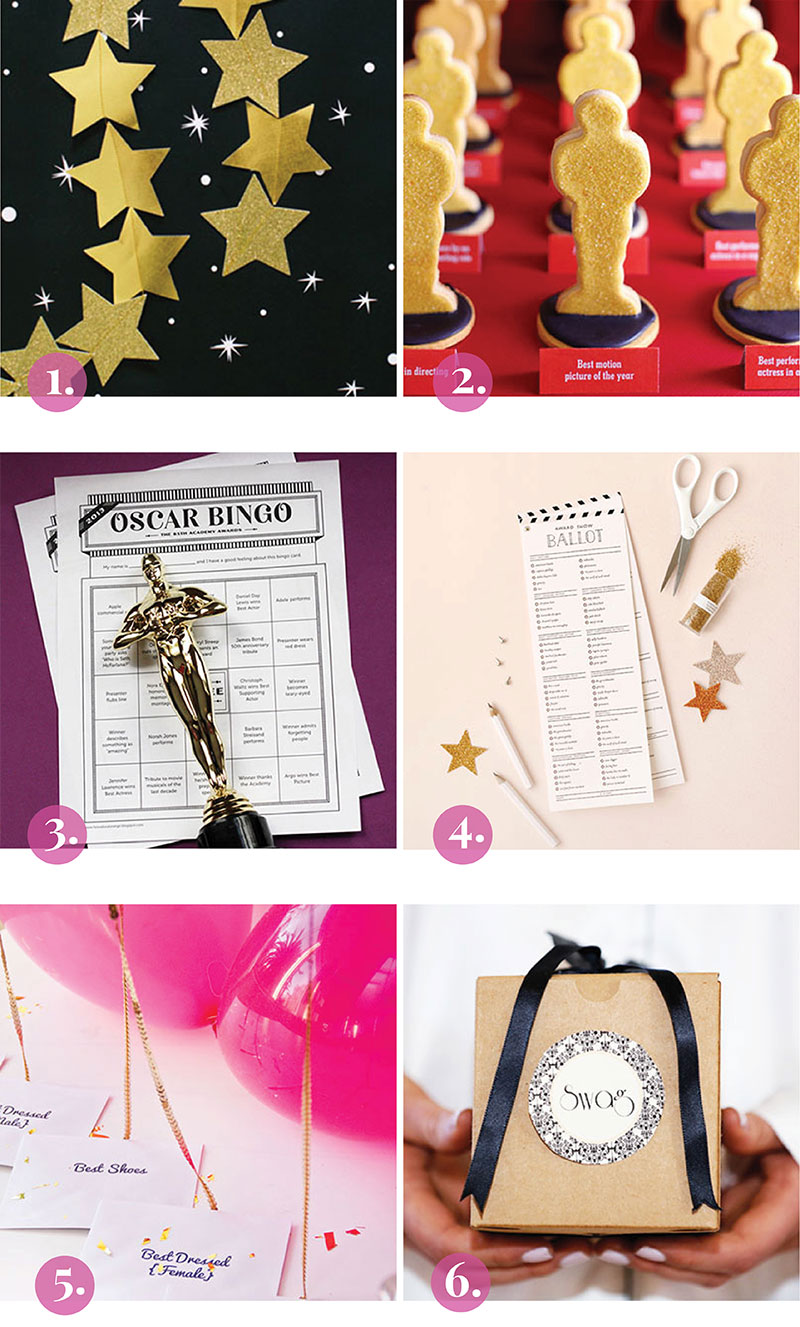
I’m usually not big on award shows (minus the fashion) with the exception of the Academy Awards. This year I vowed to watch all the best picture nominations before the show. Seeing as how the Oscars are this Sunday, and I have 4 more movies to watch, my weekend will be filled with movie watching and popcorn popping. Though I’ll be watching the show from the comfort of my couch and pajamas, I thought I’d share some fun award show night DIYs for those Oscar bashes!
P.S. So EXCITED about Ellen hosting. Here’s my favorite clip of her monologue from when she hosted in 2008!