
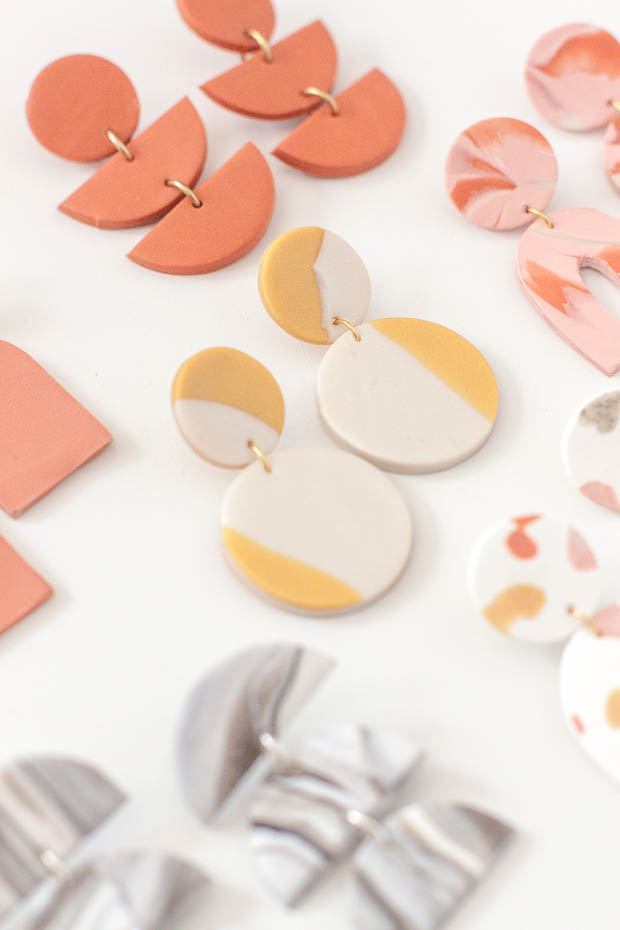
If you’re a longtime reader of the blog, you know that clay is one of my favorite crafting materials. Remember these air plant holders or this ring dish? I’ve seen the clay earrings trend all over Pinterest and Instagram and wanted to show you some different techniques so you can make your own!
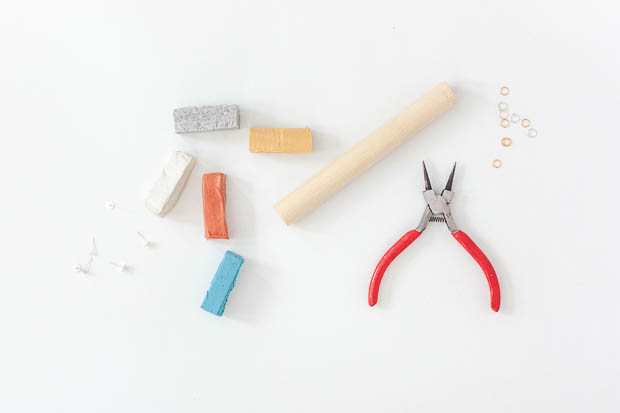
Materials for DIY Clay Earrings
- polymer clay in multiple colors
- rolling pin
- x-acto knife
- earring backs
- jump rings
- pliers
- super glue
- cookie cutters (optional)
- card stock for template (optional)
- needle or pin
Instructions for DIY Clay Earrings
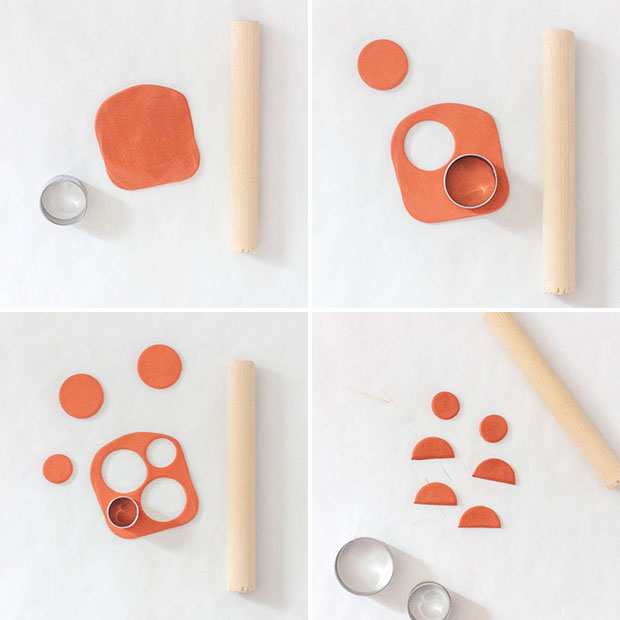
The first and most simple technique is to create different shapes using a single color. Start by kneading your clay to soften, and roll out to an even thickness (a little more than 1/16″).
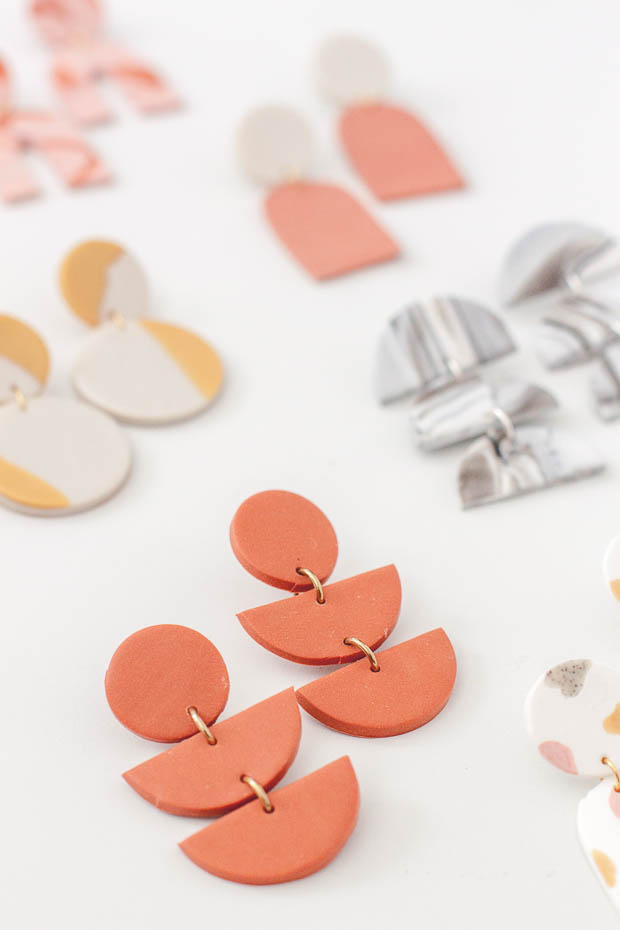
Use two different sized round cookie cutters (I used 1/2″ and 1″ diameter) and cut out two small circles, and two large circles.
Cut the large circles in half to create two semi-circles.
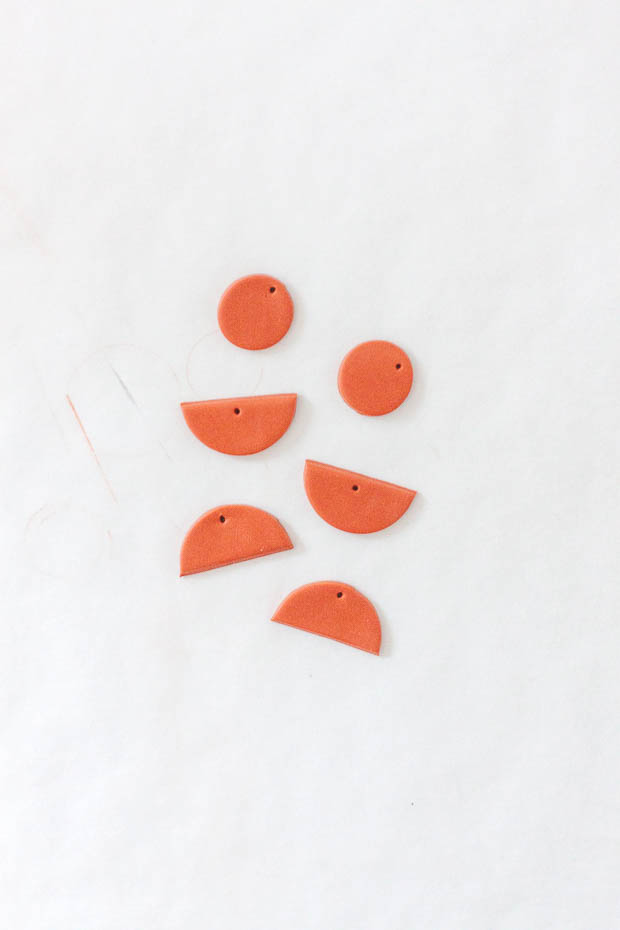
Lay your shapes in whatever order you choose. Use a pin to poke holes into the clay wherever it joins the next piece.
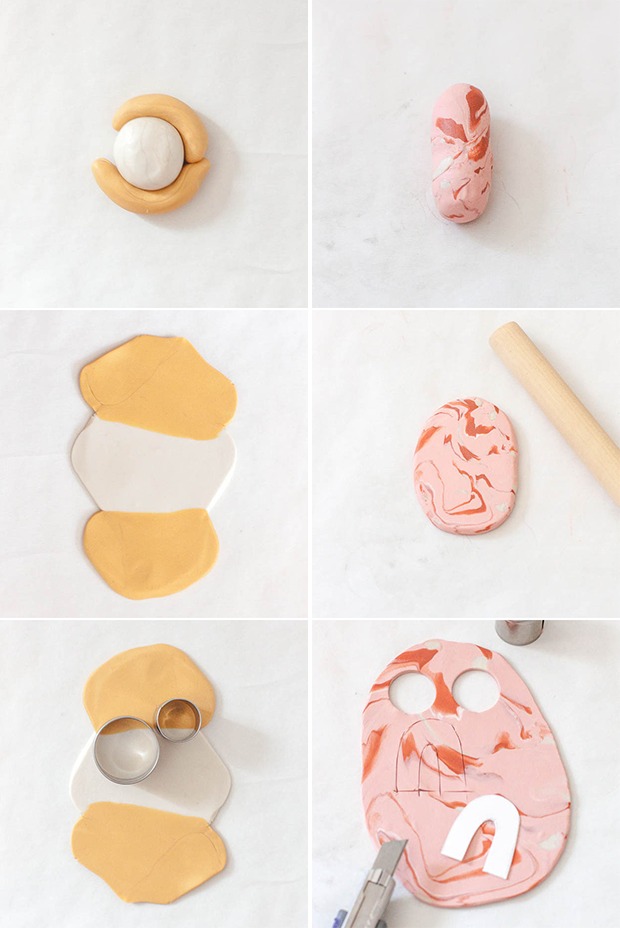
To color block clay, take two pieces of the same color and place it above and below another color. Roll out the clay and position the cookie cutters so each piece has two colors.
To marble*, roll out two or three colors and combine them into one. Roll out clay with a rolling pin. If you want to make different shapes, cut out a template using card stock. Place the template on top of the clay, and use an x-acto knife to cut out the shape.
*For a more detailed marbling tutorial, click here.
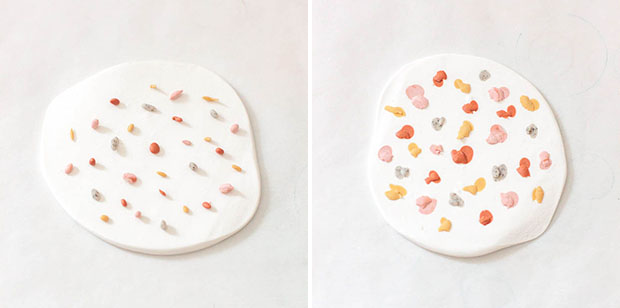
To create a terrazzo effect, roll out a solid piece of clay. Add small pieces of clay spread out over the solid color. Roll out the clay to press the smaller pieces into the larger piece. Continue to add small pieces of clay until you have the shapes and amount you want.
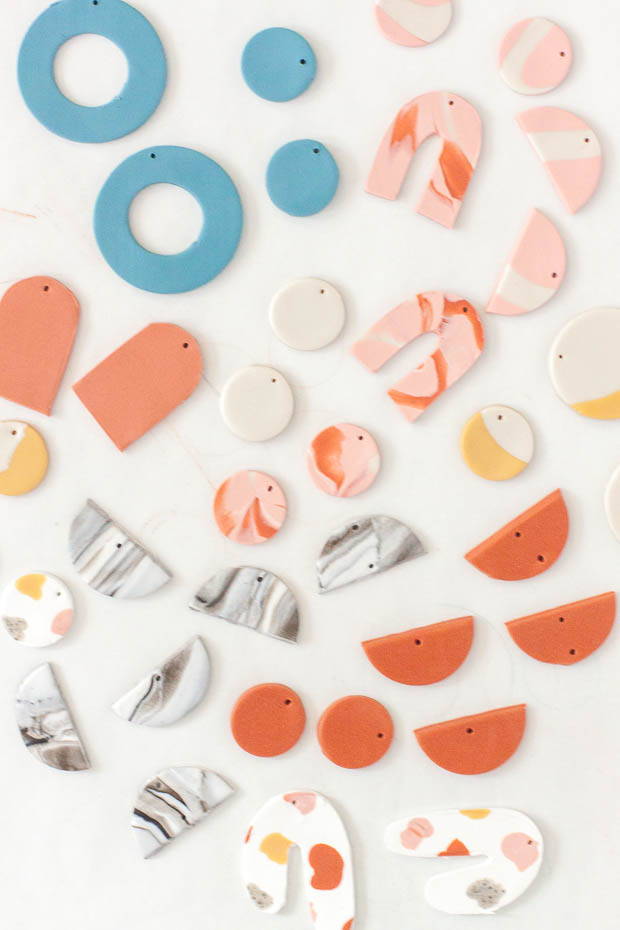
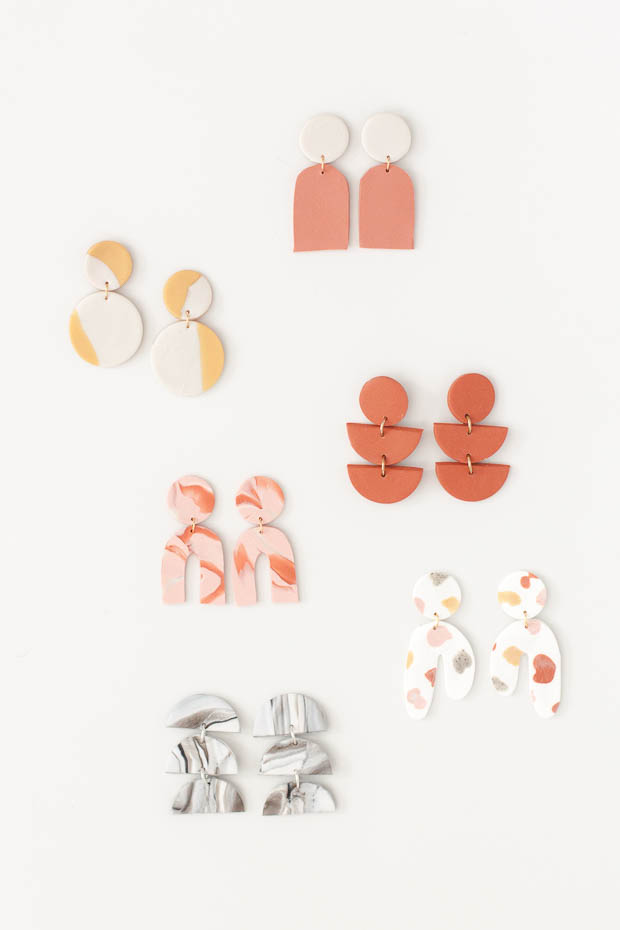
Make as many earring combinations as you can think of!
Don’t forget to poke holes in all of your earrings before baking! It’ll be much harder if not impossible to do it once it’s baked.
Line a baking sheet with parchment paper, and bake your clay following the instructions on your packaging. Let the earrings cool completely.
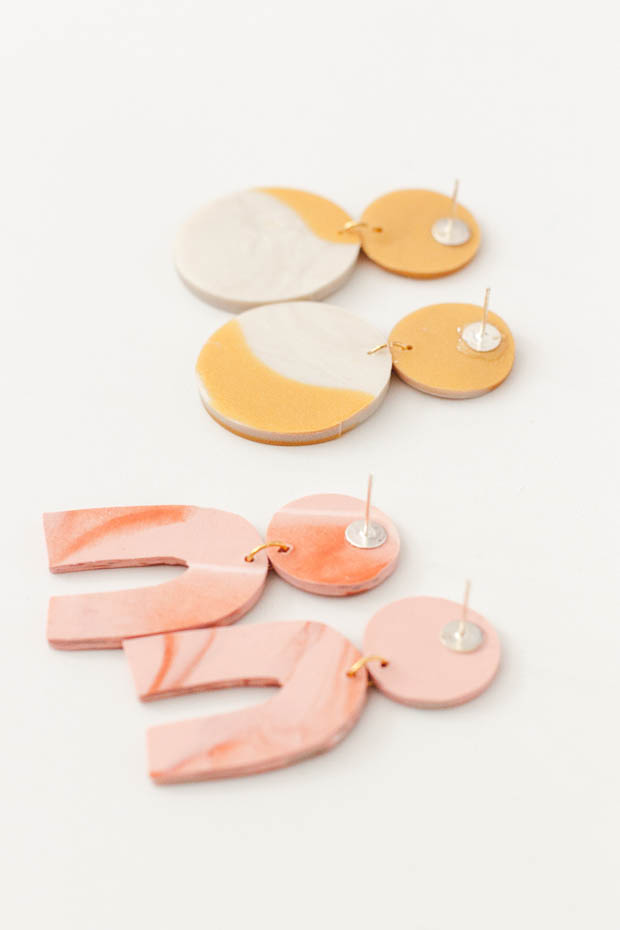
Use jump rings to combine the clay pieces. Use super glue to add earring backs to the back of the top piece of each earring. Let glue dry completely.
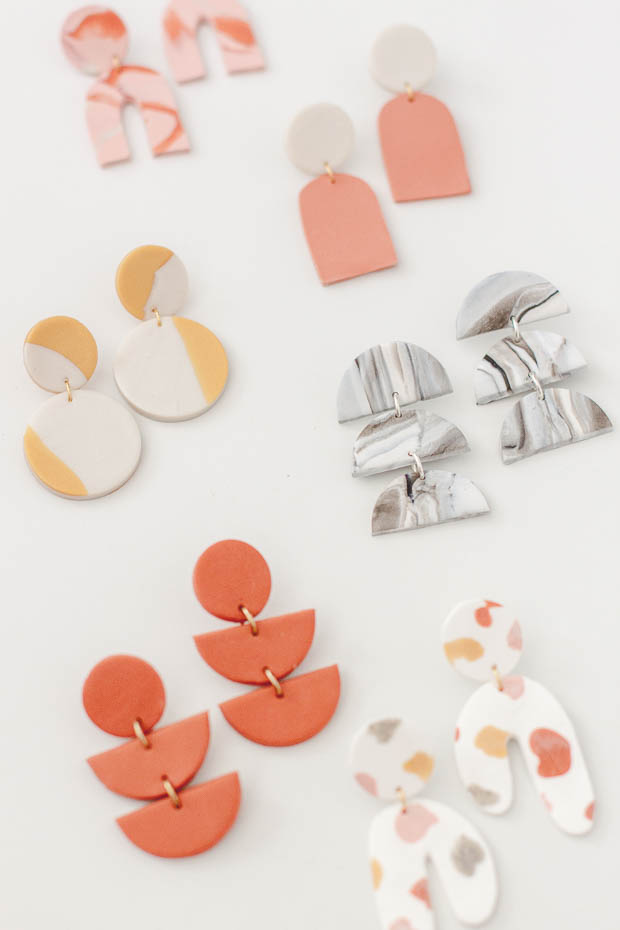
And you’re done! I made so many pairs of earrings and I hope you do too!
If you do make these earrings, make sure to tag me on Instagram! I love seeing your DIYs!