DIY Skull Bracelet

10.29.13

Skull-Bracelet

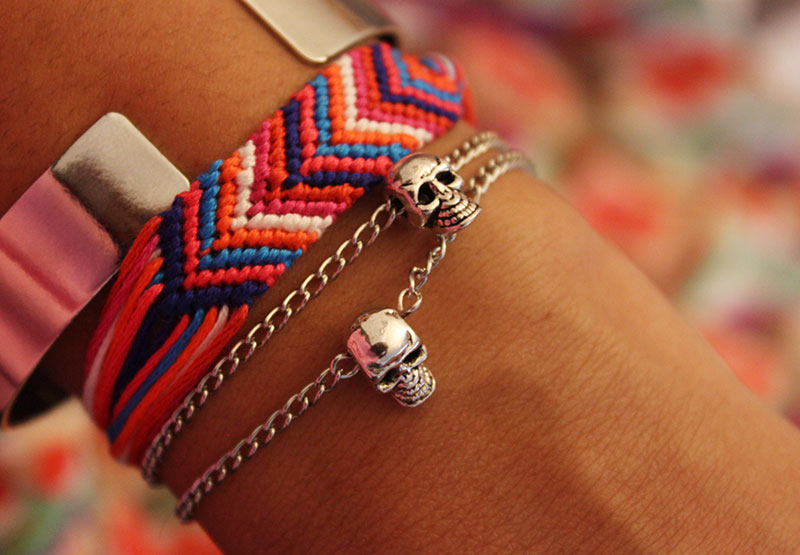
I wanted to make something in honor of the upcoming holiday. I found these cute little skull beads at Michaels and decided they would make the perfect bracelet. It is dainty and punk rock all at the same time. While I won’t be dressing up for Halloween this year, this bracelet will definitely keep me in the spooky spirit!

Skull-Bracelet

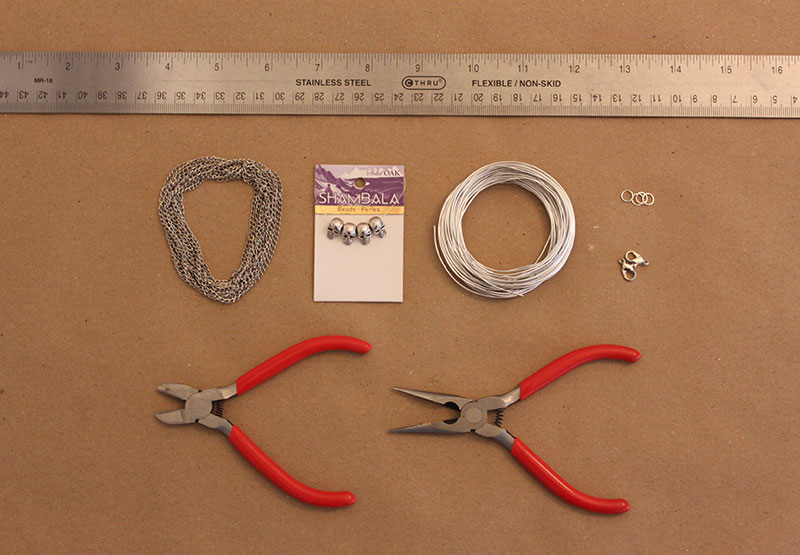
Materials

– Skull Beads
– Chain
– Wire
– Ruler
– Wire Cutter
– Pliers
– Jump Rings & Fasteners
Skull-Bracelet
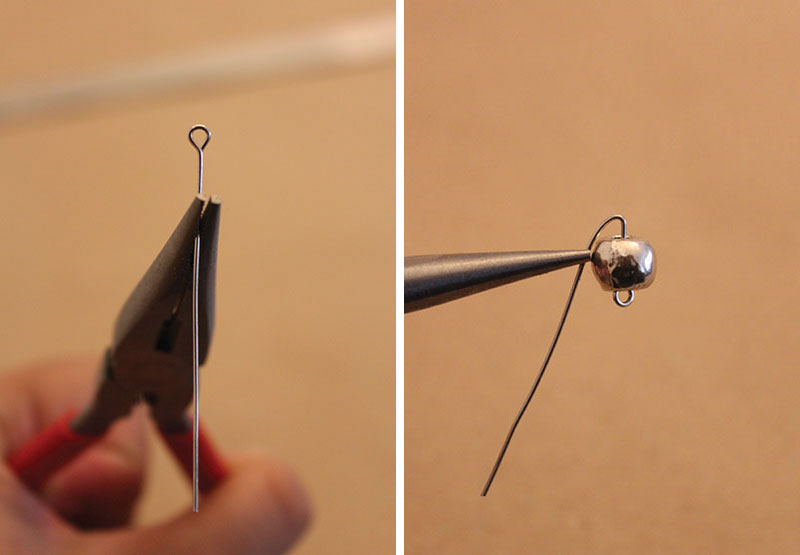
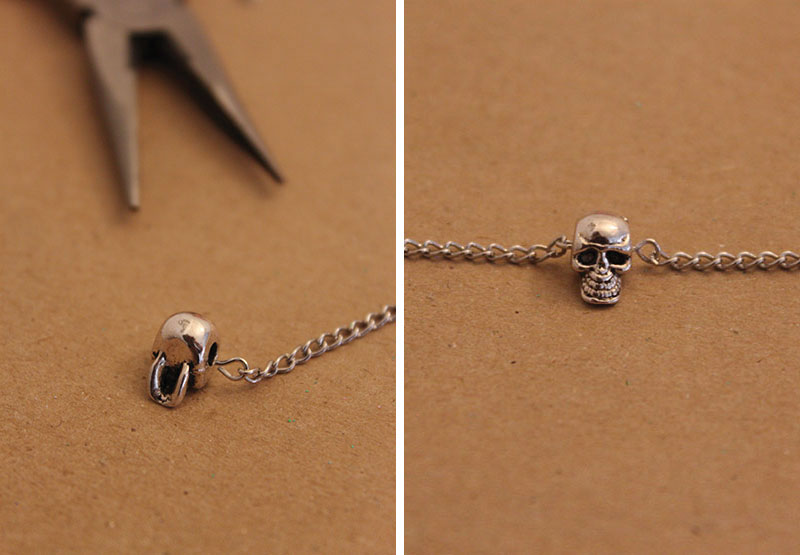
1. Cut a piece of wire to about 3″. This is longer than you need but it’s good to leave room for error. Using the pliers, make a small loop on one end of the wire. Make sure the skull bead doesn’t pass through. Loop the opposite side to hold the bead in place.
Skull-Bracelet
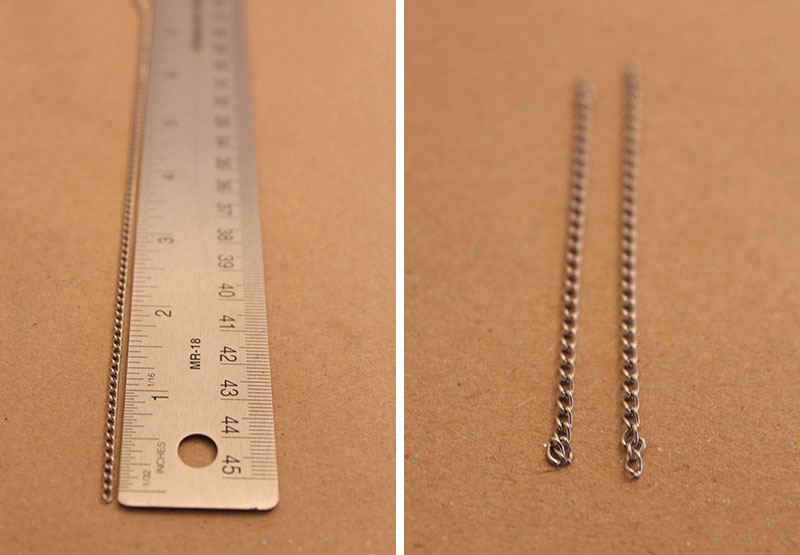
2. Measure the chain to cut two separate pieces approximately 3″ in length.
Skull-Bracelet
3. Attach on piece of chain to one end of the wire loops you just made on the bead. Attach the second chain to the opposite side.

Skull-Bracelet
4. Attach one jump ring on the end of one chain. Attach a jump ring and fastener to the second chain.

Skull-Bracelet
5. And you’re done! Enjoy your skull bracelet!!

DIY Bubble Letter Necklace

10.28.13

Bubble-Letter-Necklace

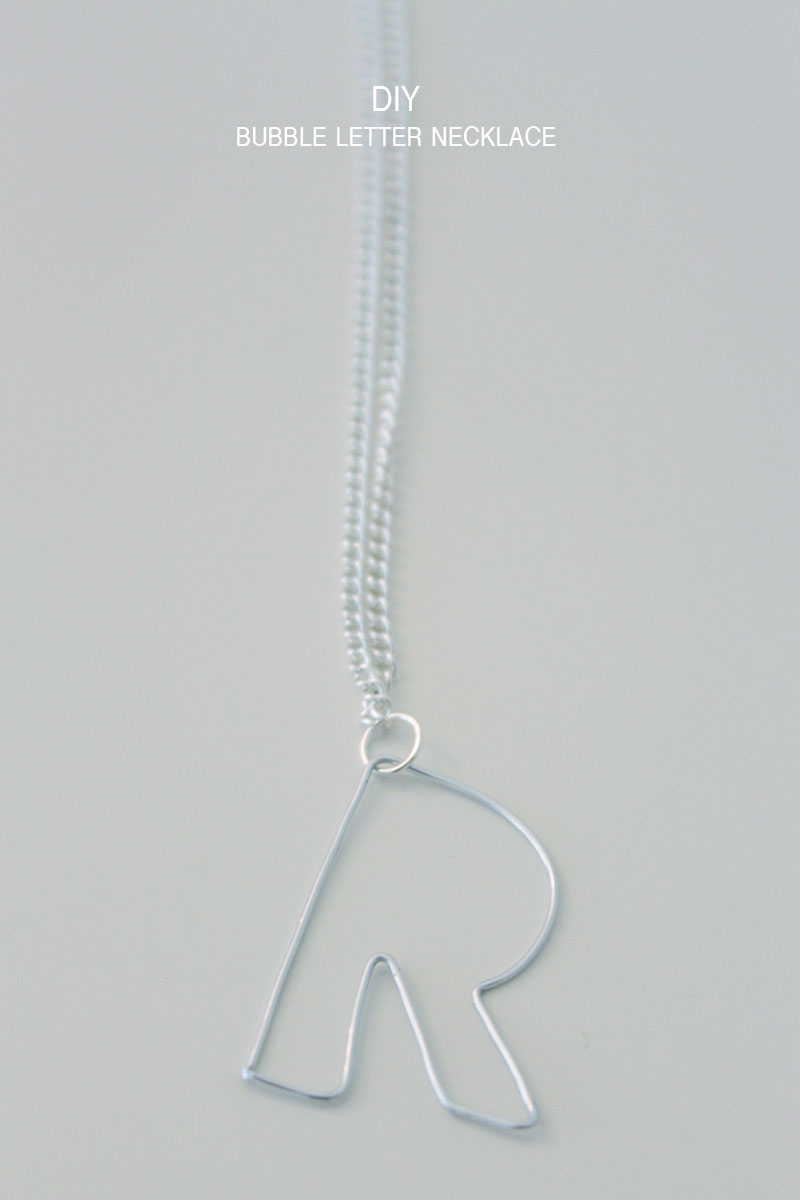
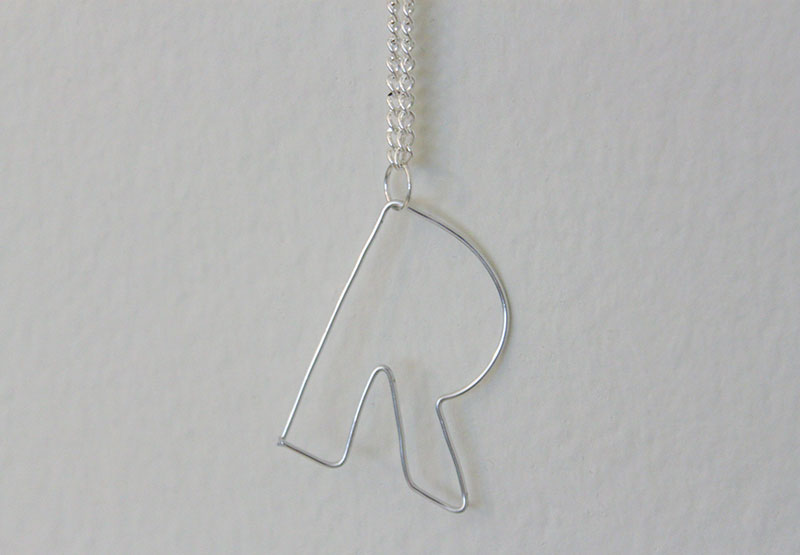
This project is the result of another inspirational Pinterest find. If you have been following my blog, you already know how much I love wire jewelry. I’m obsessed with writing out words, seen here and here, so I love this new twist of writing out just one letter. This project was super easy and quick!

Bubble Letter Necklace

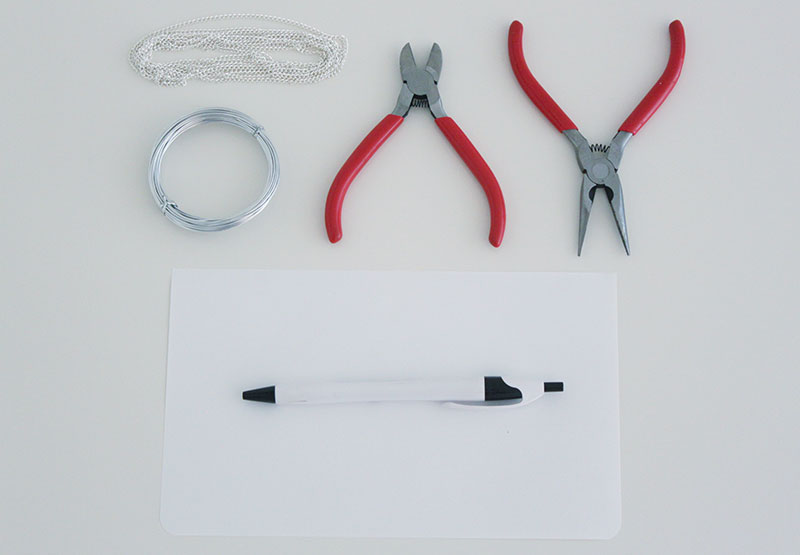
Materials:

– Wire
– Chain
– Pliers
– Wire Cutters
– Paper & Pen

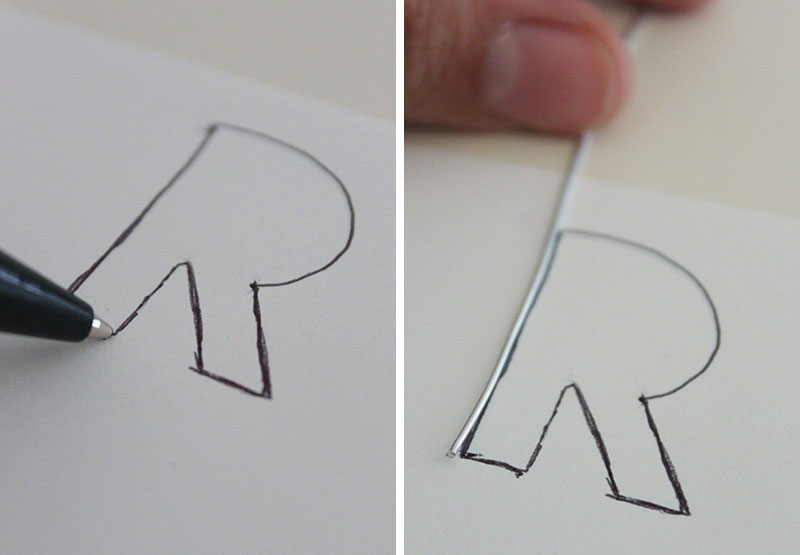
Bubble-Letter-NecklaceStep 1: Write out the letter you want to make in bubble form. *Do a quick image search if you’re not sure how to draw out your letter!* Choose one point on the letter that will serve as a starting point for the wire.

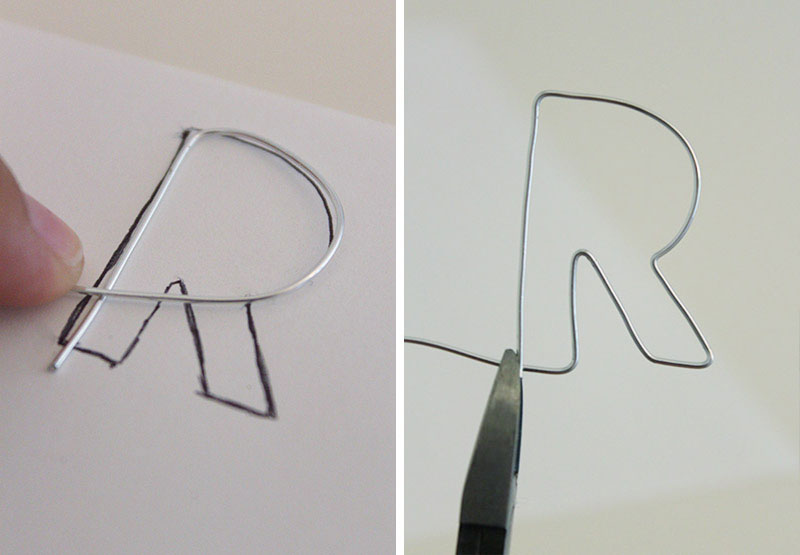
Bubble-Letter-NecklaceStep 2: Trace out the drawn letter with the wire. Continue until you have reached your starting point. Cut off the excess wire.

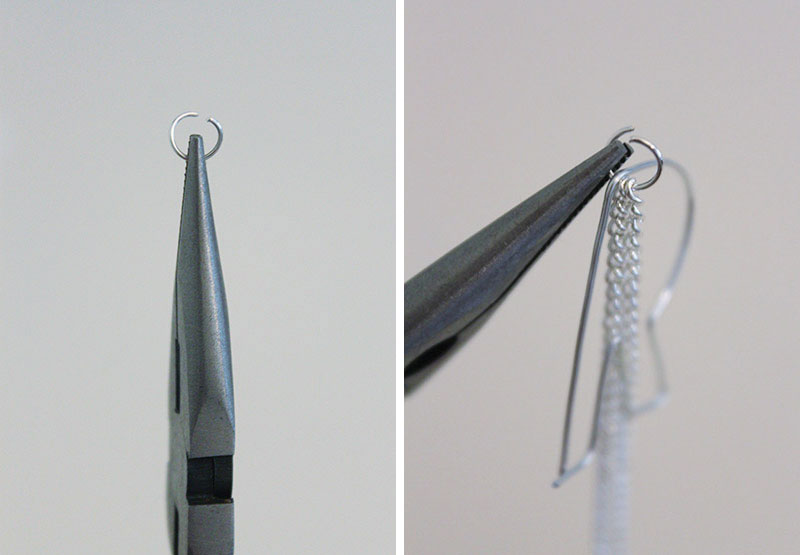
Bubble-Letter-NecklaceStep 3: Measure and cut a piece of chain however long you want your necklace to be. Use a jump ring to attach the letter to the chain.

Bubble-Letter-NecklaceAnd you’re done! How simple was that? Enjoy!

DIY Clay Floral Headband

10.15.13

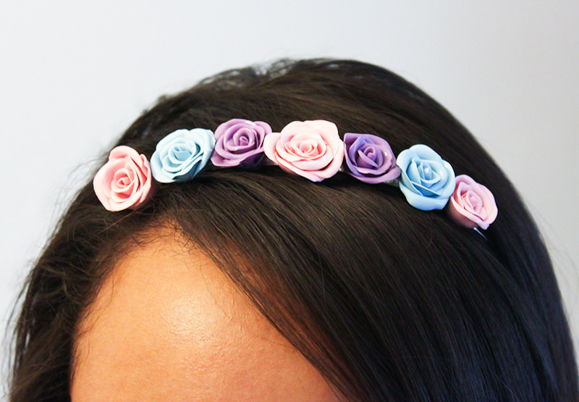
Floral-Headband-13When I came across this Crown and Glory headband on Pinterest, I knew I had found my newest DIY project. You can most likely buy the flowers pre-made at a craft store, but I wanted my headband to perfectly match its inspiration, so I made them out of clay. In putting the headband together, I had the opportunity to try a new product called Glu6 by Nine Live Products. It’s a non-toxic glue made from recycled styrafoam…bonus, it smells like lemons! I tried both the craft paste (for attaching the flowers) and the Glu6 original to coat the roses and give them a glossy shine. I’m super happy with how it turned out!!

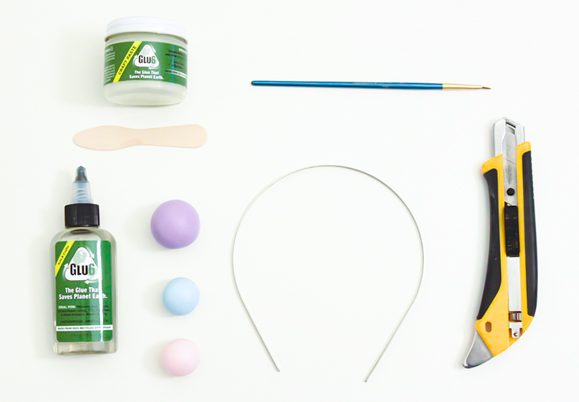
* The people at Nine Lives Products were nice enough to offer all my readers 25% off of their order just by using the code FALL2013. The code is good until October 31st so be sure to place your order soon!*Floral-Headband

Materials

Glu6 Original
Glu6 Craft Paste
– Headband
– Ruler
– Clay
– Xactor Knife
– Small Paintbrush

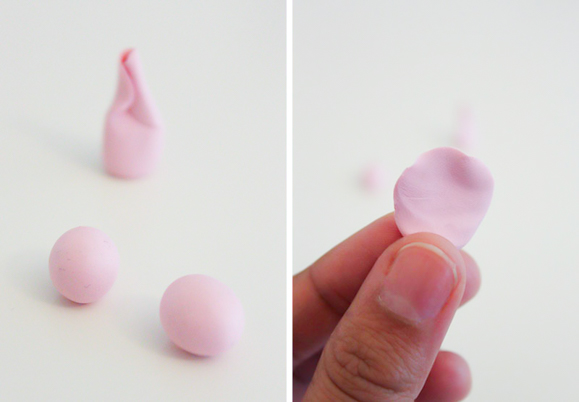
Floral-Headband-41. To make the rose, roll out a small ball of clay to about a radius of 1/4″. Roll the ball into a cone shape measuring approximately 1/2″.

Read More →

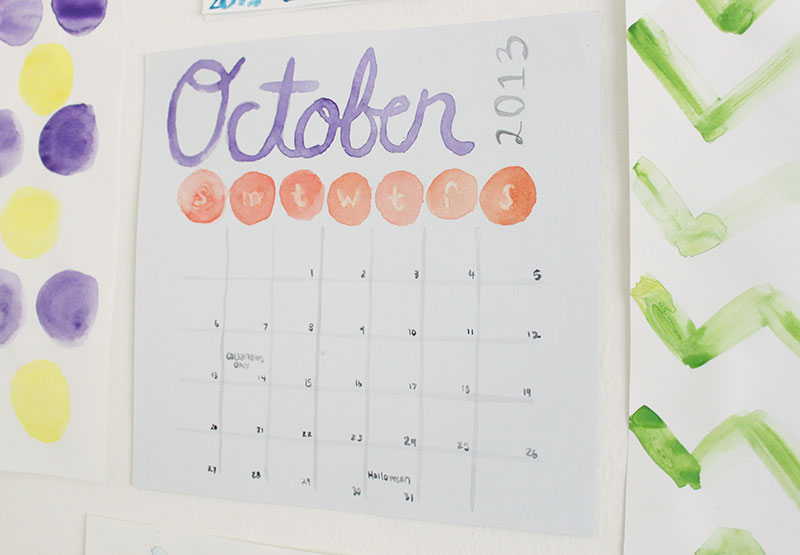
DIY Watercolor Calendar

10.07.13

Watercolor Calendar

Back home, I have a white-board calendar that sits on my desk. I like that I see it everyday, and it reminds me to stay productive. Since I came to Chicago, I wanted an easily customizable calendar. I decided to take matters into my own hands and paint my own. Here’s how I did it:

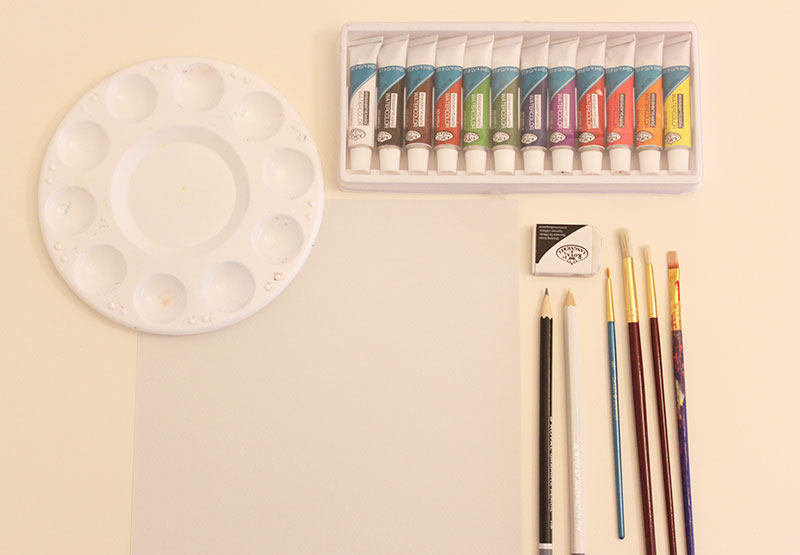
Watercolor-CalendarMaterials:

– Watercolor Paint & Paper
– Paint Brushes
– Pencil & Eraser
– White Colored Pencil
– Paint Palette
– Ruler

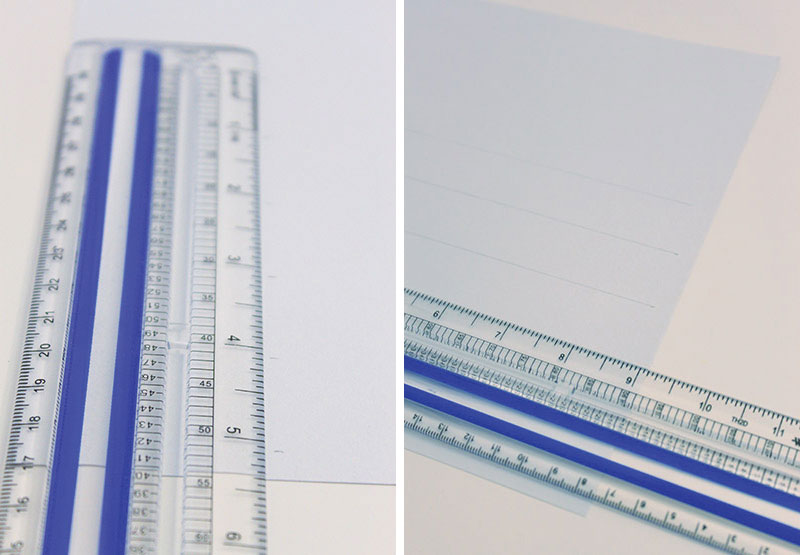
Watercolor Calendar1. Depending on the size of your paper, create 5 evenly spaced horizontal sections.

Read More →