Why is it that I only ever seem to think about eating healthy again when there is a special occasion to eat delicious not-so-good for you foods? First Thanksgiving, and now National Cookie Day coming up on December 4th, and soon Christmas! This is why people leave the healthy eating until after the new year.
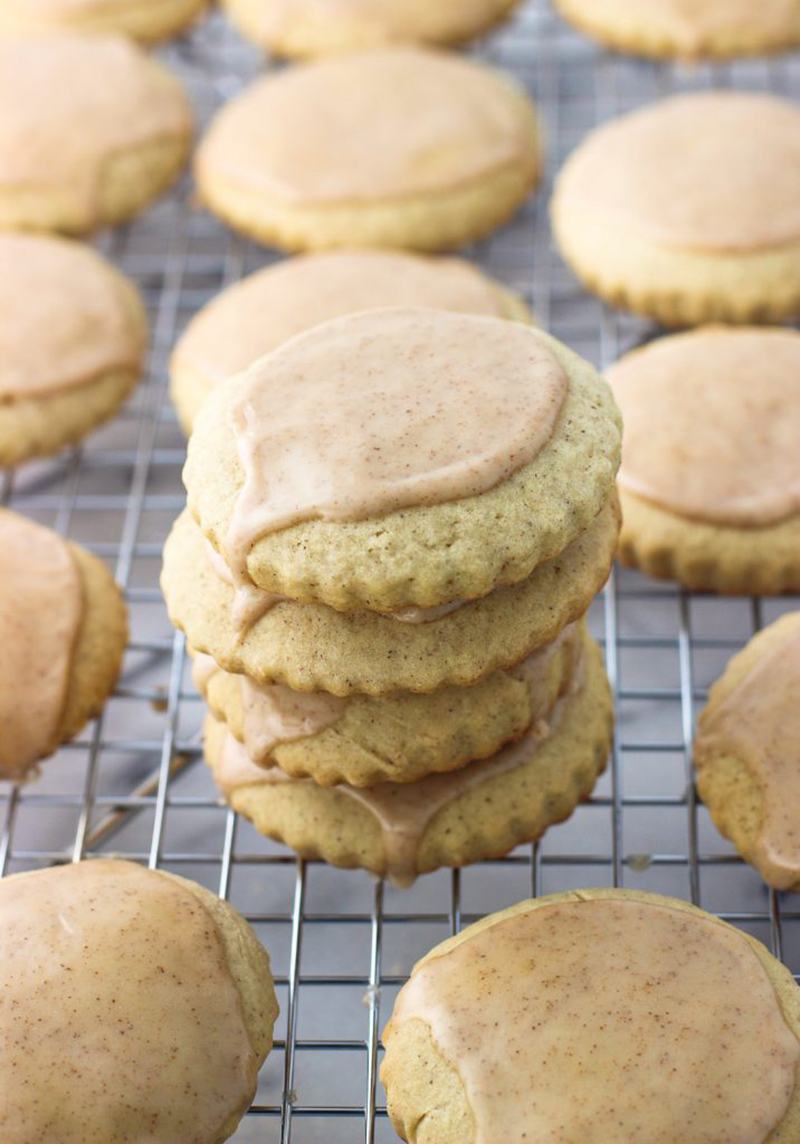
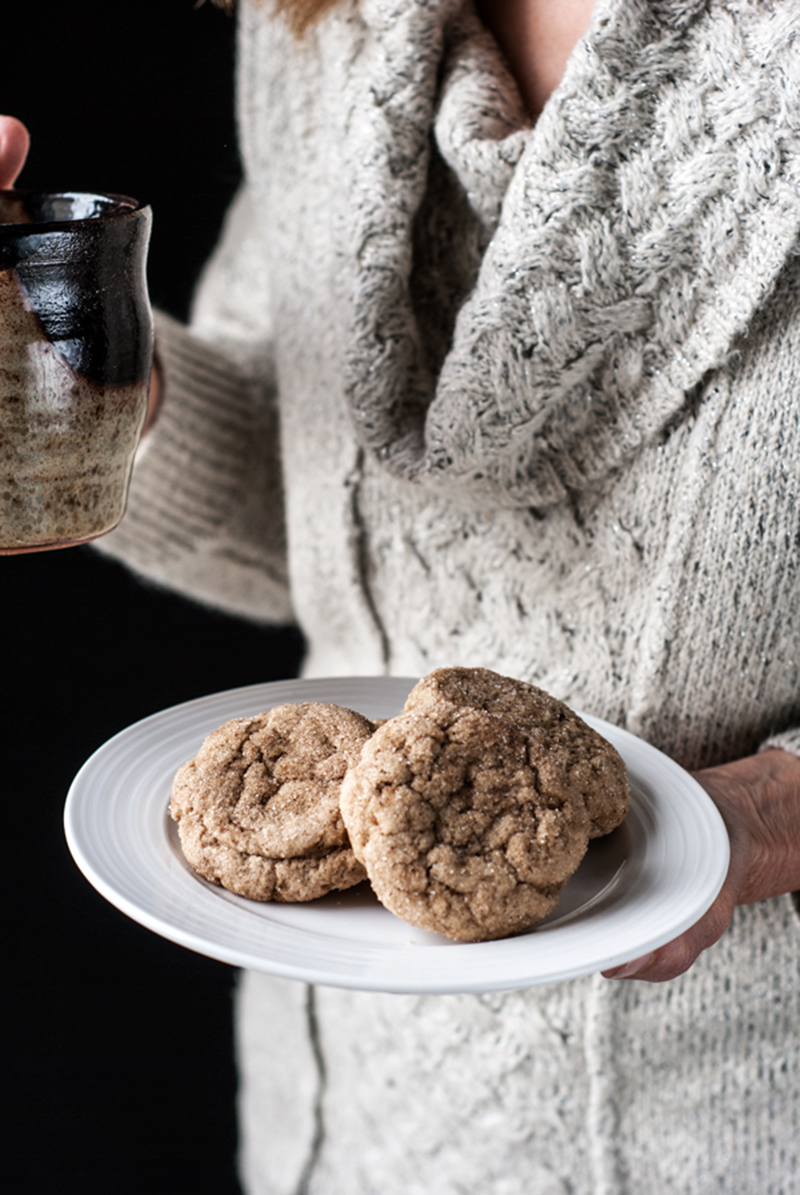
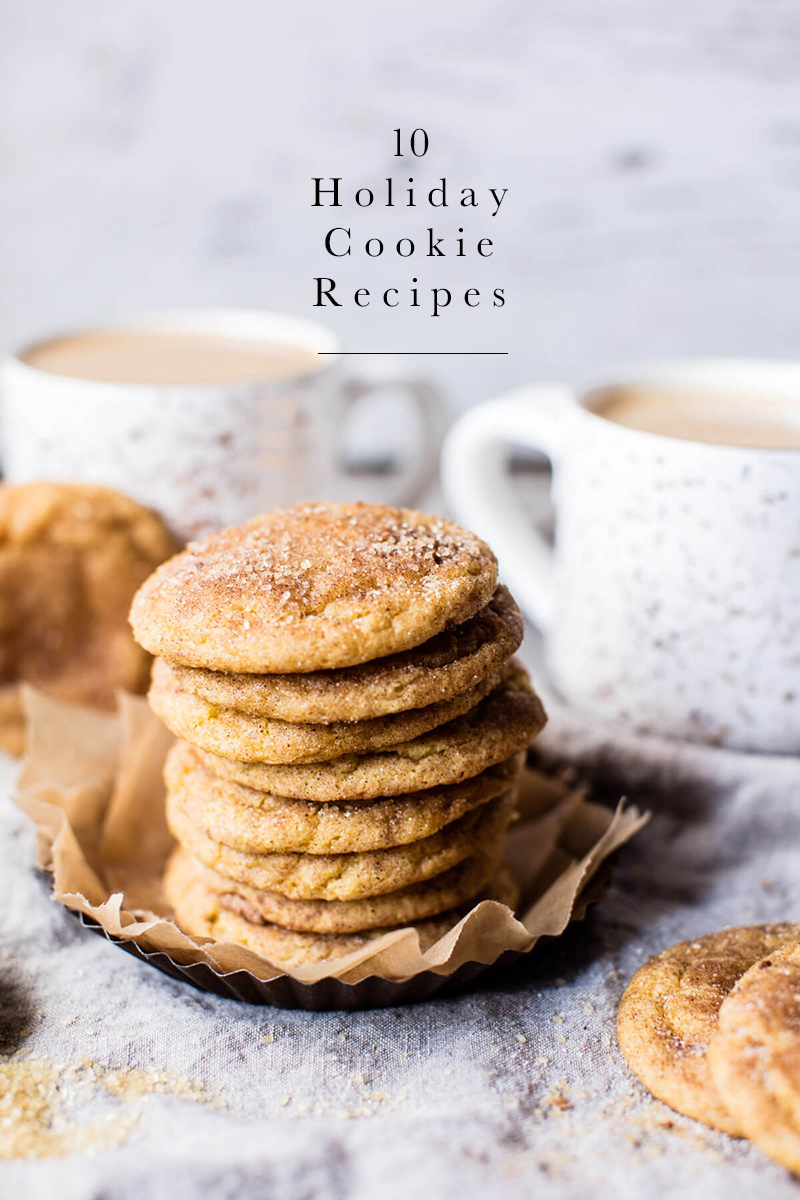
National Cookie Day is the perfect excuse to start testing out some holiday recipes. I’m partial to the blue tin butter cookies, that after your done eating them, your mom stores her sewing supplies in the bin. (Also, can we talk about how that is a thing? I seriously thought it was only my family until I saw memes about it online.) Though the Pumpkin Chai Snickerdoodles pictured above look worth the effort it takes to bake them. Happy eating!
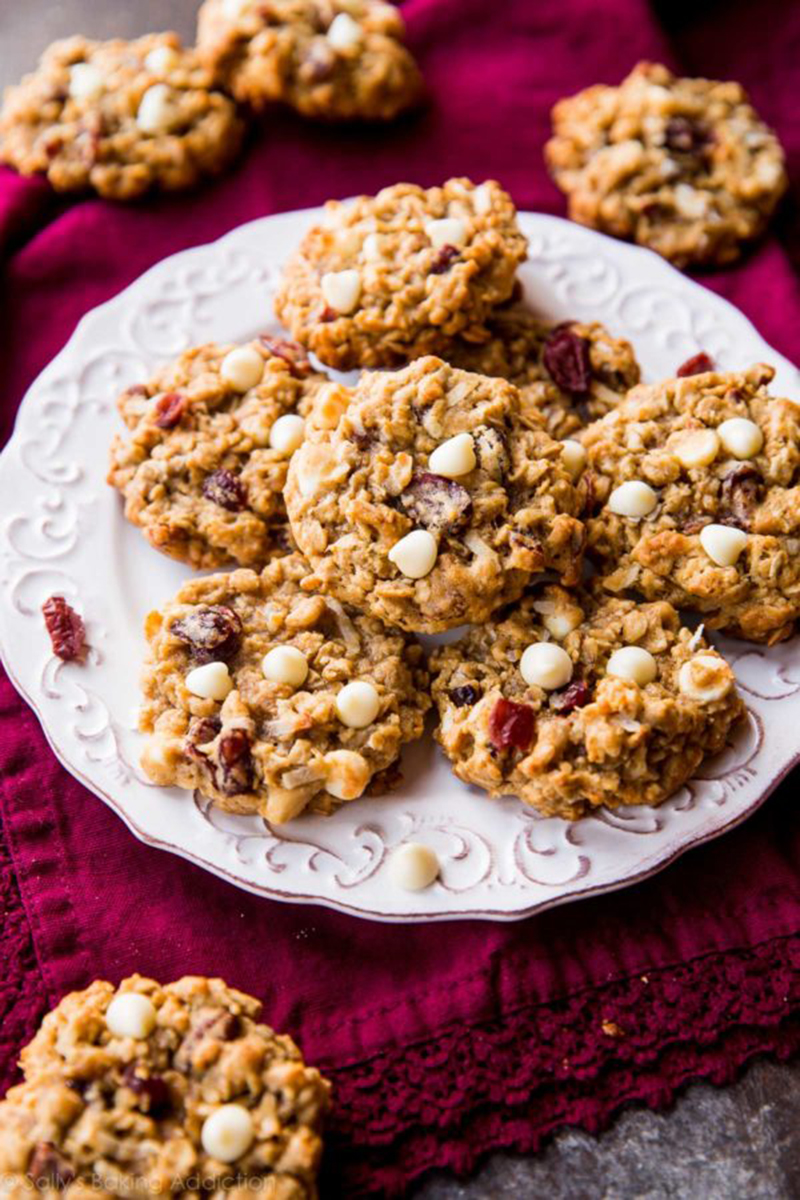
White Chocolate Cranberry Pecan Oatmeal Cookies