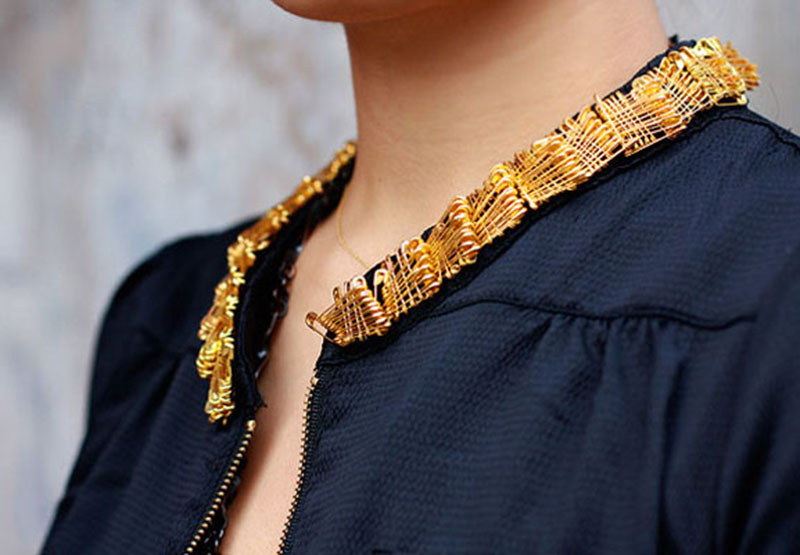
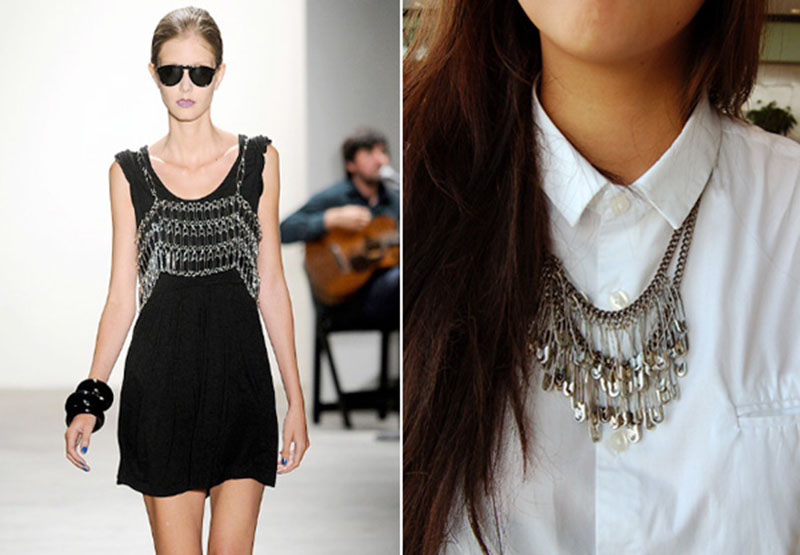
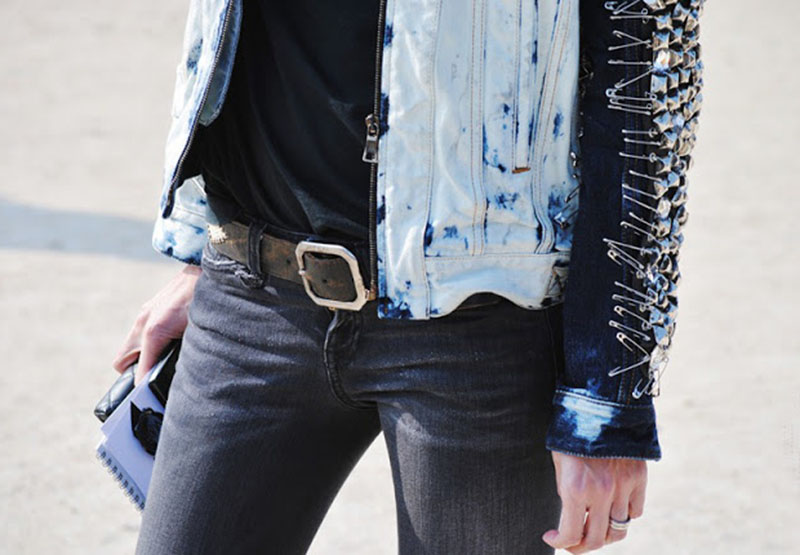
Safety Pins in fashion are both stylish and functional. Once used to avoid any wardrobe malfunctions, safety pins have become a new statement piece and a bolder form of emroidery. For a DIYer, safety pins are easy to use and make quick updates to your clothing. They are also very versatile. Safety pins can be used in jewelry as seen by Marc Jacbos and Tom Binns. Or, you can embroider a jacket collar or shoulder pad. The possibilities are limitless!
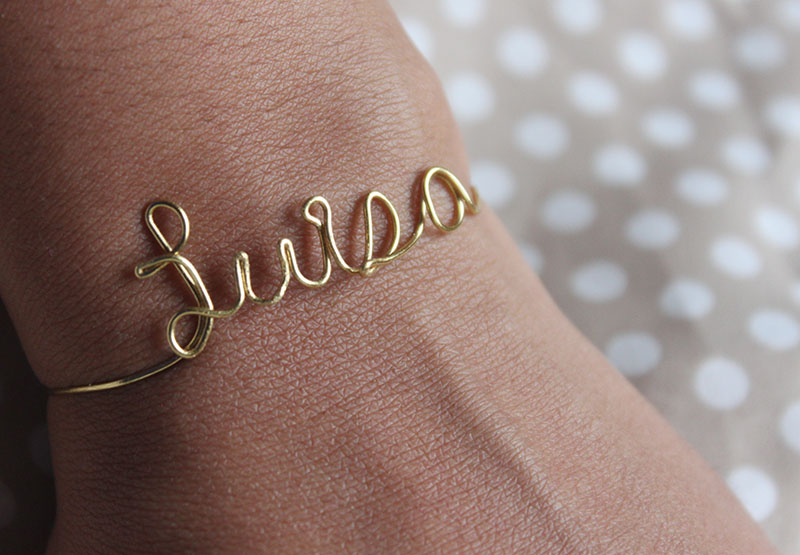
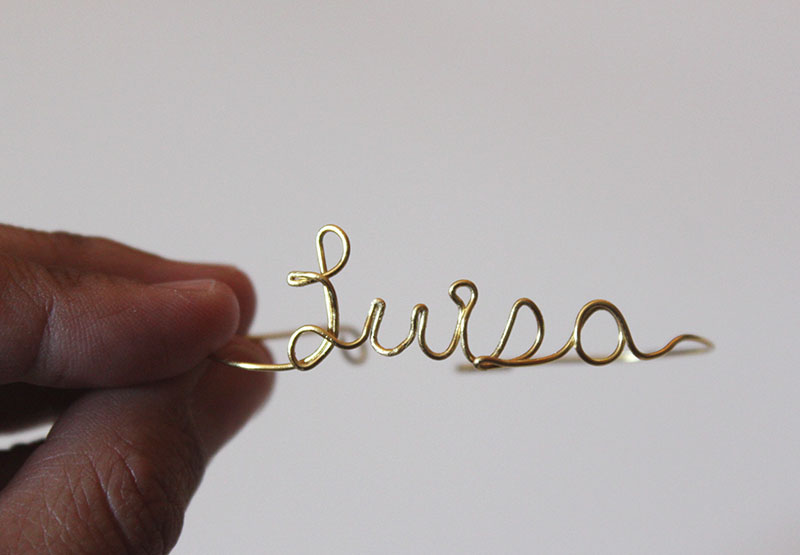
I have a bit of an obsession with making wire jewelry. It’s low-cost, easy, and the end results are amazing. Today, I decided on a name bracelet featuring yours truly. It was similar to the Wire Love Ring I made a few weeks back but with a few tweaks.
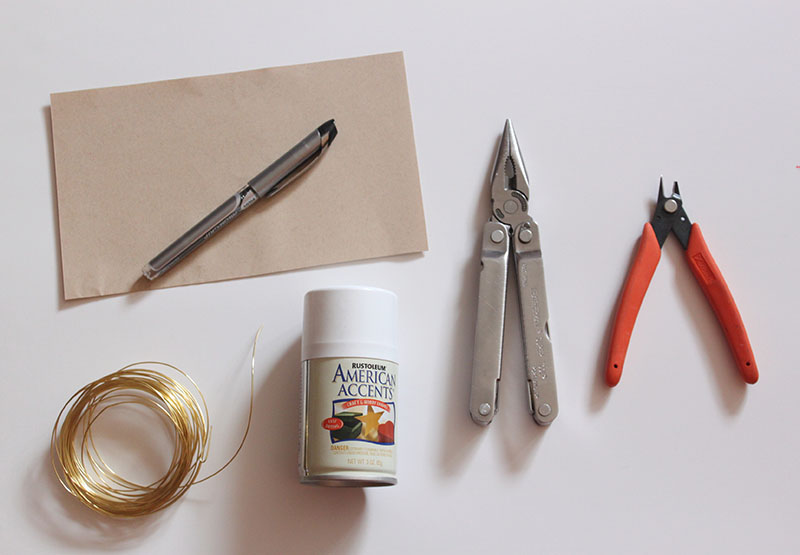
You’ll need:
– Wire (I used 20 Guage)
– Pen and paper
– Pliers
– Wire Cutter
– Something round (I used a small spray paint can)
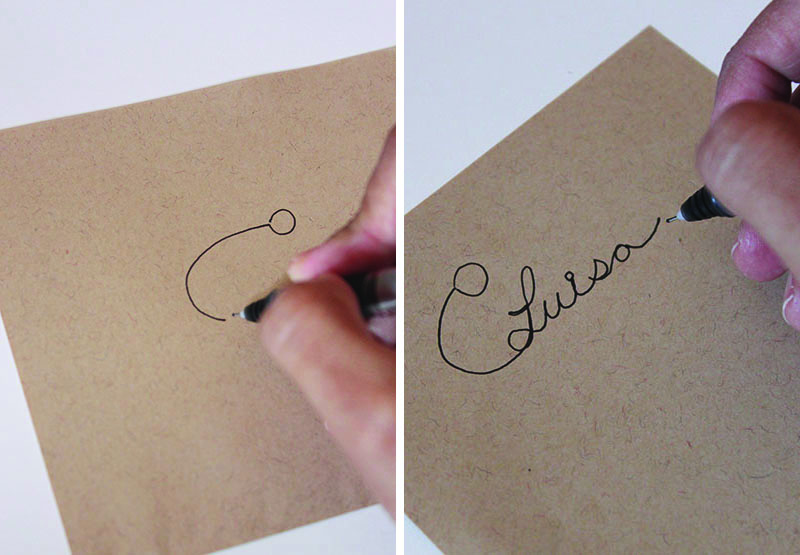
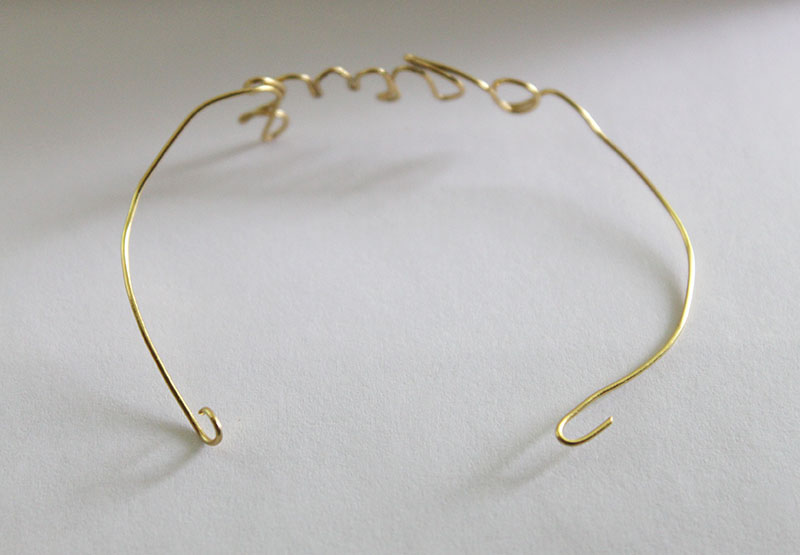
1. Start by drawing out the pattern to follow for your bracelet. One end of the bracelet will be a loop that serves as a fastener. Write out your name in cursive.
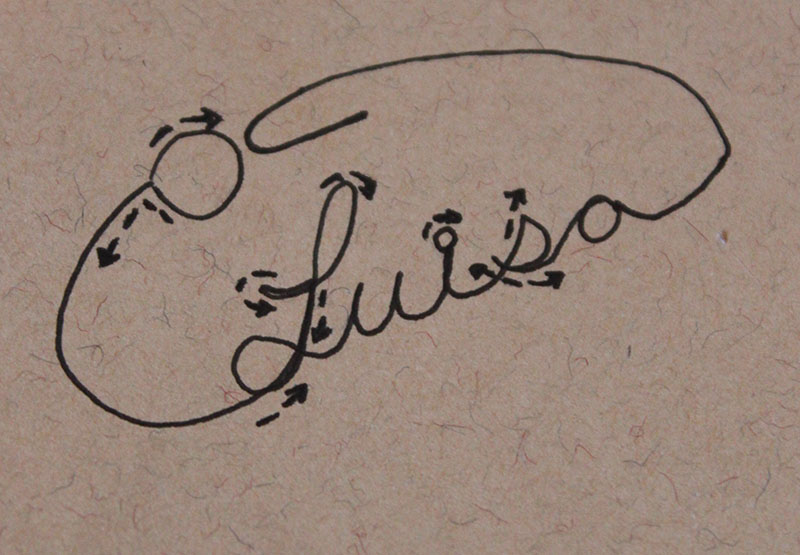
2. Diagram the direction the wire will travel using arrows. This will make forming the name a lot easier. Some letters will require “back-tracking” aka two layers of wire.
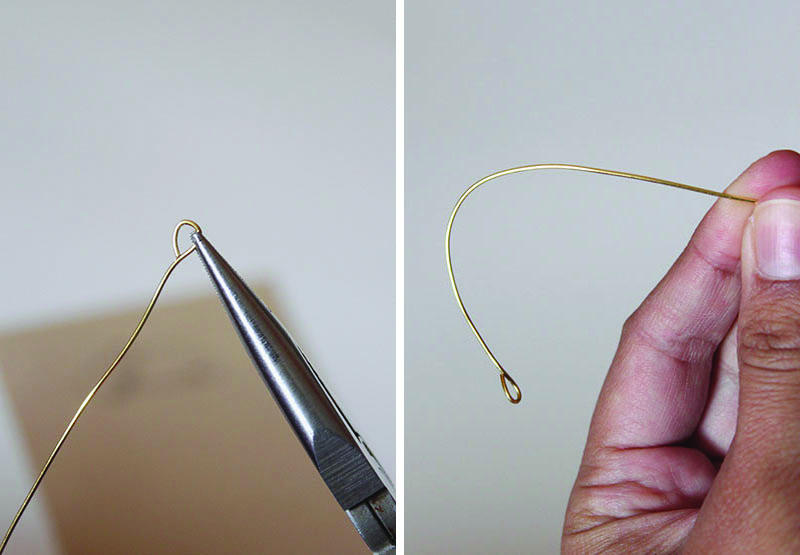
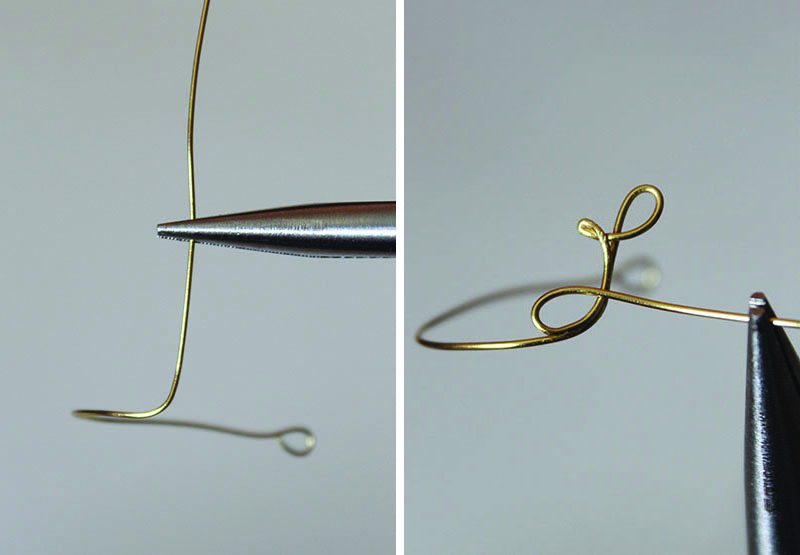
3. Form the loop in your wire. It should only be about a 1/4″ in diameter. Curve the wire to begin to form the bracelet.
4. Bend the wire upwards. Shape your first letter. The ‘L’ was tricky. The top loop went in the opposite direction of how I would normally write it, which is why it helps to draw and diagram the name first.
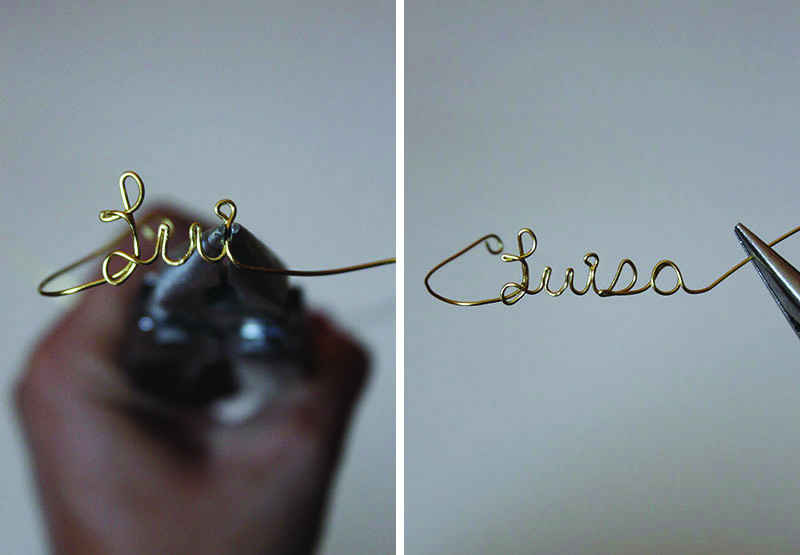
5. For an ‘i’, create a straight line, then bend the wire to create as small a loop as you can. Then go straight back down. Finish the rest of the name or word.
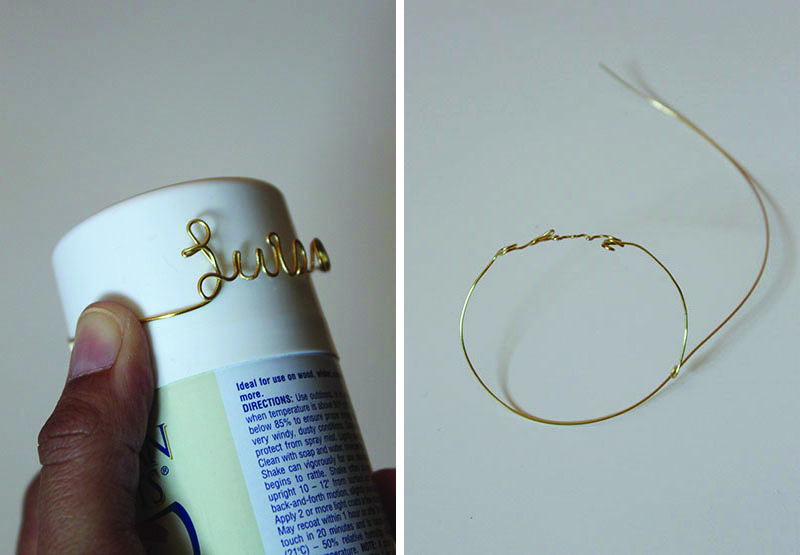
6. After you have finished writing the name, bend the wire over your round object. Loop the unfinished end through the loop you created earlier.
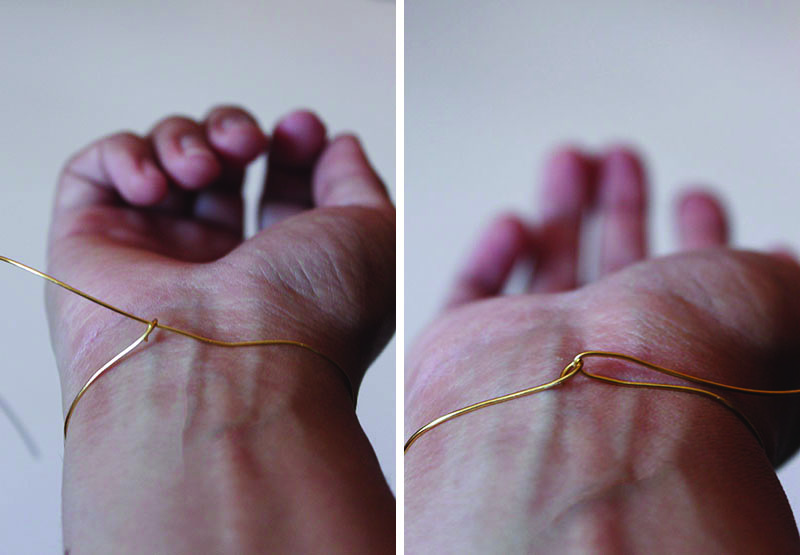
7. Place the bracelet around your wrist. When you get it the correct size, bend the unfinished end of the wire. Unhook the bracelet and take it off.
8. Cut off excess wire to create a hook at the second end of the bracelet.
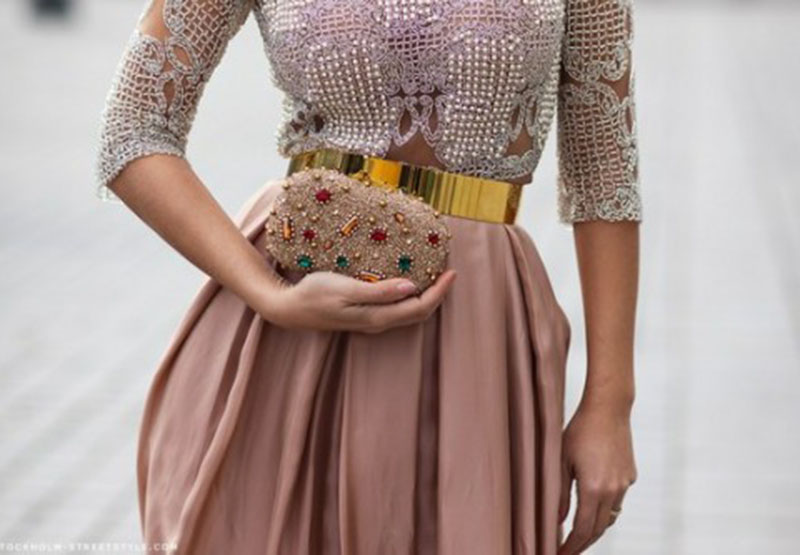
Metal belts remind me of something from a science-fiction novel. They are contemporary and chic, and a major statement piece. I love the way they work with many different looks. Wide versions of the look pair well with thick materials, like wool. Perfect for belting a coat (see LeeLee Sobieski below) or for wearing over sweaters to accentuate the waist. A skinny belt works great with a form-fitting dress or a flowy skirt. However you wear them, metal belts are the perfect accessory for Spring!
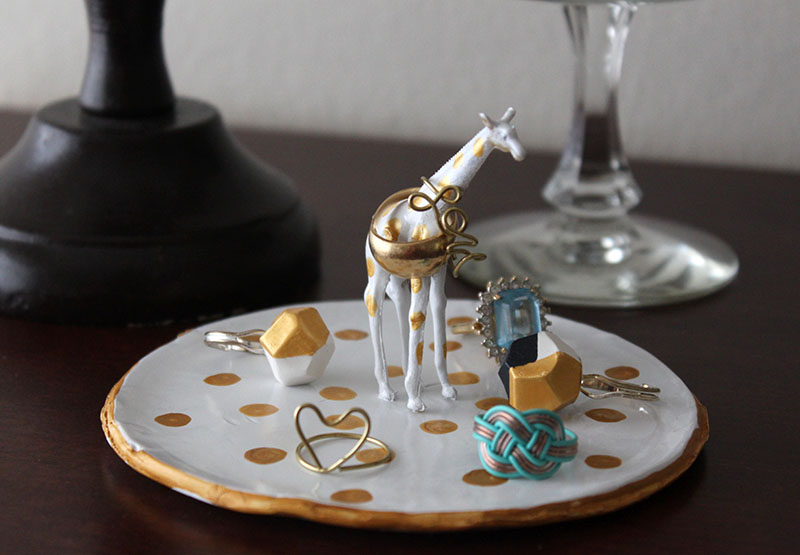
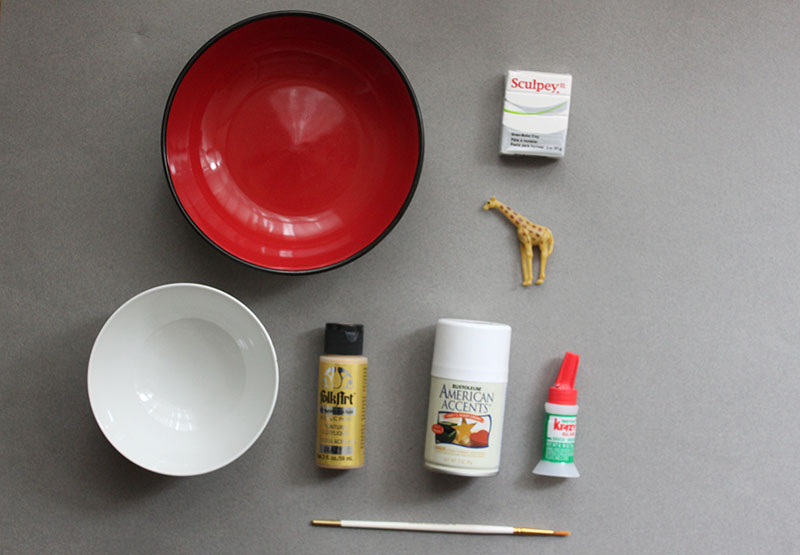
I love this DIY Ring Dish. The base is made out of polymer clay, one of my favorite materials to work with. It’s cheap, easy to use and oh so versatile. I bought a pack of plastic animals at Michaels, and decided on the giraffe. The long neck is perfect for holding multiple rings.
You will need:
– Oven bake Polymer Clay
– Plastic Giraffe
– Spray Paint
– Acrylic Paint
– Paint Brush
– Two different sized bowls
– Super glue
– Sand Paper
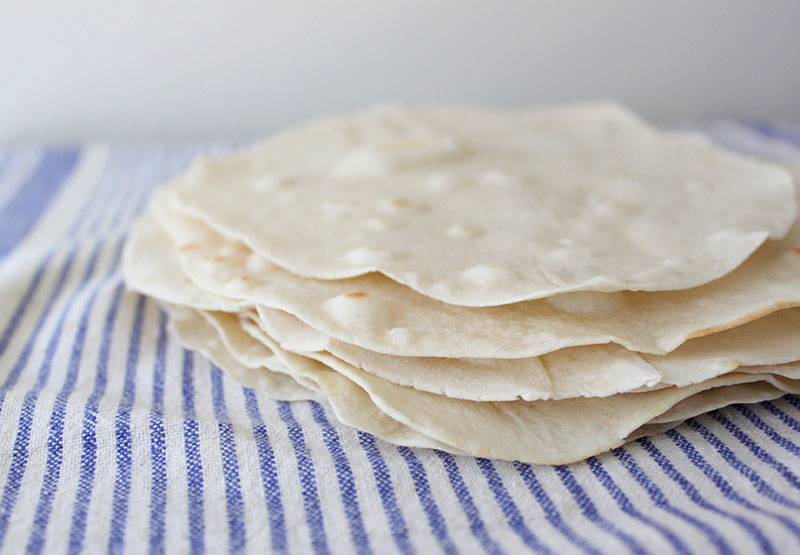
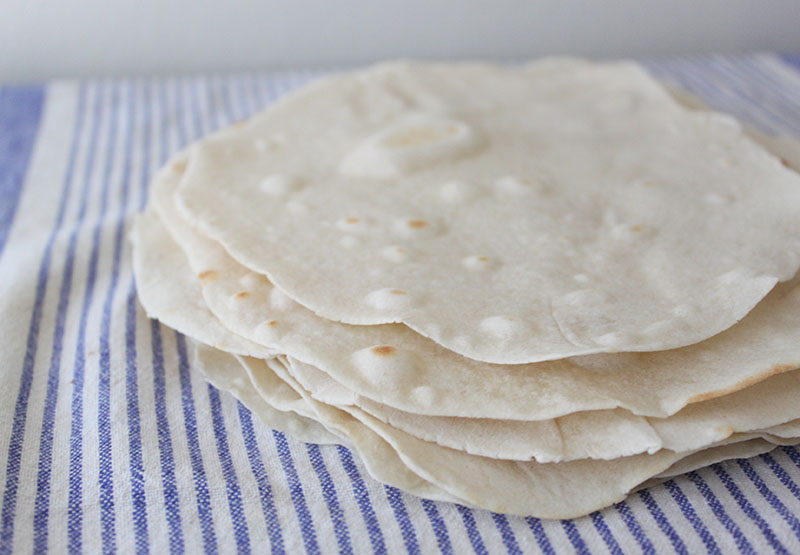
Cinco de Mayo is right around the corner! I wanted to cook something in the spirit of the holiday and settled on tortillas. Luckily, I had all the ingredients on hand as the recipe doesn’t call for much. These came out great! They were the perfect balance of soft and chewy on the inside and crispy on the out.
Ingredients:
1 3/4 cups all-purpose flour
1/4 teaspoon salt
1/2 teaspoon baking powder
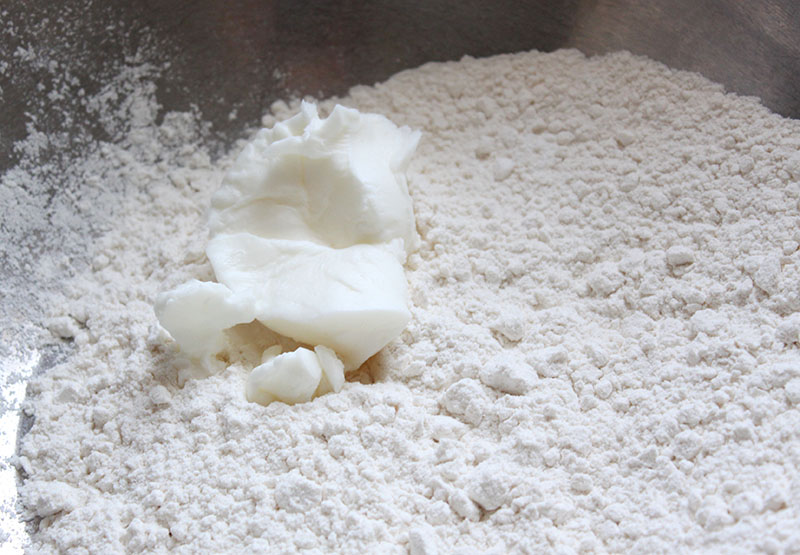
1/4 cup shortening
1/2 cup lukewarm water
Using a fork, mix the flour, salt and baking powder. Using your hand or a pastry cutter, cut the shortening into the flour mixture until there are no big lumps of shortening. Slowly add the water, using more or less as you need it. Make sure the dough is not too sticky.
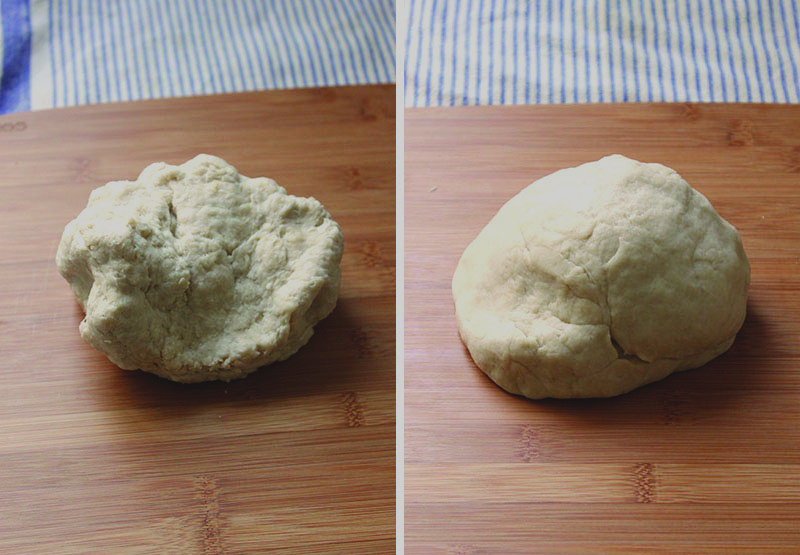
After you have finished adding the water, knead the dough for about three minutes. Put the kneaded dough back in your bowl and cover with a tea towel. Let the dough sit for about 10 minutes.
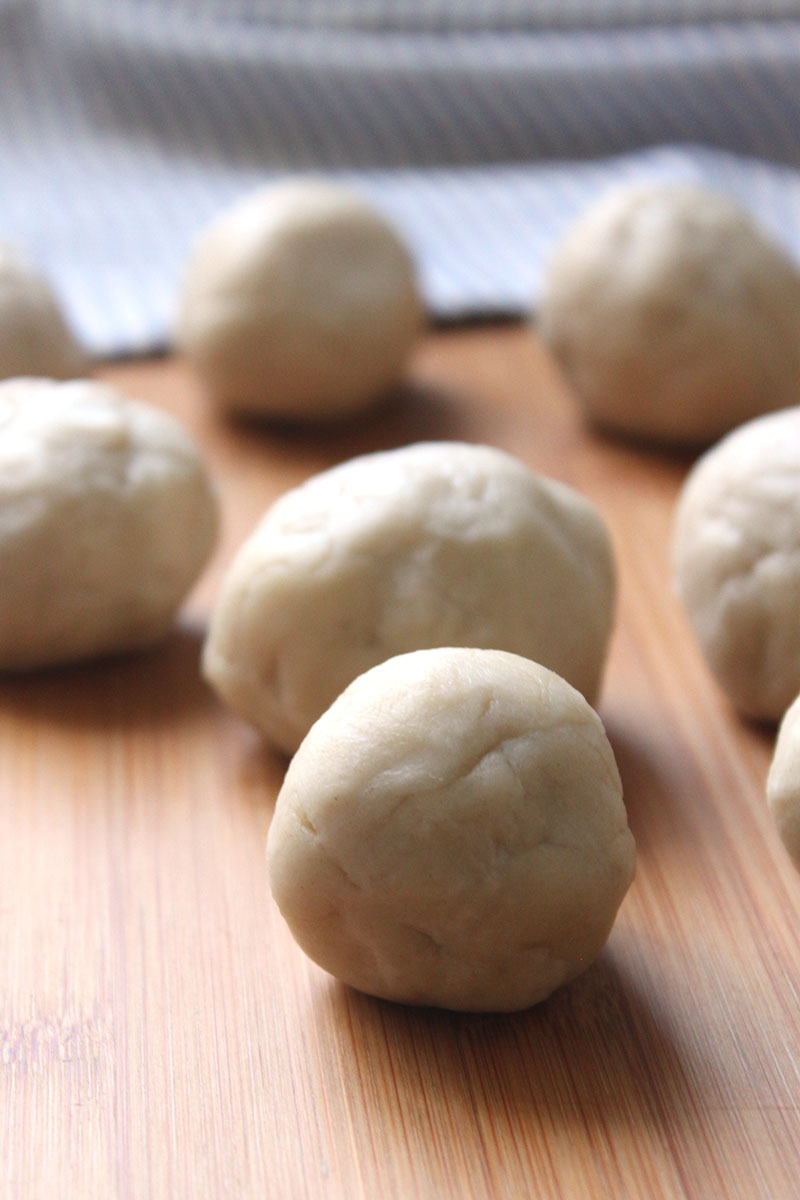
After the dough has sat for ten minutes, evenly separate it into balls.
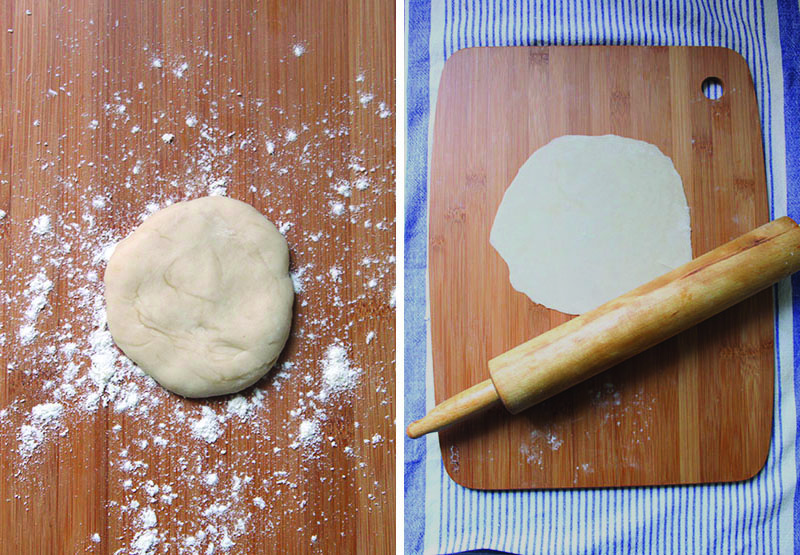
Flatten the ball with your hand and add flour to the work surface. Flatten the circle with a rolling pin to get a thin tortilla.
Slap the tortillas back and forth between your hands.
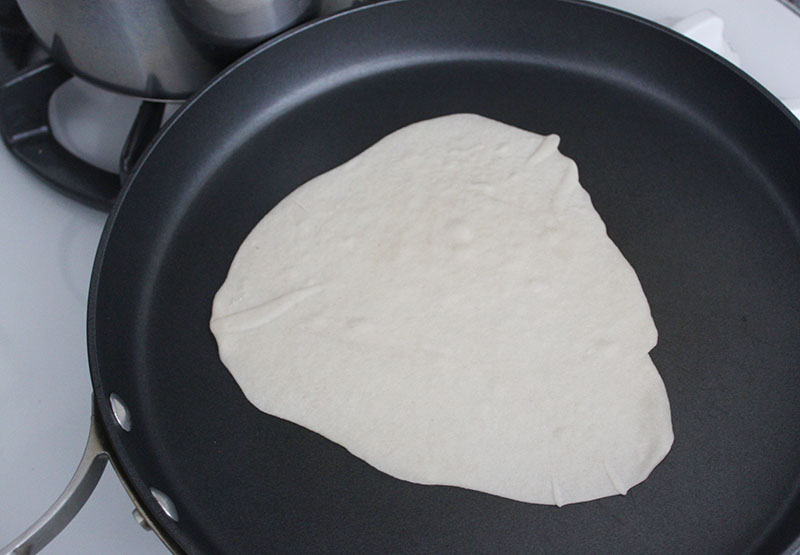
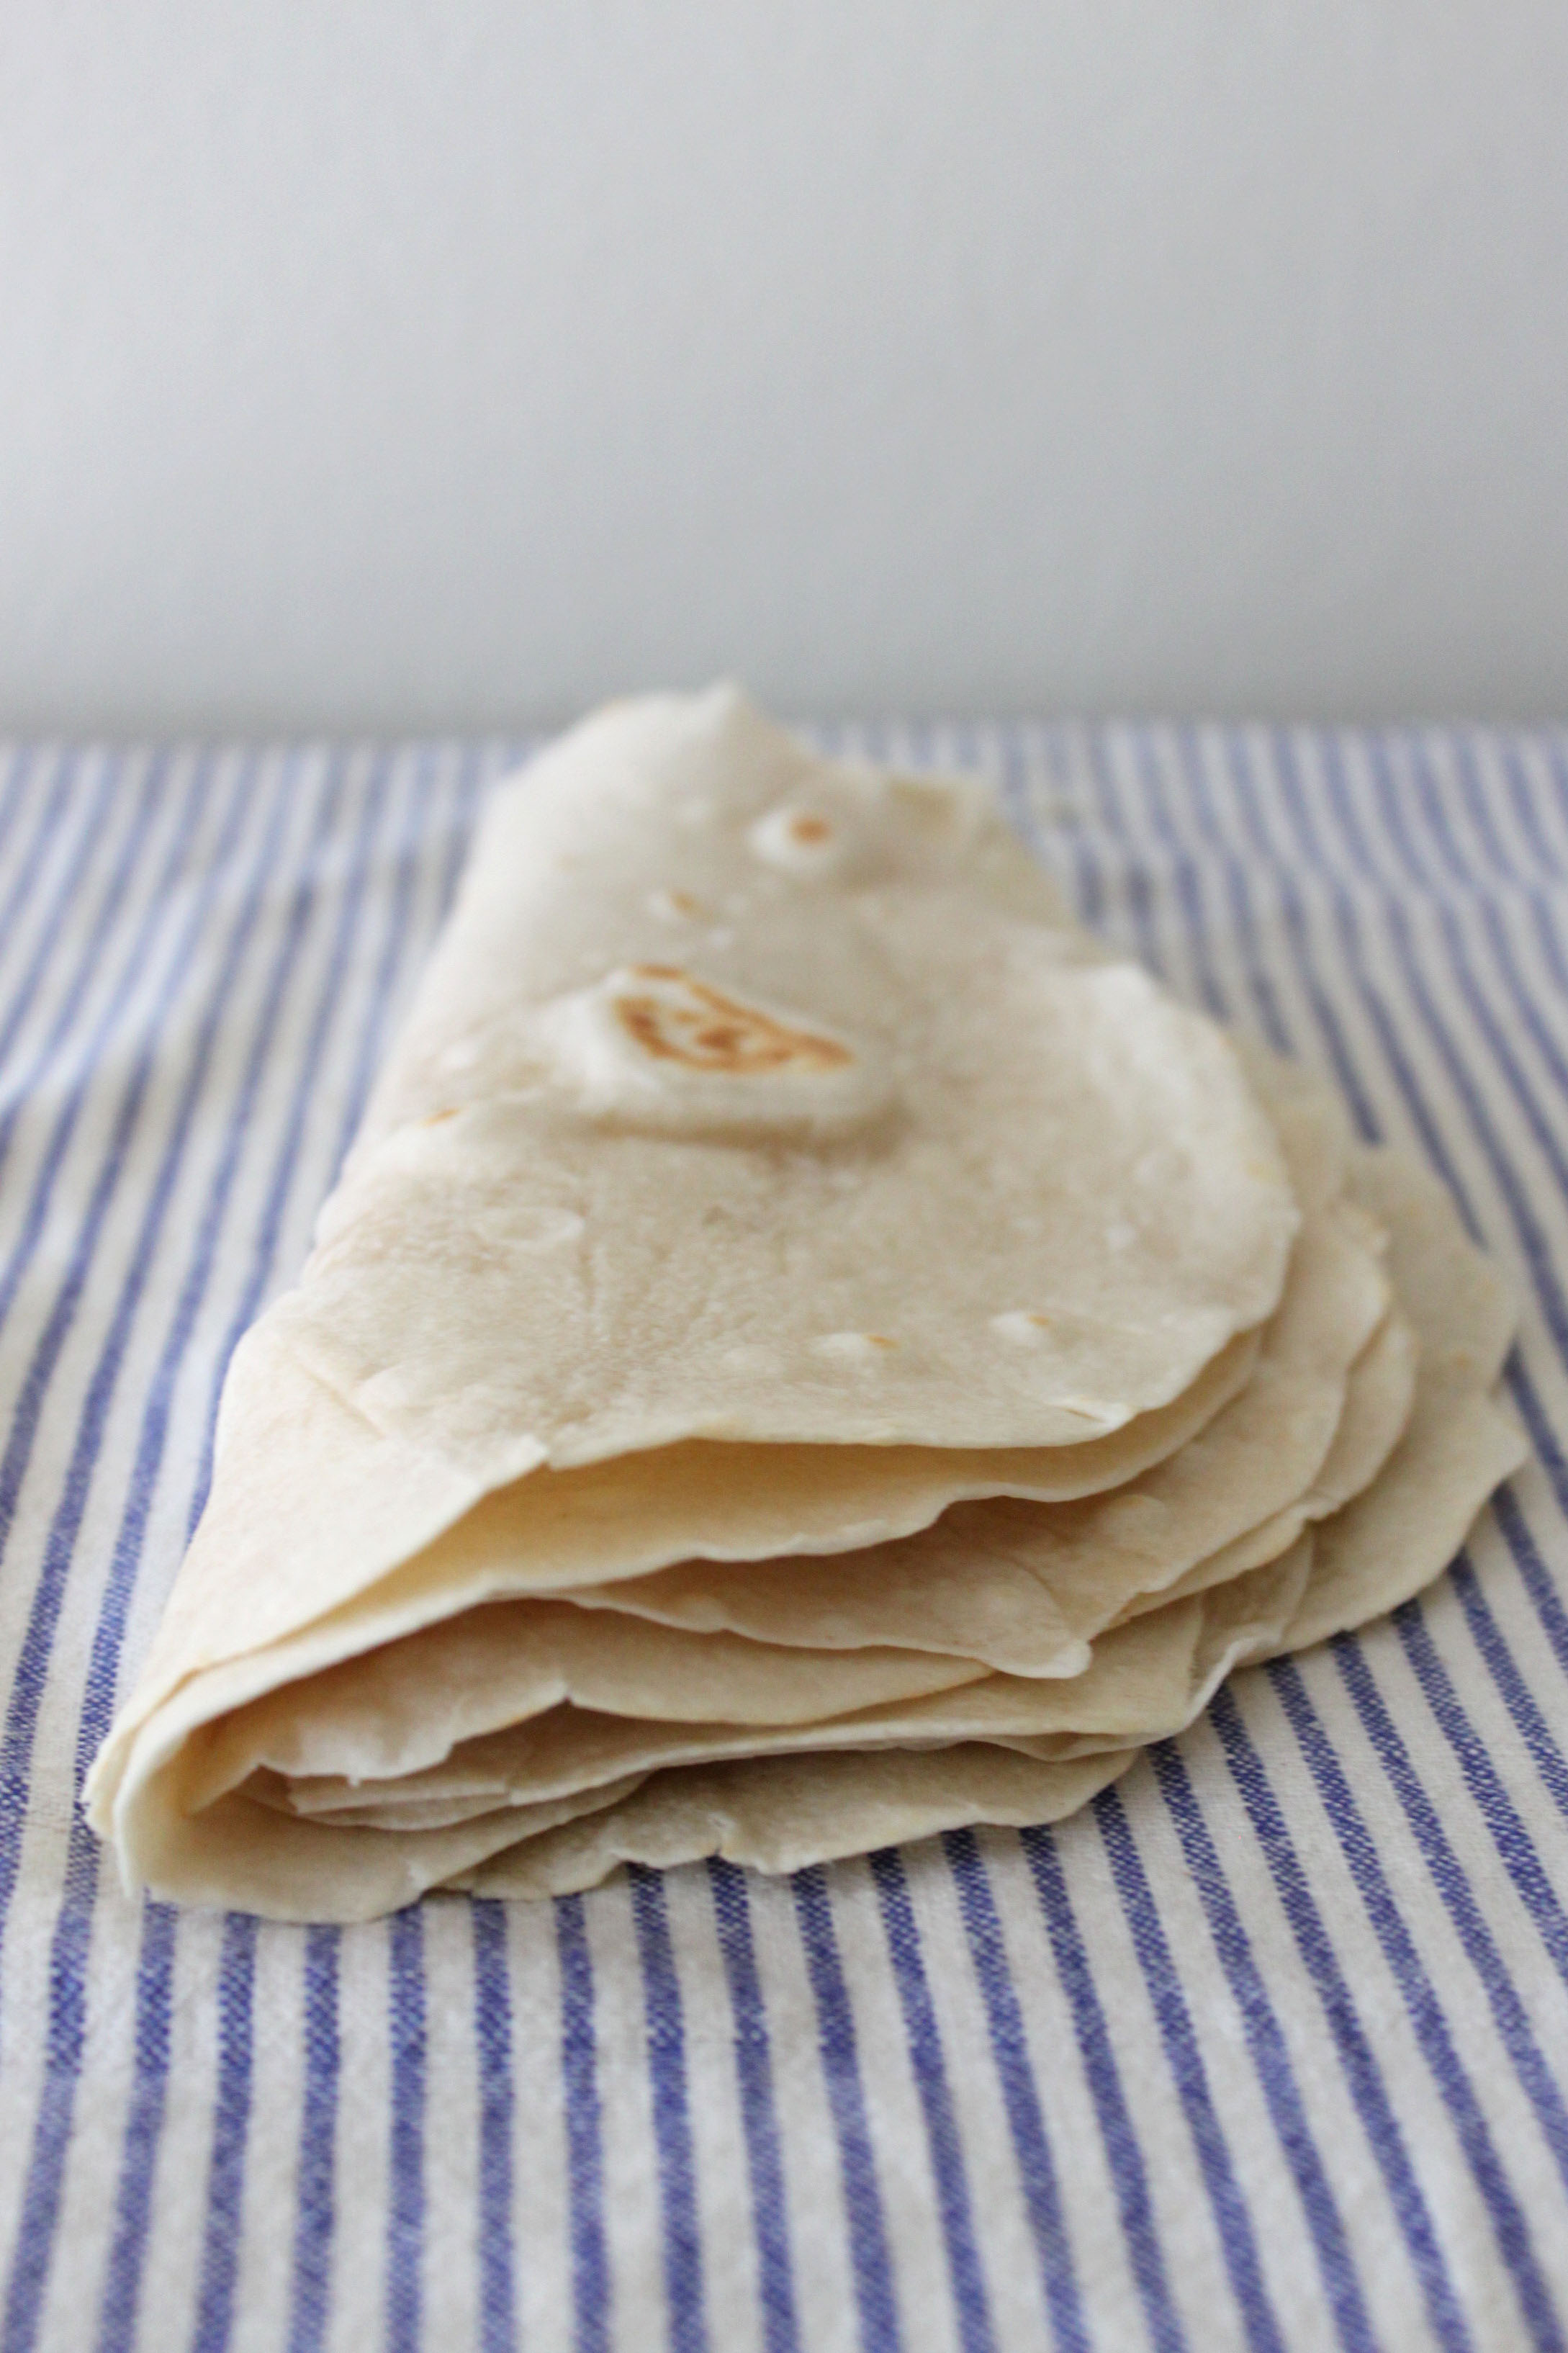
Heat a large pan on medium heat. Cook your tortillas for 15-20 seconds on each side.
Make some quesadillas, or do like I did and make some breakfast burritos!