I’m so thrilled that the new jewelry must-have is a chunky chain. I’ve been obsessed with chain jewelry for quite some time now, but the size of a chunky chain literally takes it to a whole new level. Chains are so versatile and can be styled in various ways. You can easily go from hip-hop, to punk, to glam. I recently picked up some thick, chunky chain at Hobby Lobby. I’m hoping I can get a bracelet and choker out of it! Stay tuned!!
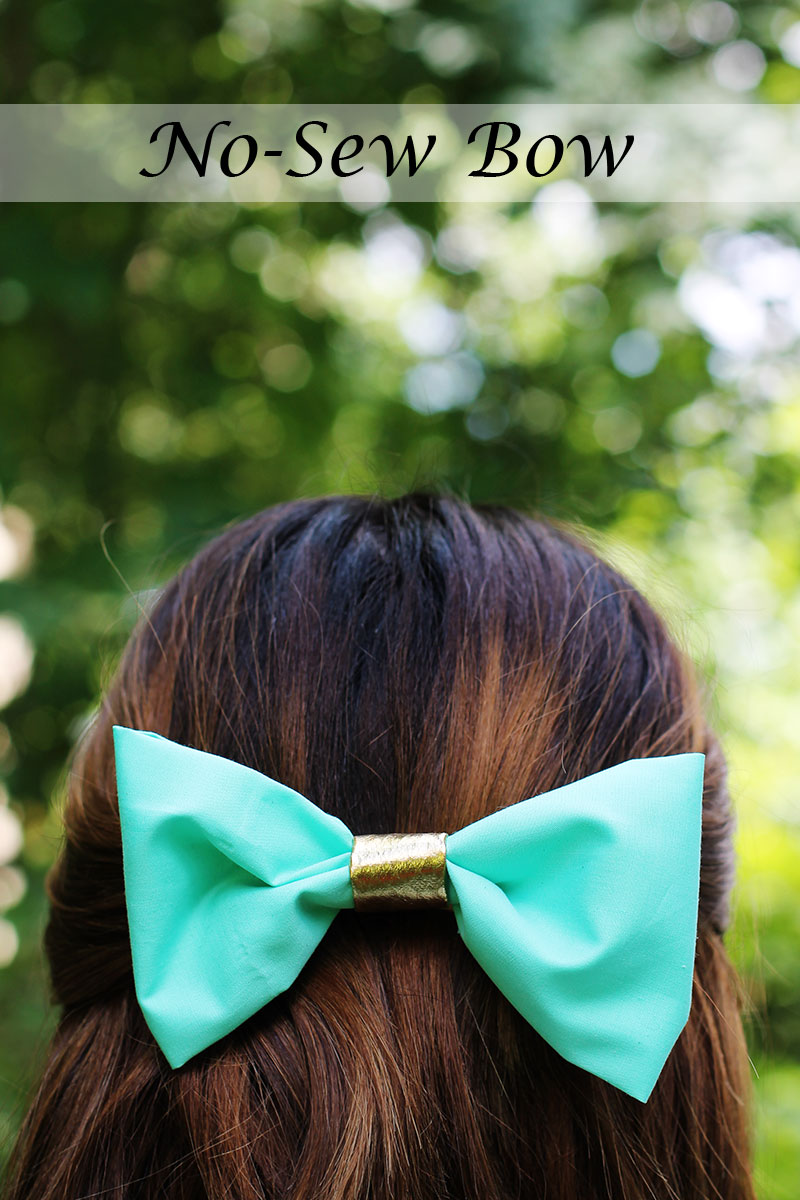
I get a lot of my inspiration from Pinterest. I have an entire board dedicated to things that I want to try and create, one of which was this pretty pink and gold bow. One of my very first DIY tutorials was this plaid bow-tie. Today, I decided to do a quick, no-sew hair bow. The result was a precious bow in half the time!
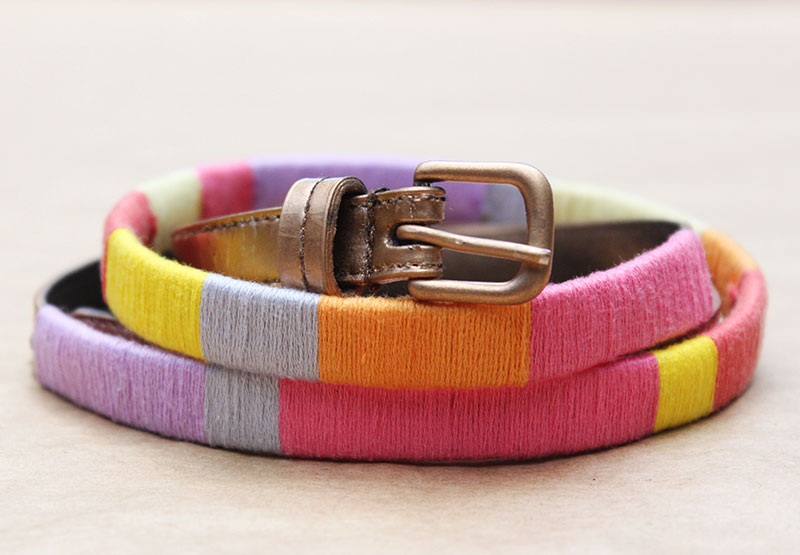
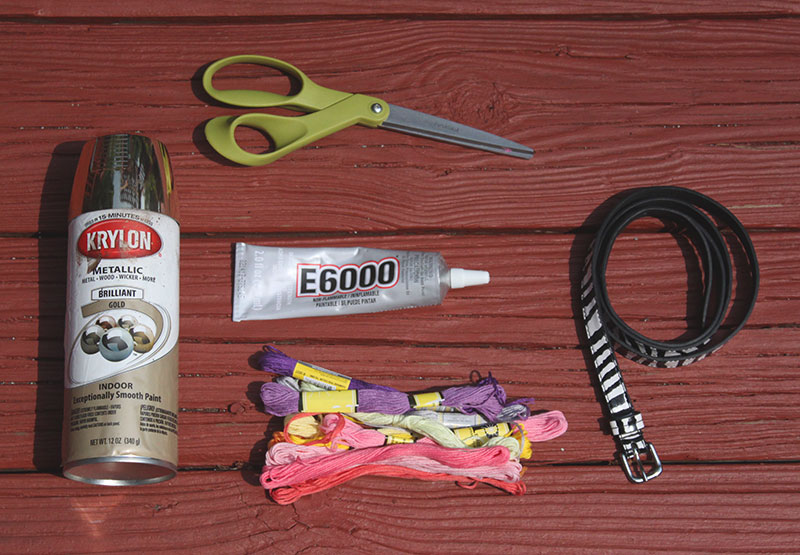
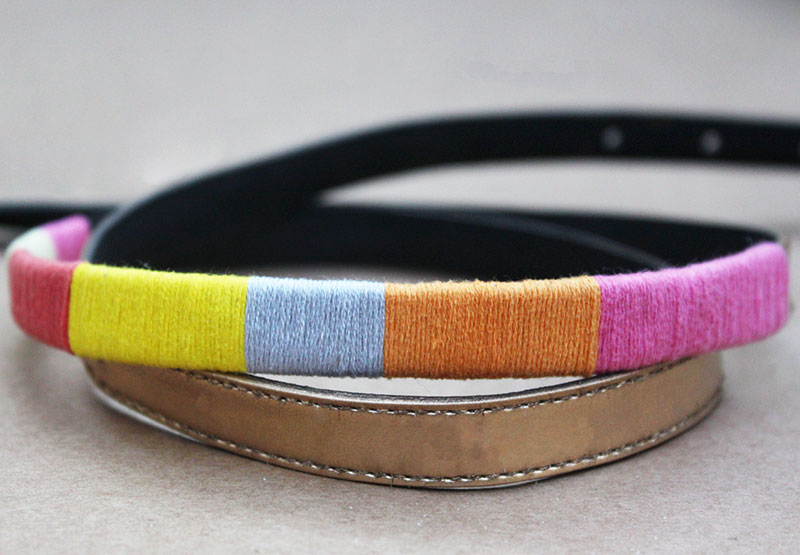
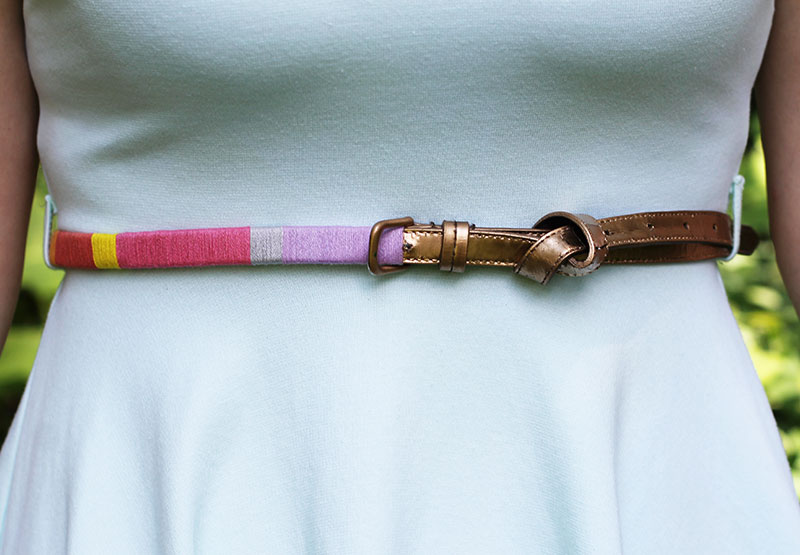
I fell instantly in love with this thread-wrapped belt from J.Crew. Unfortunately, so did everybody else because it it currently sold out online. I did what any other DIYer would do, and made my own! I had a thin zebra print belt that I never wear anymore. With a little spray paint and embroidery thread I was able to update the belt into something I love, and will actually wear.
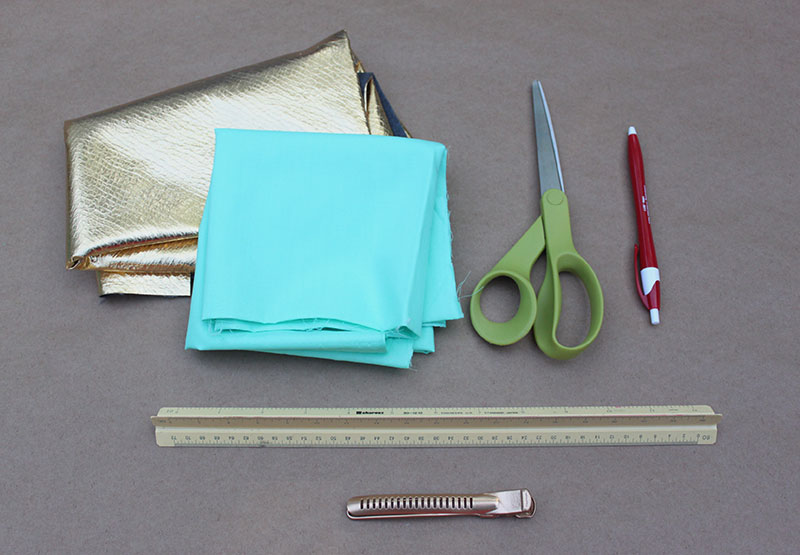
You’ll Need:
– Belt
– Spray Paint (optional)
– Embroidery thread in the colors of your choice
– Scissors
– Glue
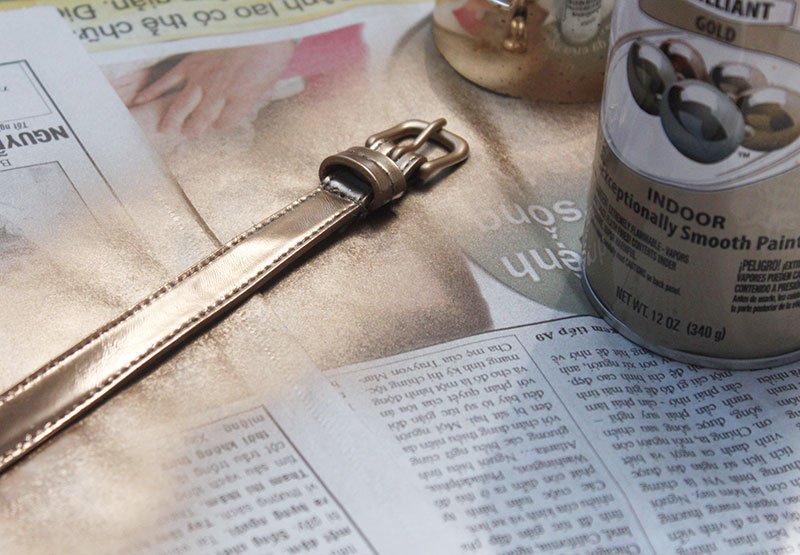
1. If you are updating your belt, spray paint it in the color of your choice. If not, you can skip this step!
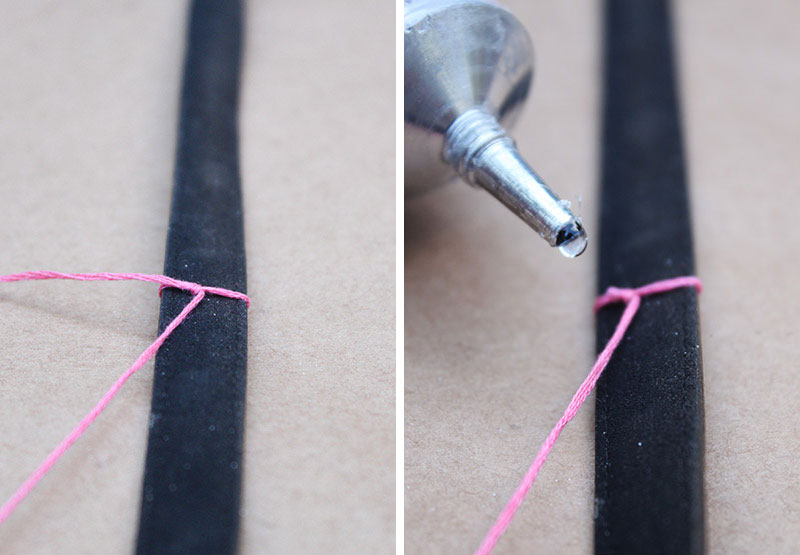
2. Determine where you want the tread pattern to begin. Wrap the thread around the belt and tie a knot. Trim the excess thread from the knot. Add a dab of glue to the knot for extra hold.
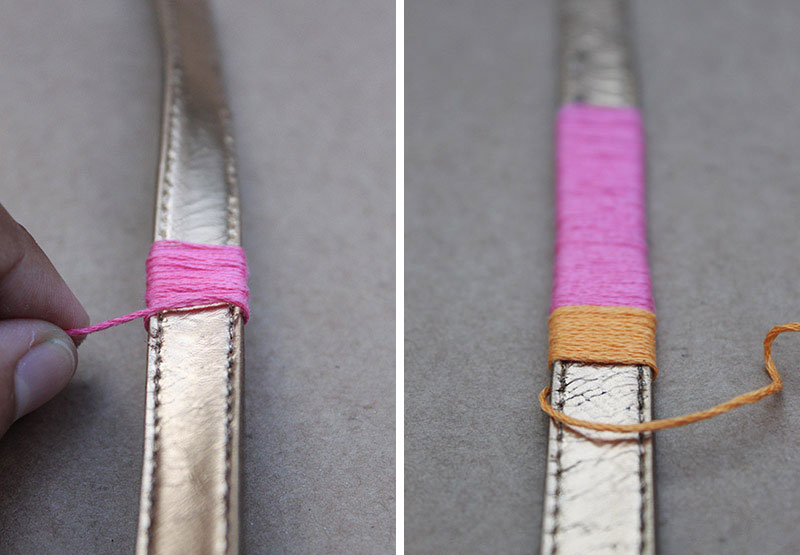
3. Wrap the thread tightly around the belt. Push up on the thread to get rid of any gaps. When finished with the first color, knot and glue like you did at the beginning. Repeat steps for the second color.
4. Continue in this fashion with as many or as few colors as you want until you reach your designated end point.
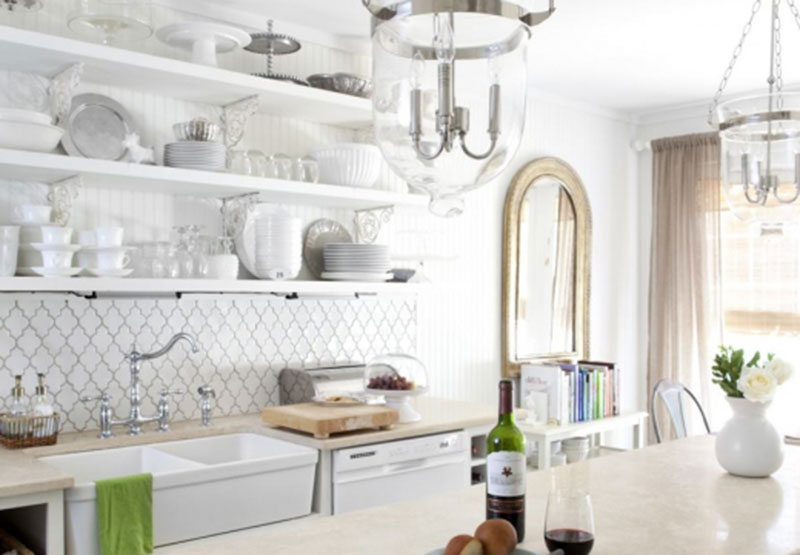
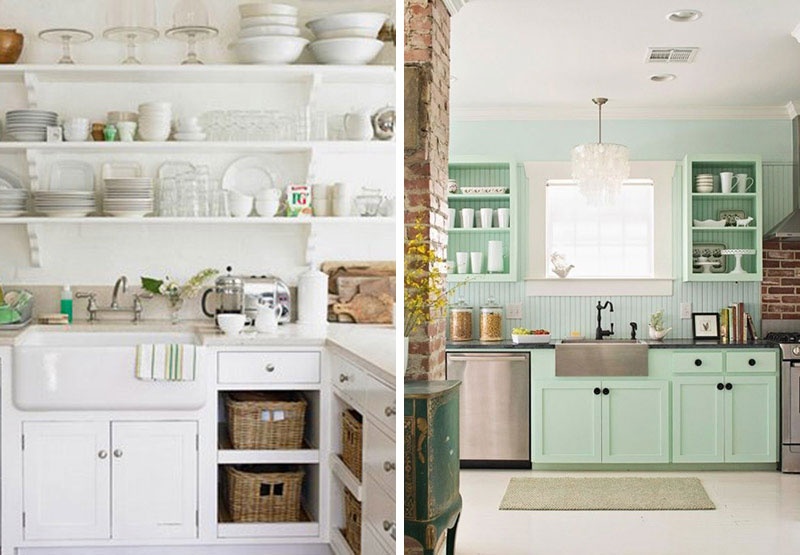
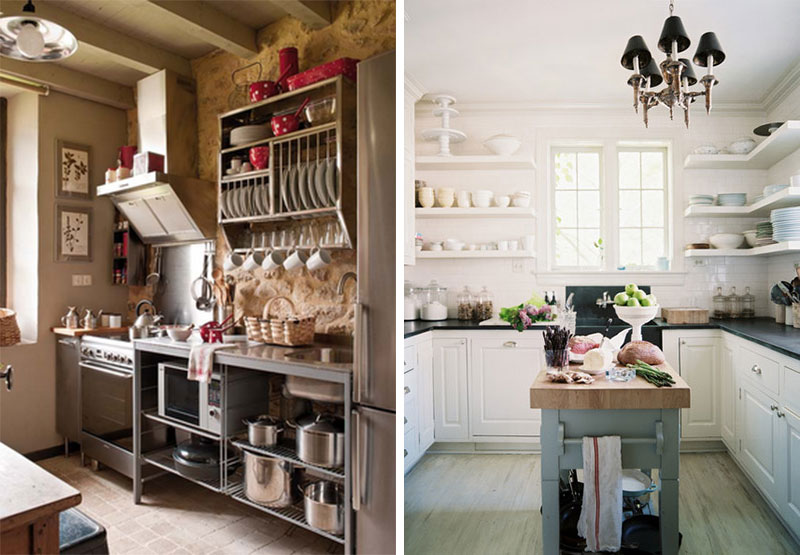
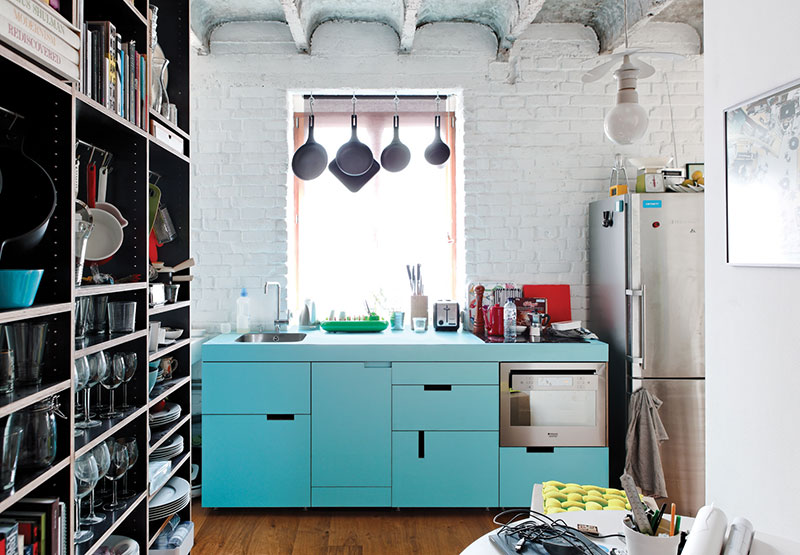
I love the look of exposed kitchen shelves. It forces you to keep your shelves nice and organized, which may not be the case in closed kitchen cabinets. I think the style looks best with matching dinnerware in a crisp white. Open shelves are also a great way to display a collection of kitchenware, like cake stands or mixing bowls. You can easily add color with some fun bowls or teapots.
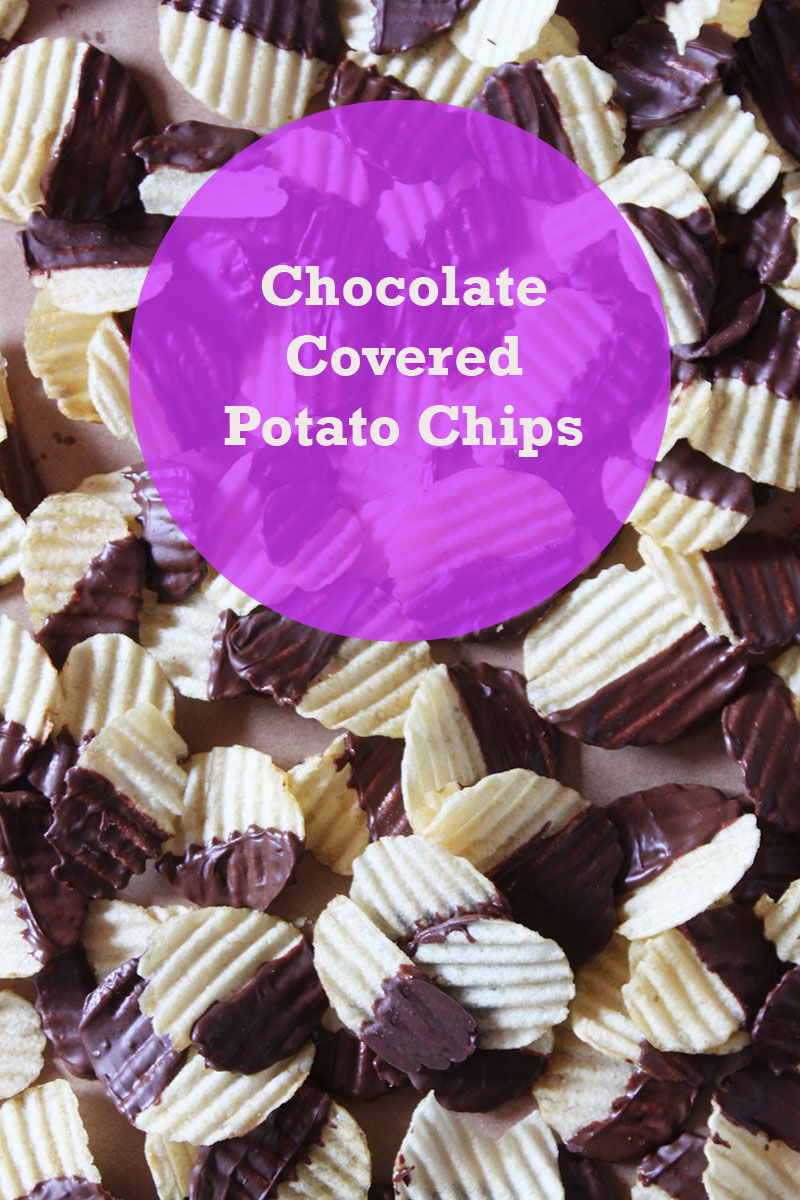
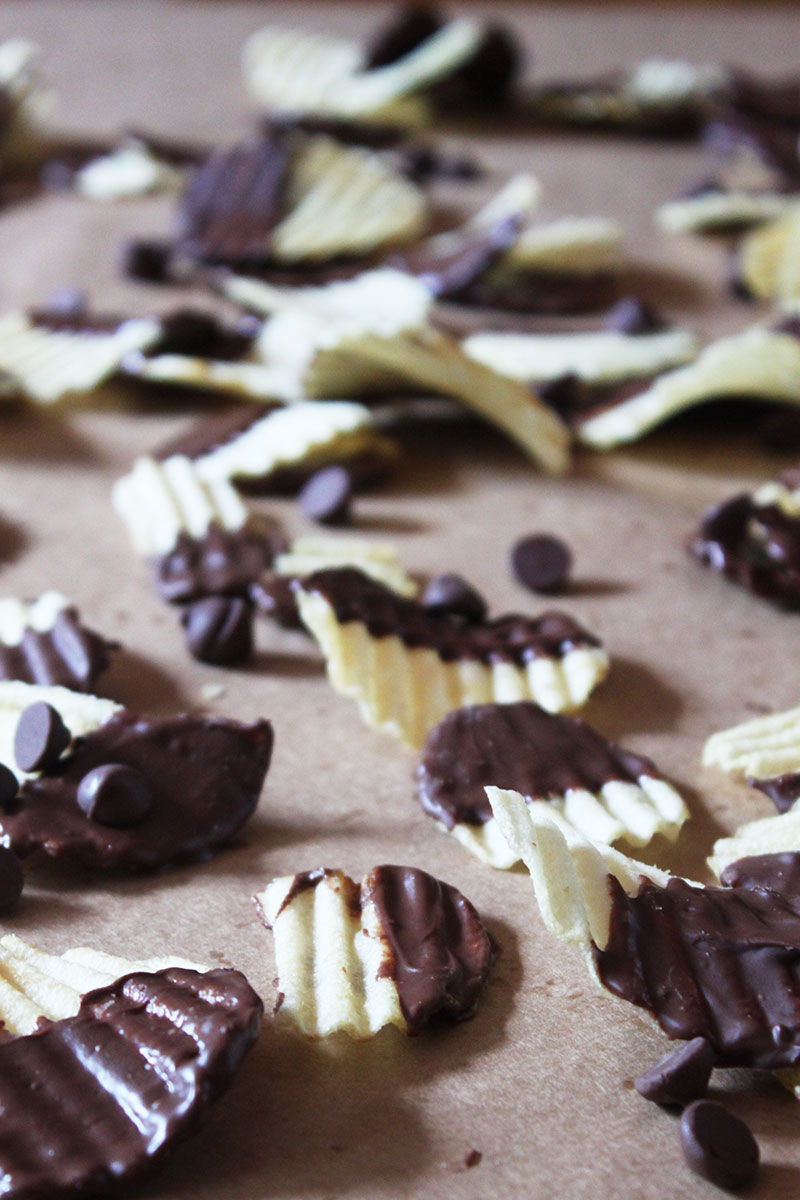
The combination of sweet and salty is one of my all time favorites. I remember when I first discovered the combo when a friend dumped Sno Caps into our bag of popcorn at the movie theater. I haven’t looked back since. Yesterday, I really wanted something to satisfy my craving for something chocolatey. I decided on these Chocolate Covered Potato Chips! I used a think ruffle chip because they don’t break as easily, and deliver an awesome crunch. I love that these are quick and easy to make!
Recipe:
Ingredients:
– 1 1/2 cups chocolate chips (I used milk chocolate, but dark or semi-sweet would be just as good)
– 1 bag wavy/ruffle potato chips
Instructions:
1. Place chocolate chips in a heat-resistant bowl and put over a pot of simmering water, making sure the bowl doesn’t touch the water.
2. Melt the chocolate until smooth.
3. Dip the chips in the chocolate until they are about 1/2 of the way covered.
4. Remove any excess chocolate. (I used a chopstick to help remove and even out the chocolate.)
5. Place chips onto a flat surface/cookie sheet lined with wax paper.
6. Let the chocolate cool completely. Or if you’re like me and can’t wait, put them in the refrigerator to cool.
7. If you don’t eat them all in one sitting, you can store them up to one week.