DIY No-Sew Bow
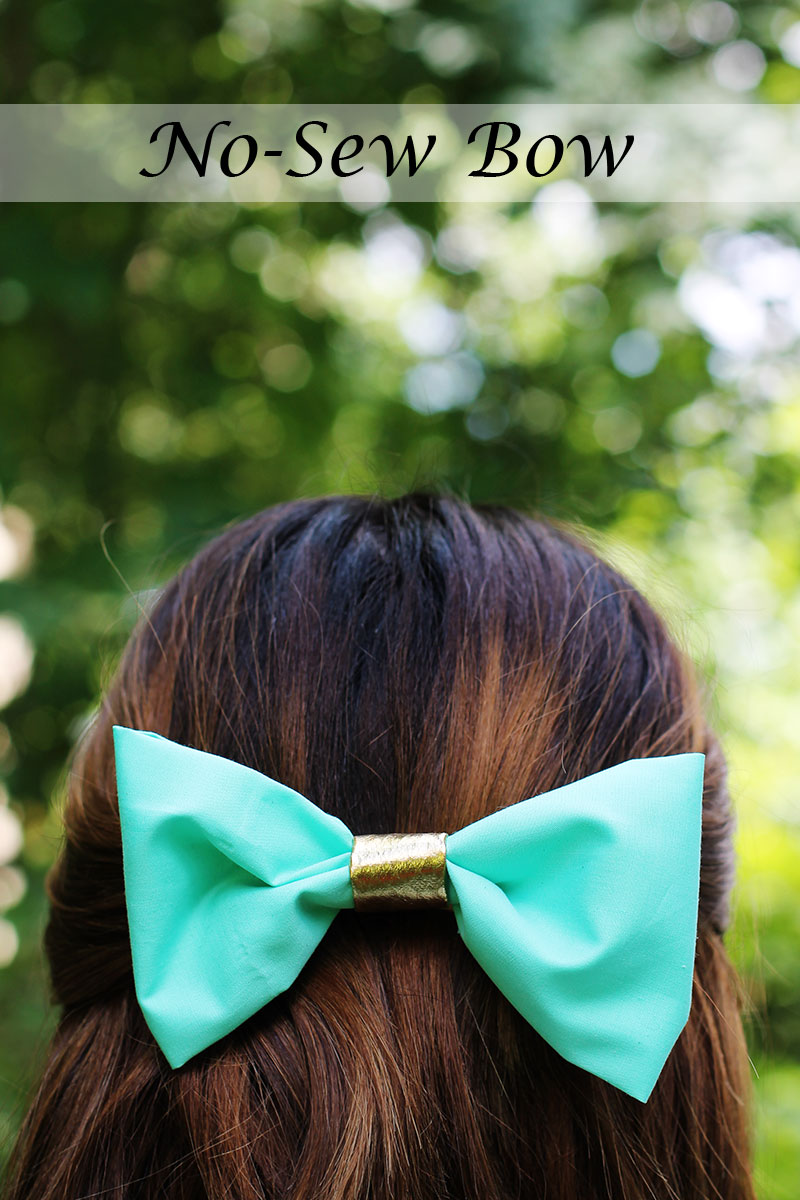
I get a lot of my inspiration from Pinterest. I have an entire board dedicated to things that I want to try and create, one of which was this pretty pink and gold bow. One of my very first DIY tutorials was this plaid bow-tie. Today, I decided to do a quick, no-sew hair bow. The result was a precious bow in half the time!
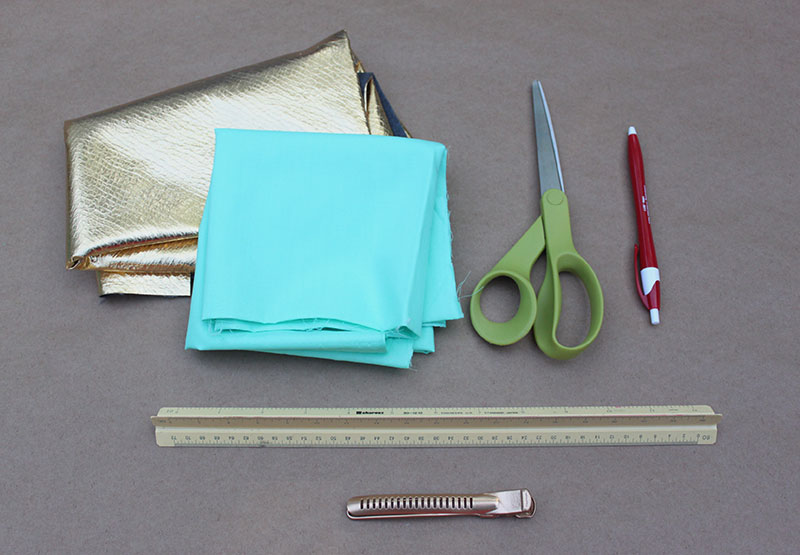 You will need…
– Fabric
– Scissors
– Glue Gun (not pictured)
– Ruler
– Marker
– Hair Clip
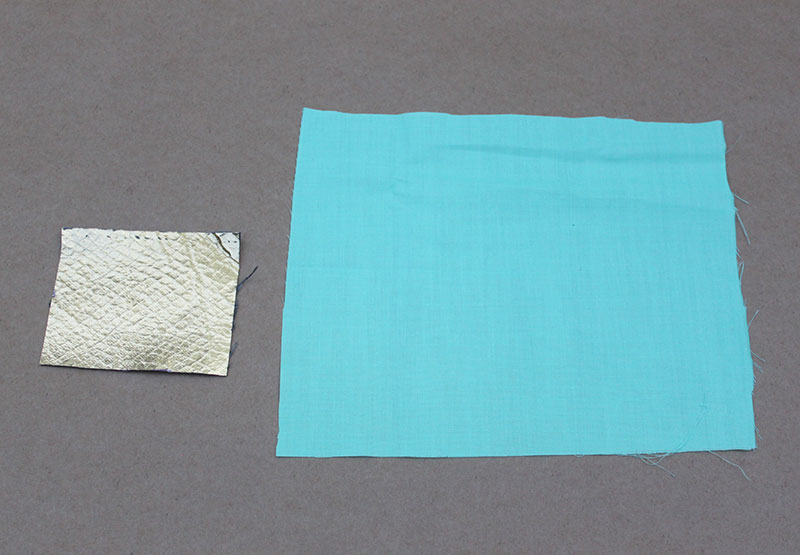 Step 1: Cut two pieces of fabric. The larger one should be 15″ x 12.5″. The smaller piece should be 2″ x 2.5″.

 Step 2: Take the larger piece of fabric and fold it into thirds lengthwise.
 Step 3: Take each end and fold them so that they meet in the middle.
 Step 4: Pinch the bow in the center as shown. Glue the two outside folds to the middle. When dry, flip the bow over and add glue to the center fold.
 Step 5: Fold the smaller piece of fabric into thirds lengthwise and glue. Wrap it around the bow and secure with glue in the back.
 Step 6: Glue hair clip to the back of the bow.
 That’s it! Enjoy your cute hair bow!

This definitely got my attention because i was curious to know how this bow will be made without any form of sewing and you did an awesome job. Love your step by step instructions. Great job.
Thank you for stopping by my blog and leaving me a comment. You really have a really nice blog. Please stay in touch.
http://www.thefashionstirfry.com
Cute – even I could do this!! I love the mint and gold.
♥ Paula Shoe Fiend.
http://shoe-fiend.blogspot.co.nz/
I love this… it’s so cute. I love your blog, such a fab idea! xx
Gemma | ♥ Miss Makeup Magpie ♥
Thanks, Gemma!
This is so cute!! I’m definitely trying this, thanks!
heyniki.wordpress.com
Thank you so much! ive tried several other tutorials for my class project, but theyre all complicated. thanks for making it simple ! haha (:
You’re welcome! Glad I could help :)
what fabric are you using?
That was so cute <3 girl you did it right :) Love it :-*
Lauren xoxo
| how to get youtube subscribers
Great blog and
great writer that wrote this great piece of writing! Thanks
vine vera skin care