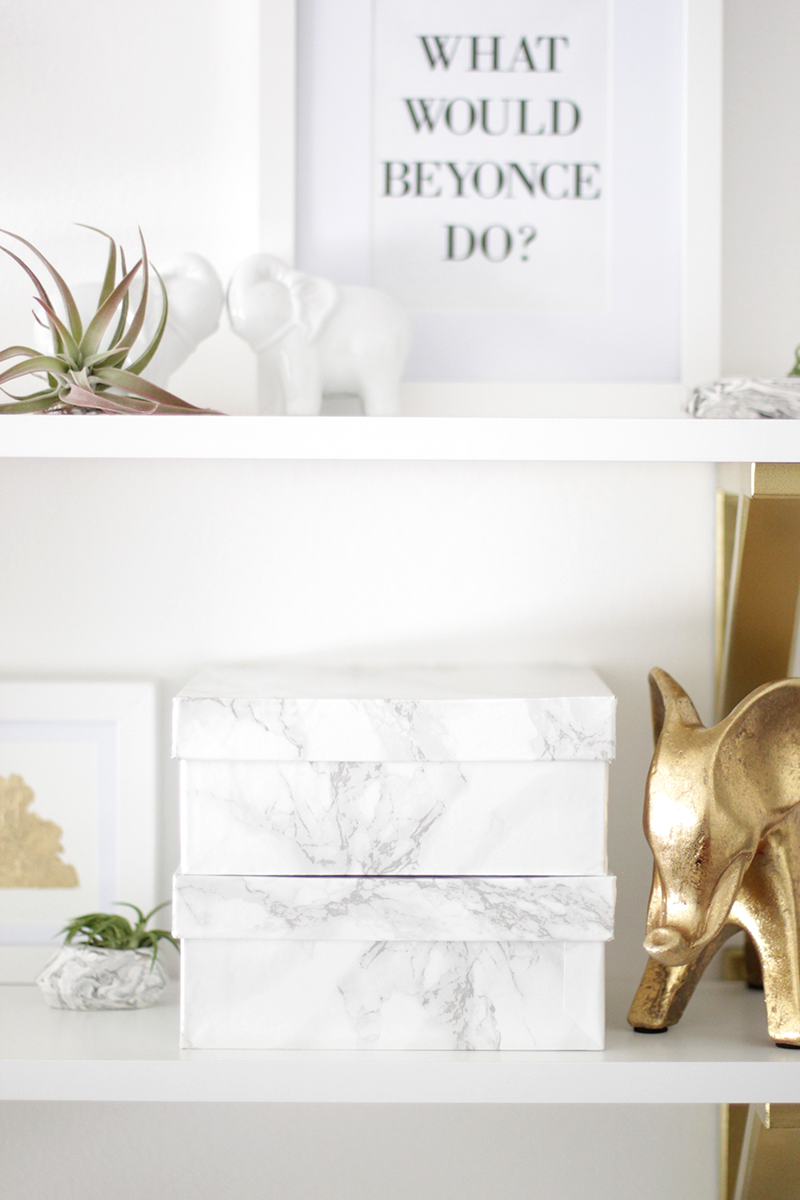
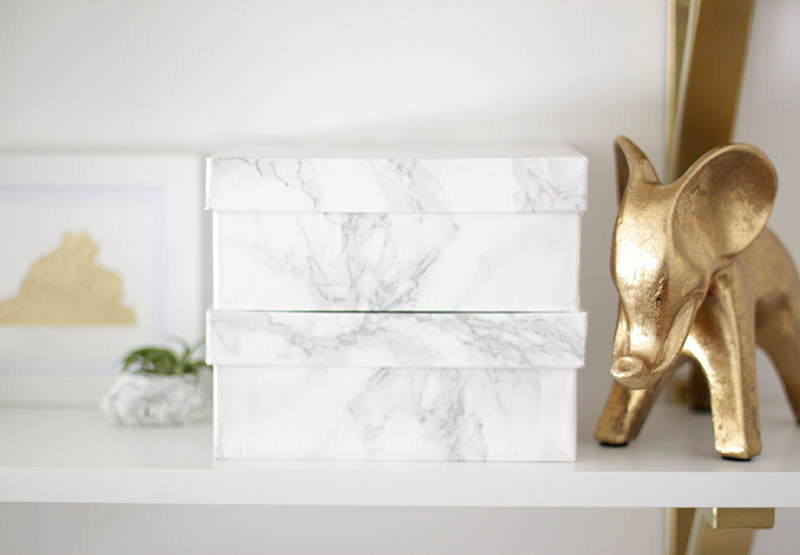
Staying true to my current marble obsession, I made these boxes to style my workspace shelves. It’s a good thing I believe that you can never have too much storage! I followed this easy tutorial for amazing and chic results!

Staying true to my current marble obsession, I made these boxes to style my workspace shelves. It’s a good thing I believe that you can never have too much storage! I followed this easy tutorial for amazing and chic results!
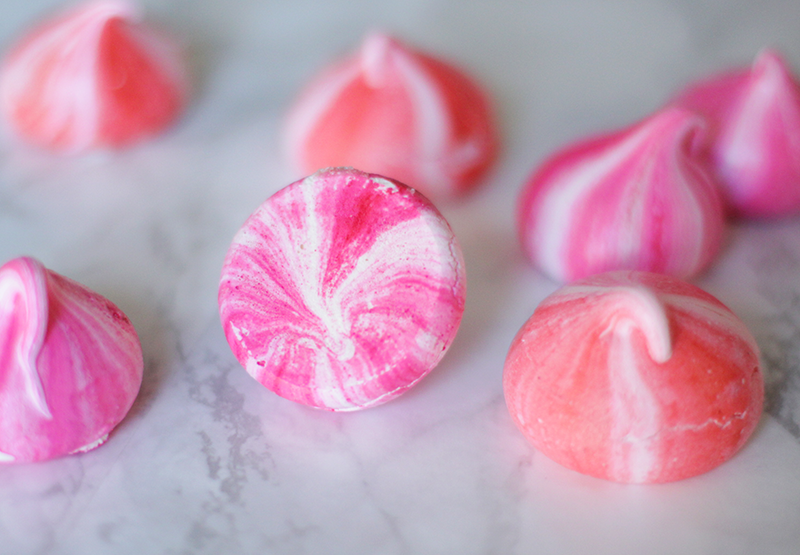
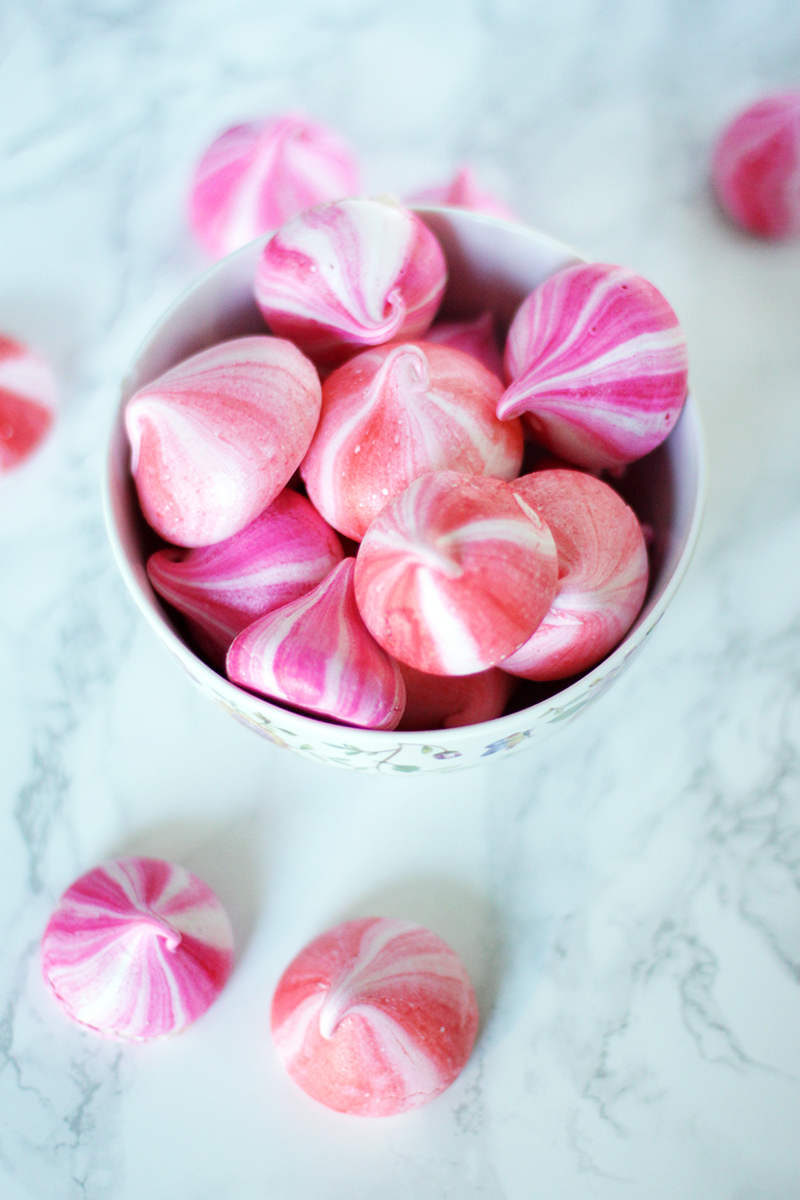 If you’re looking for a quick and easy last minute Valentine’s Day recipe, these marbled meringue kisses are the perfect treat!
They have a crunchy outer shell, and a chewy marshmallow center. These require knowing how to mix egg whites to soft peaks. You’ll know you have achieved soft peaks when you turn the whisk upside down, and the peaks are just starting to hold. This takes a little practice, so keep at it!
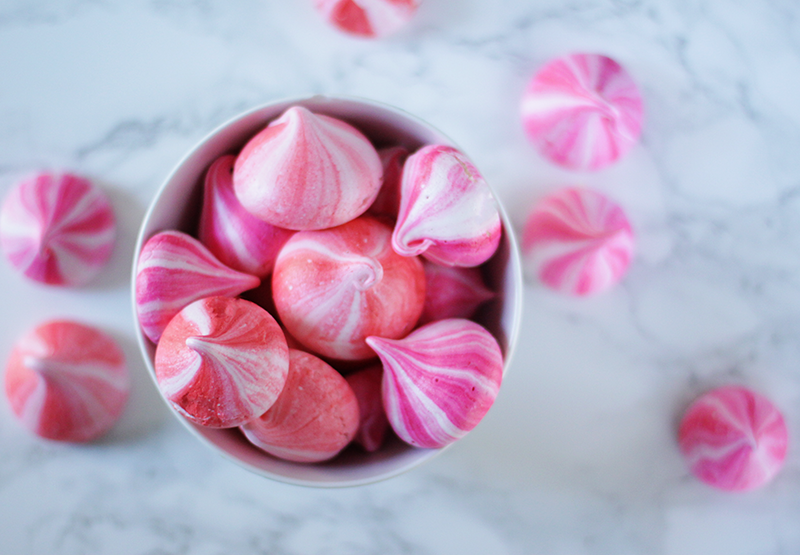
I must say these did not last very long at my house. Everyone loved them! Even my mom who is the opposite of a “sweet tooth” kept commenting on how good they were.
You can find the recipe below…
RECIPE
175g of egg whites (Approximately 5 large eggs) at room temperature
350g sugar
Pink and/or red food dye
Preheat oven to 200°F (90°C). Line 2 baking sheets with parchment paper.
Whisk the egg whites until soft peaks. Slowly add sugar. Continue whisking until stiff peaks; the time will vary depending on the temperature of your egg whites.
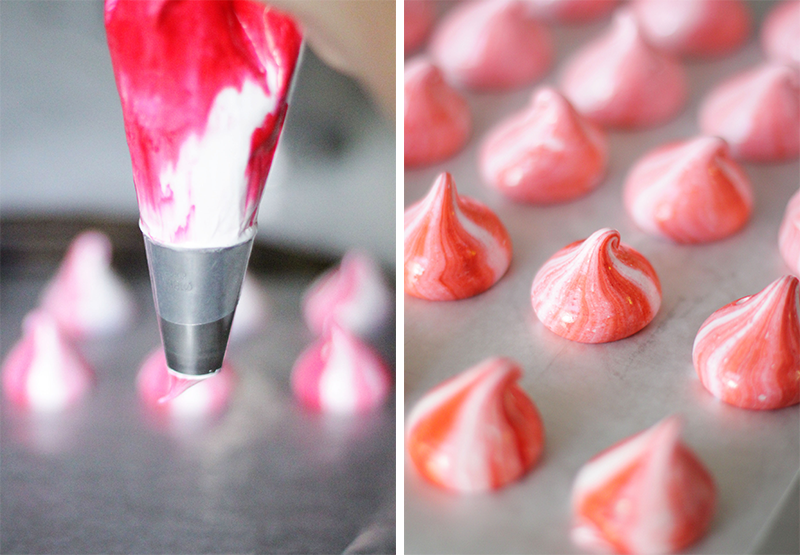
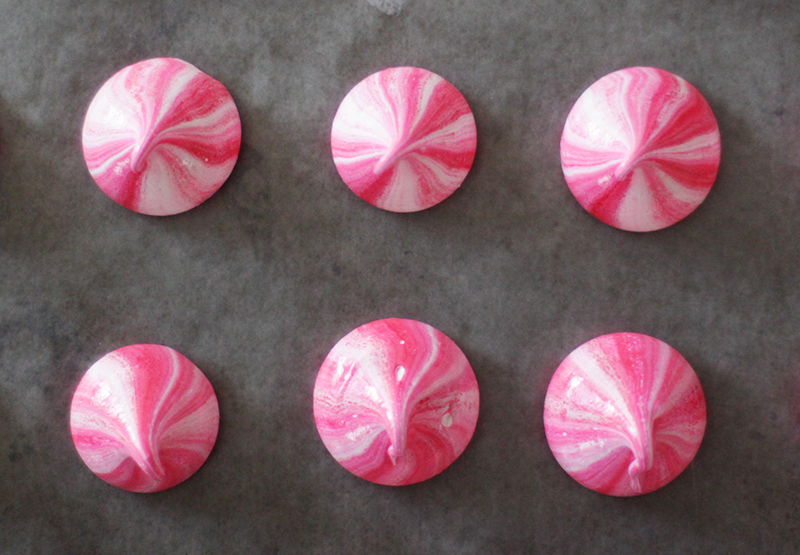
Prepare a pastry bag by cutting off the end and inserting a large round tip. (I used an 18mm.) Squeeze in some food coloring on either side of the piping bag. Careful not to add too much or the meringues could end up tasting bitter.
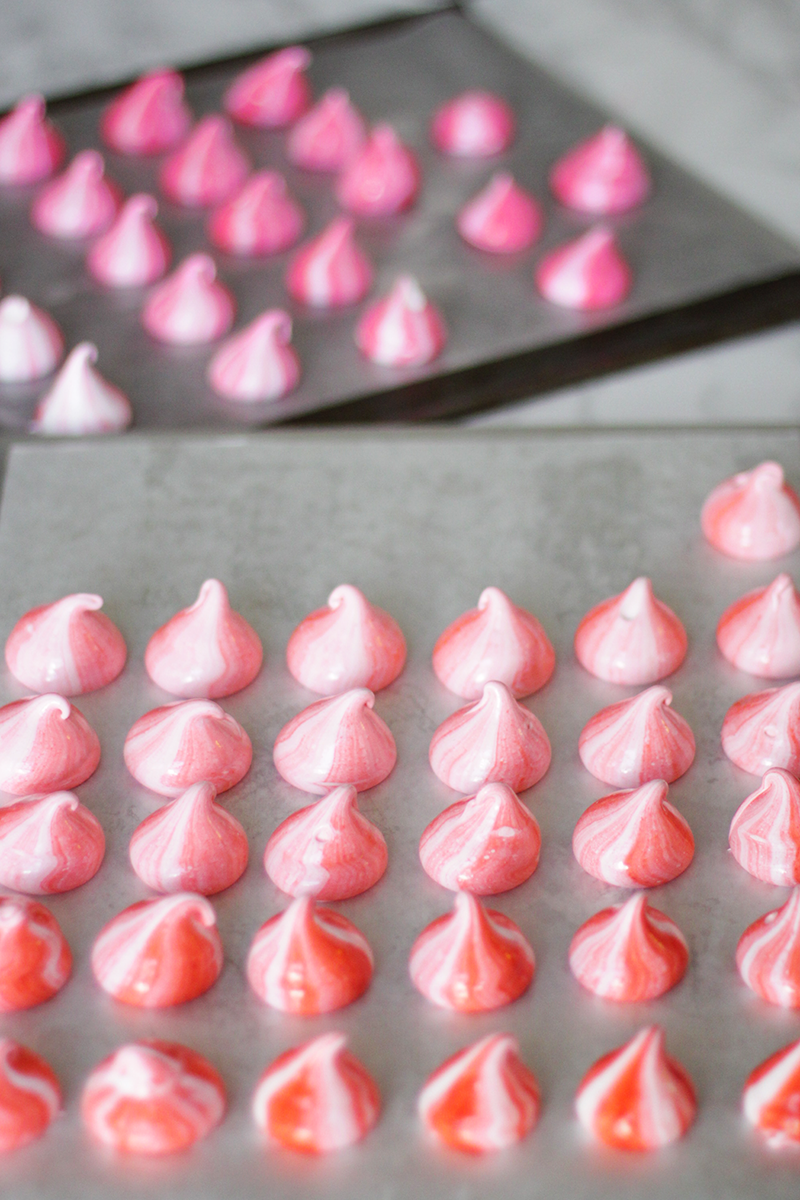
Pour half of the meringue mixture into the prepared piping bag. Pipe the kisses about one inch wide onto the baking sheet. Continue piping in rows until you’ve used all the meringue. Repeat with a new piping bag, and a different food color if desired.
Bake for approximately 1 1/2 hours or until they can be lifted cleanly from the parchment paper. Allow the meringues to cool completely before enjoying!
Happy Valentine’s Day!! xoxo
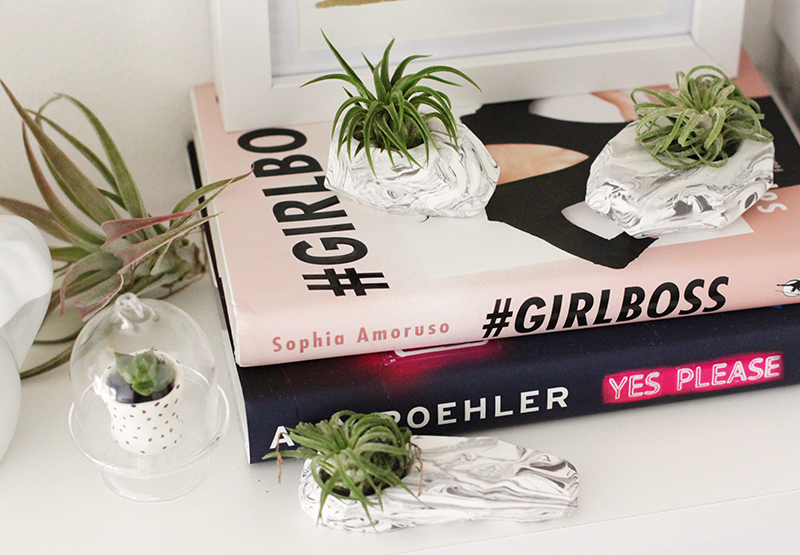
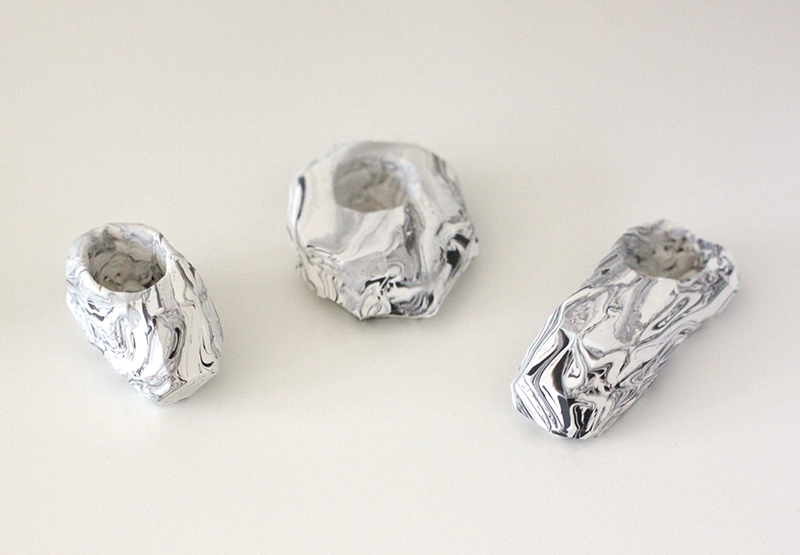
My biggest obsessions currently include air plants, as evidenced by this Instagram post, and all things marble. I thought long and hard about how to combine the two and came up with these marbled clay planters.
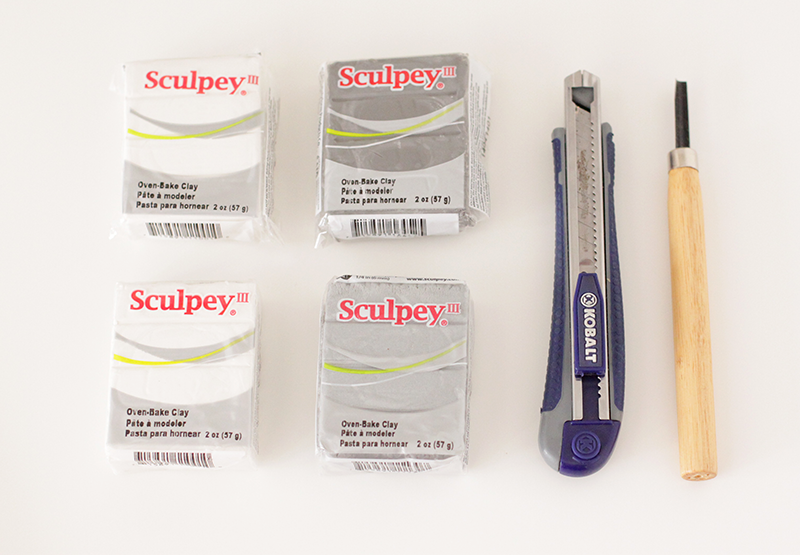
You’ll Need:
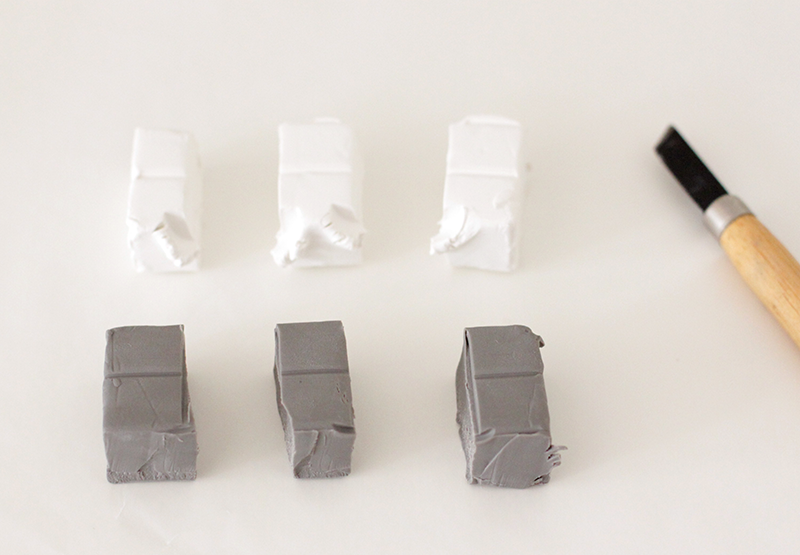 1. Start by cutting each color of clay into three separate pieces.
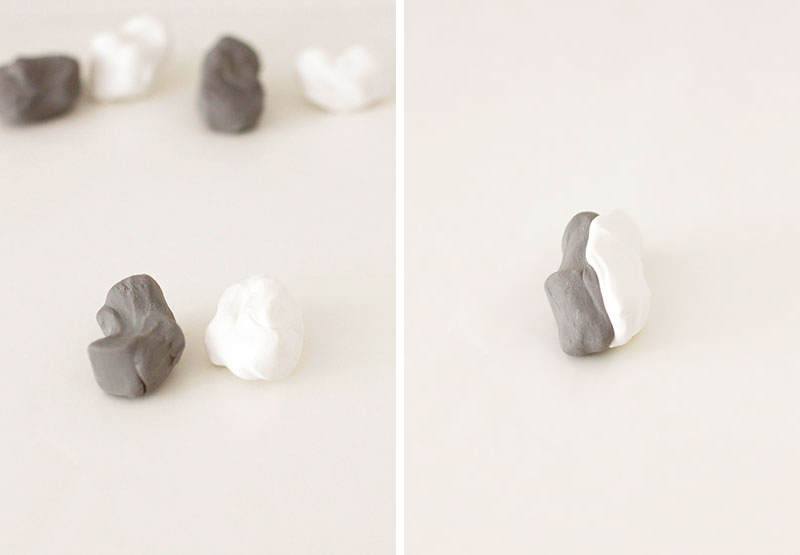 2. Work the clay in your hands until it is soft and pliable. Combine two pieces together.
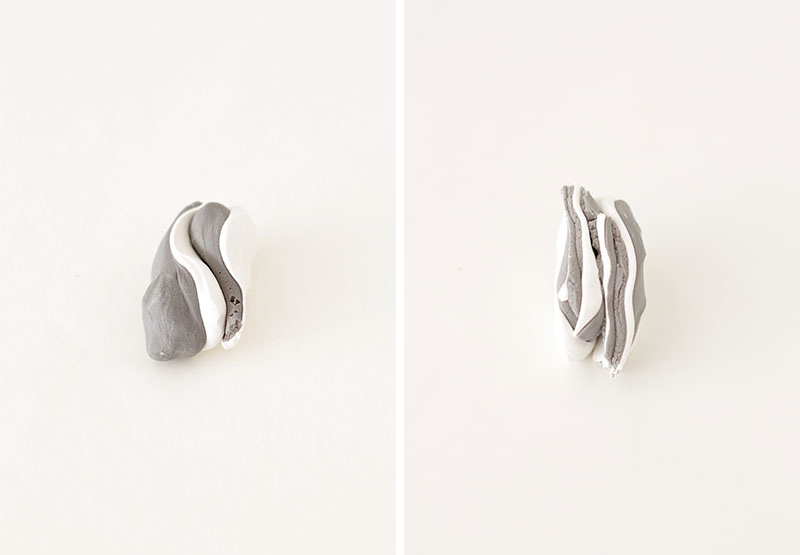 3. Continue combining the clay until you have added all your pieces. Once you have added all the clay, begin to pull apart and layer. Mix the clay together without fully combining the clay.
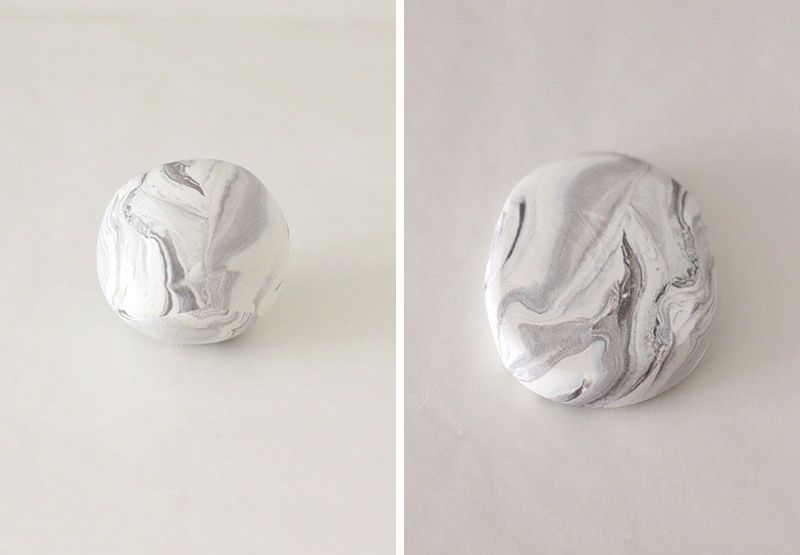 4. Roll the clay into a ball and decide what kind of shape you want for your planter. I wanted a short, oval look for my first planter. Flatten out the clay to about 1/4″ in height.
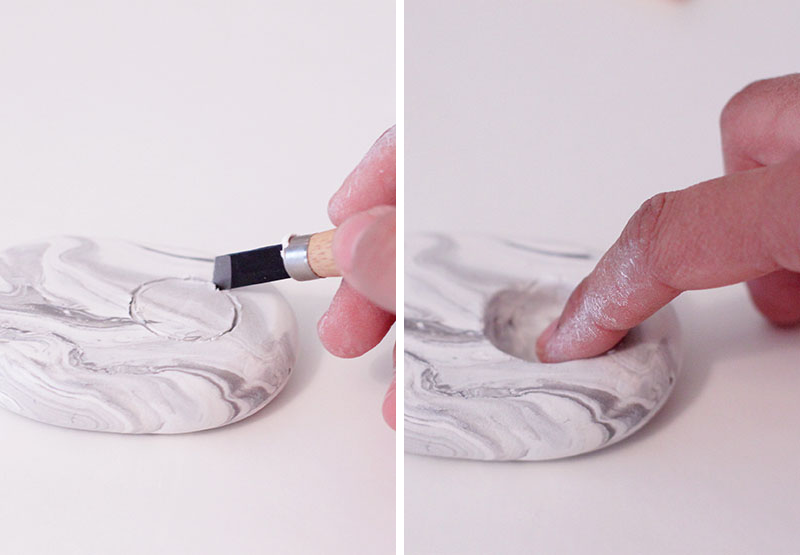 5. Using the clay tool, trace a circle in the clay. Carve out the circle but be careful to not go all the way through the clay.
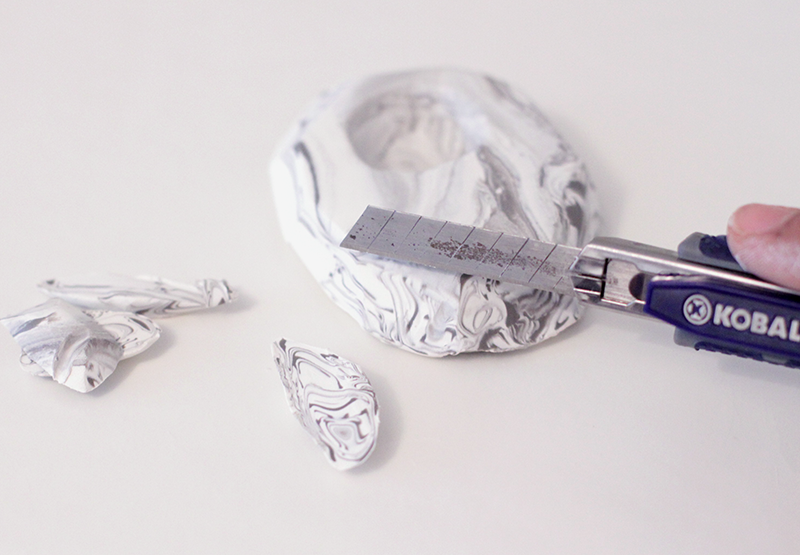 6. Using a sharp knife, start to trim away at the piece of clay. Hold the knife at an angle to create sharp angles along the top edge.
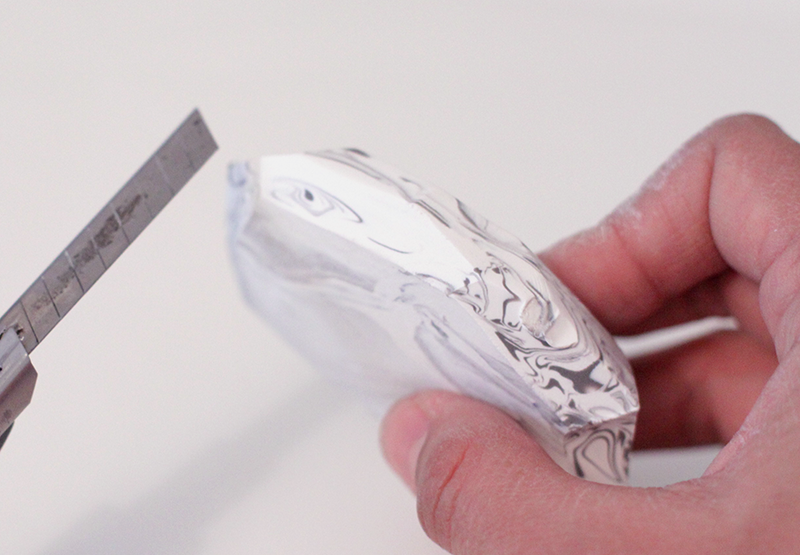 Repeat the previous step along the bottom edge of the planter.
 Continuing making different styles and shapes! Bake your clay following the instructions on the packaging.
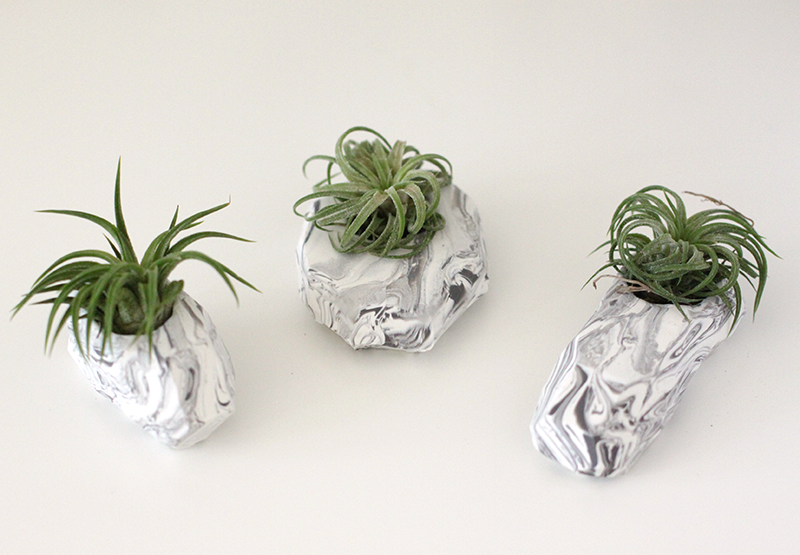
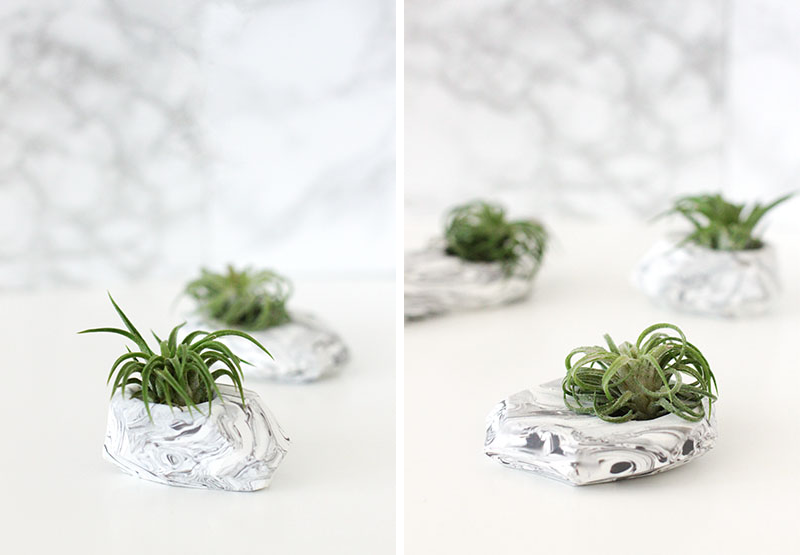 And you’re done!
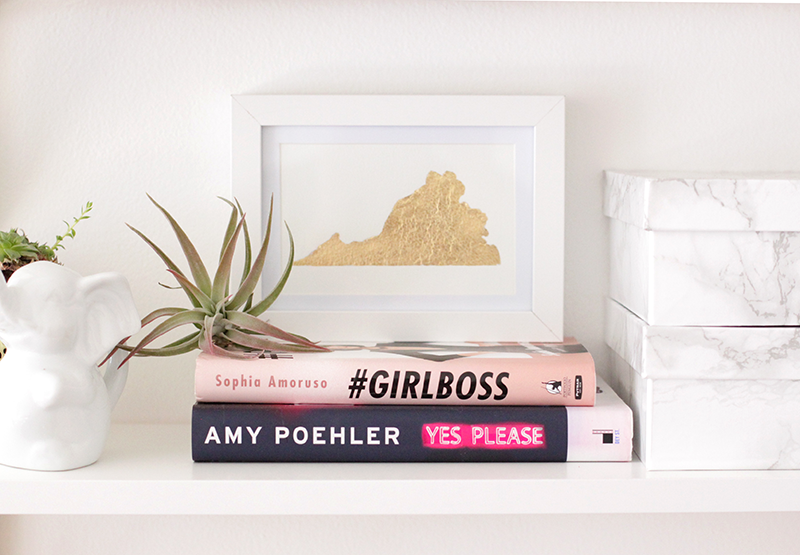
If you follow my blog, you already know I’m in the process of making over my bedroom. I recently installed a few gold bracket shelves after writing this post. I wanted some art to style my shelves and was really inspired by my latest post on gold foil prints. I’ve seen some state prints online and loved the idea!
 You need:
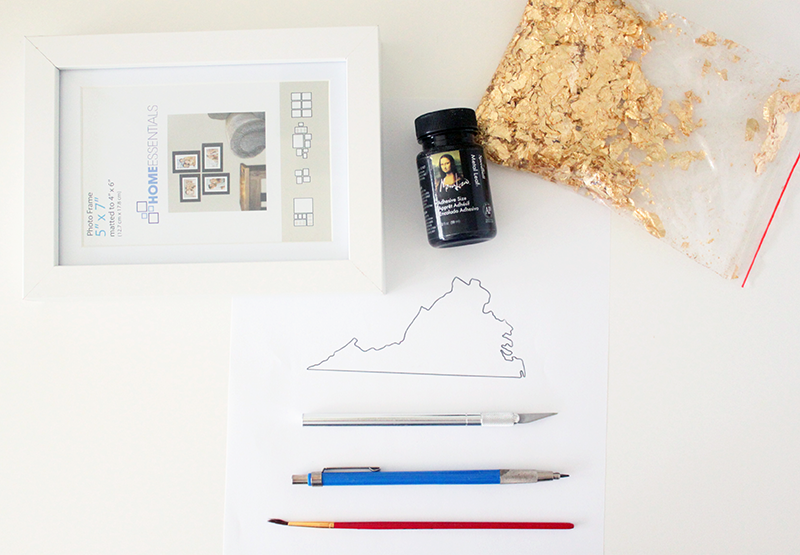
-Gold Foil and Adhesive
-Paintbrush
-Paper and Pencil
-Xacto Knife
-Frame
 1. Print out a picture of your state sized to fit your frame. (If you have a printer that lets you print on a high weight paper, feel free to skip the next few steps!)

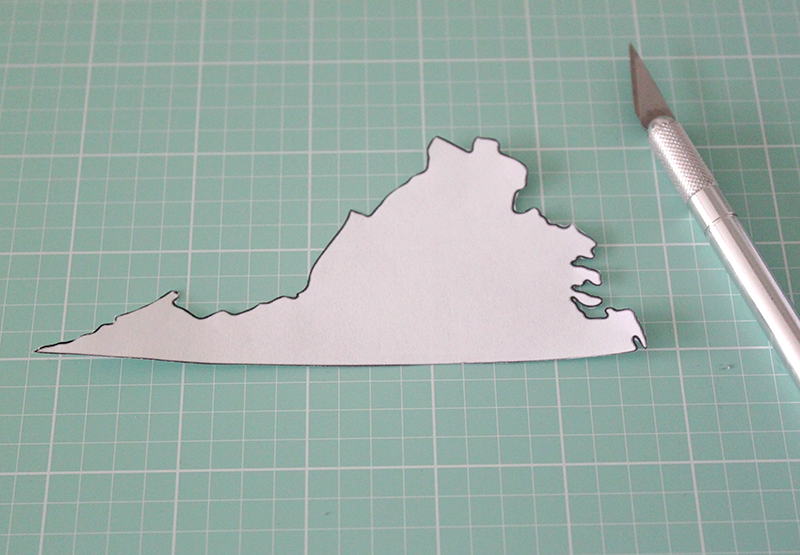 2. Using an Xacto knife, cut out the state. Read More →
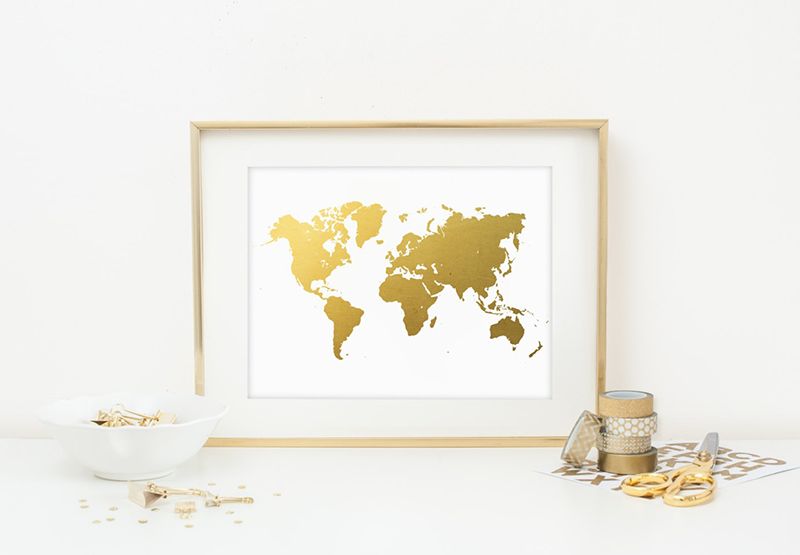
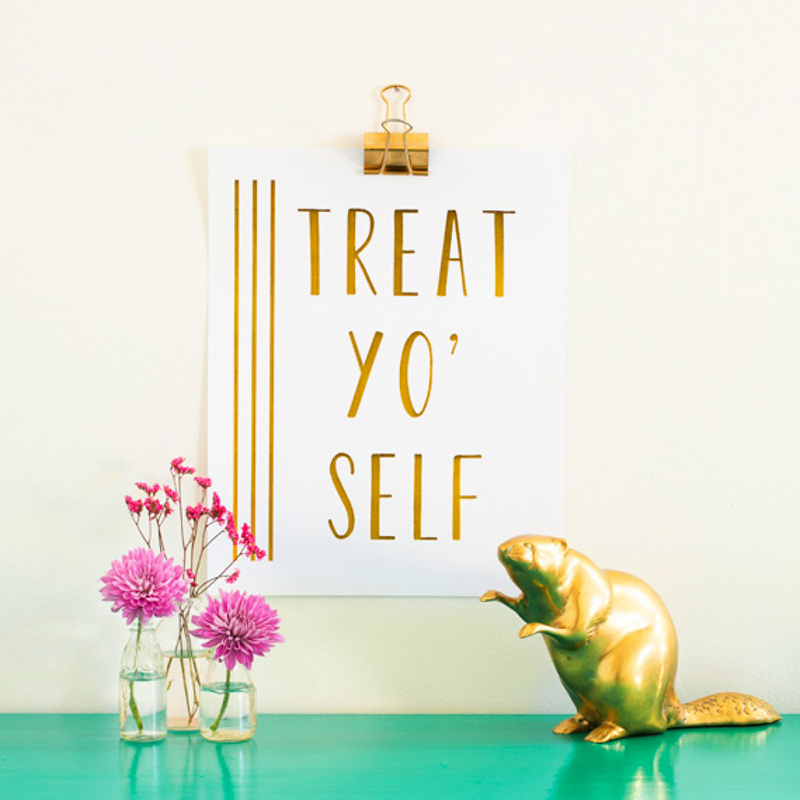
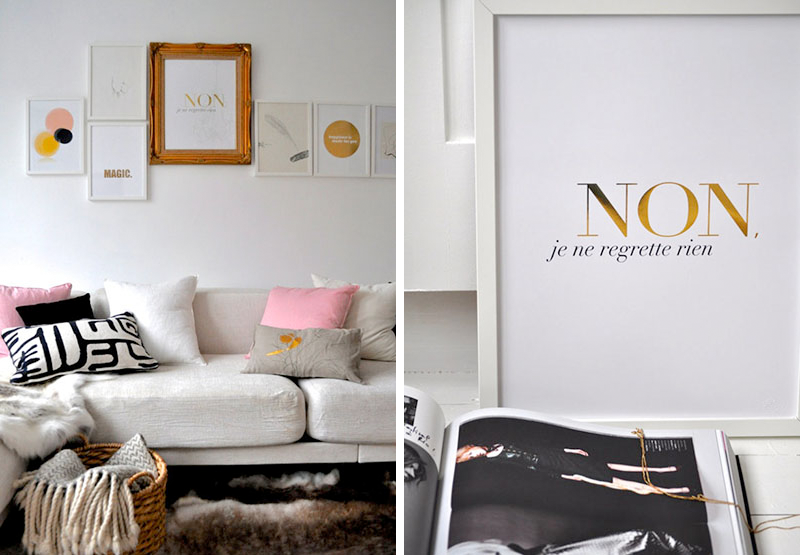
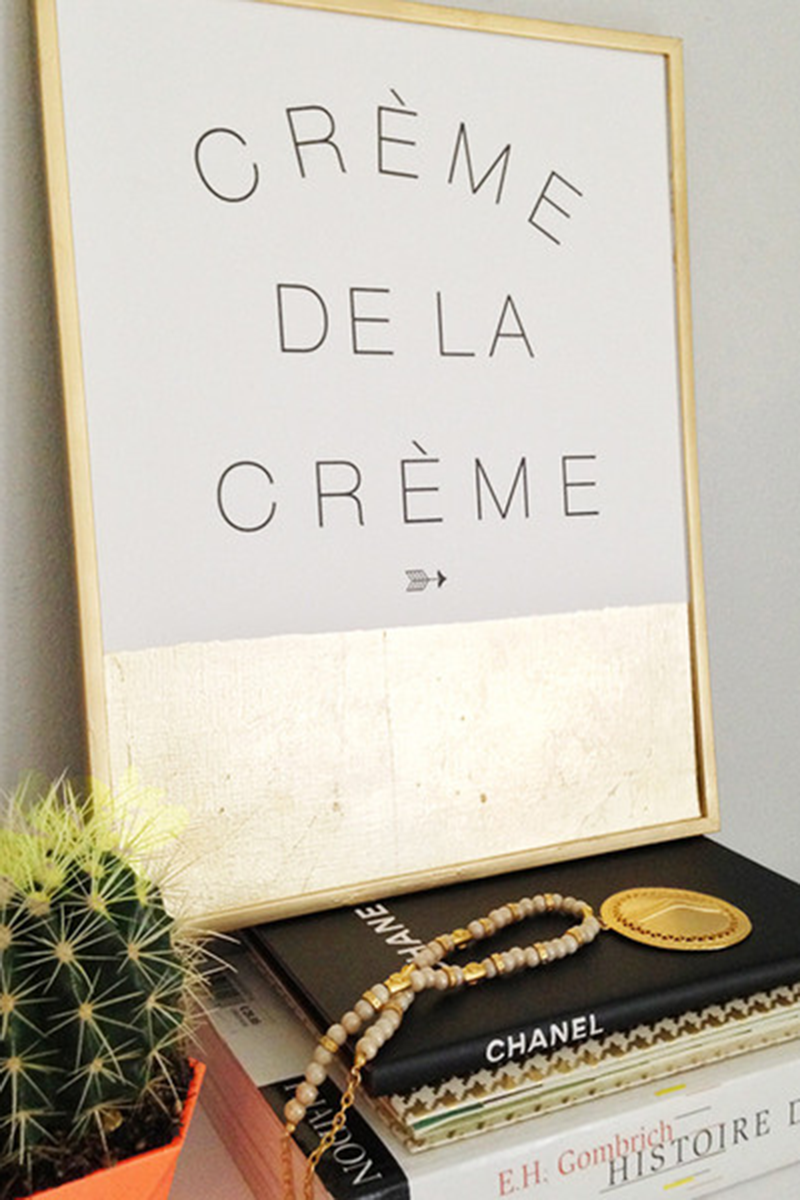
I’m back at blogging! Hopefully for good this time!! I’ve been super busy with work and have recently undertaken the project of redecorating my bedroom. I’m trying to stick with a clean, white palette. I painted my room from a dark pink to a bright white. Bought a new desk and hung some shelves. Though I’m trying to stick with mainly white, gold accents keep popping up into the decor. (Stay tuned for some gilded DIYs!) If you’re looking to add some gold decor to your home, these prints are the perfect addition!