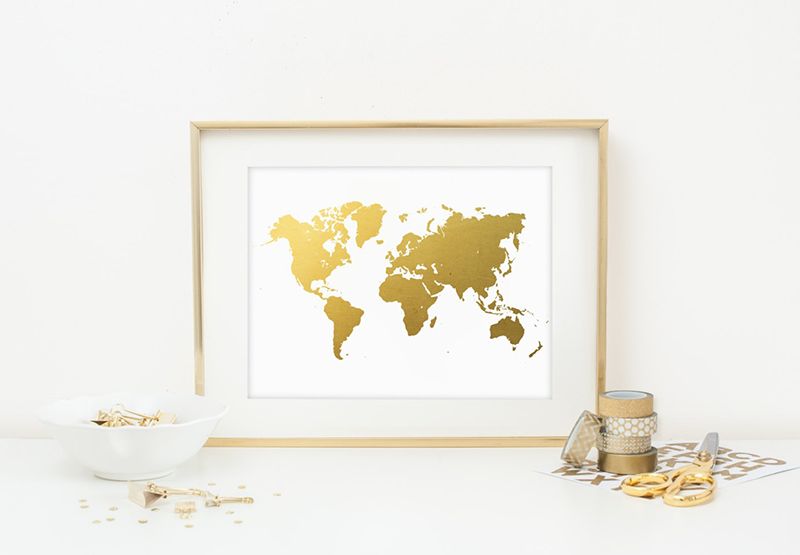
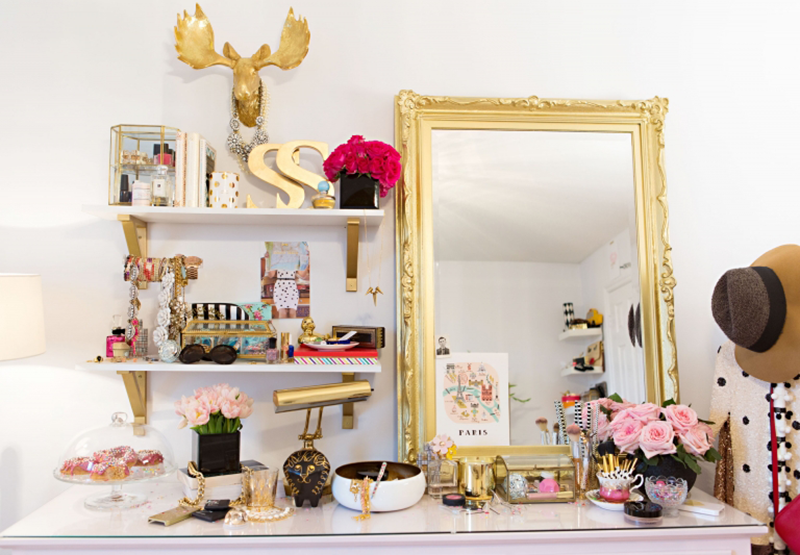
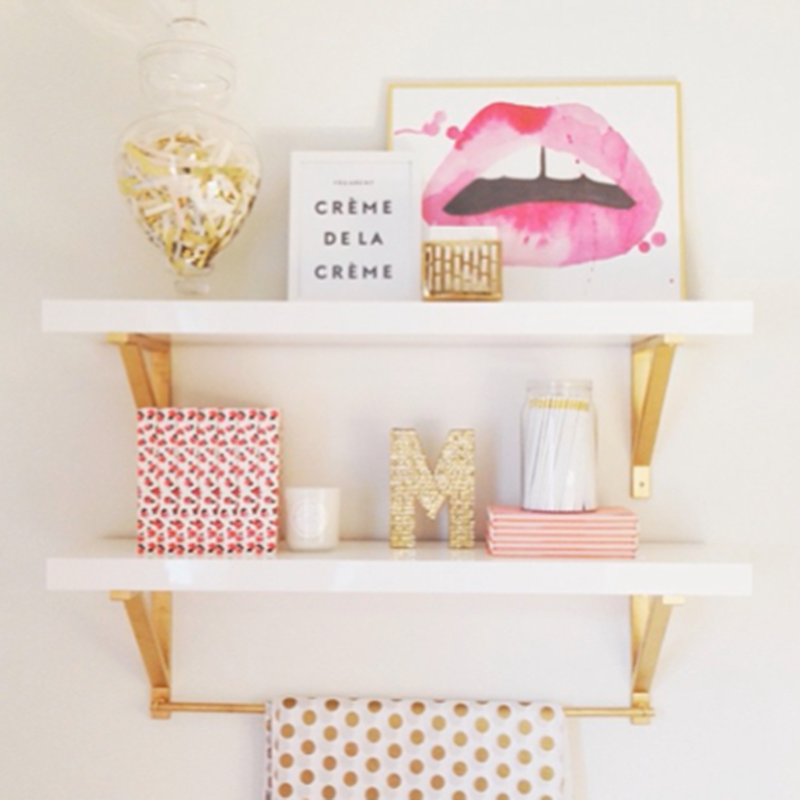
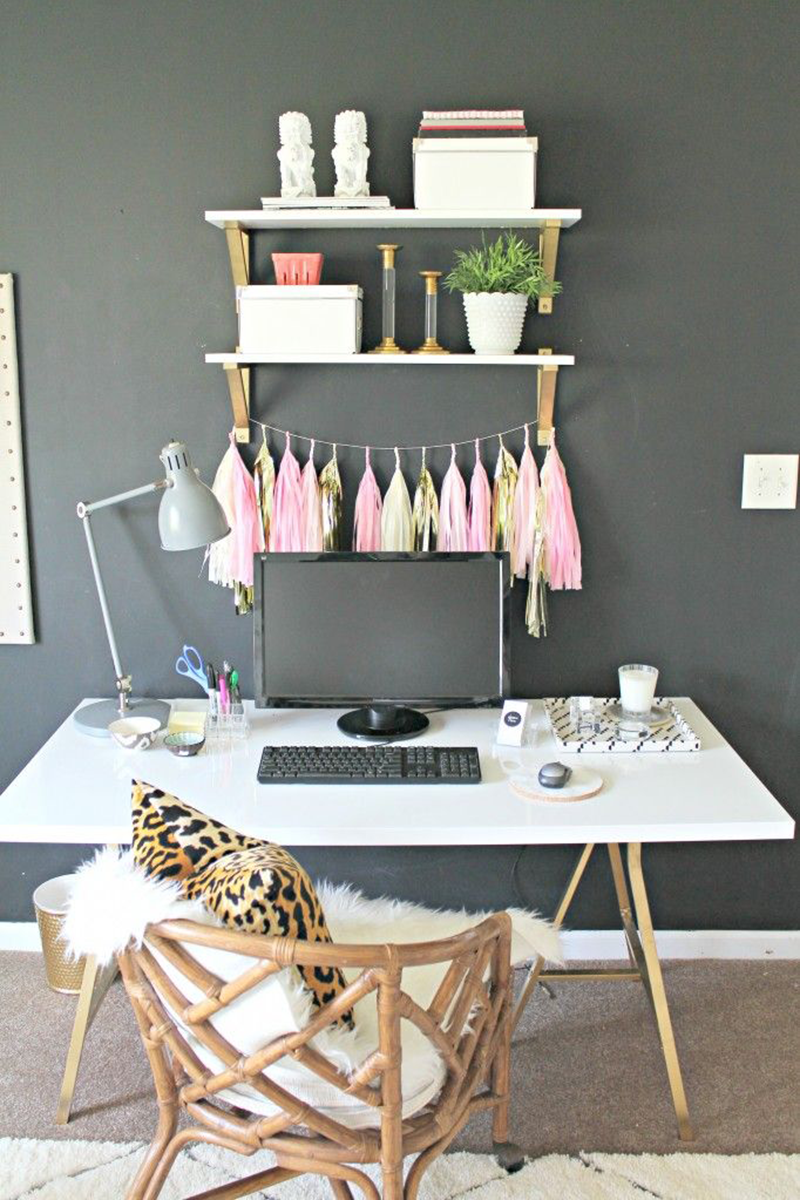
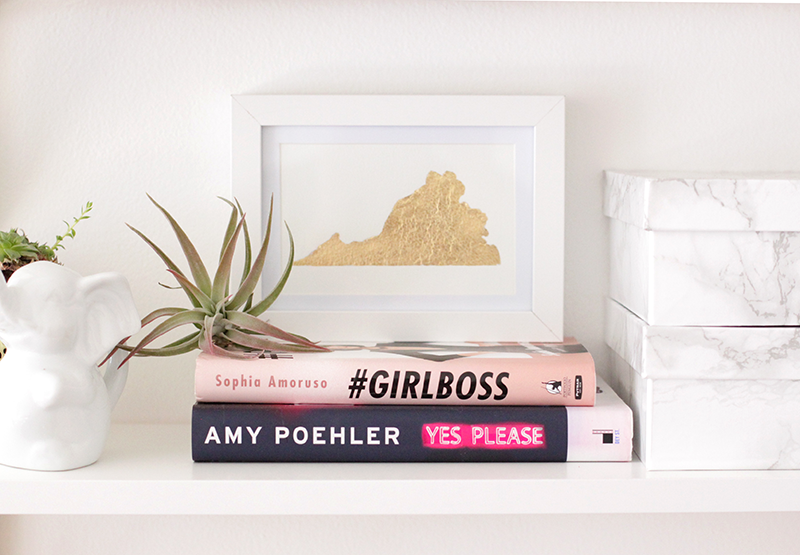
If you follow my blog, you already know I’m in the process of making over my bedroom. I recently installed a few gold bracket shelves after writing this post. I wanted some art to style my shelves and was really inspired by my latest post on gold foil prints. I’ve seen some state prints online and loved the idea!
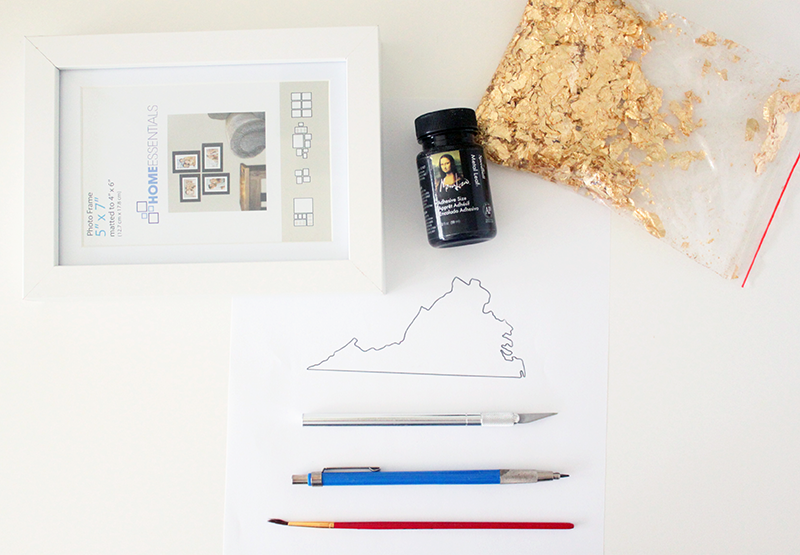
You need:
-Gold Foil and Adhesive
-Paintbrush
-Paper and Pencil
-Xacto Knife
-Frame
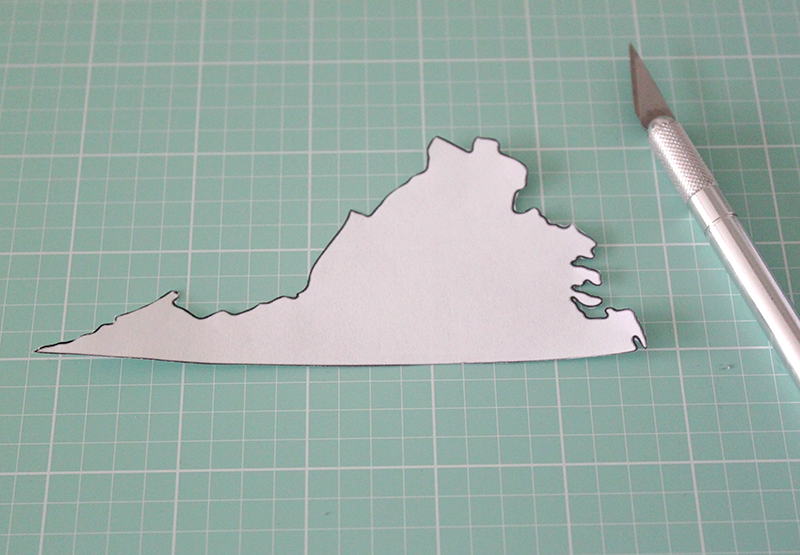
1. Print out a picture of your state sized to fit your frame. (If you have a printer that lets you print on a high weight paper, feel free to skip the next few steps!)
2. Using an Xacto knife, cut out the state. Read More →
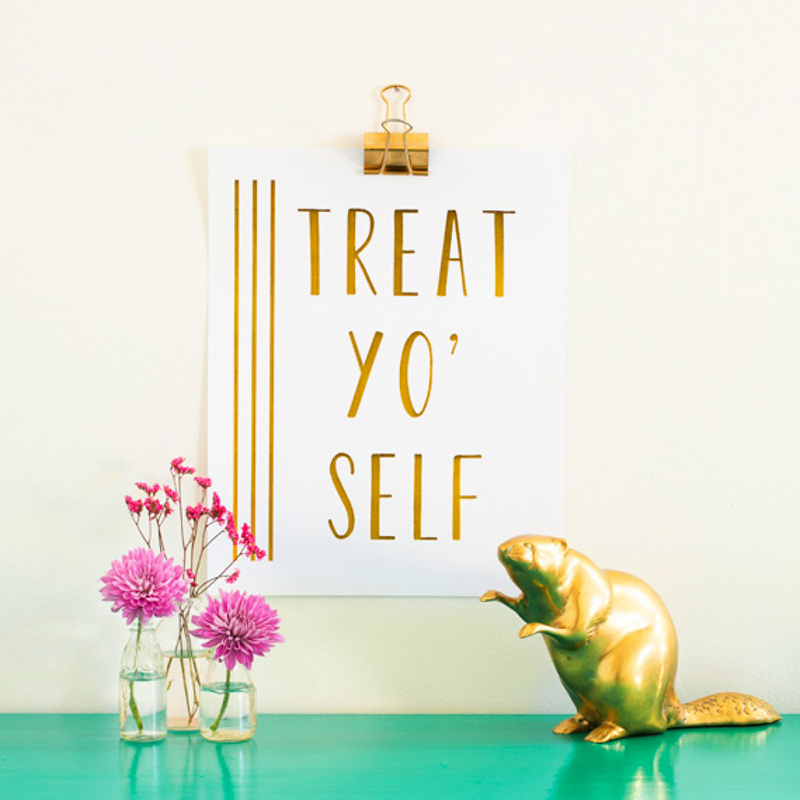
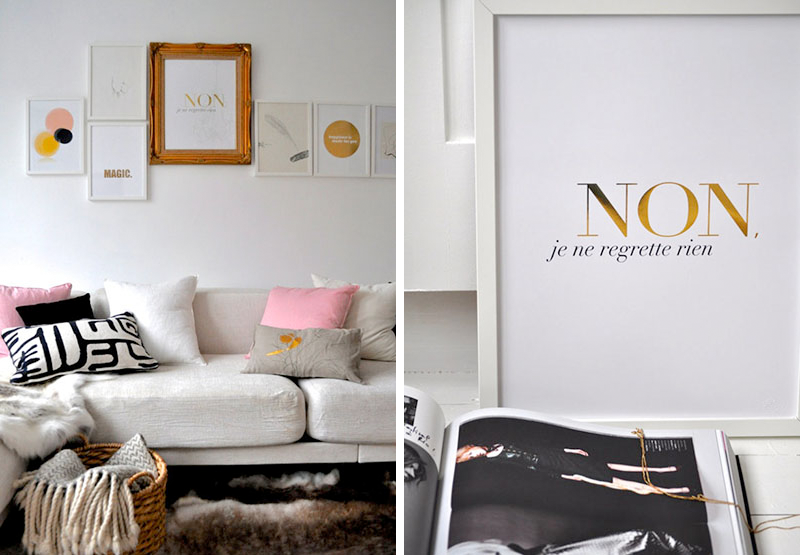
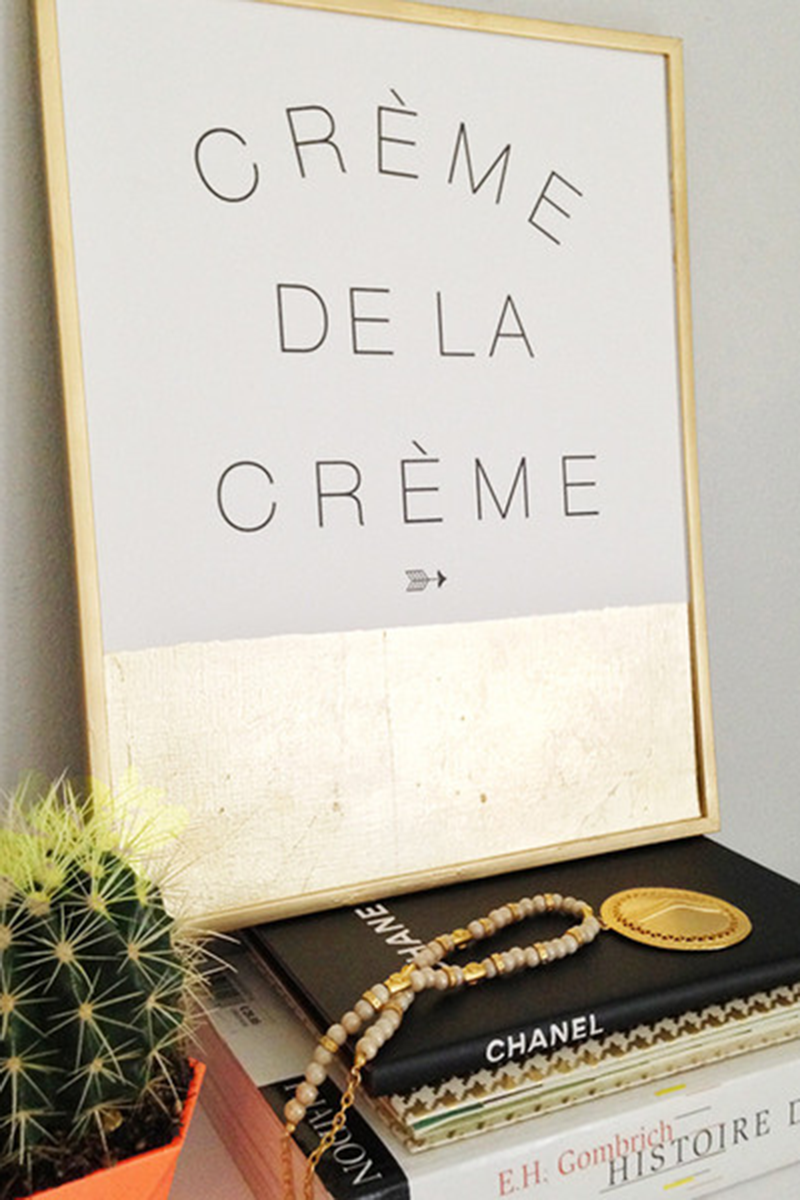
I’m back at blogging! Hopefully for good this time!! I’ve been super busy with work and have recently undertaken the project of redecorating my bedroom. I’m trying to stick with a clean, white palette. I painted my room from a dark pink to a bright white. Bought a new desk and hung some shelves. Though I’m trying to stick with mainly white, gold accents keep popping up into the decor. (Stay tuned for some gilded DIYs!) If you’re looking to add some gold decor to your home, these prints are the perfect addition!
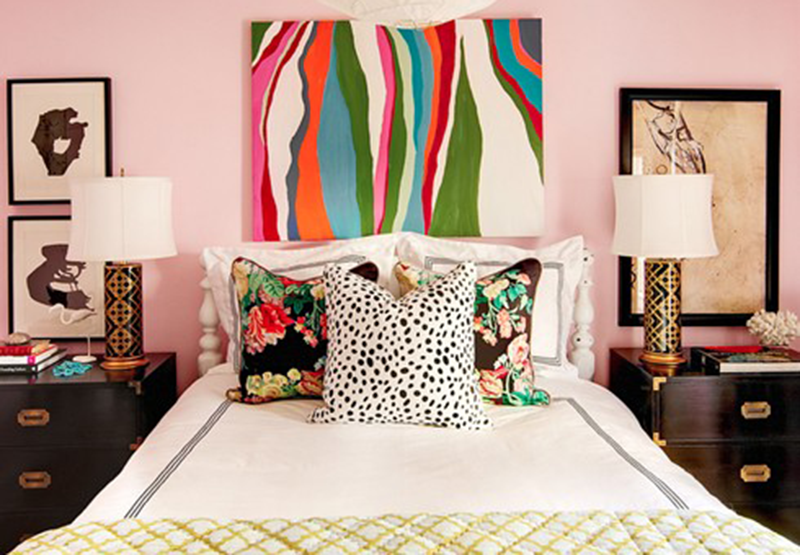
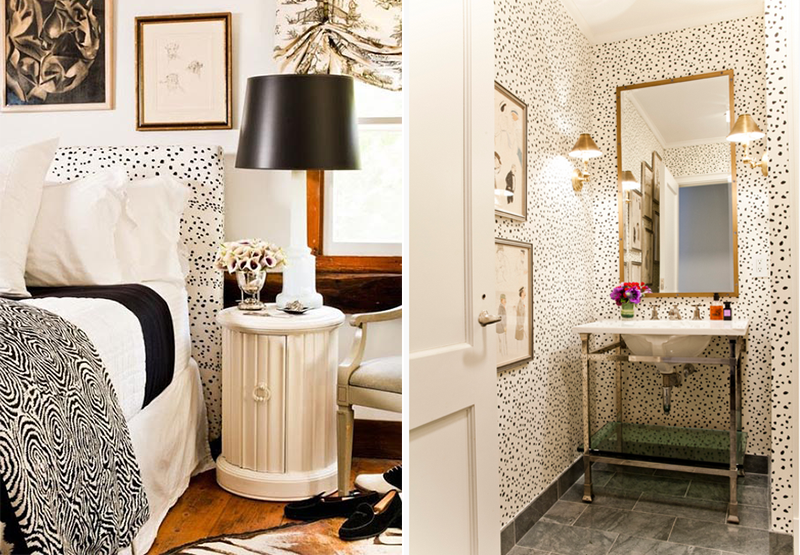
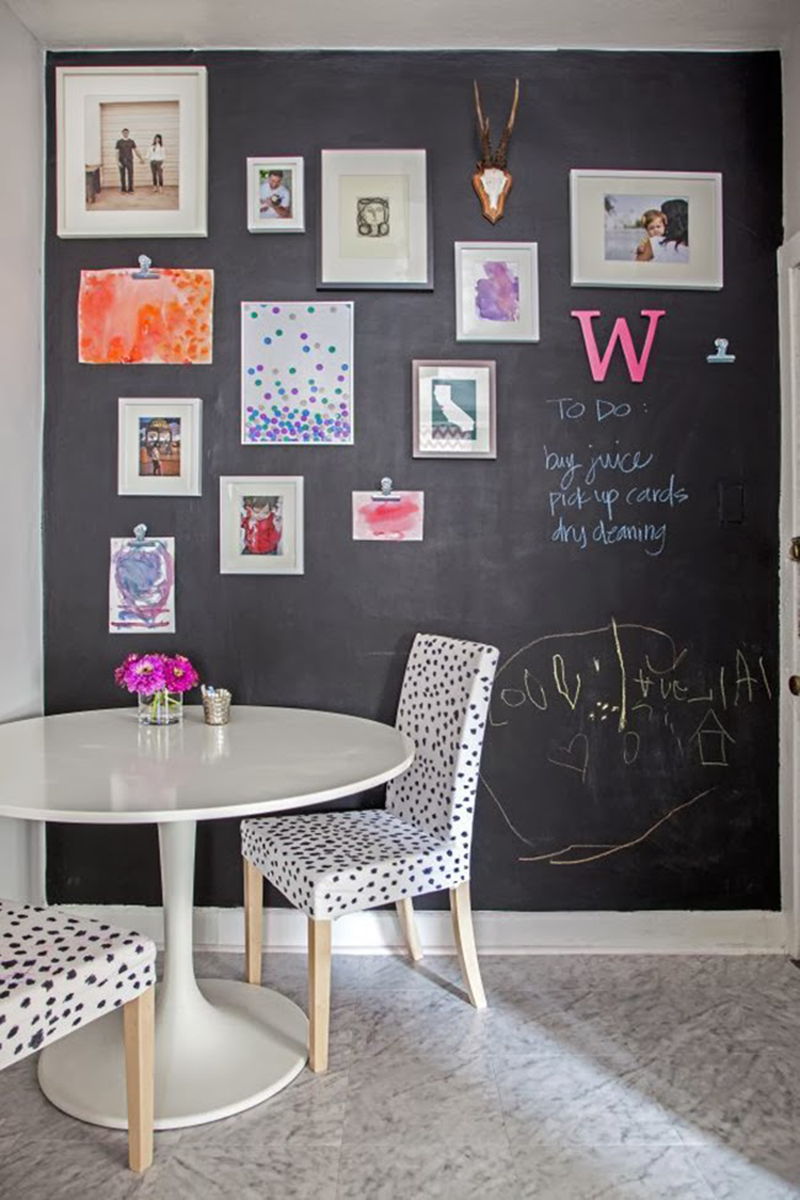
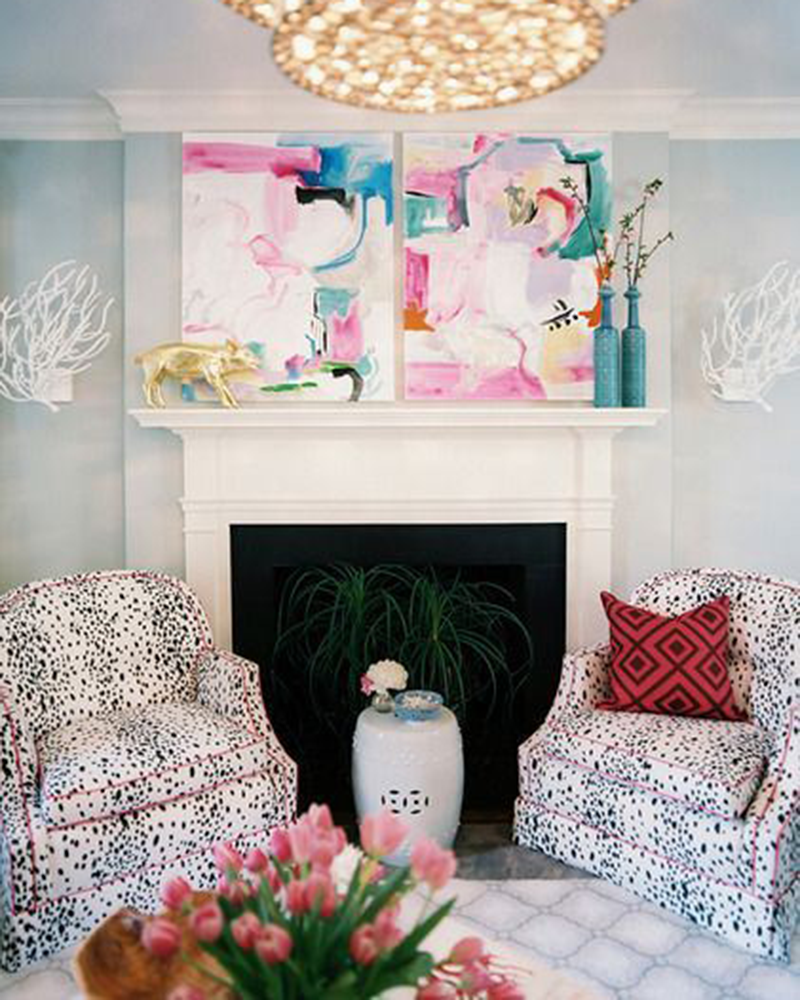
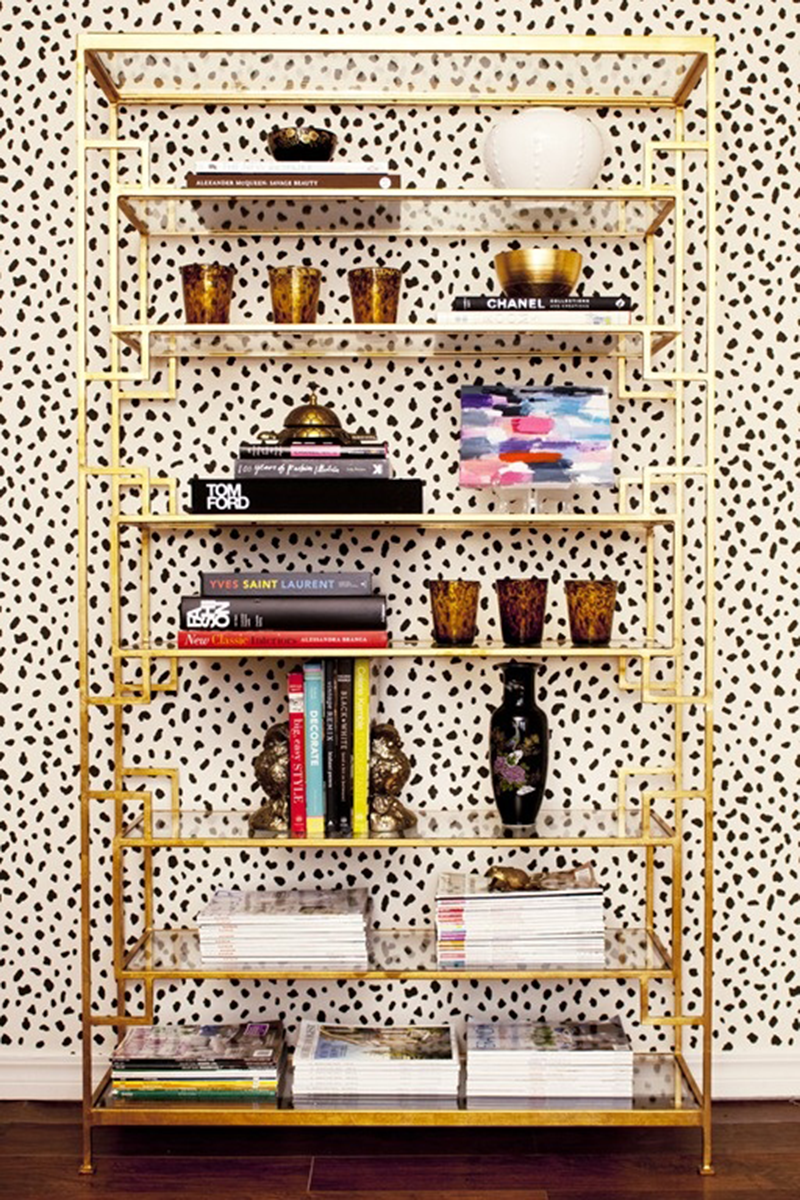
In the midst of my bedroom redesign I’ve come across dalmatian print more than once. Though dalmatian print wallpaper appears to be the most popular, I don’t think I could commit to such a bold pattern on my wall for very long. I love the easily changed pillowcase or chair slipcover. To make a bold statement, without the permanence of wallpaper or paint, I thought dalmatian print curtains would make a great compromise! Stay tuned for the tutorial!!
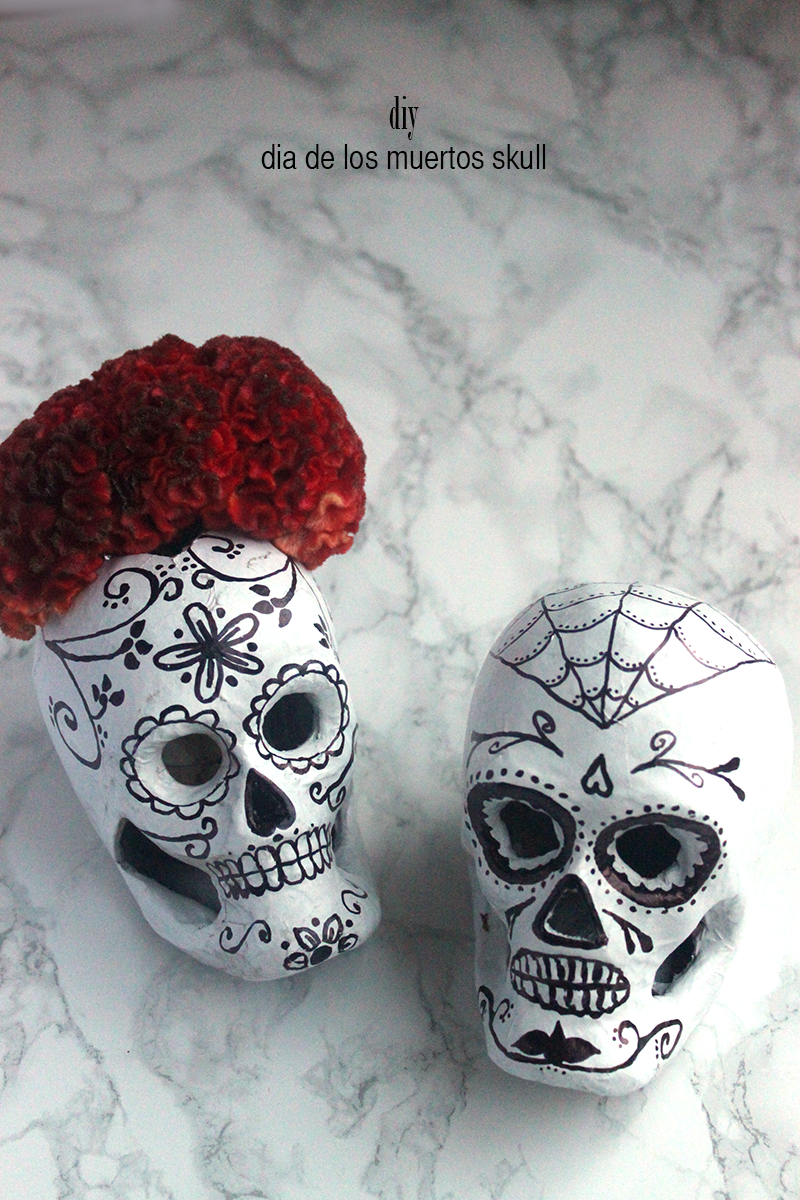
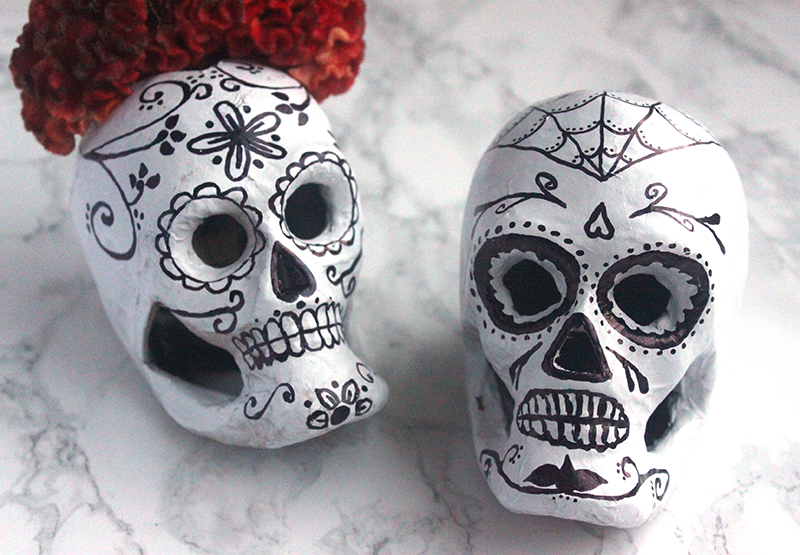
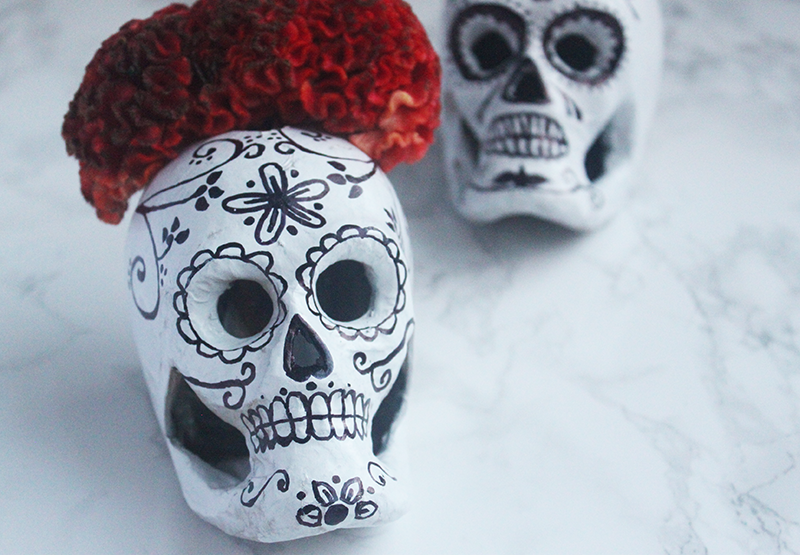
Dia de los Muertos (And Halloween!) is right around the corner. Last year I made these colorful skulls using glue and glitter. This year, I thought I’d keep it simple (and lazy) by sticking to a black and white color scheme and utilizing a sharpie marker. My best friend, and event designer/florist had some leftover coxcomb and offered it to me for whatever DIY I could think up. Since coxcomb slightly resembles a brain, I thought it would be fun to turn my skull into a vase!
Materials:
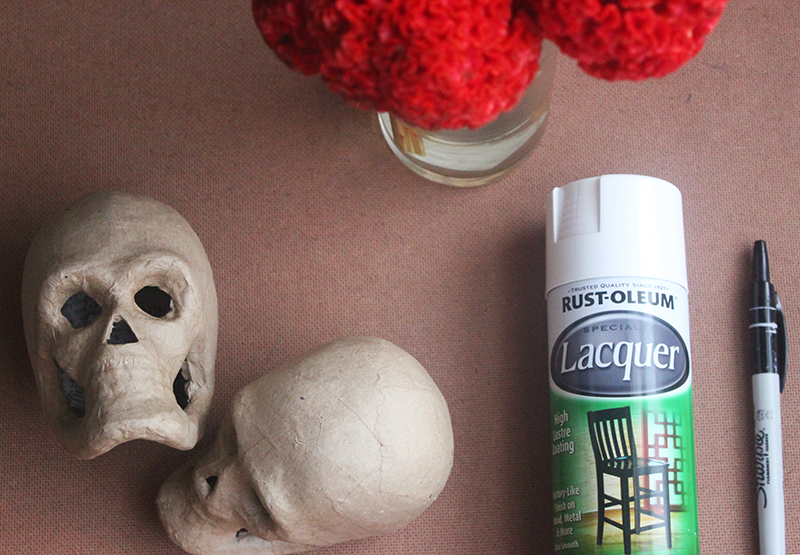
– Paper Mache Skulls (bought at Michaels)
– White Spray Paint
– Black Sharpie Marker
– Tea Light Holder
– Scissors
– Coxcomb
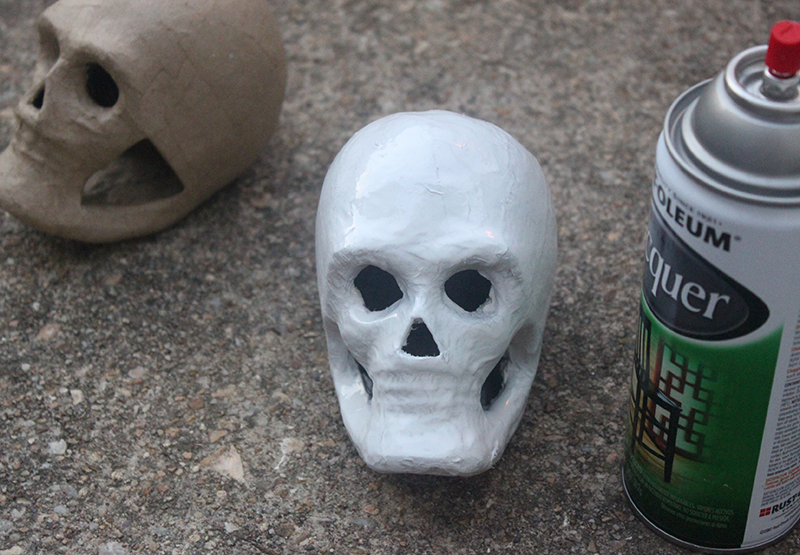
1. Spray paint your skulls white in a well ventilated area. Let them dry completely.
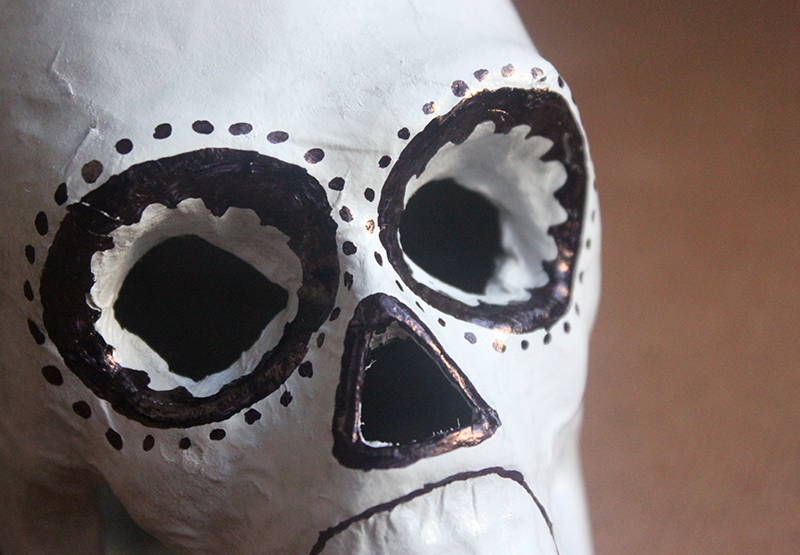
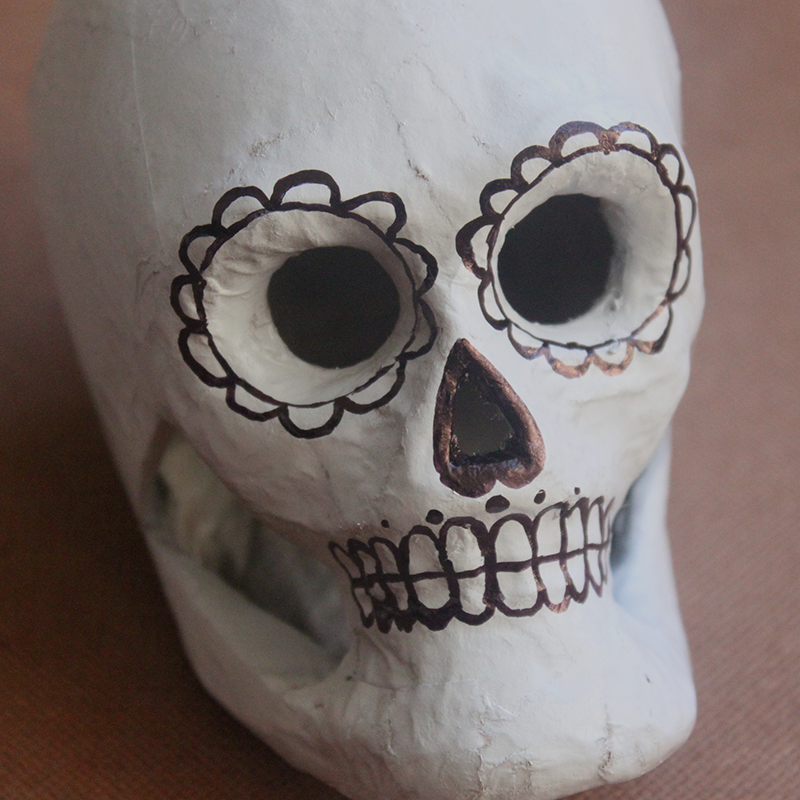
2. Look up Dia de Los Muertos skulls for design inspiration. Use the sharpie to start drawing out your design.
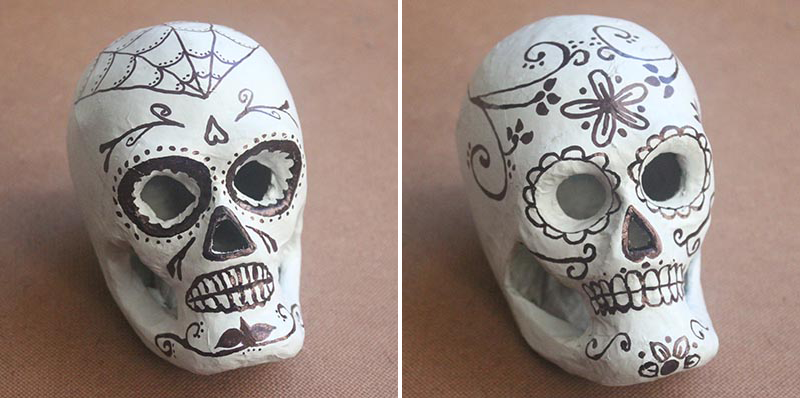
Draw a different design on the second skull.
They look great as is so you can always stop at this step. I wanted to test my vase theory though!
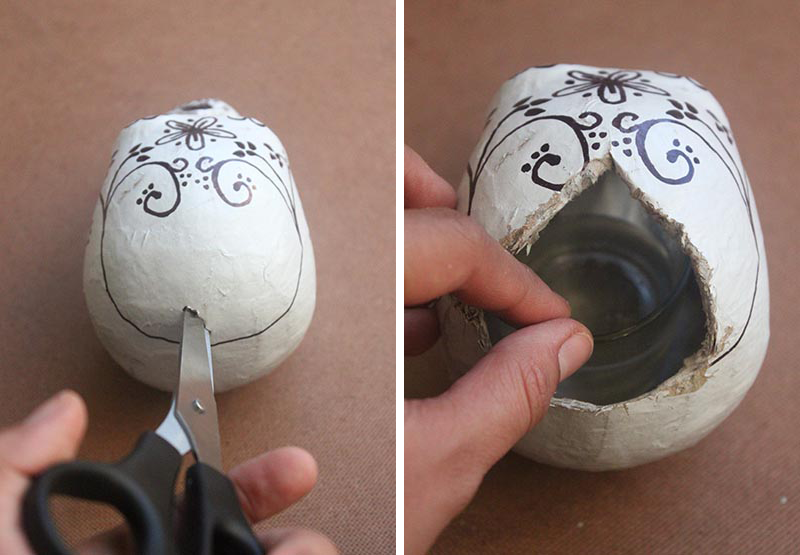
3. To make the skull into a vase, use a pair of scissors to make a small hole at the top of the skull. Twist the scissors to enlarge the hole. Then carefully cut off pieces of the skull until the hole is large enough for the small vase. Insert the vase and fill with water.
Add the coxcomb and you’re done! Happy Halloween!!
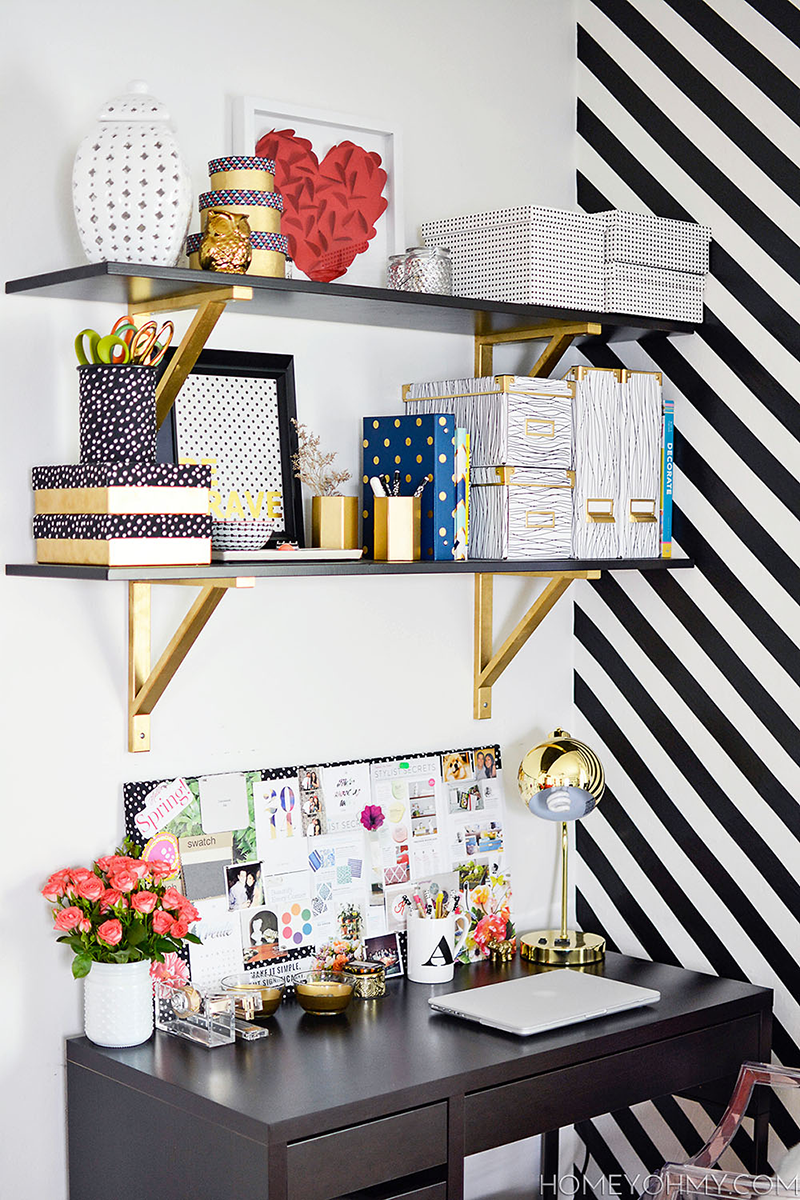
If you follow me on Instagram, you may have seen that I recently said good-bye to my childhood bedroom color. After this post, I decided I wanted a bright, white room. I’m a pretty extreme person because painting has led me to want to redo my entire room. I’m currently on the hunt for a cute desk, and would love to hang a couple shelves right above it. The gold shelf brackets add a touch of glamour to an otherwise functional piece, and would be a super simple DIY!


 You need:
 1. Print out a picture of your state sized to fit your frame. (If you have a printer that lets you print on a high weight paper, feel free to skip the next few steps!)
 2. Using an Xacto knife, cut out the state. Read More →