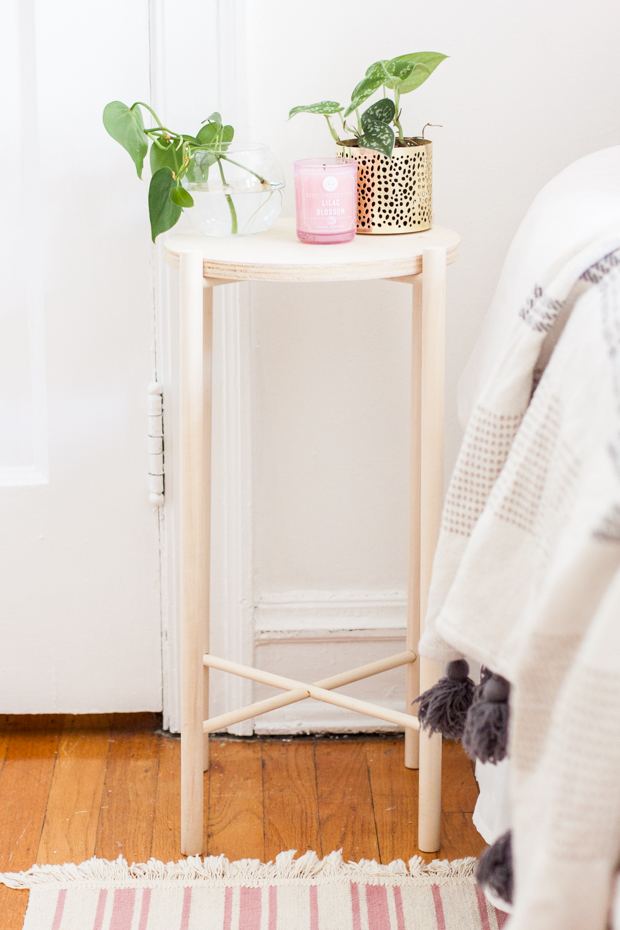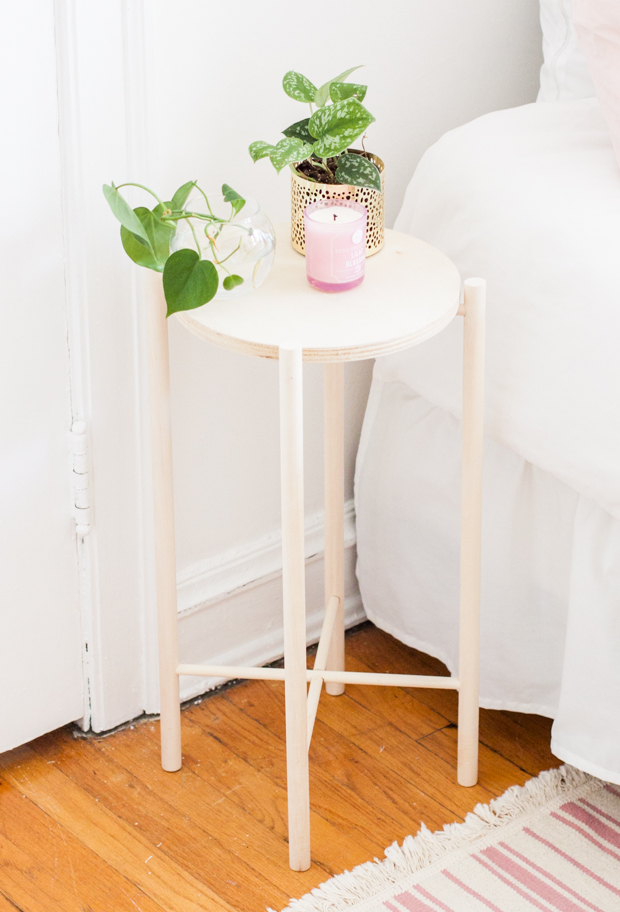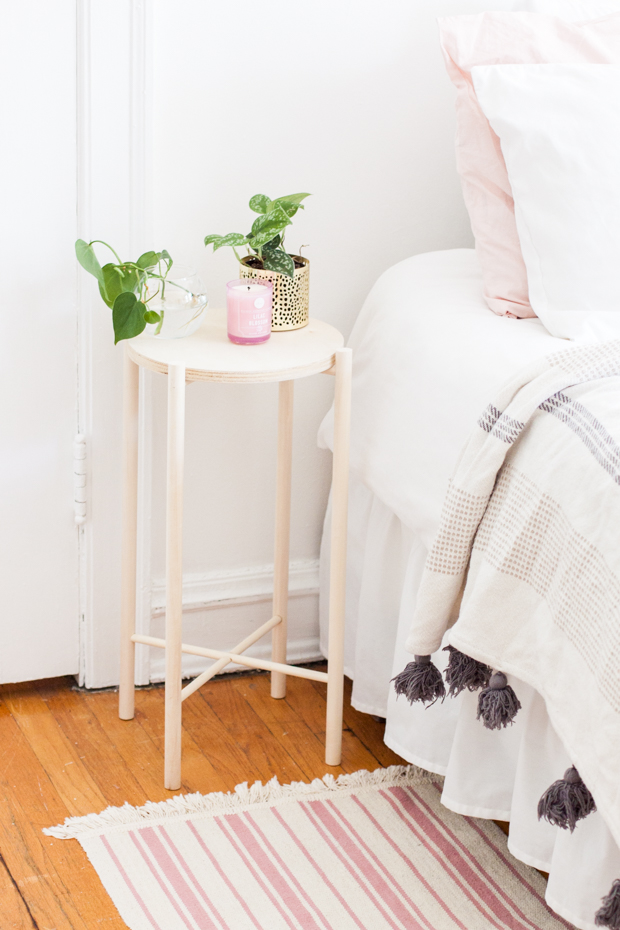
If you follow me on Instagram, you already know that I recently moved into a new studio apartment! Even though the space is small, it’s taking me quite a long time to get everything set up. That might have to do with all the DIY projects I have in mind. The list of projects is long, but at least I can finally check off this DIY side table using wood dowels! I got the idea after seeing all those mid-century planter DIYs and realized the same concept could be used for a table. I decided to put my theory to the test, and I’m so glad I did because I’m in love with the result!
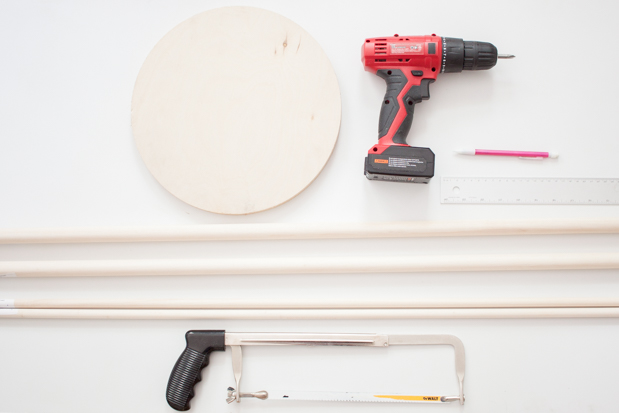
Materials:
– 12″ wood round
– Two 1″ dowels, 48 inches in length
– Two 1/2″ dowels, 48 inches in length
– Saw
– Drill
– 1/2″ spade drill bit and 1/4″ drill bit
– Wood Glue
– Sand Paper
– Chisel
– 1/4″ dowel pins
 Begin by cutting the 1″ dowel in half so you have a total of 4 pieces measuring 24 inches in length. Since I’m using a 12″ round for the table top, I cut the 1/2″ dowel that will serve as the crossbars into four 12 3/4″ pieces. Sand the cut ends until smooth.
 Measure where you want your table top to sit on the vertical 1″ dowels taking into account the thickness of the wood round. I marked where I would drill the center of the hole approximately 1 1/4″ from one end of the dowel. Use a 1/2″ spade drill bit (I liked the spade drill bit because it automatically added a hole for inserting a dowel pin) making sure to only drill the outer hole 1/8″ into the dowel. Go back in with a regular drill bit to widen the center hole to 1/4″. Repeat this step on the other three dowels.
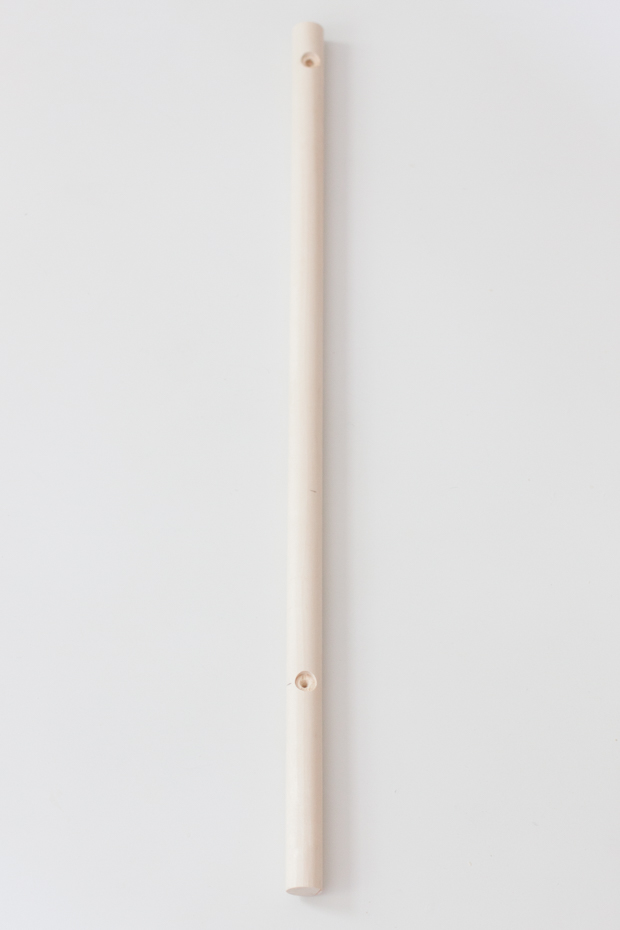 Repeat the process from the previous step on the opposite ends of the dowels. This time I measured 5″ from the other end. This will be for the bottom crossbars.
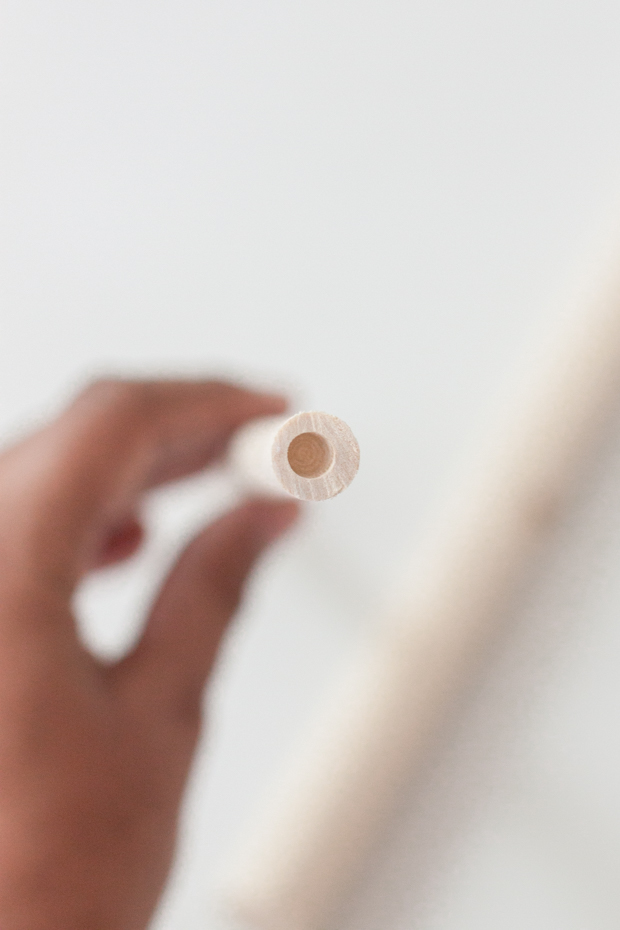 On each end of the 1/2″ dowels, drill a 1/4″ hole in the center of the dowel.
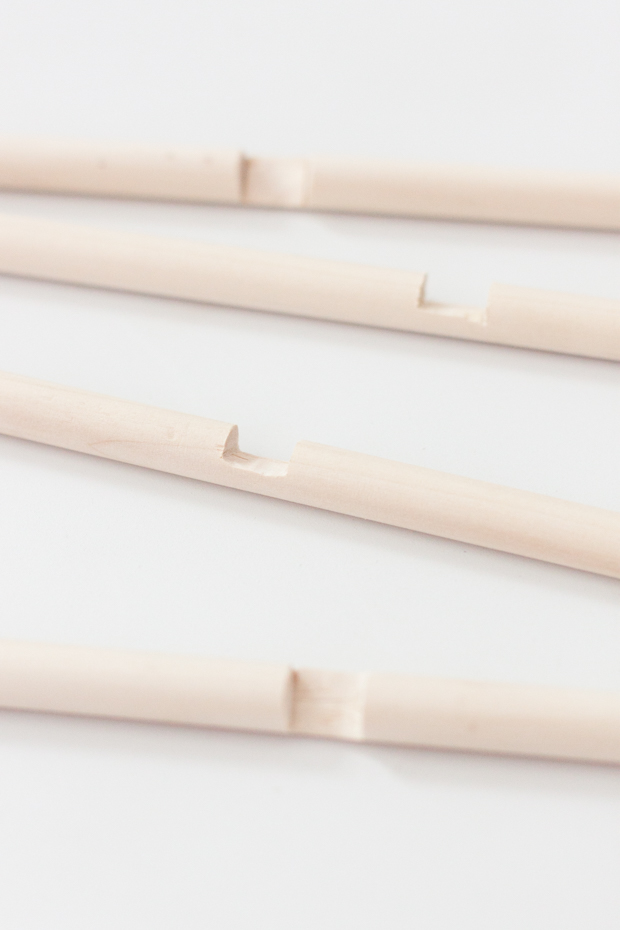 Measure and mark the center point on each 1/2″ dowel. From the center point, measure 1/4″ on either side so you have a total measurement of 1/2″. Saw each mark a little less than a 1/4″ into the dowel. Use a chisel to carefully chip away the area between the two saw marks to create a notch in the dowel. Sand the notches until they are even and smooth.
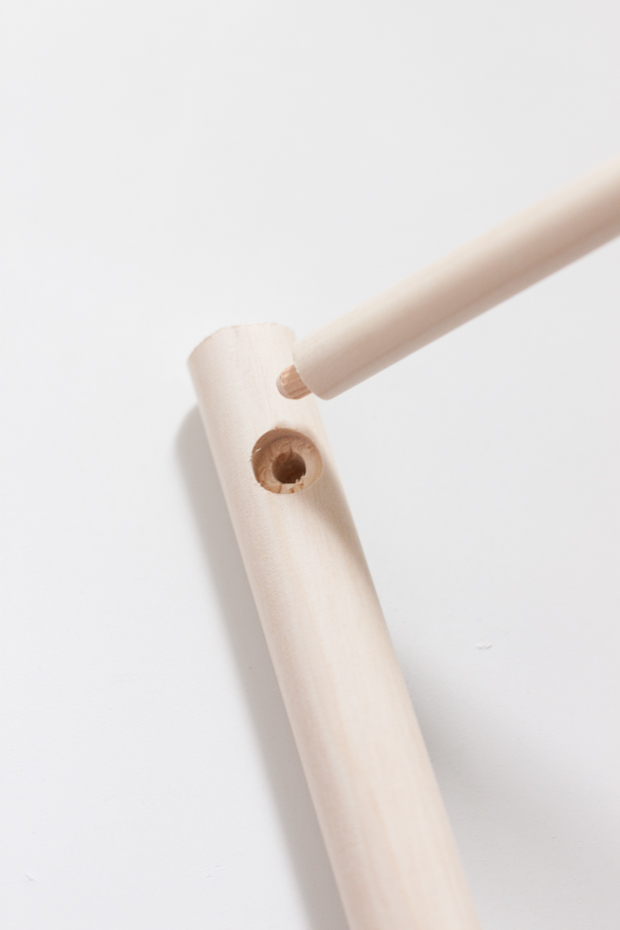 The dowel pins I bought were 1″ long so I had to cut them in half. Insert a dowel pin into one end of the 1/2″ dowels. Lightly use a hammer until half of the pin is in place. Add a drop of wood glue into the holes in the vertical dowel, making sure the notch is oriented in the right direction.
 I found it easier to work with one vertical dowel at a time. The notches on one completed half should face in the same direction, up or down. Put one halve together, and just one end of the other half. Join the two halves together before attaching the final vertical dowel, otherwise you won’t be able to connect the two halves.
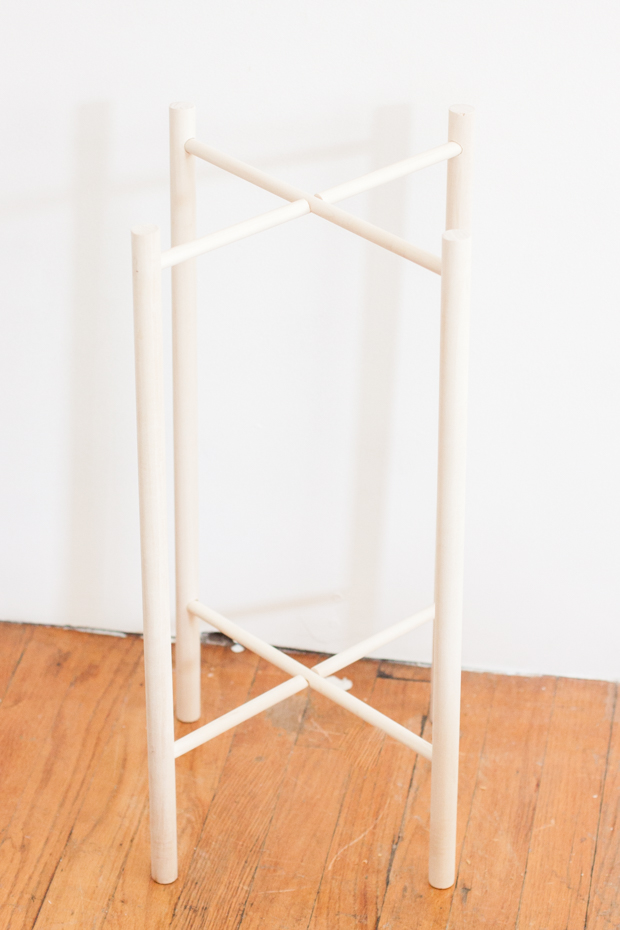 Add glue to each notch, and attach the two halves together. Press and hold until the pieces stay in place, then let dry a few hours. Once it’s dry, you can glue the wood round to the top of the upper dowels, but I just placed it on top. I’m super proud of this DIY side table, but I wouldn’t put anything too heavy on it. Mine is reserved for some plants, a candle, and occasionally my phone.
