
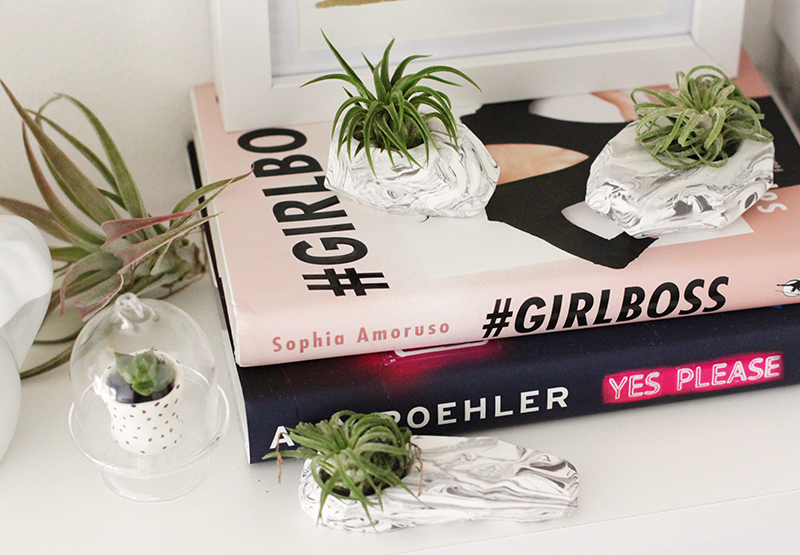
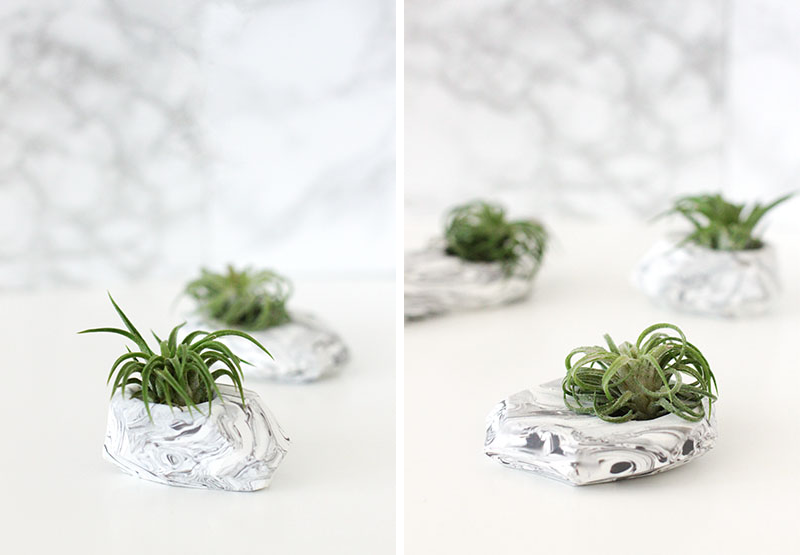
My biggest obsessions currently include air plants, as evidenced by this Instagram post, and all things marble. I thought long and hard about how to combine the two and came up with these marbled clay planters.
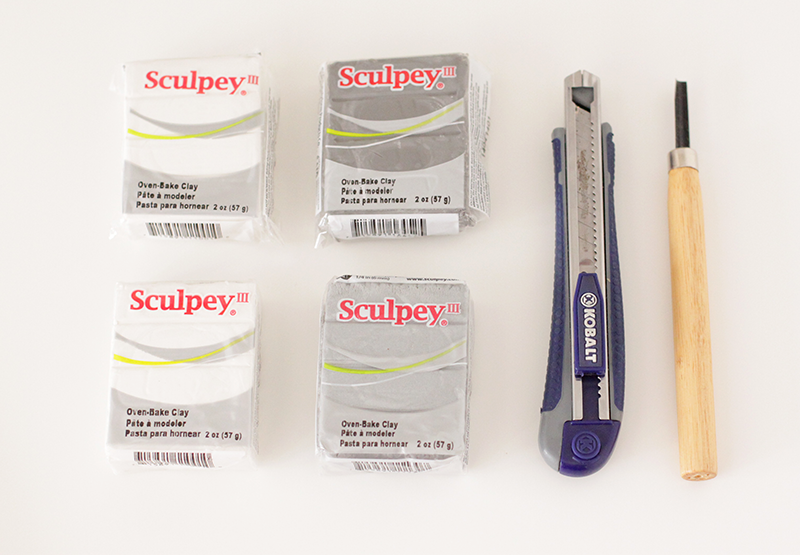
You’ll Need:
- Two different colored oven-bake Clays
- Xacto Knife
- Clay carving tool
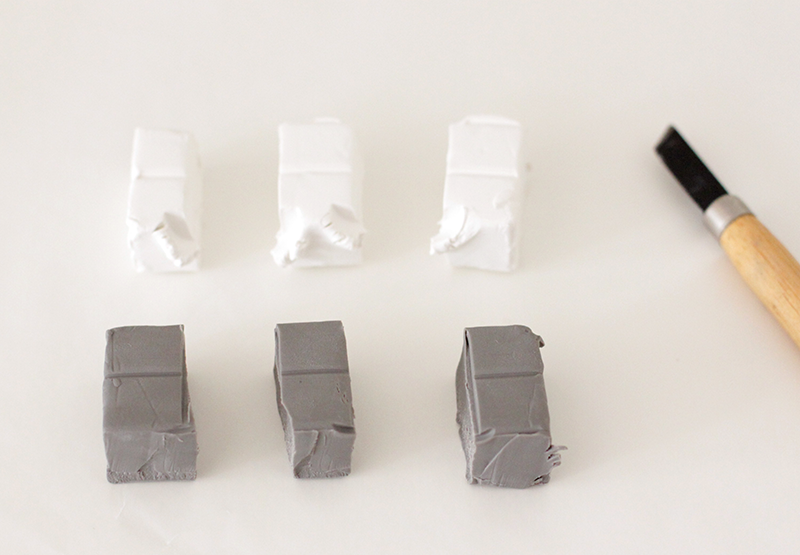 1. Start by cutting each color of clay into three separate pieces.
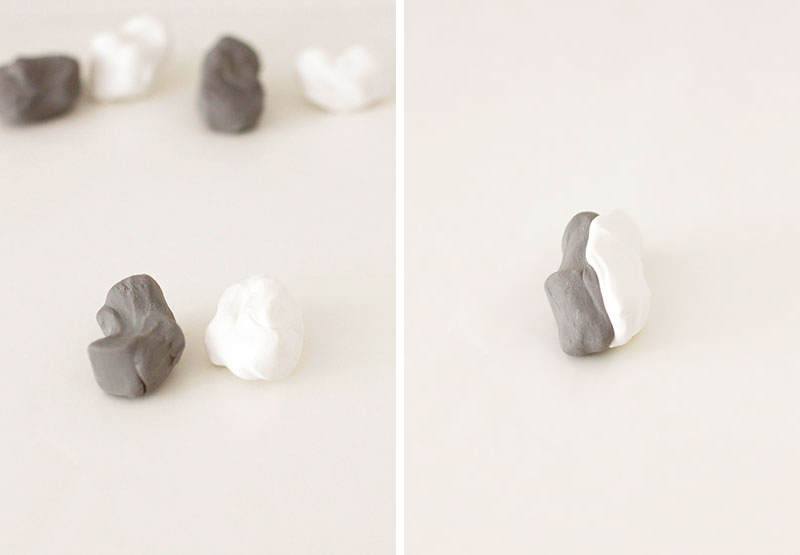 2. Work the clay in your hands until it is soft and pliable. Combine two pieces together.
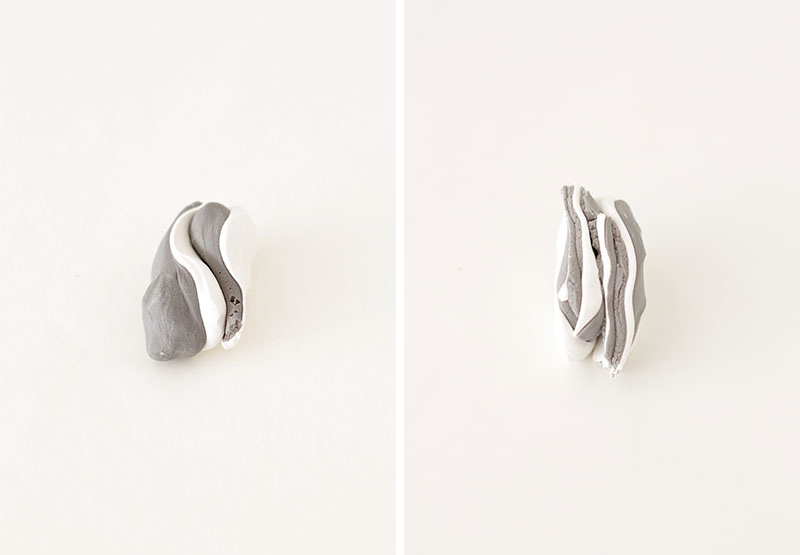 3. Continue combining the clay until you have added all your pieces. Once you have added all the clay, begin to pull apart and layer. Mix the clay together without fully combining the clay.
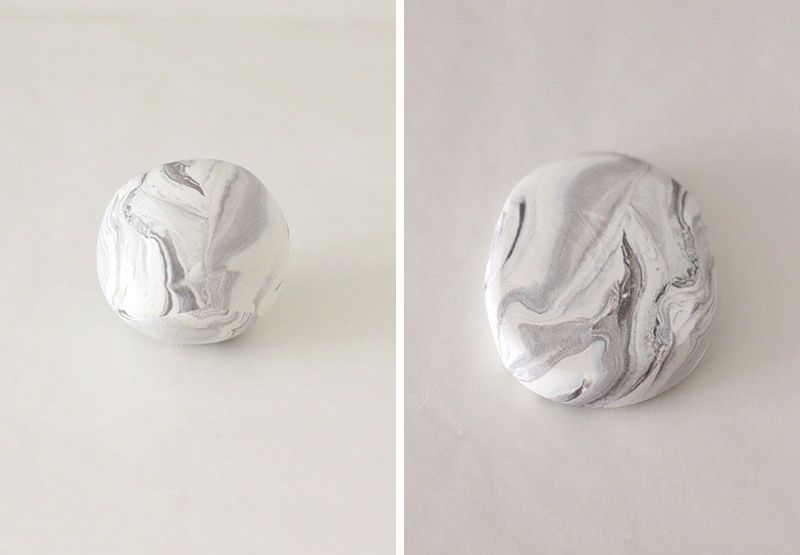 4. Roll the clay into a ball and decide what kind of shape you want for your planter. I wanted a short, oval look for my first planter. Flatten out the clay to about 1/4″ in height.
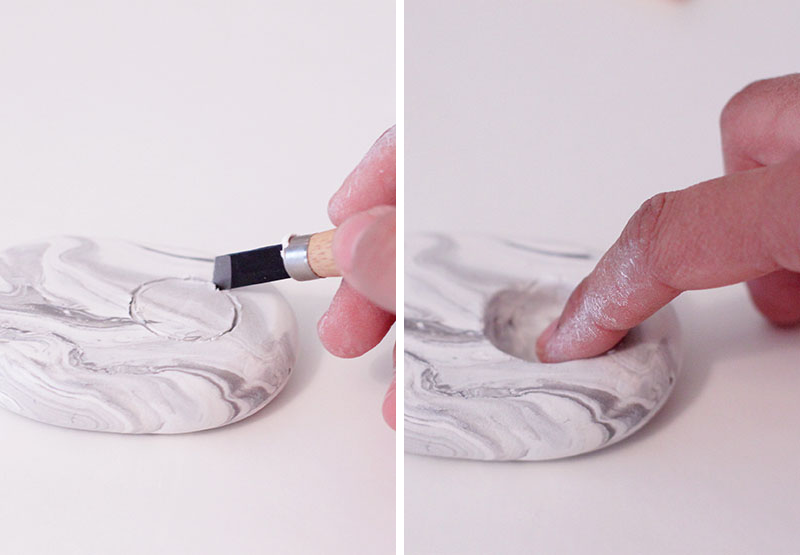 5. Using the clay tool, trace a circle in the clay. Carve out the circle but be careful to not go all the way through the clay.
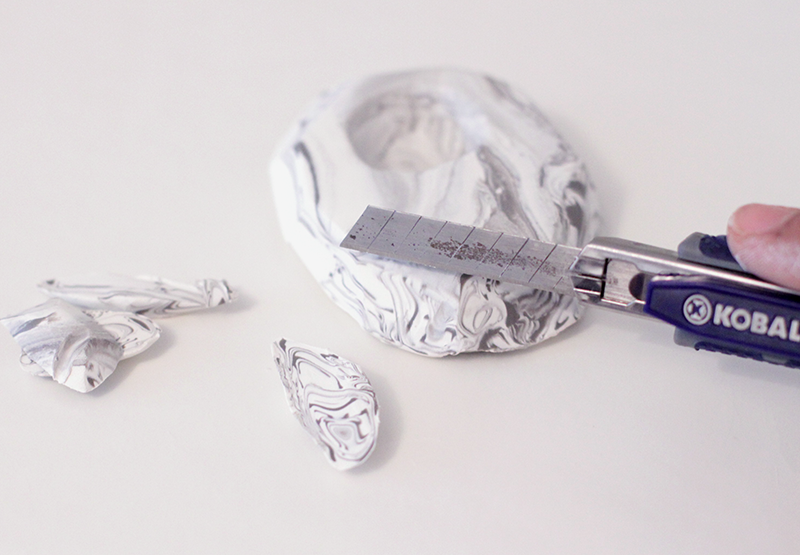 6. Using a sharp knife, start to trim away at the piece of clay. Hold the knife at an angle to create sharp angles along the top edge.
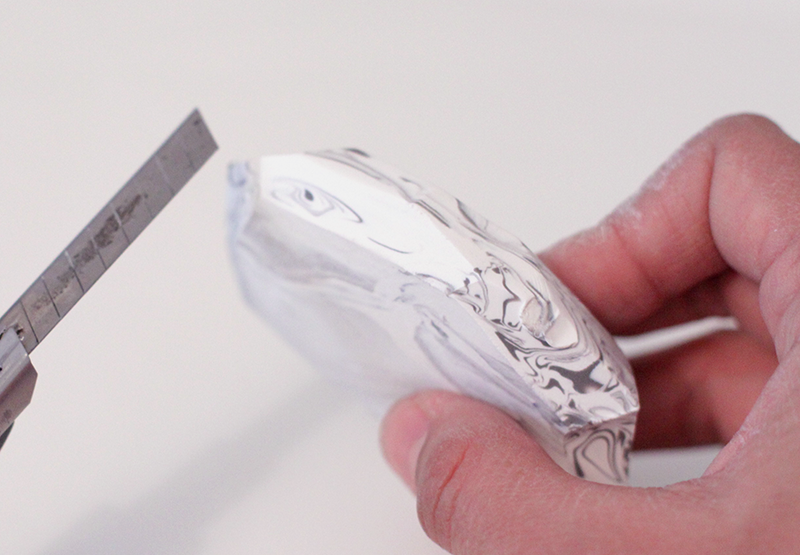 Repeat the previous step along the bottom edge of the planter.
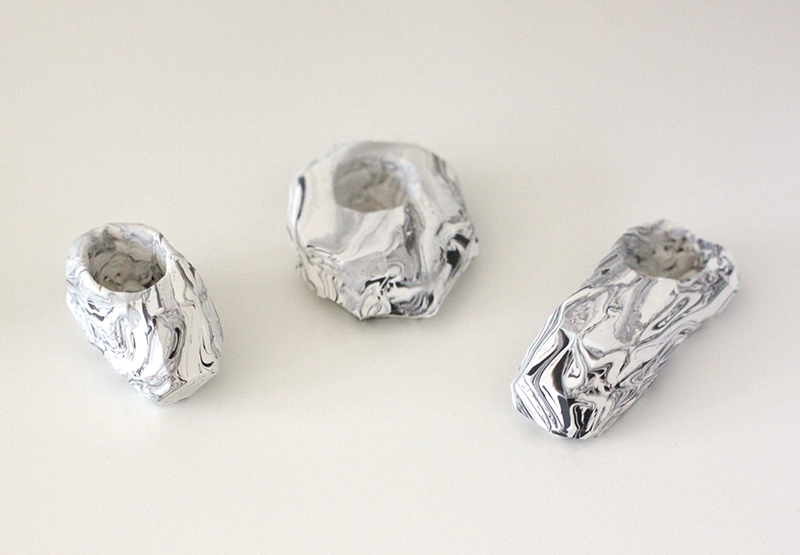 Continuing making different styles and shapes! Bake your clay following the instructions on the packaging.
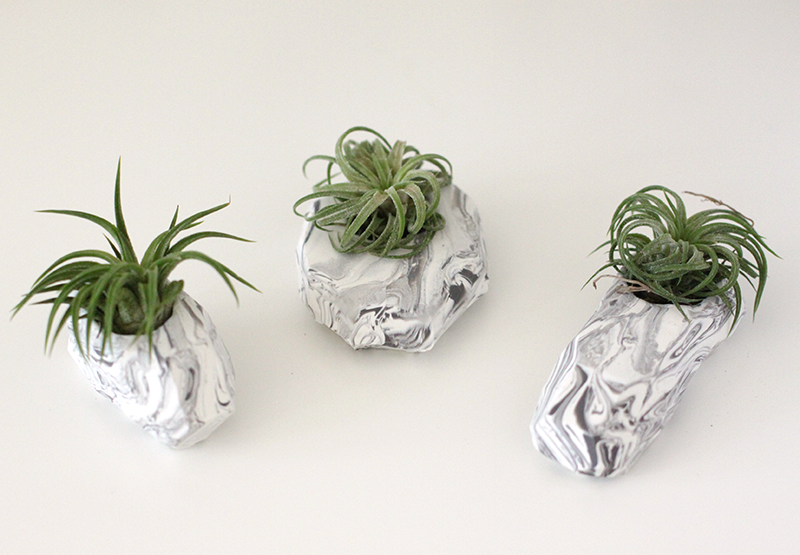
 And you’re done!