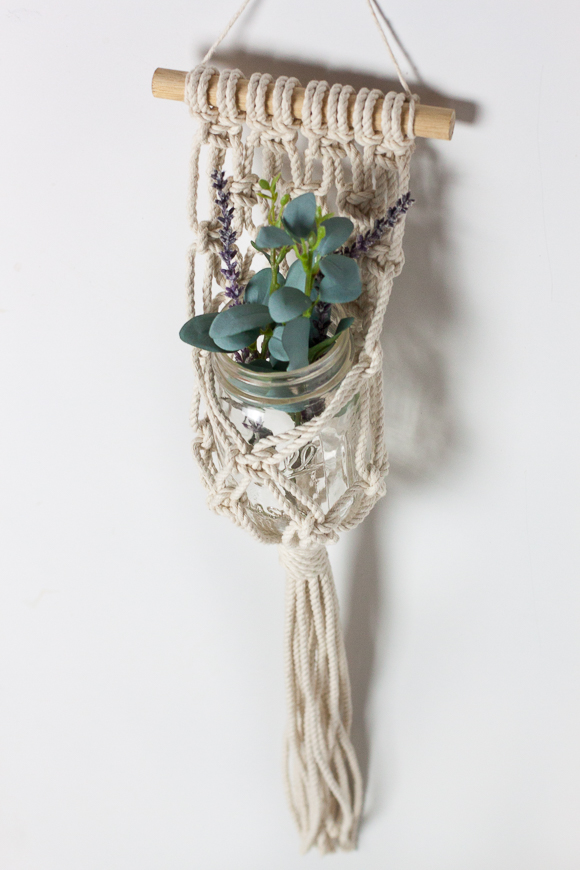
Remember in my last post when I said I had bought an embarrassing amount of rope? Well, it’s because of the macrame kick I’ve been on the past few months. After seeing all the amazing macrame artists on social media , I was so inspired to learn the craft. I thought I’d shared one of the first projects I ever learned to make that is both functional and beautiful with this DIY Hanging Macrame Planter.
*If you are still having trouble with the knots shown, I’ll include links to videos at the end of the tutorial.*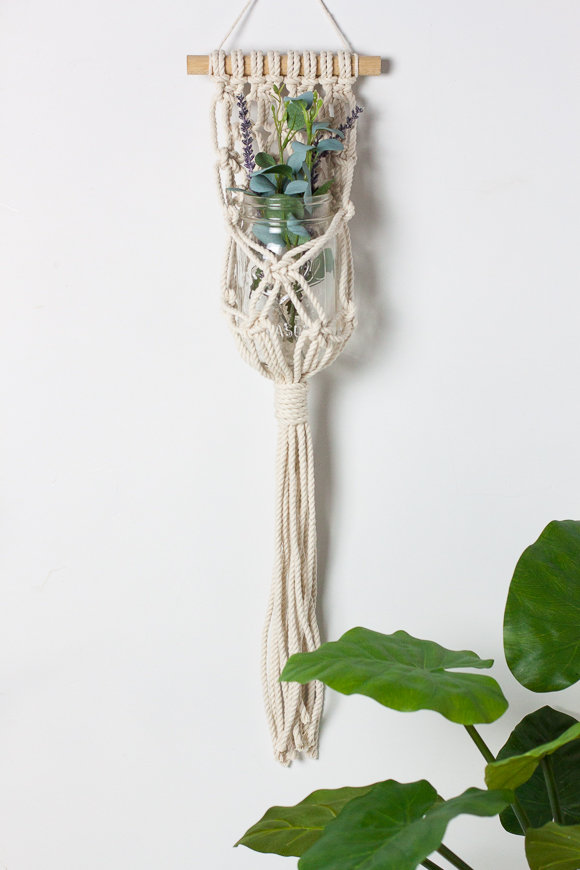
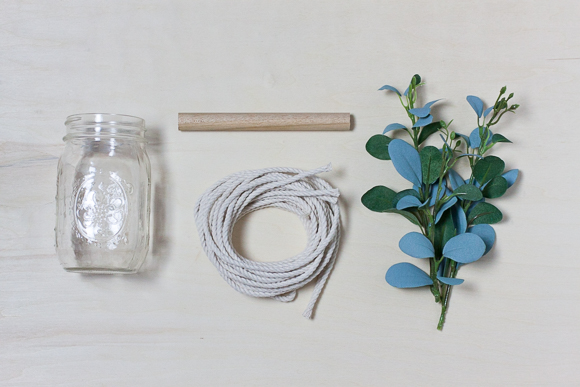
Materials for DIY Hanging Macrame Planter
– 6 in Dowel
– Rope
– Mason jar or small vase
– Scissors
– Measuring tape
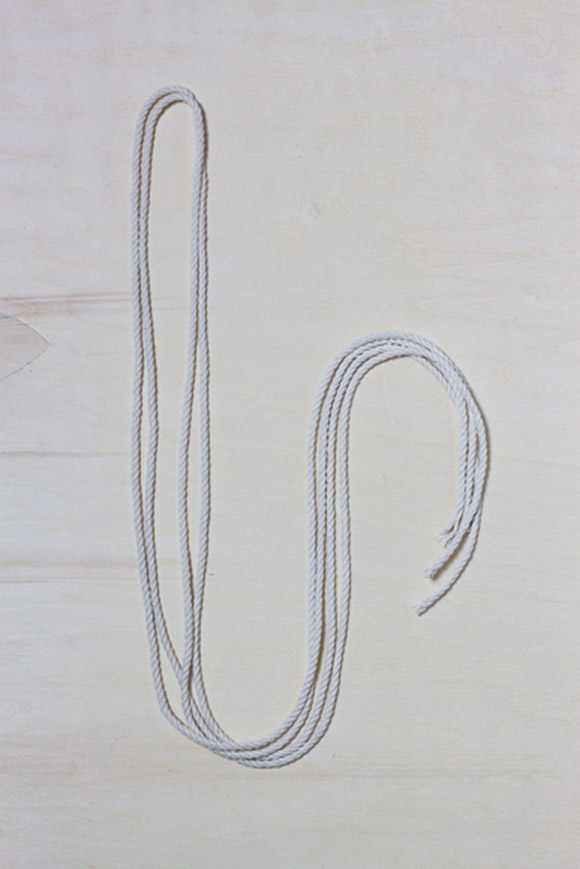 Cut 8 pieces of rope 72 inches in length.
 Fold one piece of rope in half and place the looped end over and then under the wooden dowel. Pull the ends down and through the loop.
 Pull the ends tight to create a lark head’s knot. Repeat until you knotted all 8 pieces to the dowel.
 Then you are going to create your first square knot. Starting with the four-outside strands of rope, take the furthest rope on the left-hand side and bend it as if to create a 4-shape. Then pull the furthest strand on the right and place it over the left strand then behind the two middle strands and up through the loop between the two left strands.
 Pull the ends of the strands to create the first part of the knot. Repeat the process, but this time starting with the strand on the right-hand side of the four strands. Make a 4-shape with the right piece and place the furthest-left strand above it.
 Pull the left-strand through the loop on the right and tighten to create a completed square knot. Repeat the process with the remaining strands of rope.
 Now we’re going to create alternating square knots. Do this by repeating the process for making a square knot but skip the first two outside strands of rope.
 Leave about a half-inch of space between your first and second row of knots. You’ll only make three square knots on the second row.
 Make a total of 5 row of square knots alternating between each row. Now we are going to make the knots that will hold the jar or vase in place. Place the top of your jar or vase under the bottom row of the square knots and measure half-way down the jar.
 Make a square knot using the middle four strands. Make square knots a little lower than the middle knot on either side.
 Now pull the two outer strands from either side and make a square knot right above the middle knot along the back row of knots.
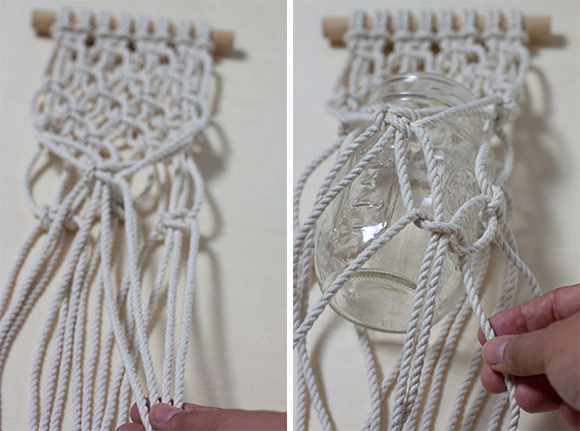 Next you are going to work with the two outer- right strands from the knot you just made in the middle, and the two outer-right strands from the back row. You can place your jar within the opening to get a better idea of where to make your knot. You are going to make a square knot approximately around the middle of the jar. Repeat on the other side.
 Cut a piece of rope about 28 inches in length. Fold it into a U-shape so there is a tail about 3 inches in length. Gather all the rope at the bottom and place the u-shaped piece you just made on top of the gathered rope at the base of where your jar will sit.
 Take the long-end of the u-shaped piece of rope and wrap it around the back of the gathered rope repeatedly until you reach the end.
 Next you are going to pull the end of the rope you just wrapped into the loop at the bottom of the wrapped rope. Then, pull on the other end of the wrapped rope to pull the loop up and inside of the wrapped rope.
 Once you’ve pulled the knot tight, trim the ends of the rope on either side of the wrapped rope. Cut the ends of the loose rope so that they hang evenly.
 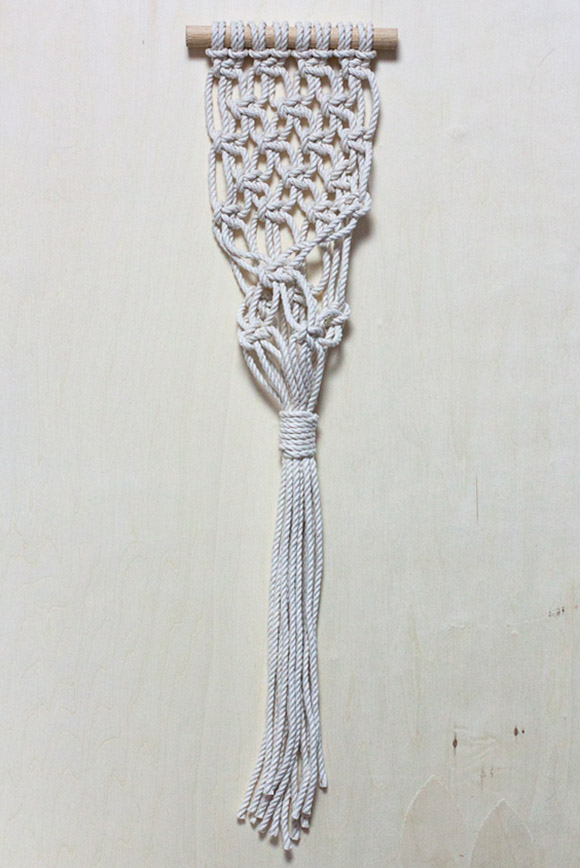 And you’re done!
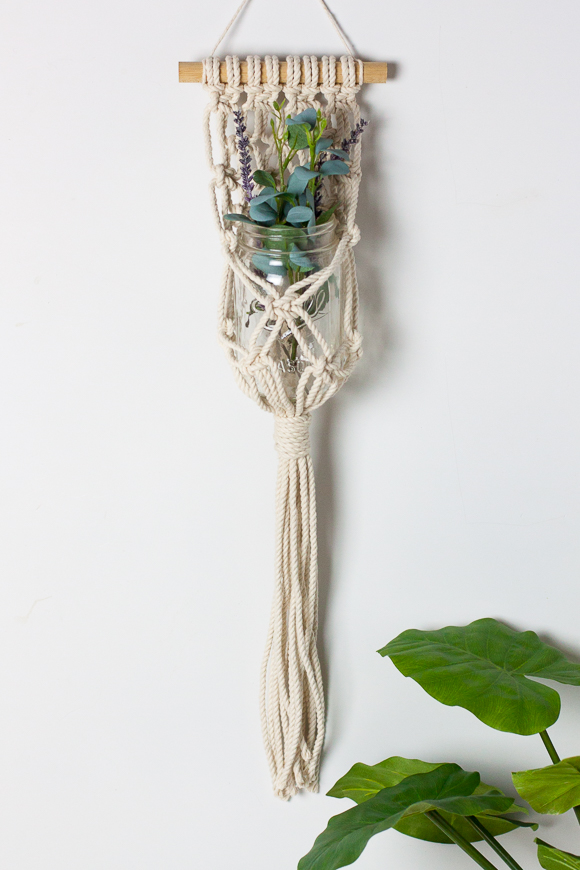
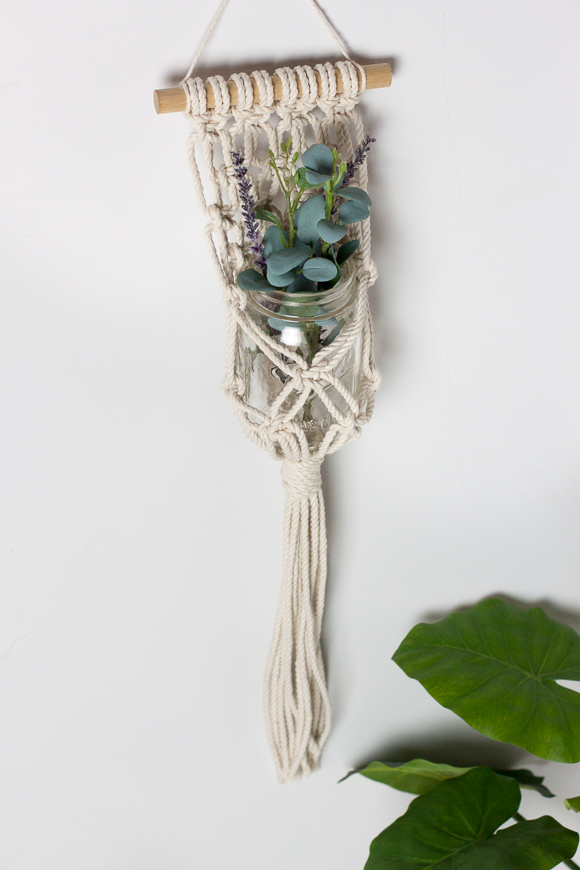
P.S. Here are the videos for a Lark Head Knot, a Square Knot, and a Gathering Knot

