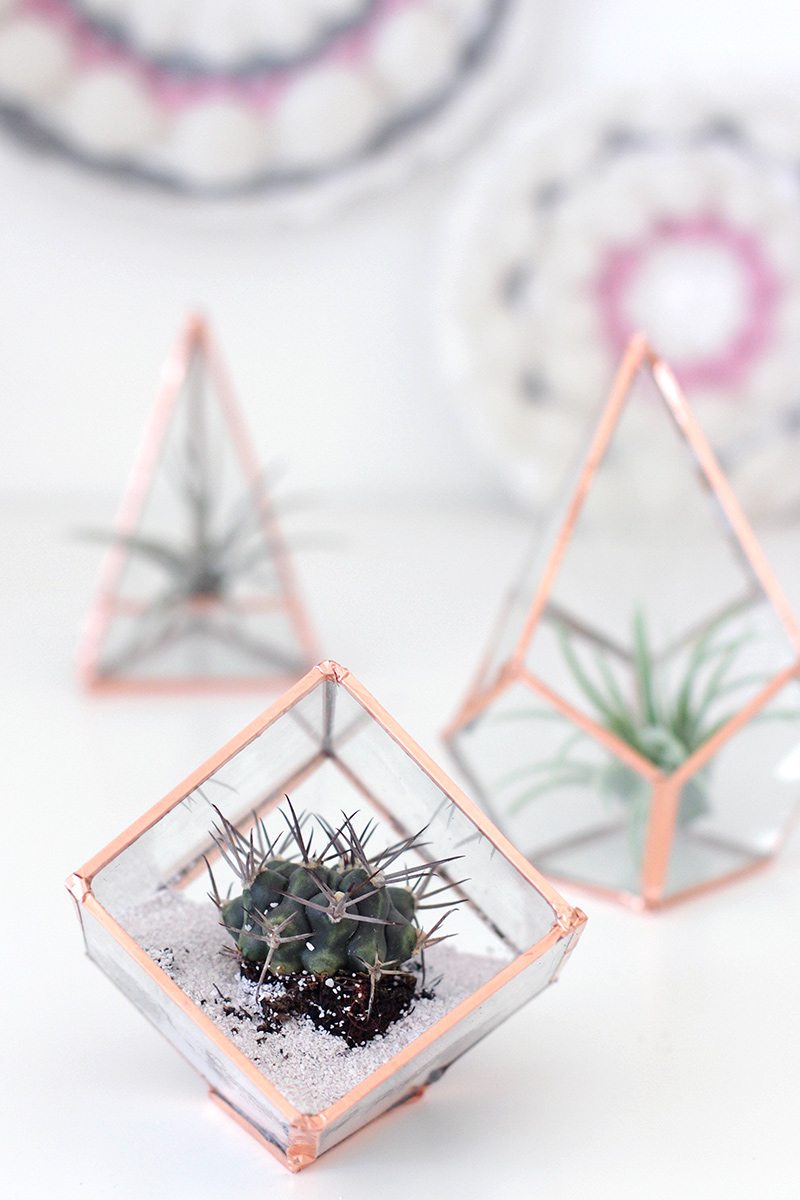
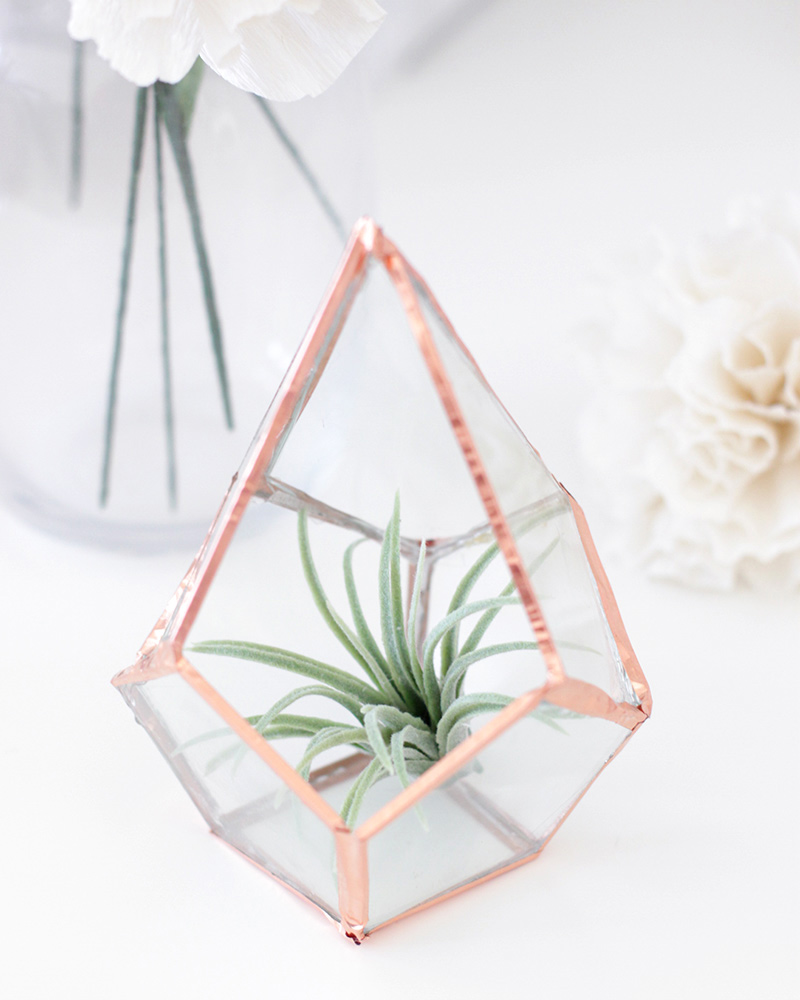
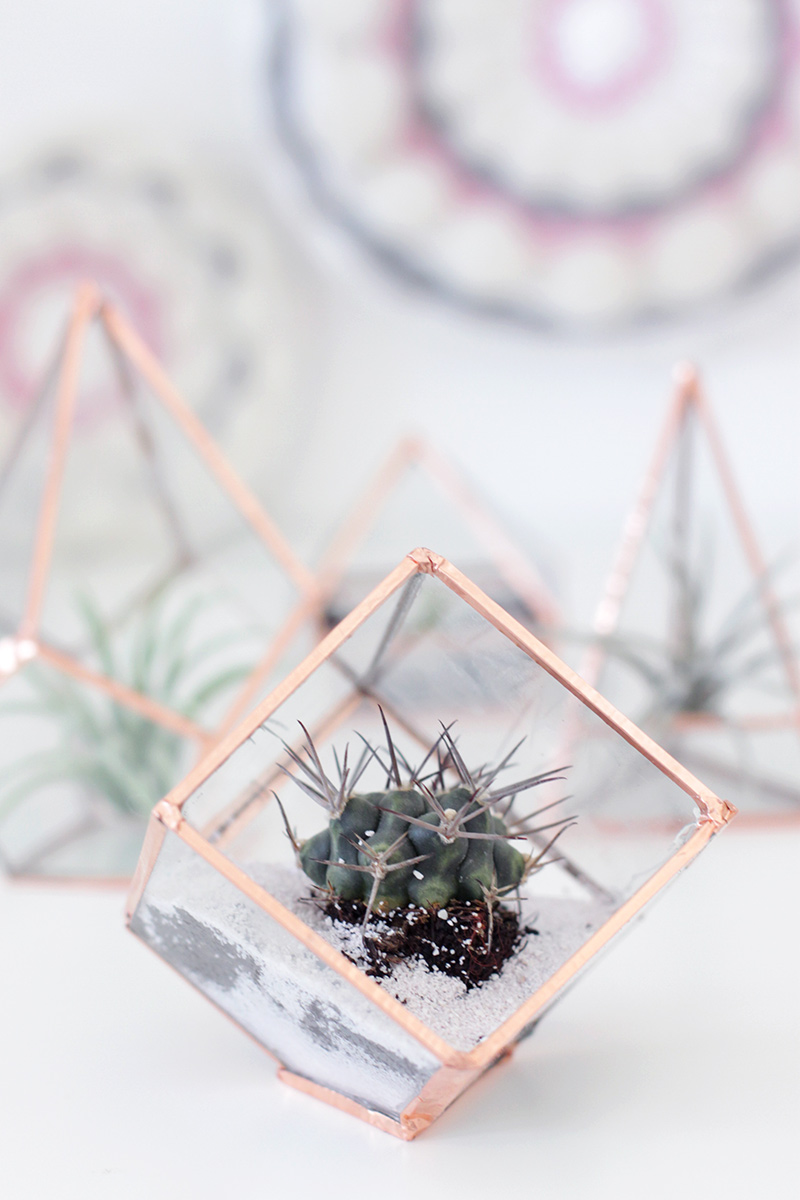
This geometric glass terrarium is probably one of my most ambitious DIY projects to date. I had never worked with glass before but figured, hey, how hard could it be? And it turns out…it’s extremely hard. So hard that I actually contemplated not posting this tutorial so that I wouldn’t inflict the pain and frustration of working with glass on anyone. But I worked hard on it, and I figured there are plenty of you out there who are much more talented at the glass game than I am.
I would recommend watching some tutorials on glass cutting and even reading about it before attempting this glass terrarium project. I would even practice cutting glass pieces before cutting out your shapes. Or, if you would rather stay away from glass altogether, I think acrylic sheets would work just as well.
My terrariums didn’t turn out quite as good as the ones you’d find at a home goods store, but I’m pretty proud of them. They make great air plant displays, or mini planters for succulents (just check to make sure they’re properly sealed).
You can find the tutorial for the Glass Terrarium below and the template is at the end of the post. And if you have any tips for cutting glass, please, please, please let me know!
You’ll need:
- Glass sheet
- Glass Cutter
- Work gloves and eye goggles (safety first!)
- Copper Foil
- E6000 Super Glue
- Sand Paper
- Tape
- Ruler (to facilitate cutting)
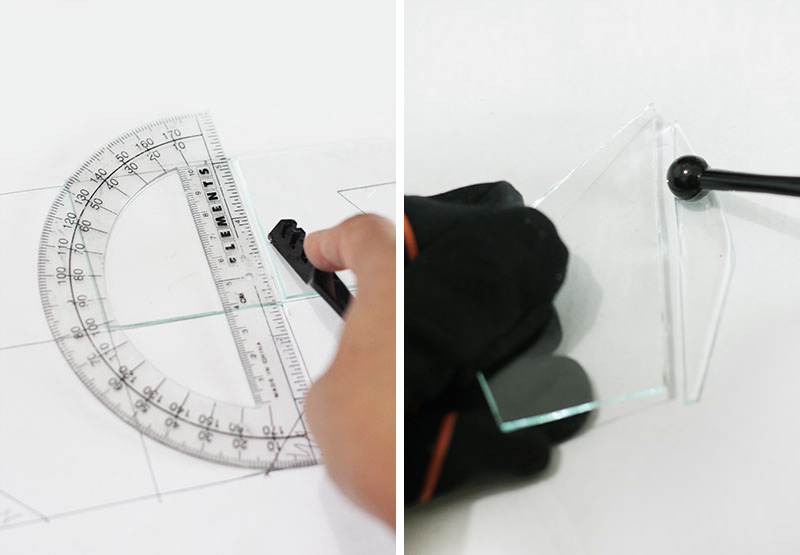 Download the template found at the end of the post. Feel free to scale it if you want it a little larger! Watch a thousand tutorials on how to cut glass, and cut out your shapes. I found it easier to separate the larger pieces of glass with my gloved hands, and smaller pieces with the ball end of the cutting tool.
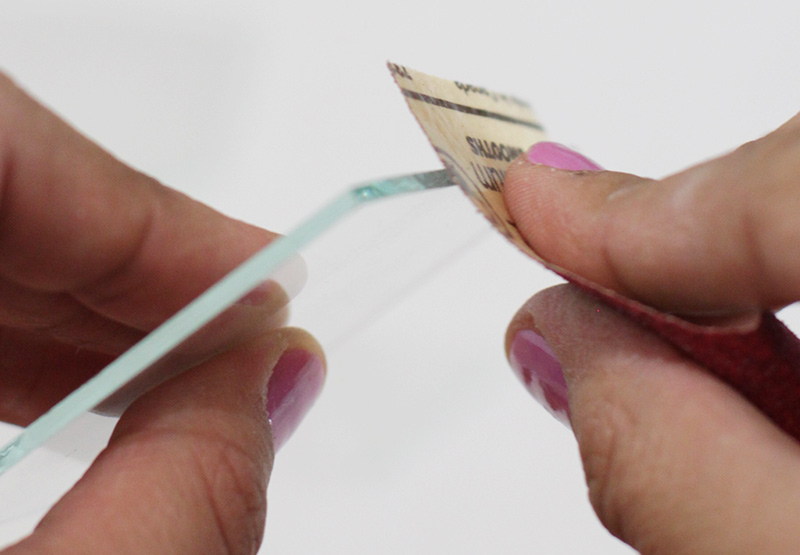 Still reading? Great! Sand the edges of your beautifully cut-out shapes.
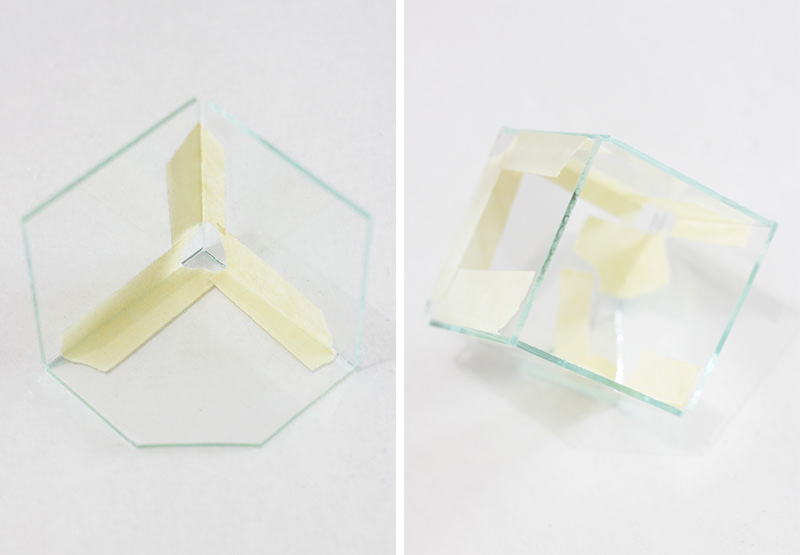 On the bottom right corner of the templates I made a diagram for how to easily tape together the terrariums for gluing. Initially, you’ll want all the tape to be on the inside of the terrariums.
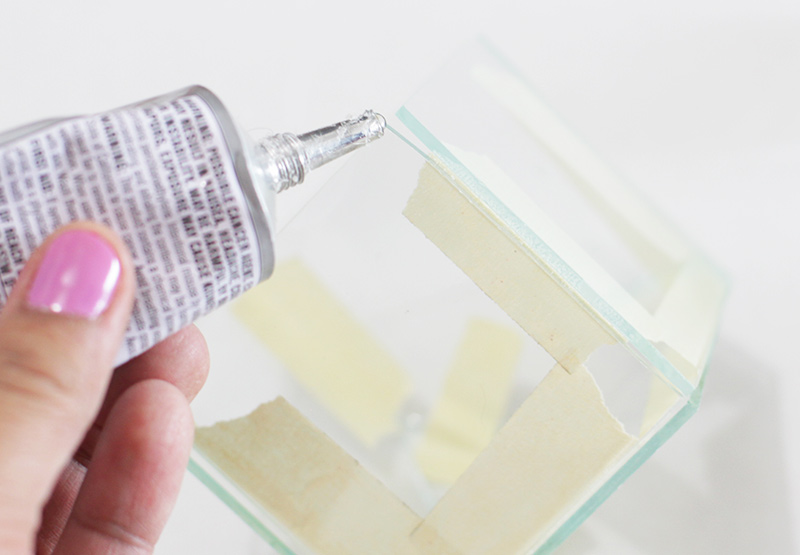 Use glue to seal every edge of your terrarium. You will have to do it in sections to allow the glue to dry. (And so your terrarium doesn’t get stuck to your workspace.)
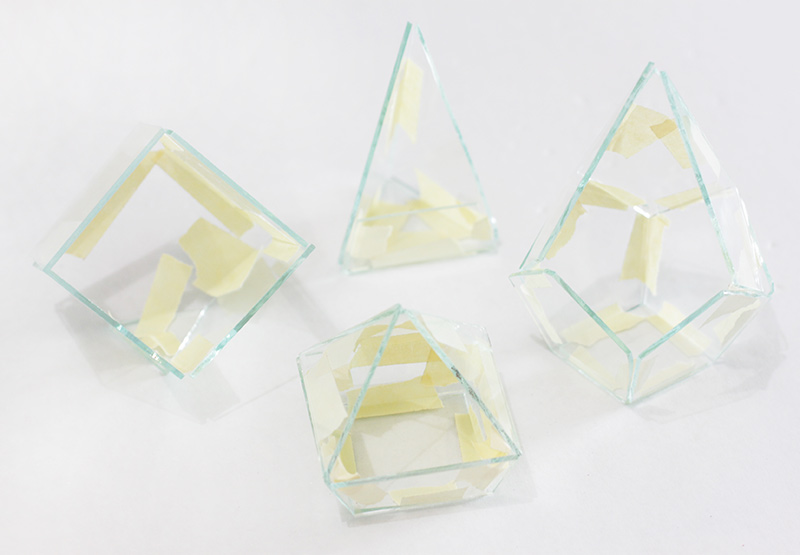 Let your terrariums dry fully!
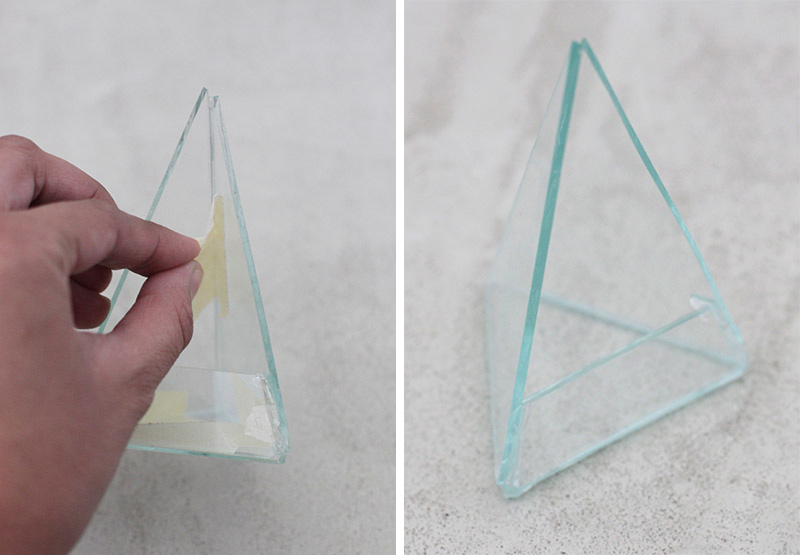 Carefully remove the tape from the inside of the terrariums. This will be slightly more difficult on the smaller, thinner shapes so I used an X-acto knife to help the process along.
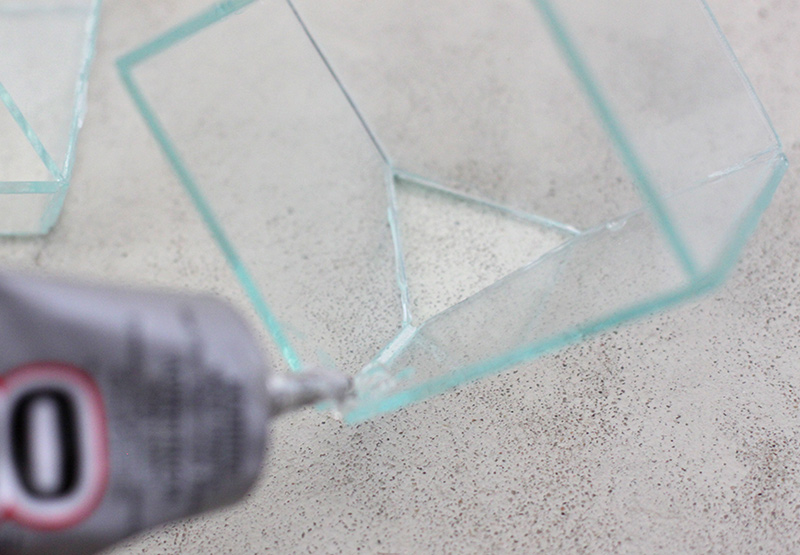 If you want to use your terrariums as planters, it’s best to go back and seal the inside edges as well and let dry completely.
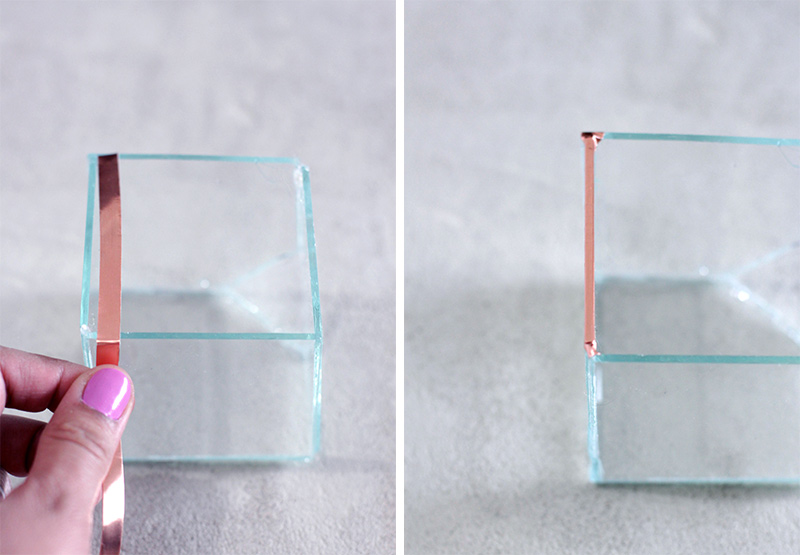 To add the copper trim, measure out one edge of your terrarium and cut a piece of the copper foil. Remove the back and adhere the tape to the edge.
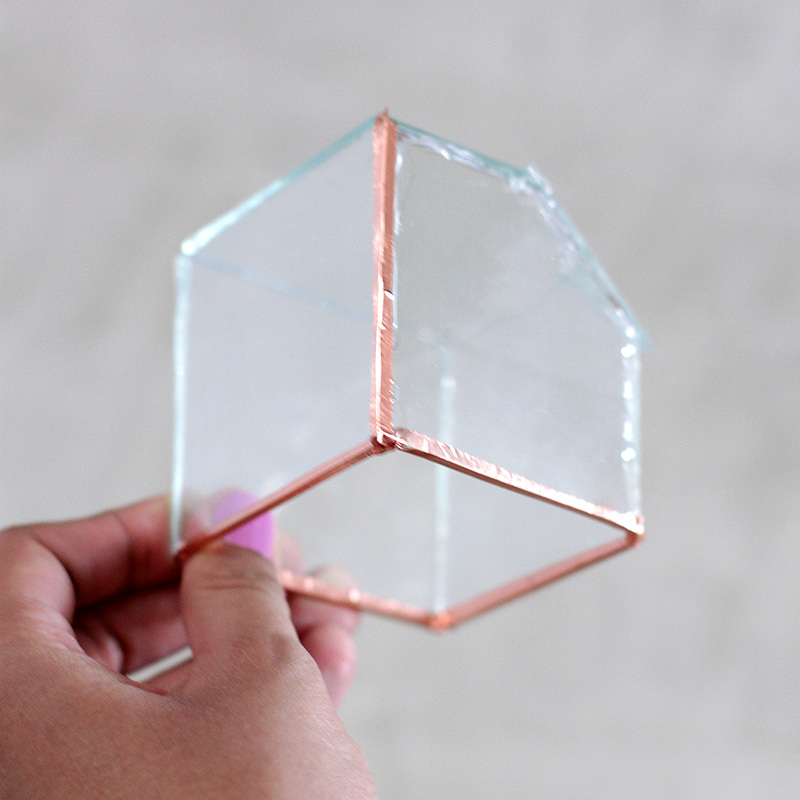 Repeat previous step on every edge. Copper foil bonus? Hiding messy glue edges!
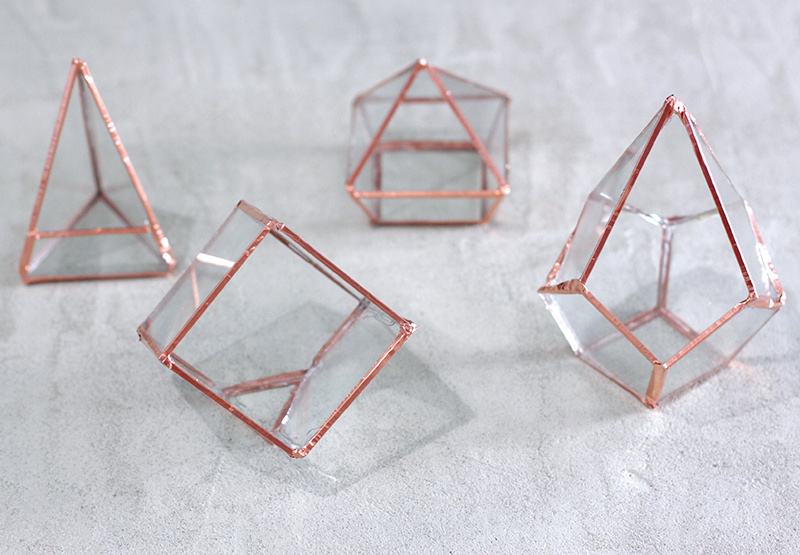 Not bad, right guys? Right?! Ok, so the more complicated shapes are a little rough but if you had seen, or heard, me working on these, you would understand.
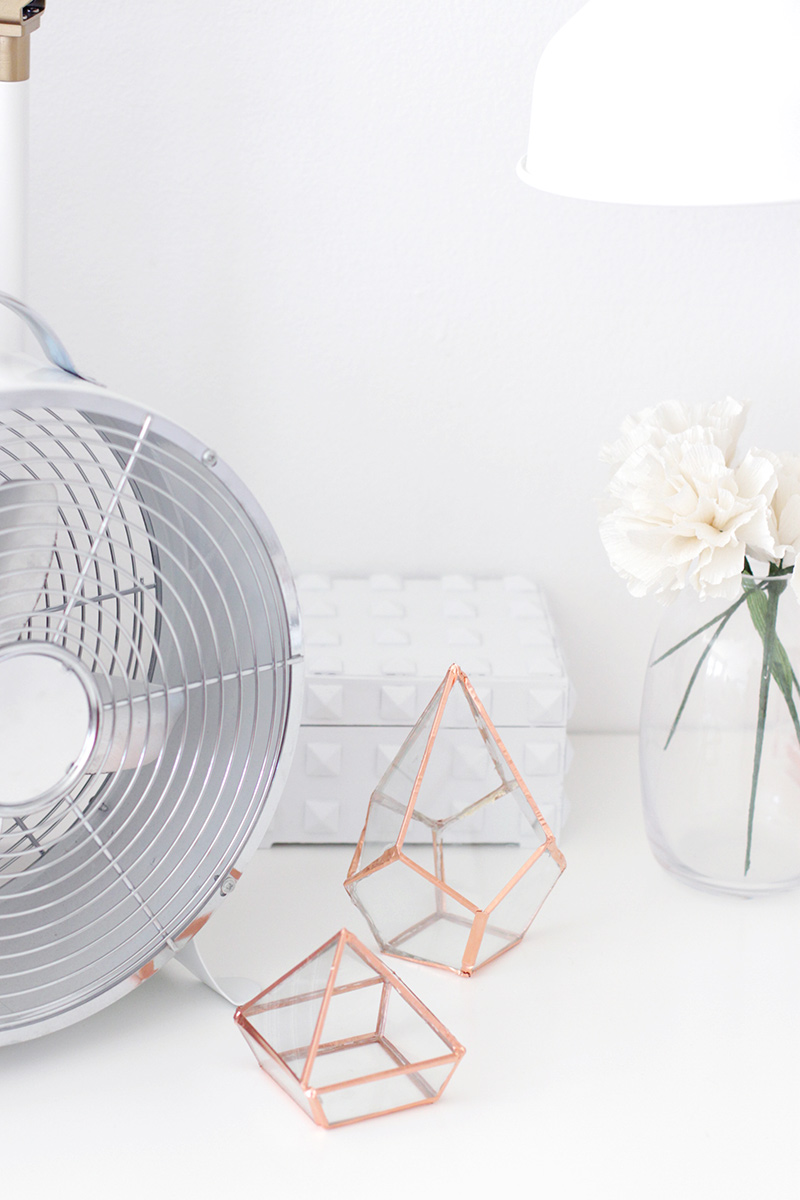 They work well on their own as a decor piece…
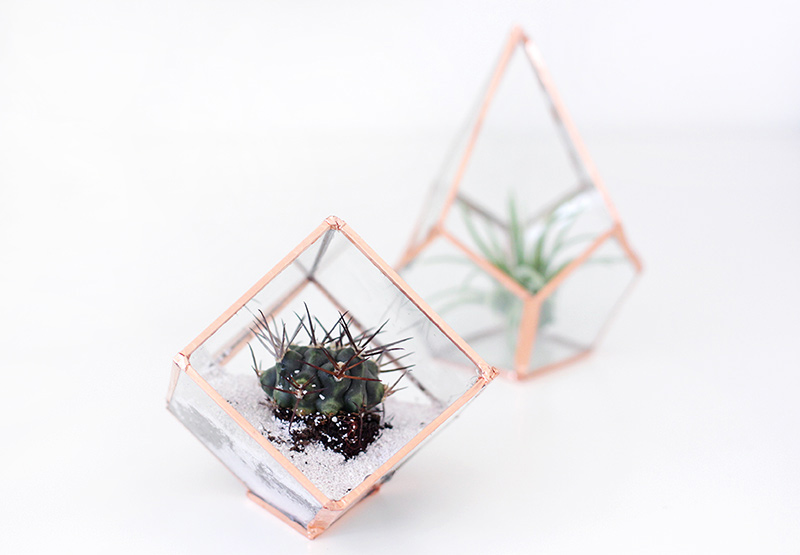 …or you can use them as planters for small cacti!
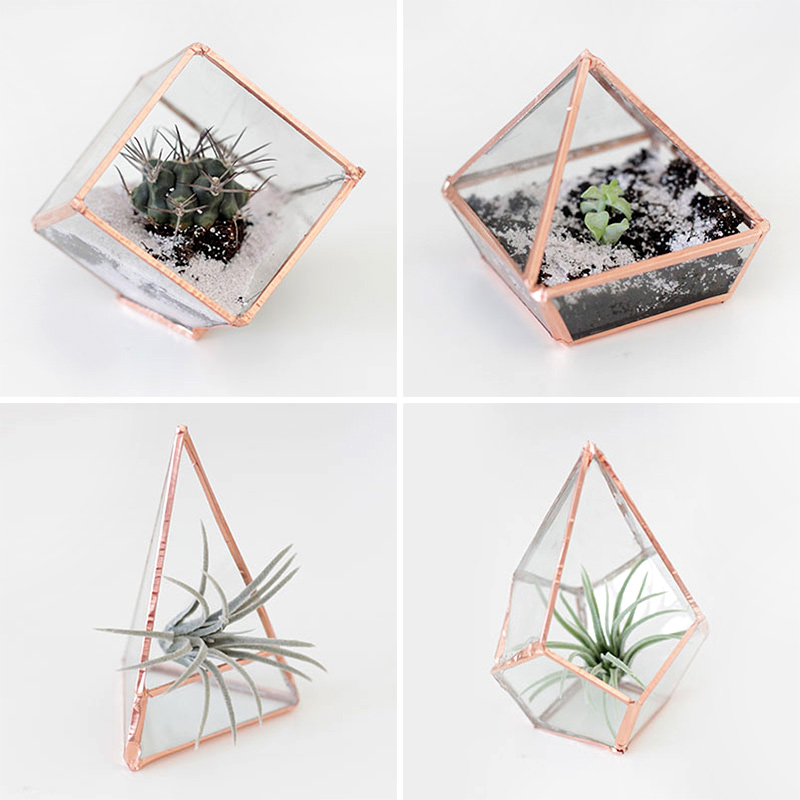 If any brave souls out there actually attempt this project, I’d love to know! Good luck!!

