
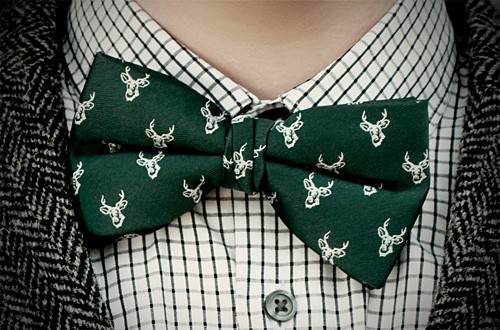
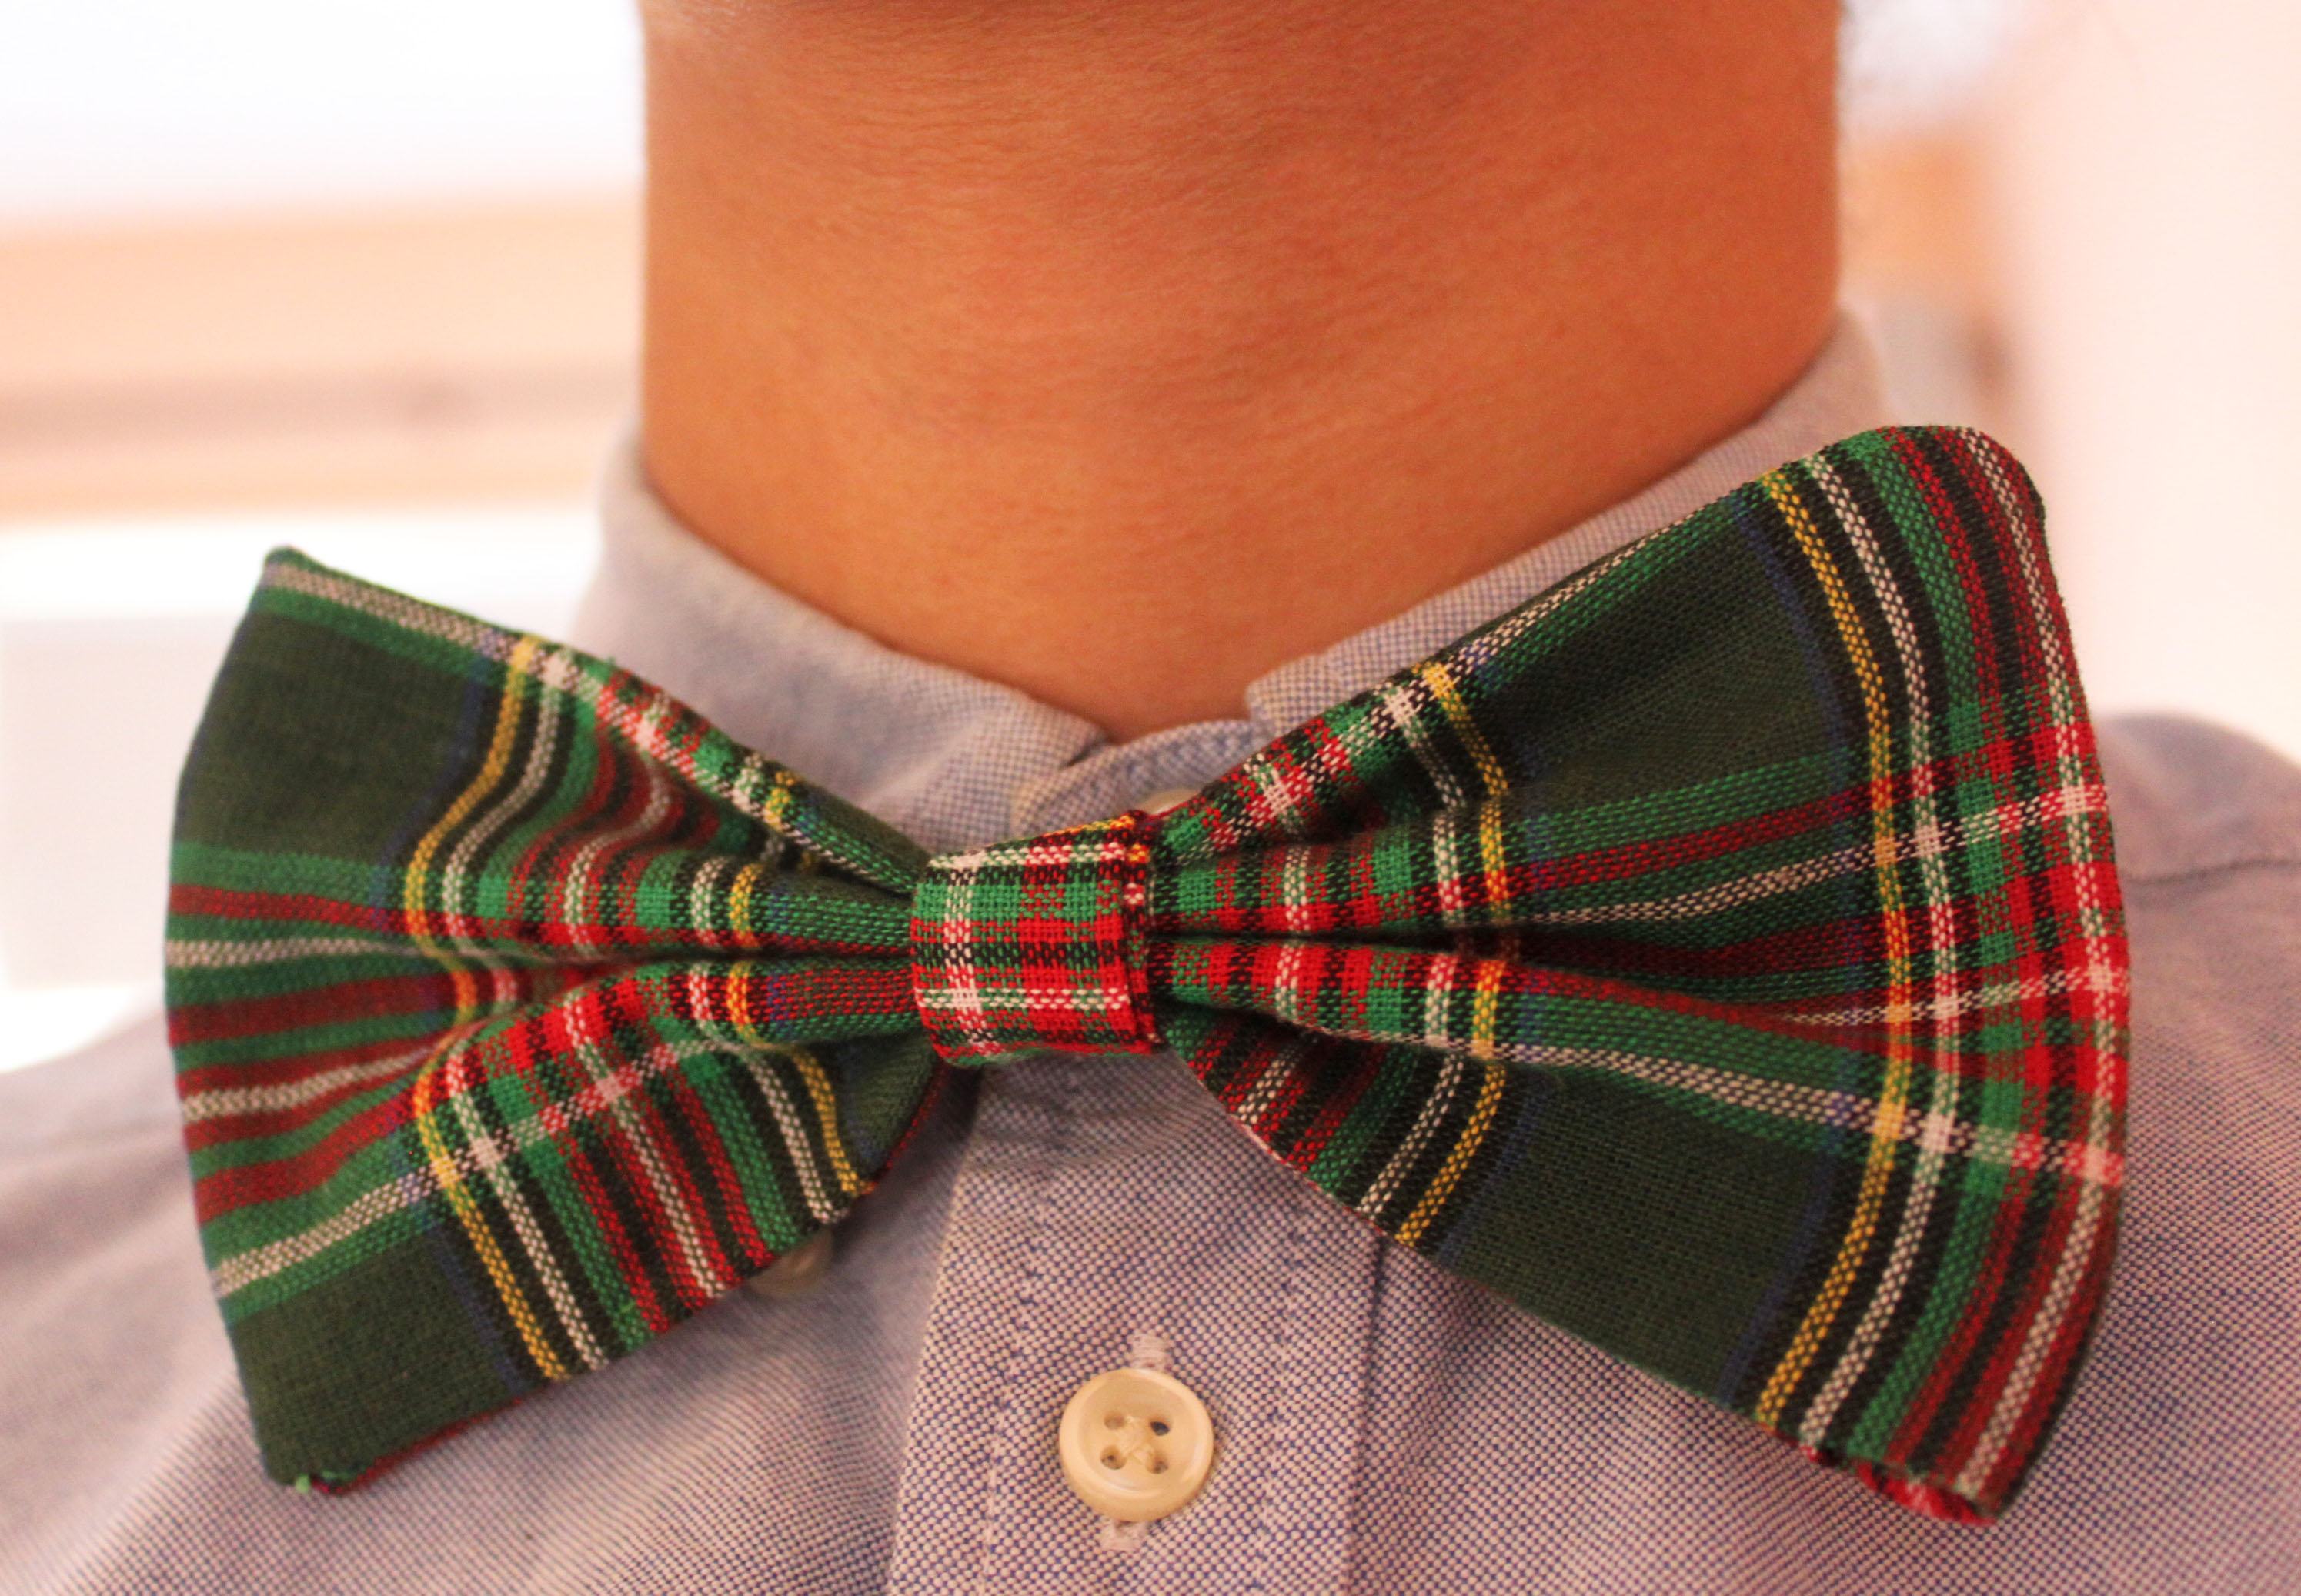
I love it when menswear creeps into women’s fashion, and bow ties are the perfect way to borrow-from-the-boys without sacrificing femininity. Today I’ll show you how to DIY a bow tie in a classic plaid.
What you’ll need:
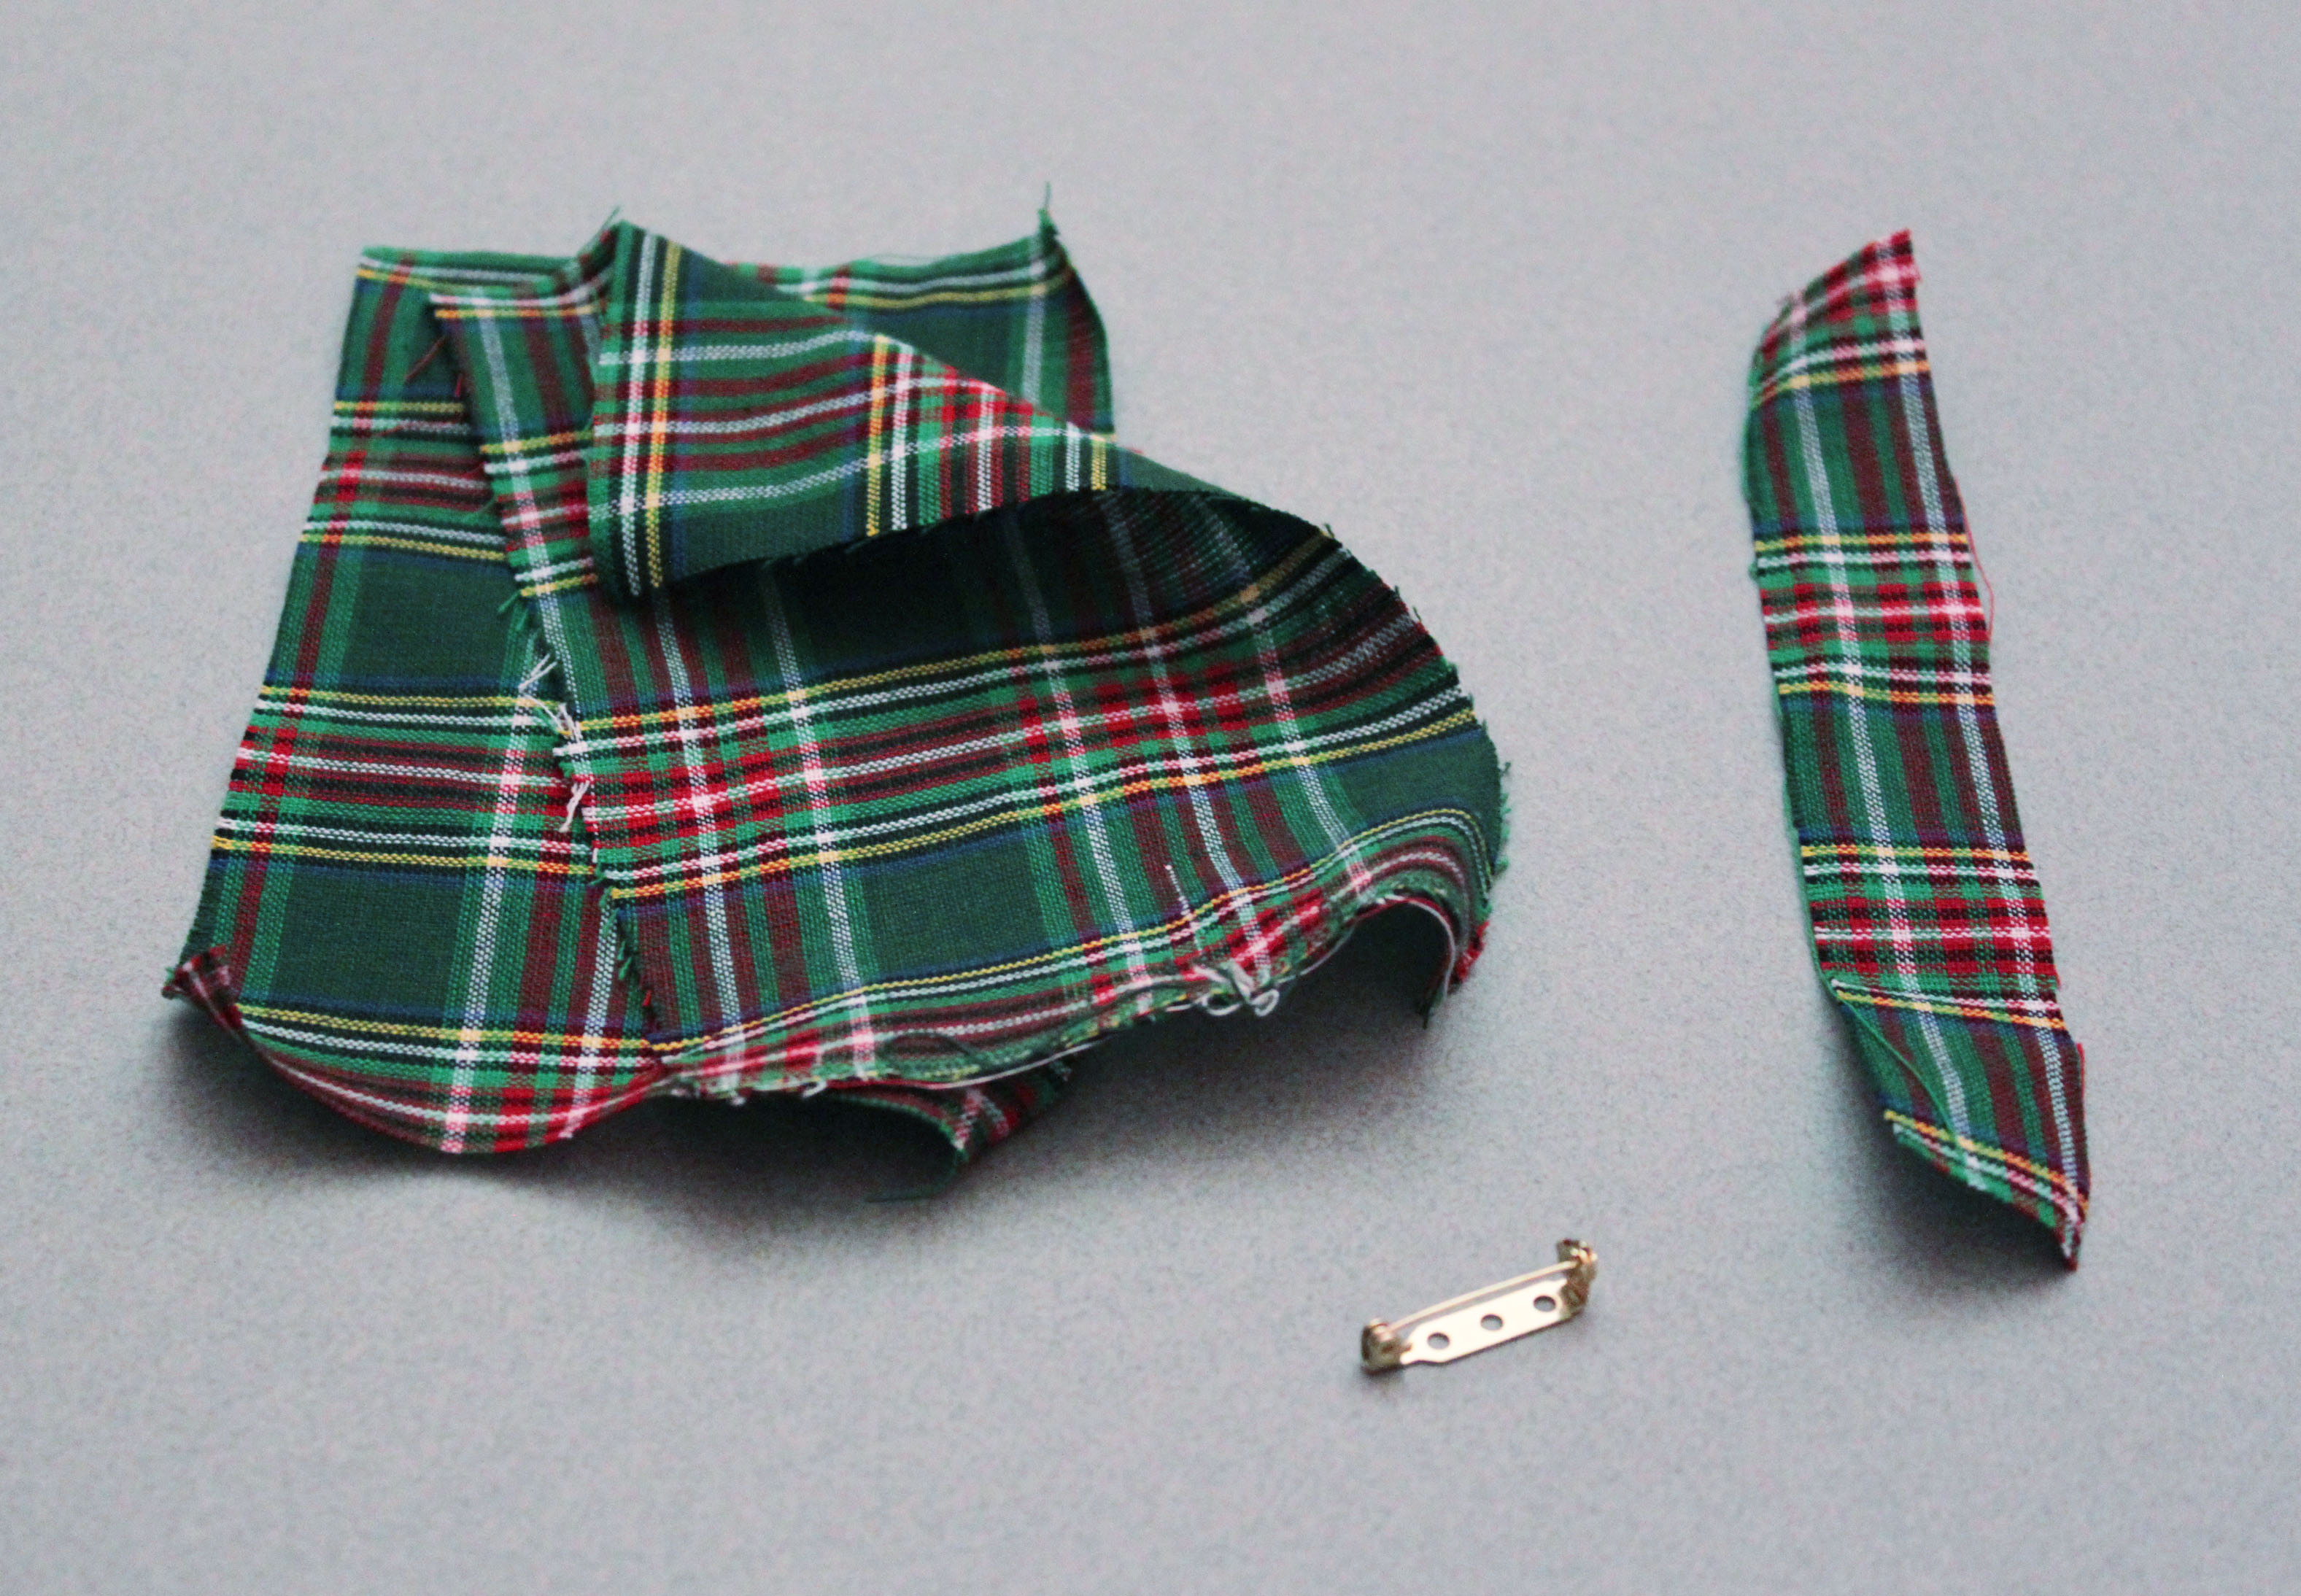
- 2 pieces of 6.5″ x 4″ of fabric
- a 1″ x 2″ piece of fabric
- a 1″ pin back
- Fabric glue or glue gun
- Needle & thread
 Start by pinning together the two larger pieces of fabric and sewing along all four sides.
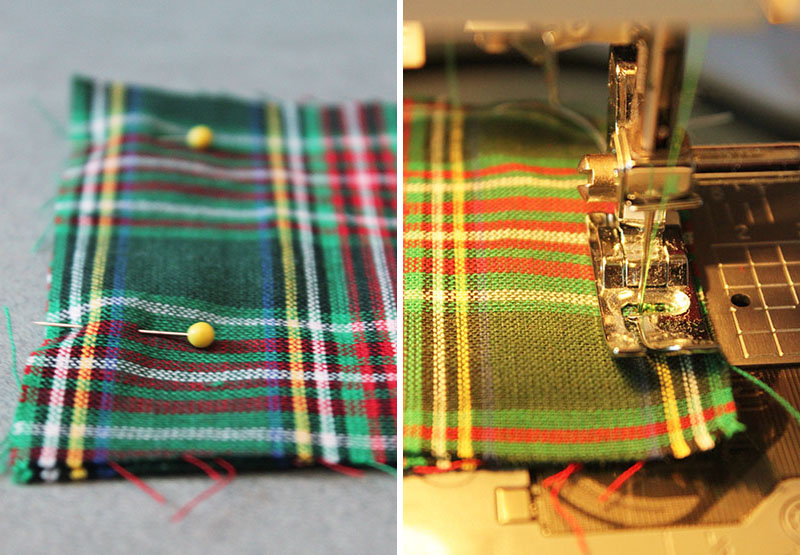 Leave enough of a gap that will allow you to turn the bow tie right side out. Hand stich the gap closed.
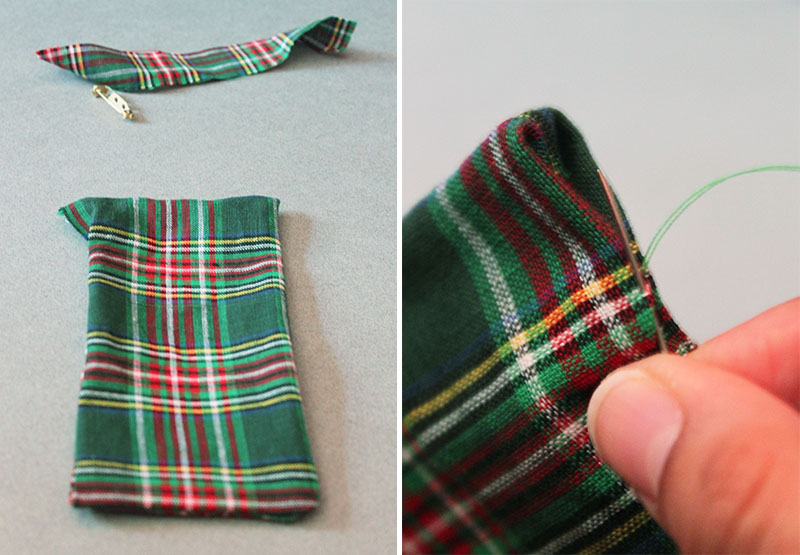 Fold the bow tie in half length wise. Fold in half again as we want to get an estimate of the most center point in the bow tie.
  Pinch the center point where the two folds meet, or mark it with a pen. On the opposite side of the bow tie, add a dab of fabric glue and press fold together.
 Starting on one side of the bow tie, add another drop of fabric glue and continue folding and gluing. (I ended up folding two more times on each side.)
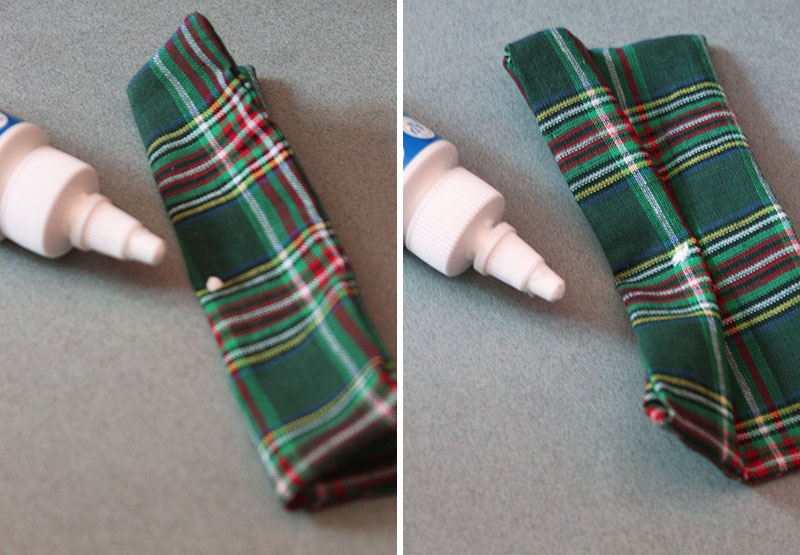 Allow the glued bow tie to dry. Prepare the smaller piece of fabric for the center of the bow tie. I just folded and glued the edges as they were a bit frayed. Wrap the fabric around the center of the bow tie and glue or sew it in place.
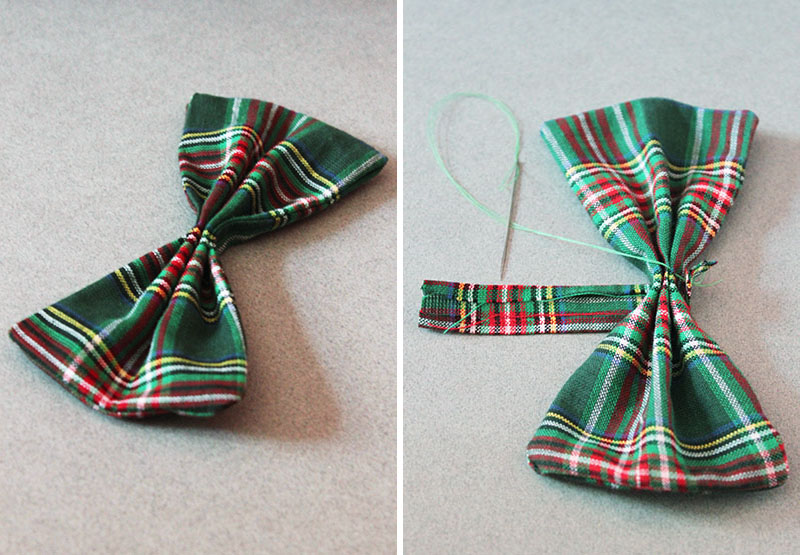 Finally, sew the pin back onto the backside of your bow tie.
 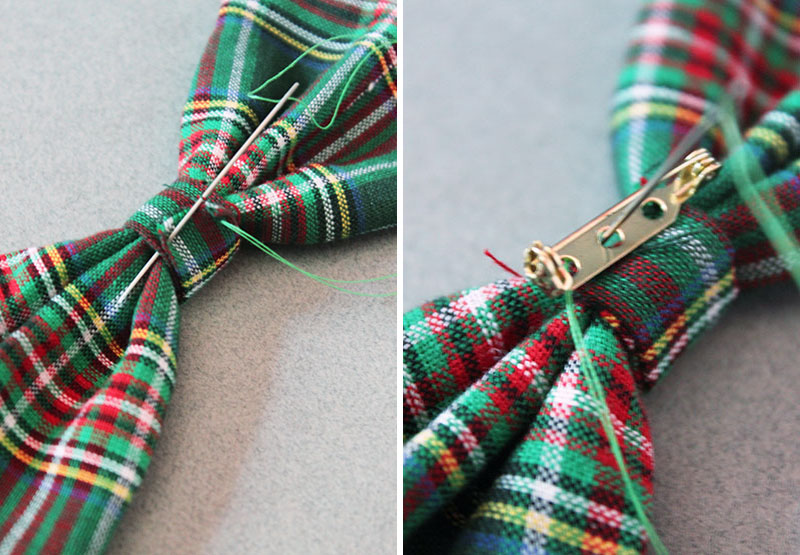 And you’re done! Bill Nye would be so proud!
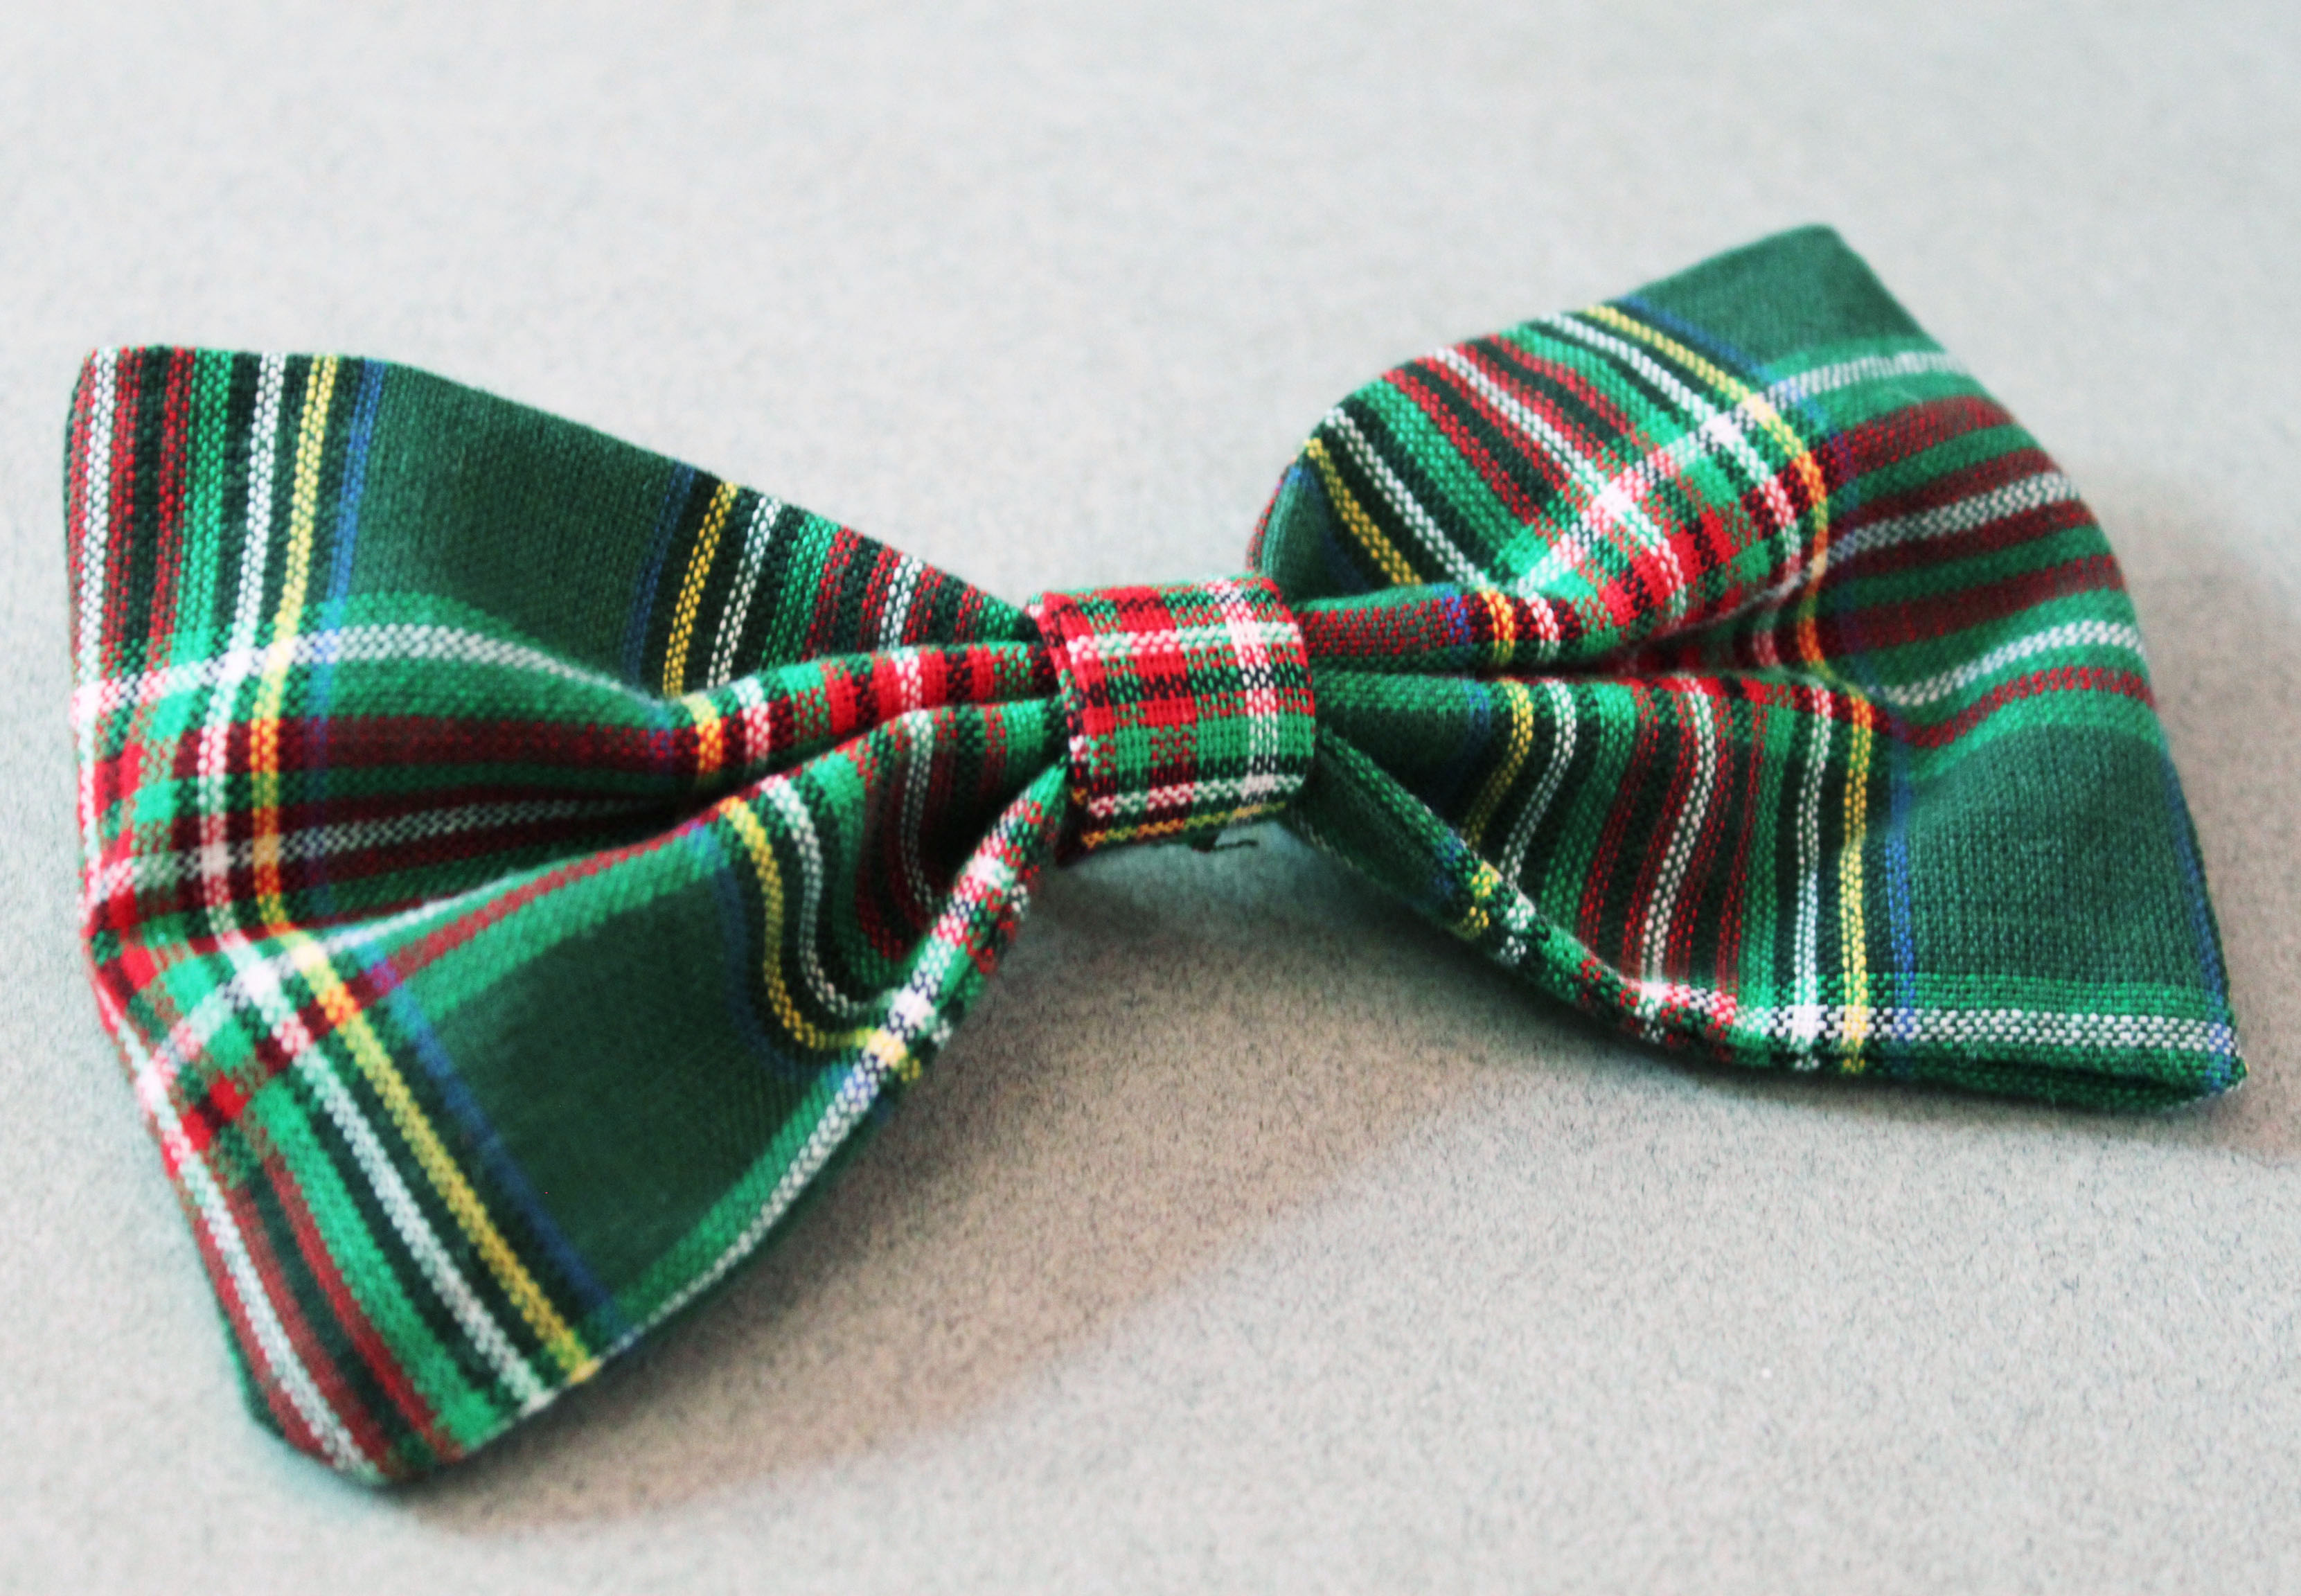
 {Top image via MensStyle1, rest of images by Why Don’t You Make Me}