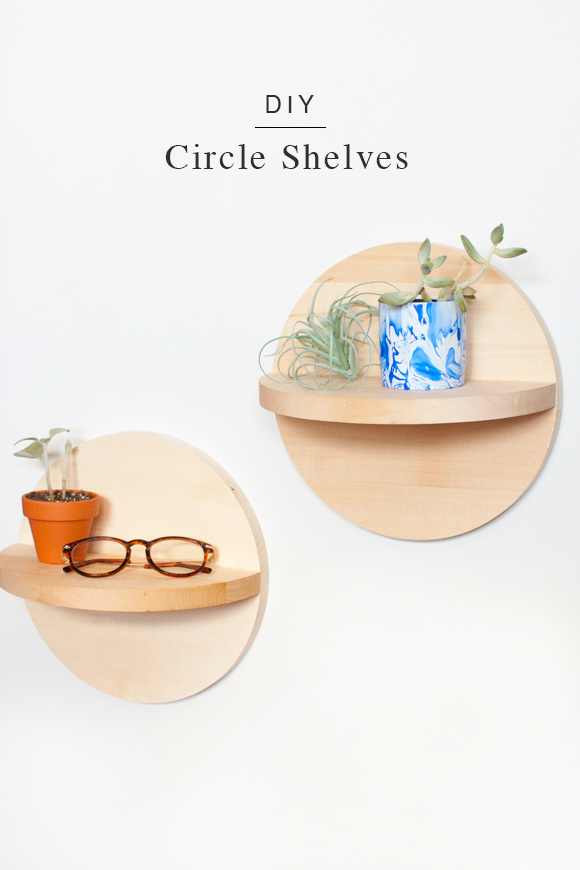
Oh, Hey…I’m back!
In typical fashion, I bought the wood for these DIY Wooden Circle Shelves weeks ago and just got around to making them. Blogging is hard work, guys.
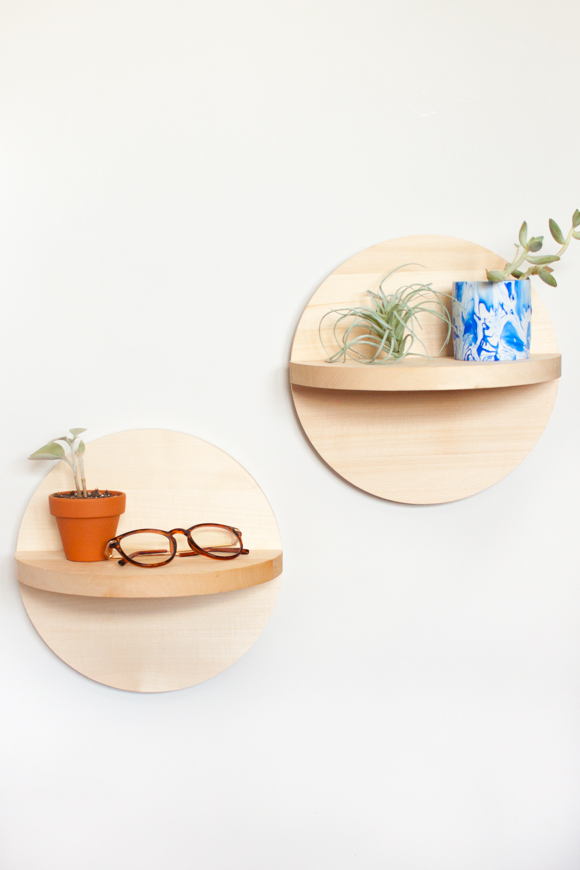
I originally saw these shelves at Urban Outfitters and fell in love with them, but there was no way I was paying 40 bucks for just one shelf. So, like any reasonable person, I decided to make my own version. I will admit, it was difficult sourcing the wooden circles for this project. The ones I found were either too thin, or way too expensive. I had used one of these clock faces to make my Donut Clock and remembered it was the perfect size and thickness. Since the middle of the circle would have the shelf piece covering it, the pre-drilled hole in the center didn’t really matter. Problem solved!
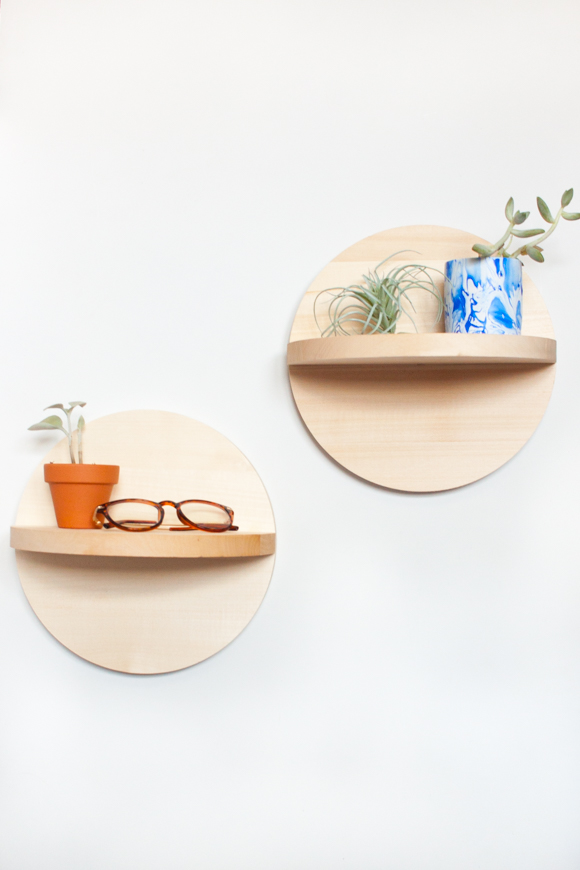
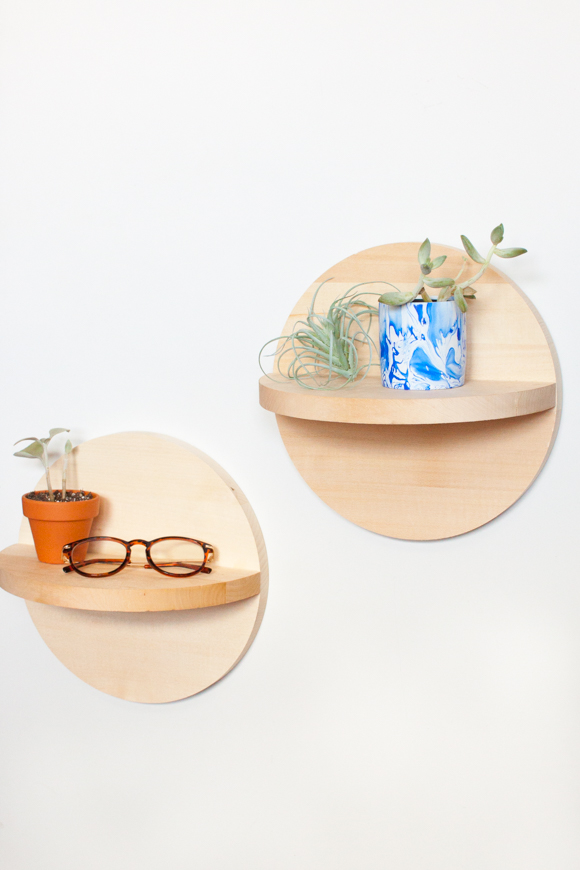
And you guys, I love how these turned out! They are a great way to display all those little trinkets like a small plant, crystal, or favorite photo.
Ready to make your own? Here’s what you’ll need.
What You’ll Need
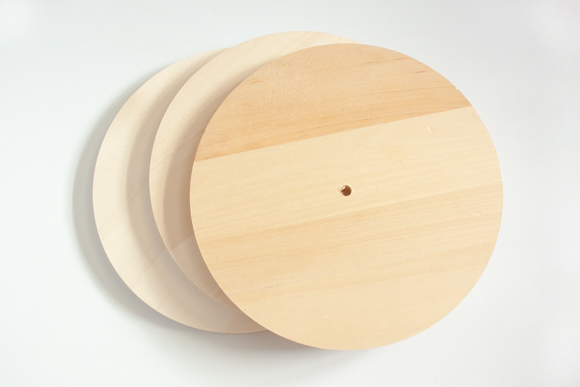
- 3 wood clock surfaces
- jig saw or table saw if you have one
- drill
- screws
- sand paper
- pencil and ruler
Instructions to Make Wooden Circle Shelves
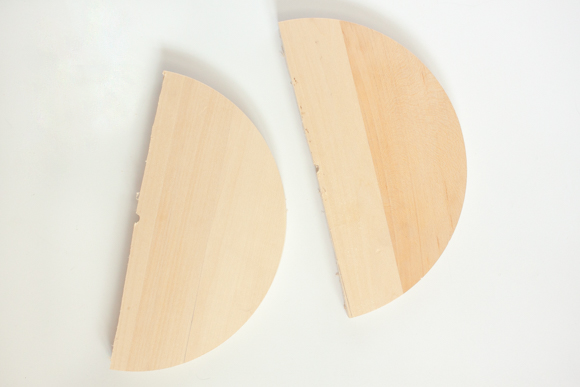 Use your ruler to measure the middle of the circle on either side of the hole in the center. Draw a line down the center of the circle. Using a jig saw or table saw (or hand saw if you’re in a pinch but have super human strength) and cut the circle in half. Sand down the edges so they lay flat.
 Position the cut halves along the center of each circle. I traced the outside of the pieces as a guide for when I drilled the holes.
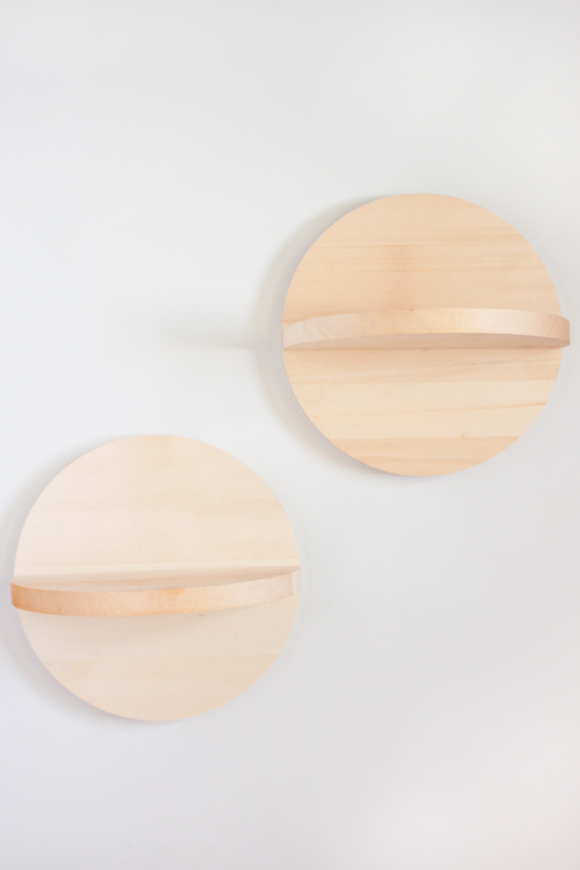
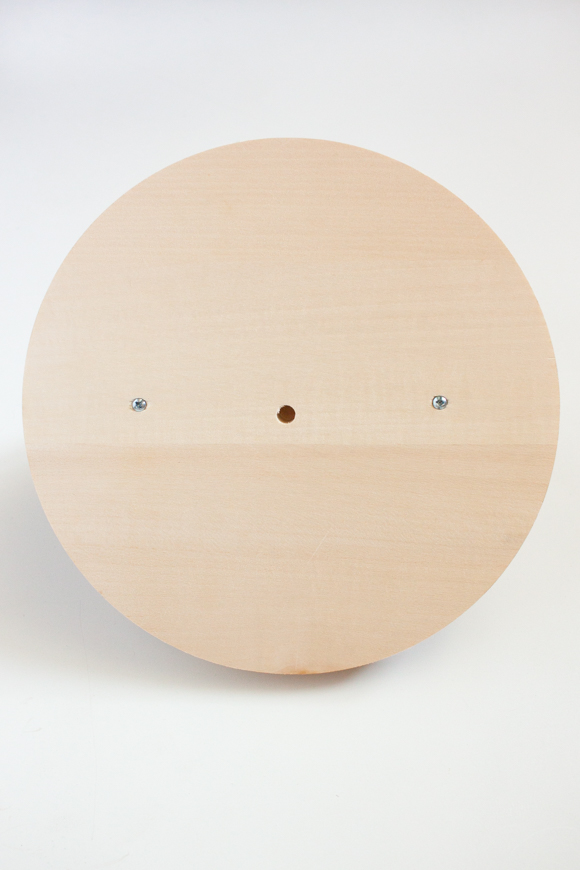 Drill two holes on either side of the hole in the center within the traced lines. Position the cut pieces in the center of the shelves, and drill a screw into each hole to secure the shelf piece. (This is definitely a two person job.)
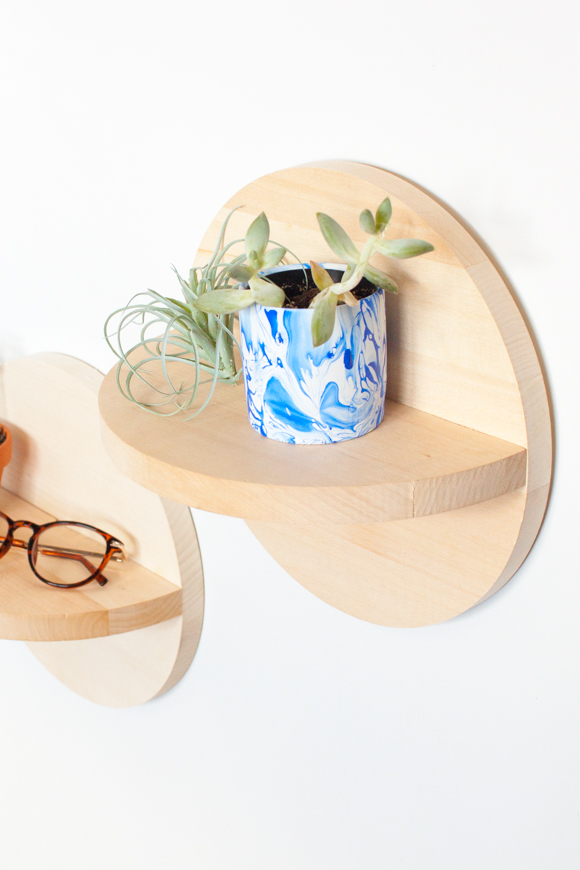
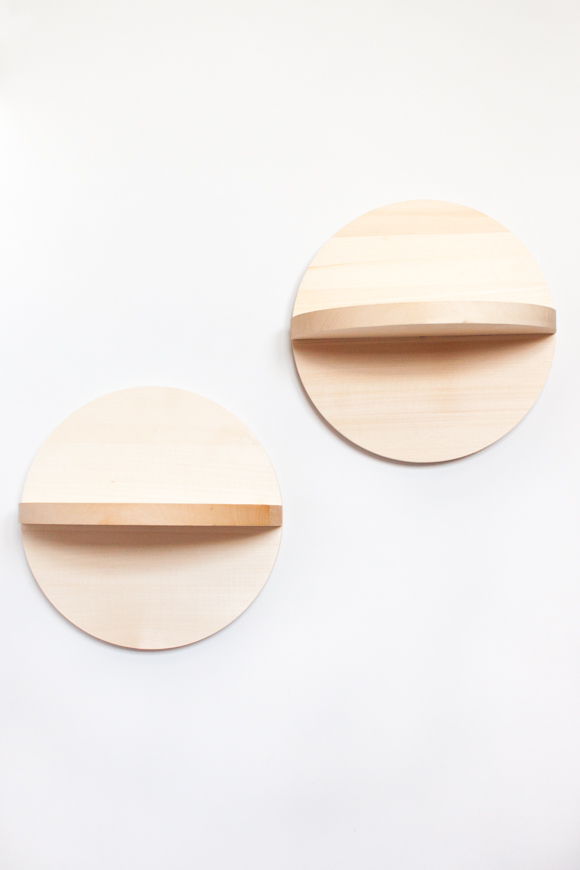 And you’re done! I used Command Strips to hang my shelves since I won’t be putting anything too heavy on them.