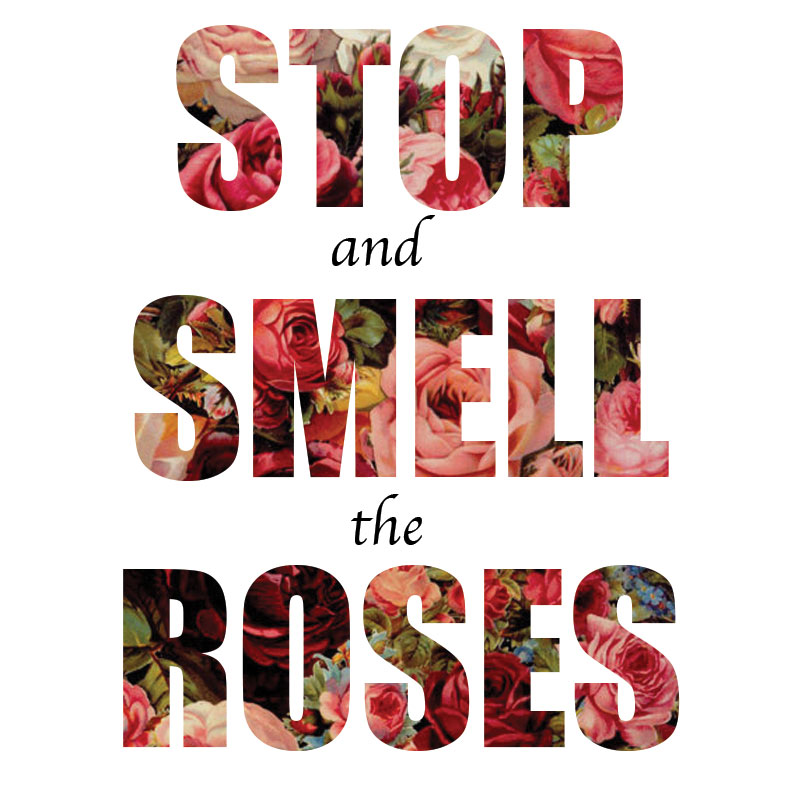
This tutorial will show you how you can add a pattern to a font! You’ll need a pattern and the font of your choice. My text is about flowers, so I decided on this gorgeous floral pattern. For the Font I kept it old school and used Impact.
*This tutorial is using Photoshop CS6. Click on images to enlarge.*
Step 1: First, we need to create the pattern. Save the image and open it in Photoshop.
I’m currently back in Chicago! I’m here to fulfill my dream of attending pastry school. Hopefully the next four months are filled with lots of baking, Netflix, and deep-dish pizza. Stay tuned!
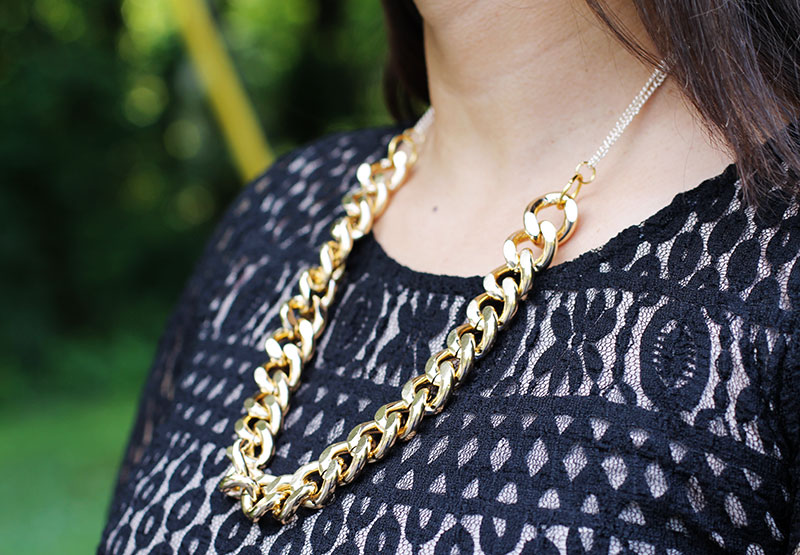
A few weeks ago I posted about the Chunky Chain trend and I finally got around to making my own. I took a road trip with a friend to our nearest Hobby Lobby. I found this thick chain perfect for making a necklace or bracelet. I bought a half a yard of the chain but when I got home, I realized it would only be long enough for a necklace. I really wanted a bracelet too, so I decided to add some thinner chain to be able to make both! Here’s how…
Materials:
– Thick Chain (Cut to approximately 6.5″ for bracelet & 13.5″ for necklace.)
– Thin Chain
– 2 sizes of jump rings
– Jewelry fastener
– Pliers
Necklace Step 1: Attach the larger sized jump rings to each end of the 13.5″ chunky chain. Cut a 24″ piece of chain (longer/shorter based on your preference). Then “fold” the chain in half two times.
Step 2: Attach the smaller sized jump ring through one end of the folded chain. Attach that jump ring to the larger one on the necklace. Repeat with the other side.
Voila! Chunky Chain Necklace!
Bracelet Step 1: Attach a large jump ring on one end of the 6.5″ piece of thick chain.
Step 2: Repeat on the opposite side, this time adding a fastener.
And you’re done! A simple project with a big impact!
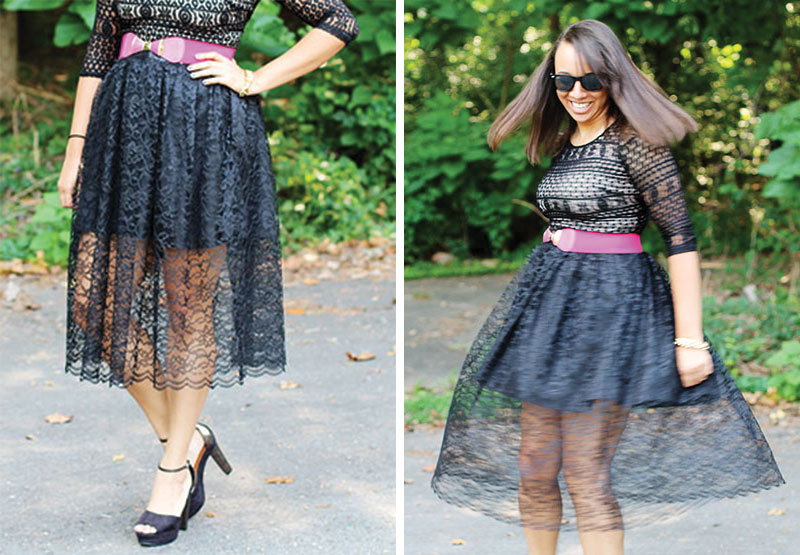
I immediately fell in love with this dress the moment I saw it. I knew I could try my hand at sewing something similar in the form of a skirt. I bought some black lace and fabric and got to work. I shortened the lace from the straight edge to leave the scalloped bottom intact, and used the cut piece to cover the waistband. I simply followed my pattern for a circle skirt in different lengths: short for the inner lining of the skirt, and long for the lace. I sewed (my first!) invisible zipper along the seam. Then I followed this tutorial on how to sew a classic waistband. This is probably my first sewing project that I will actually wear, and the one I’m most proud of (so far)!
*How cute is this giant crepe paper flower?! Find the tutorial over on Simply Jolleen!


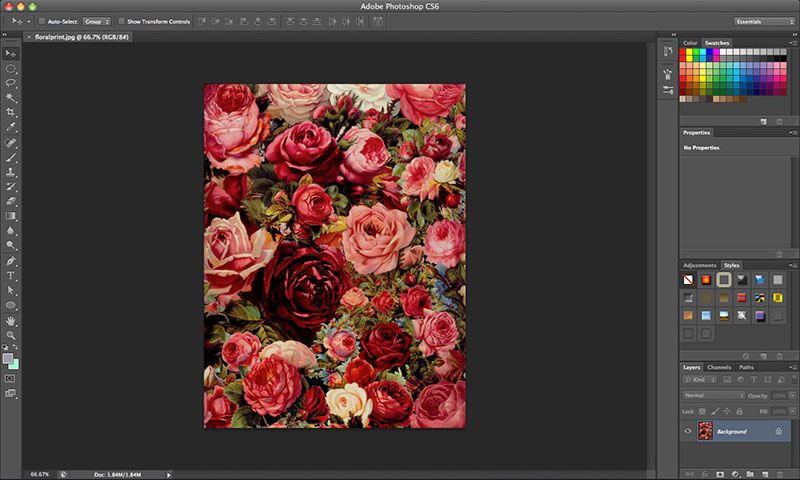 Step 1: First, we need to create the pattern. Save the image and open it in Photoshop.
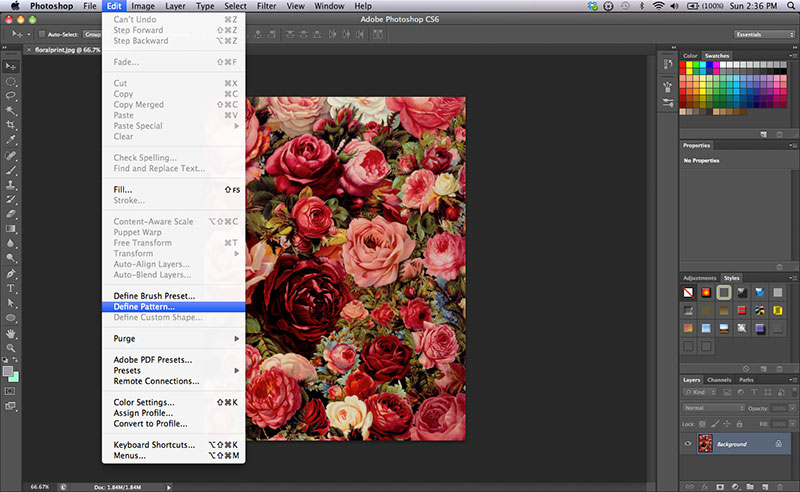 Step 2: Go to Edit>Define Pattern.