


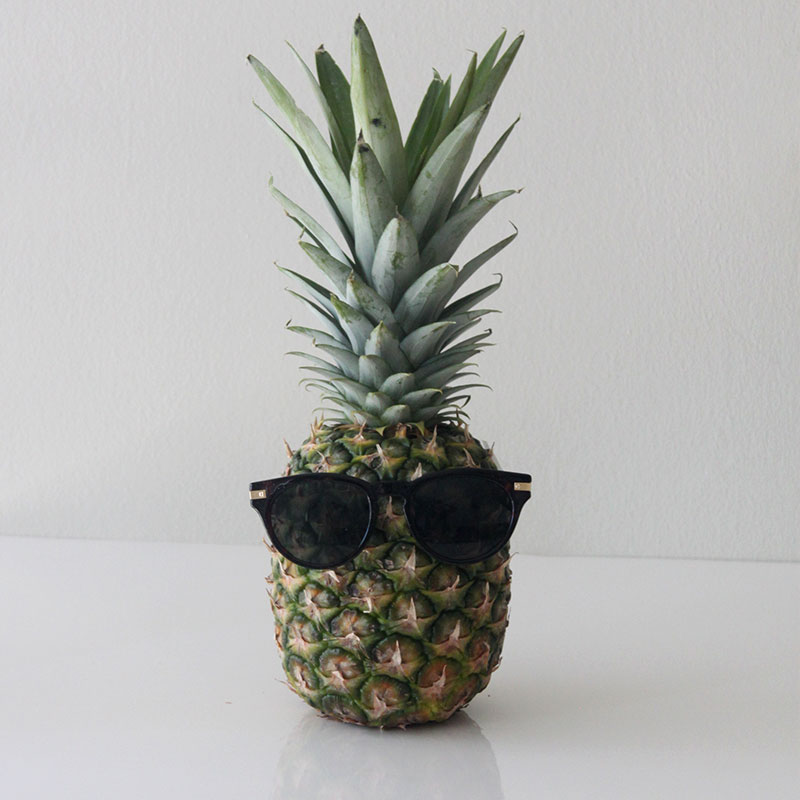
 Do you ever love an accessory, but deep down know you’ll never wear it…unless you’re at an outdoor concert or music festival? That’s how I feel about these pearl sunglasses. They would go great with a floral headband and crop-top, don’t you think?
Blog
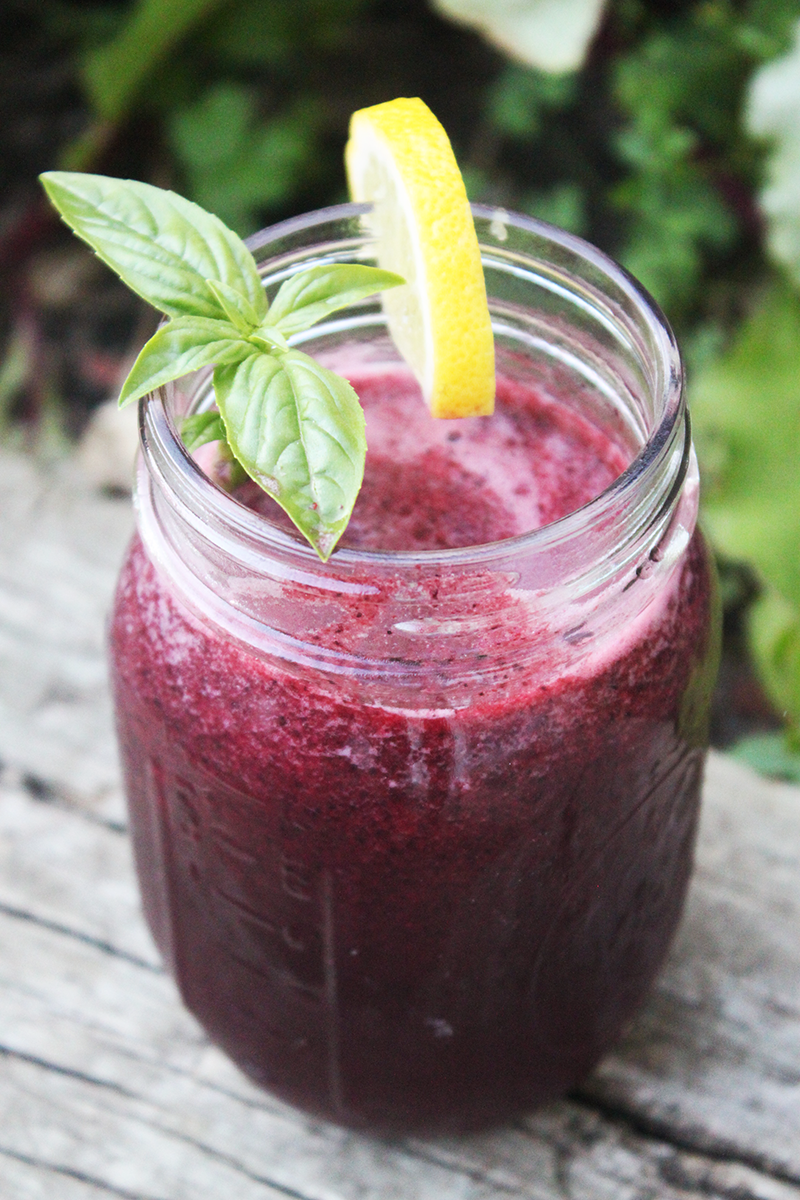
Blueberry Basel Lemonade
07.17.14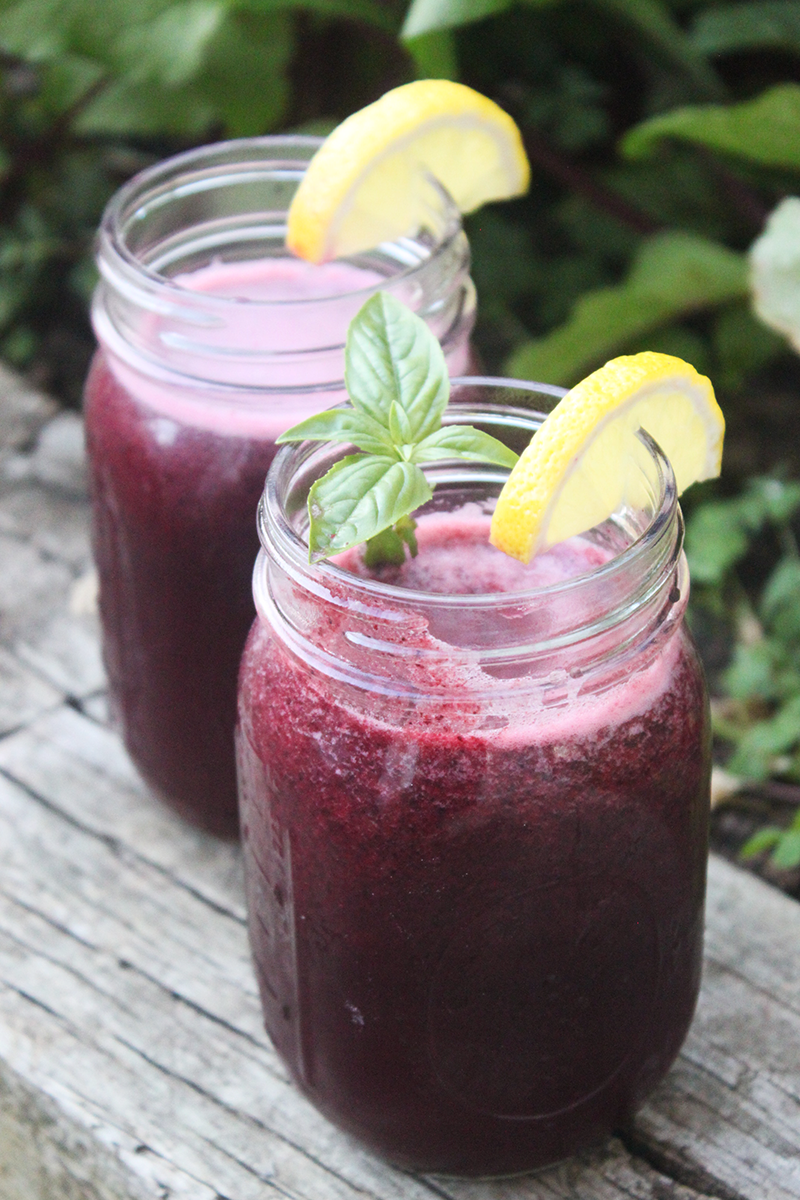
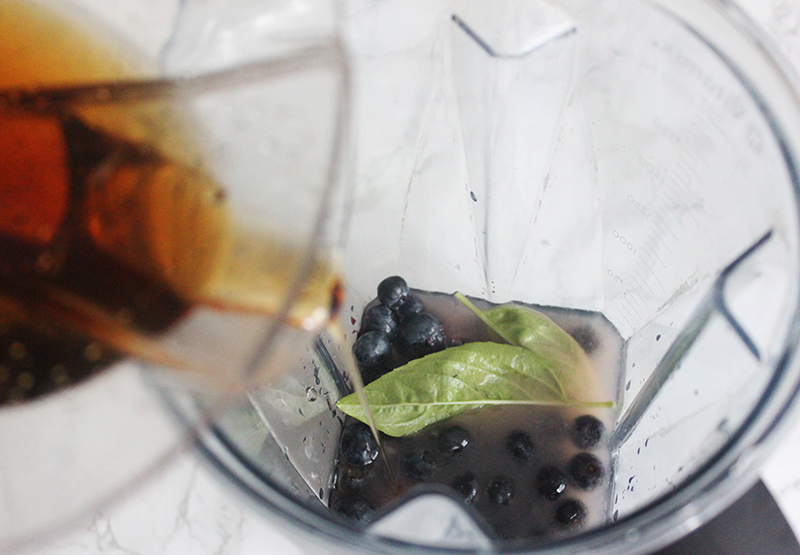
Earlier this summer my best friend and I went to a free bootcamp class in the city. We were mostly motivated to go because after the class we would receive a free meal from Sweetgreen. The thought of their Blueberry Basel Lemonade is what kept me going throughout all the drill-like exercises. After that day, I was hooked on the summer drink. I would have never thought to combine blueberry and basel, but they are the perfect combination. Thankfully, Sweetgreen posted the recipe online, so now I can indulge in the drink anytime I want!
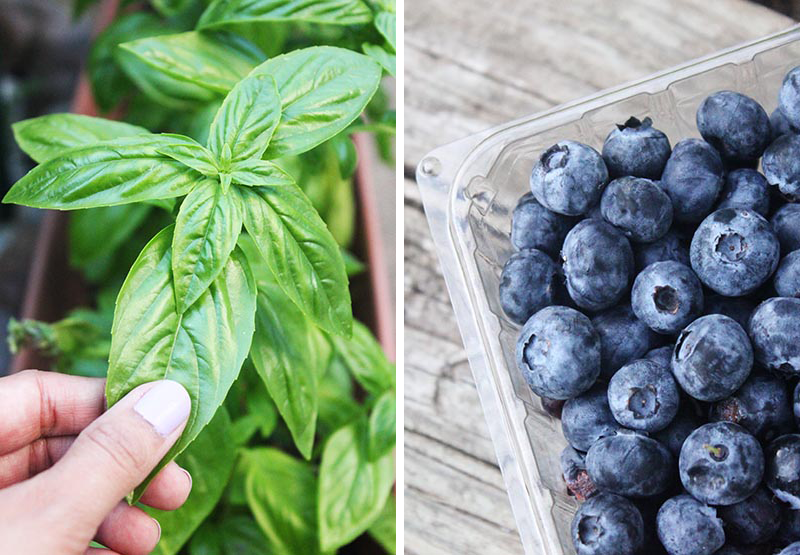 *Fresh basel from my mom’s garden…yum.*
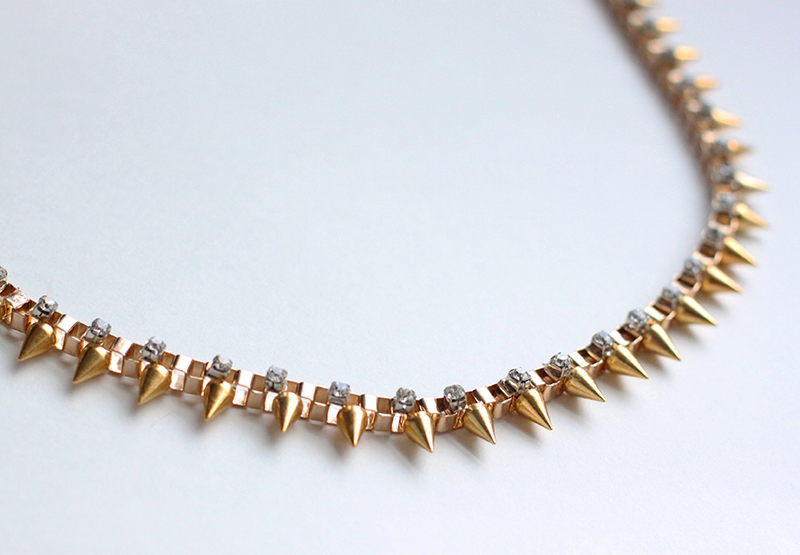
DIY Studded Rhinestone Box Necklace
07.16.14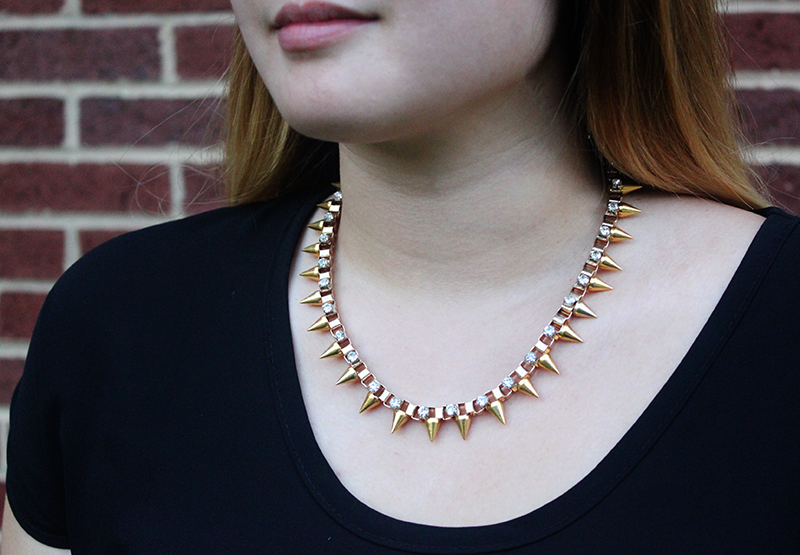
I’m back! In case you hadn’t noticed, I decided to take a little break from blogging. It’s mostly been due to a lack of time and inspiration, but I hope to be back in full swing really soon! I have so many projects lined up that all I need now is the time to make them. I commend those DIY bloggers who manage to post projects almost everyday! (P.S. How do you do it?!) Anyway, today I’m bringing you this awesome Studded Rhinestone box necklace. It’s a great way to use up some leftover craft supplies from previous projects. Plus, it’s super easy to make!
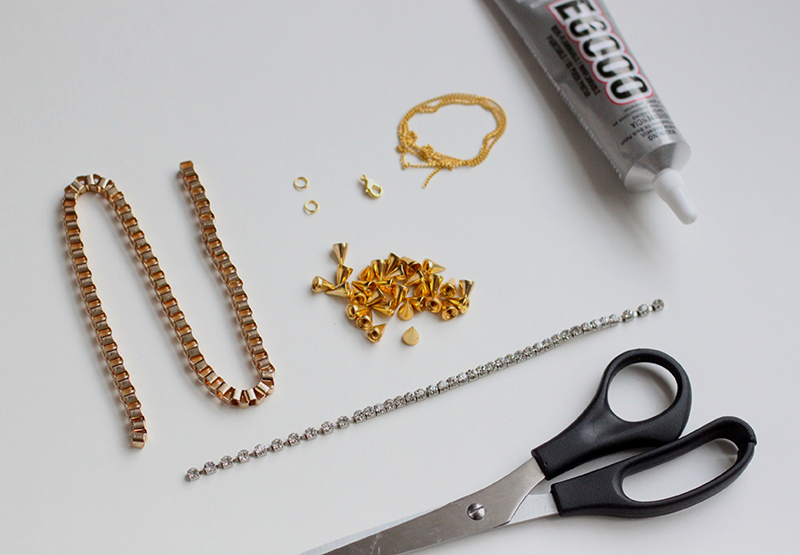
Materials:
– Box Chain
– Studs
– Rhinestones
– Jump Rings & Fastener
– Chain (If the box chain is too short)
– Scissors
– Super Glue
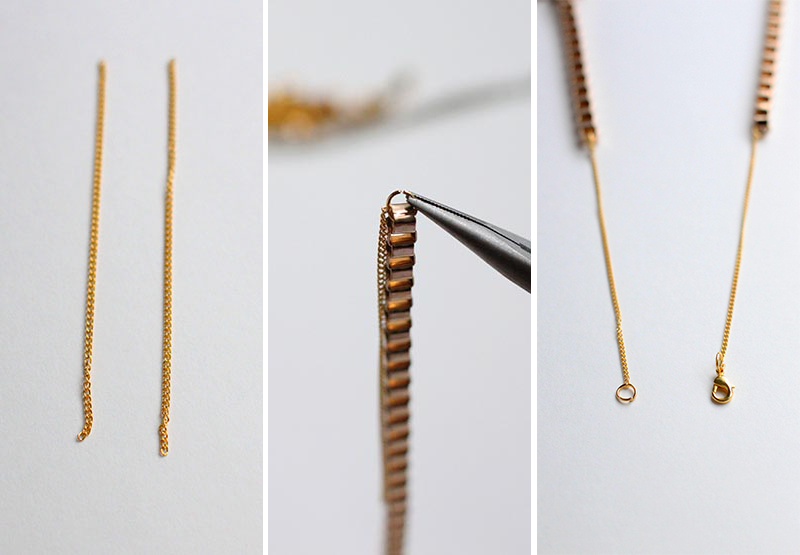 If your box chain is too short, cut two pieces of chain to the length you want the necklace to fall. Attach to box chain using a jump ring. On one end attach just a jump ring, and jump ring and fastener on the other.
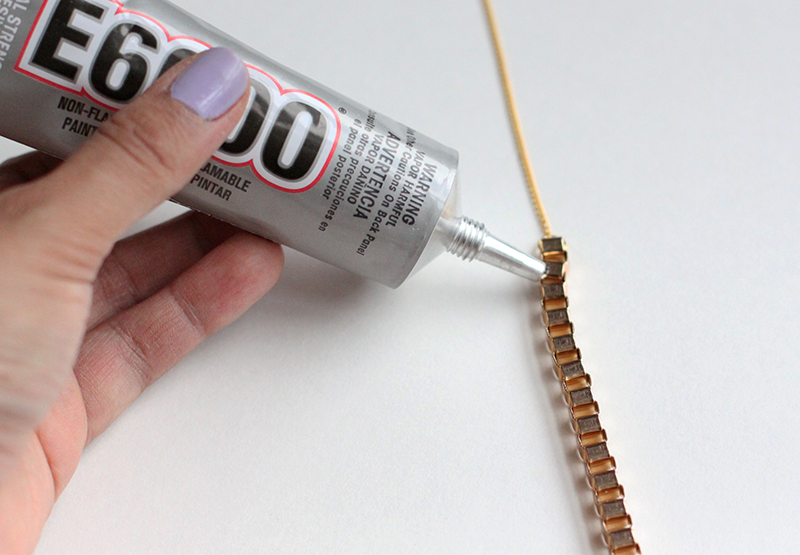 Add a drop of superglue to the box chain.
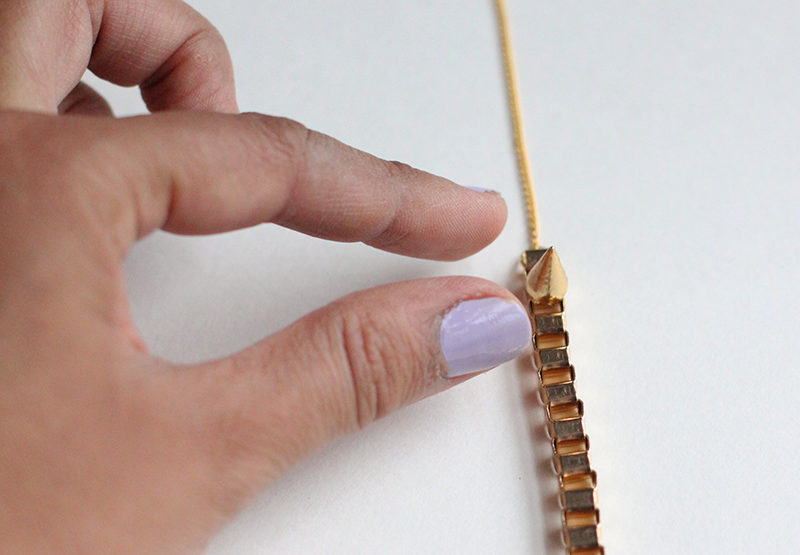 Carefully place the stud over the drop of glue.
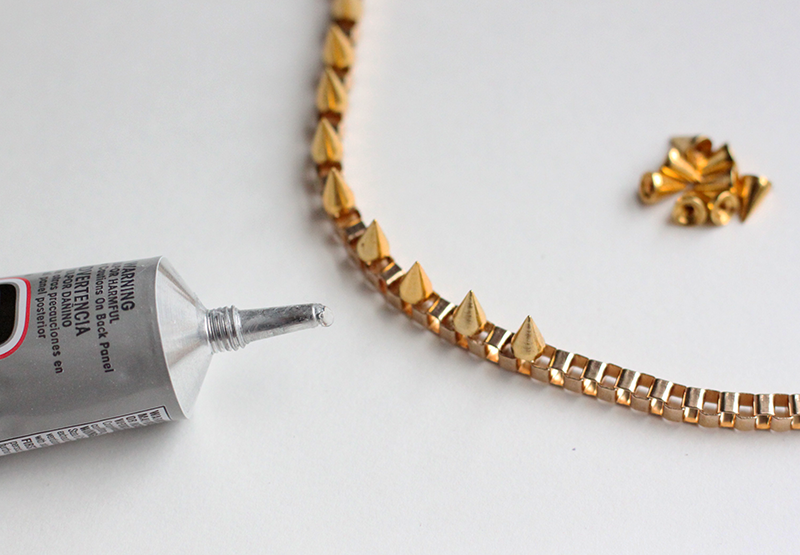 Continue gluing the studs onto the box chain. I added a stud to every other upward facing box.
 Add studs until you reach the end of the chain.
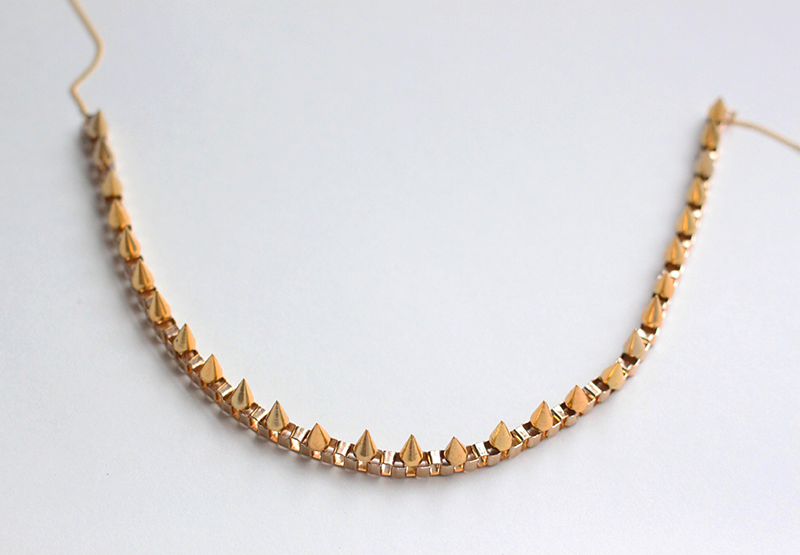
 Attach the rhinestones in a similar fashion to the studs. I added the rhinestones between the studs.
 Let the studs and rhinestones dry completely before wearing.
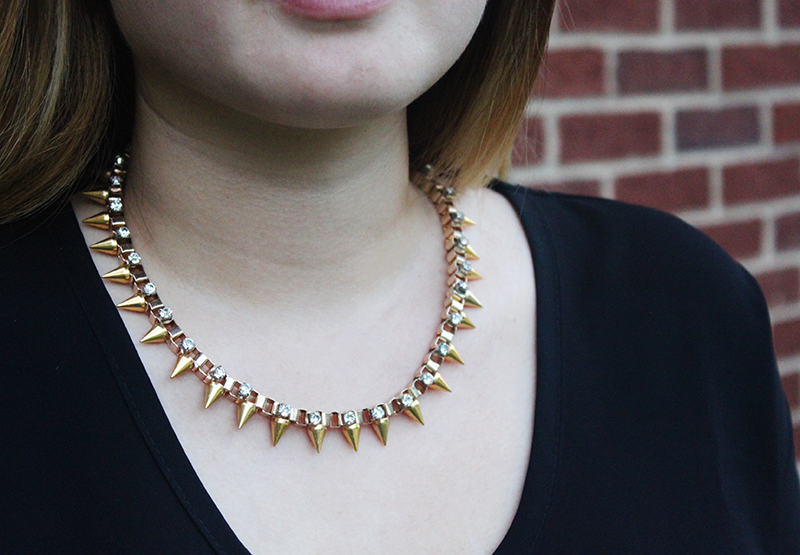 Voila!
Carrot Juice
05.02.14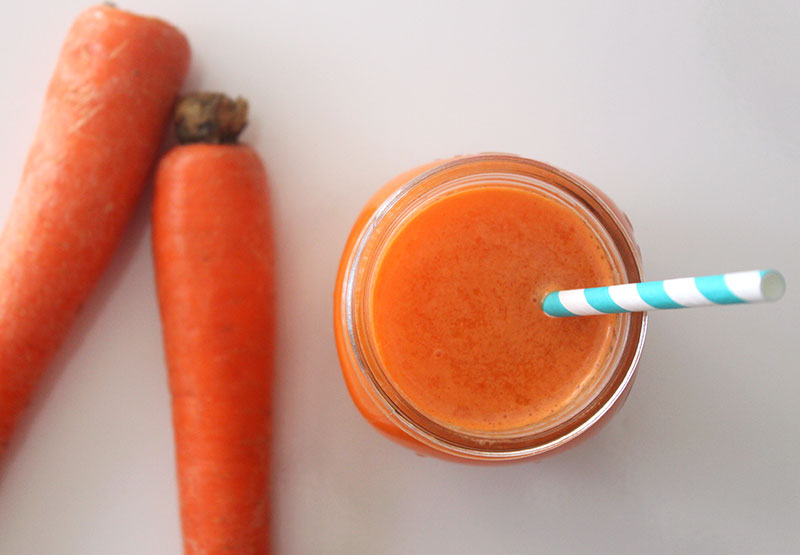
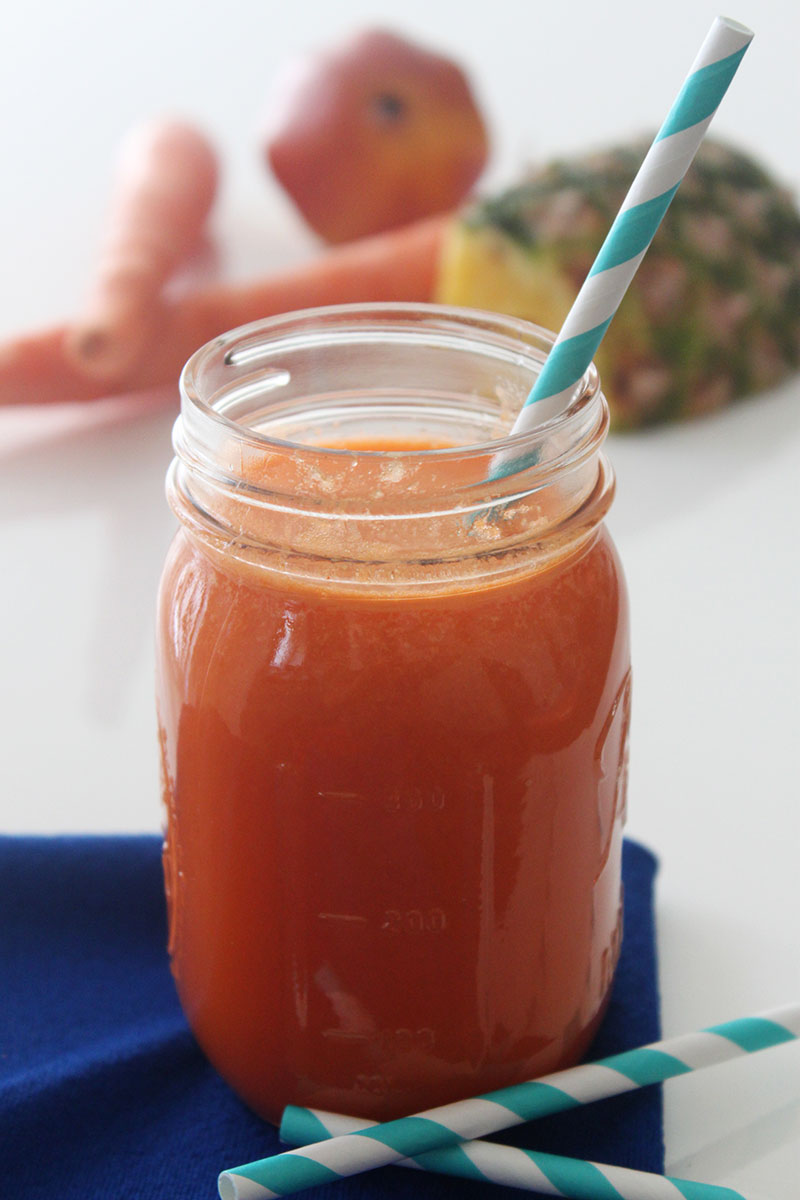
I’m pretty spoiled in the juicing department. My parents make sure I get my daily serving of vegetables with a green juice every morning. This time however, I was craving a simple and refreshing carrot juice. I also wanted something sweeter so I decided to add pineapples and mangoes. It was the perfect combination. Though I wouldn’t drink this everyday because of the natural sugars, it is perfect for a warm day!
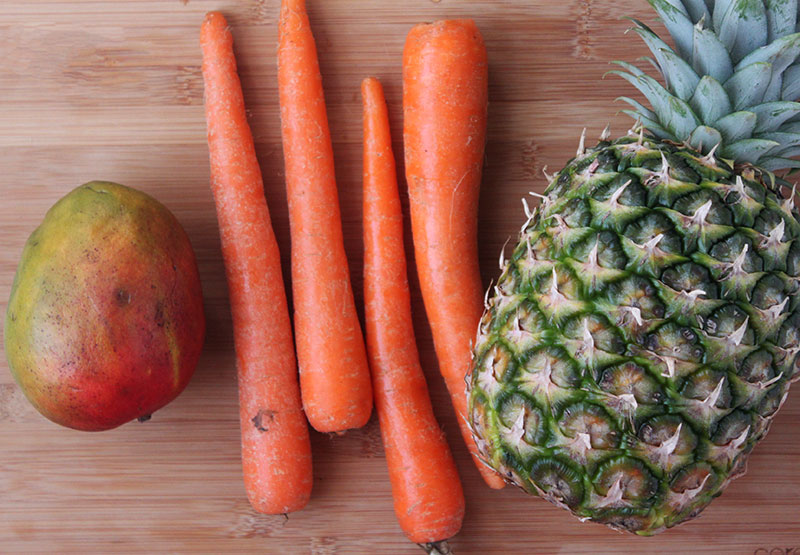 I used about 6-8 carrots, a whole mango, and half a pineapple, all diced and thrown in the juicer.
 *Take a break to play with your food!*
 Seriously, so good!
DIY Studded Headband
05.01.14
I feel as though I’ve been living in headbands lately. My job as a cake decorator requires me to wear my hair pulled back at all times. My refusal to wake up earlier in the mornings usually means I quickly pull my hair back in a messy bun. When my hair is particularly unruly, I throw on a headband. My hair accessories were definitely in need of some updating, and what better way than with a studded headband? Now my messy buns can at least have some edge!
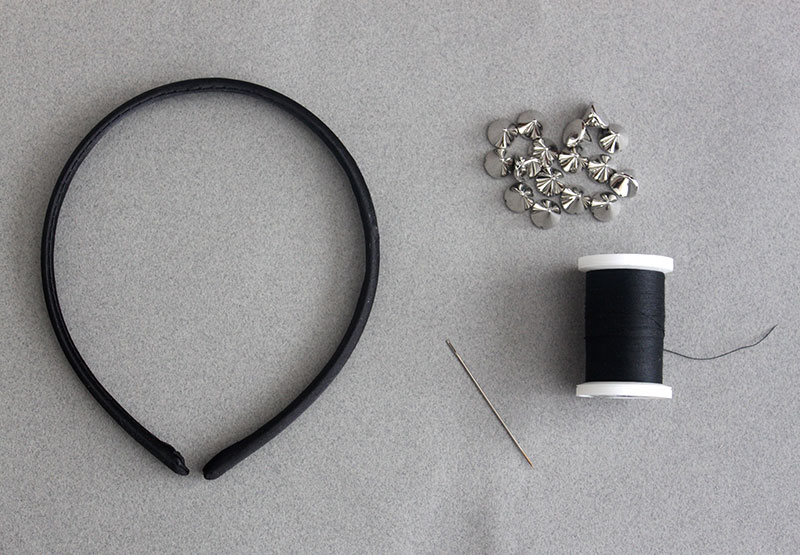
Materials:
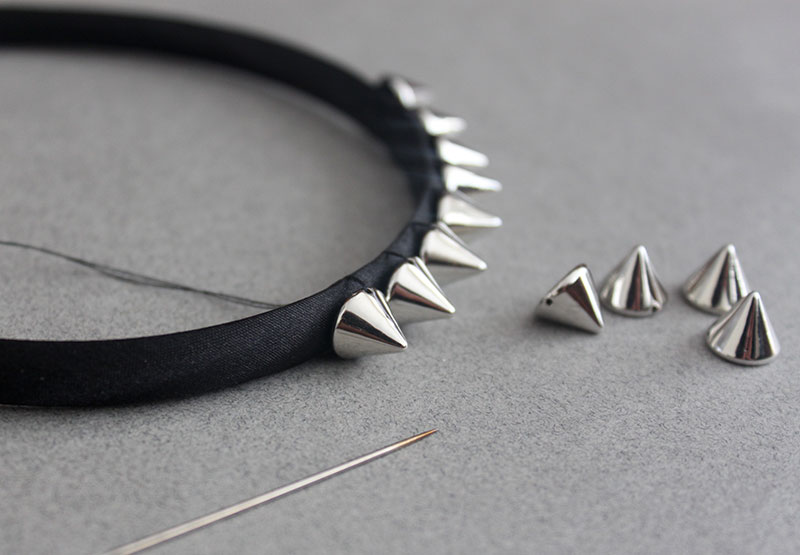
-fabric covered headband
-sew on studs (I got mine at A.C. Moore)
-sewing needle & matching thread
 1. Decide how many studs you want to add to your headband by arranging them alongside your headband.
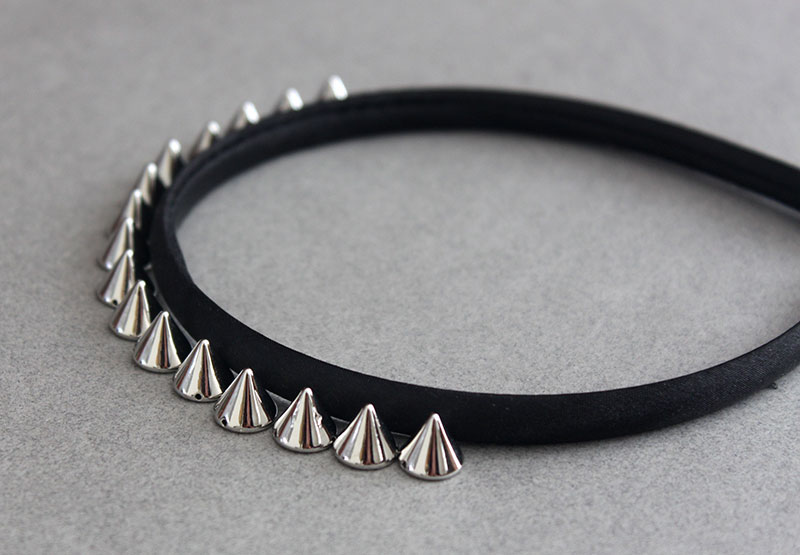
 2. Cut a piece of thread that is about twice the length of the headband. Start sewing on the stud one by one. Sew into the cloth of the headband, and then through the stud.
 3. Continue sewing the studs to the headband until you reach the end.
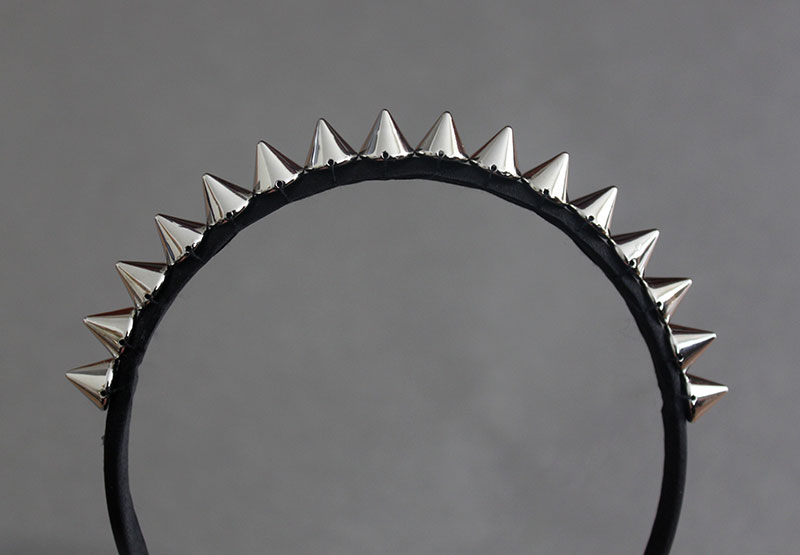 And you’re done!