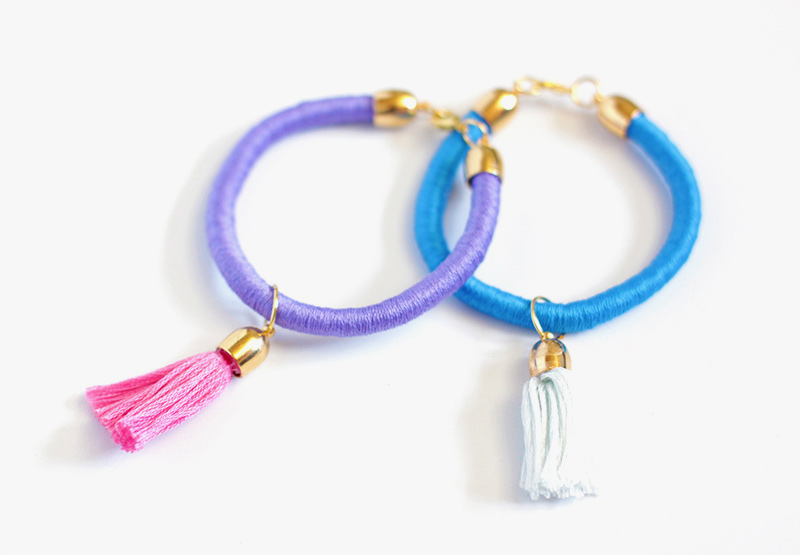
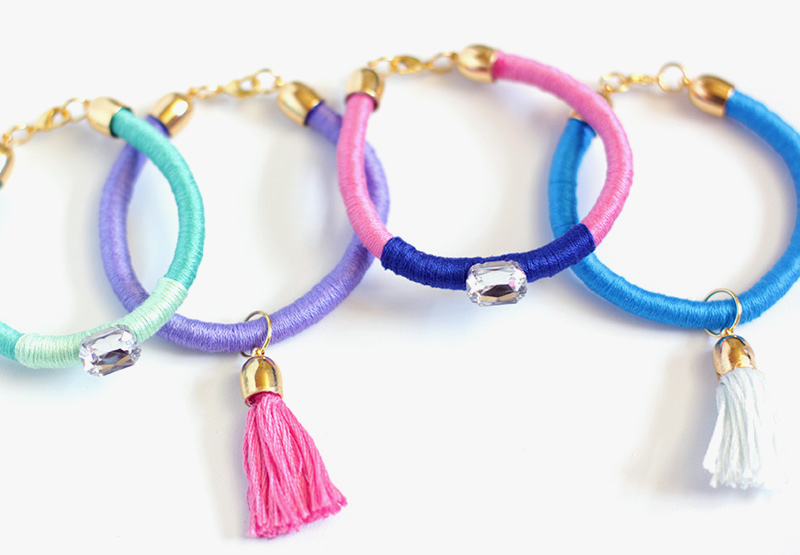
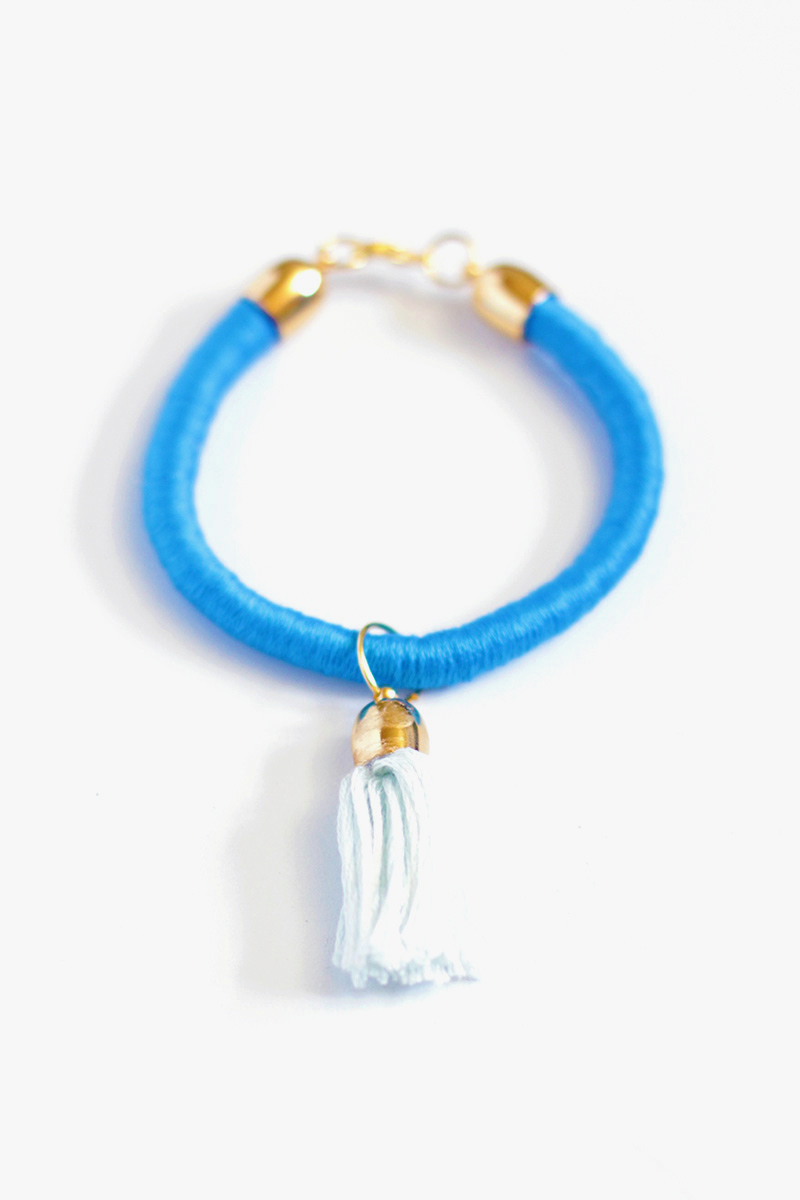
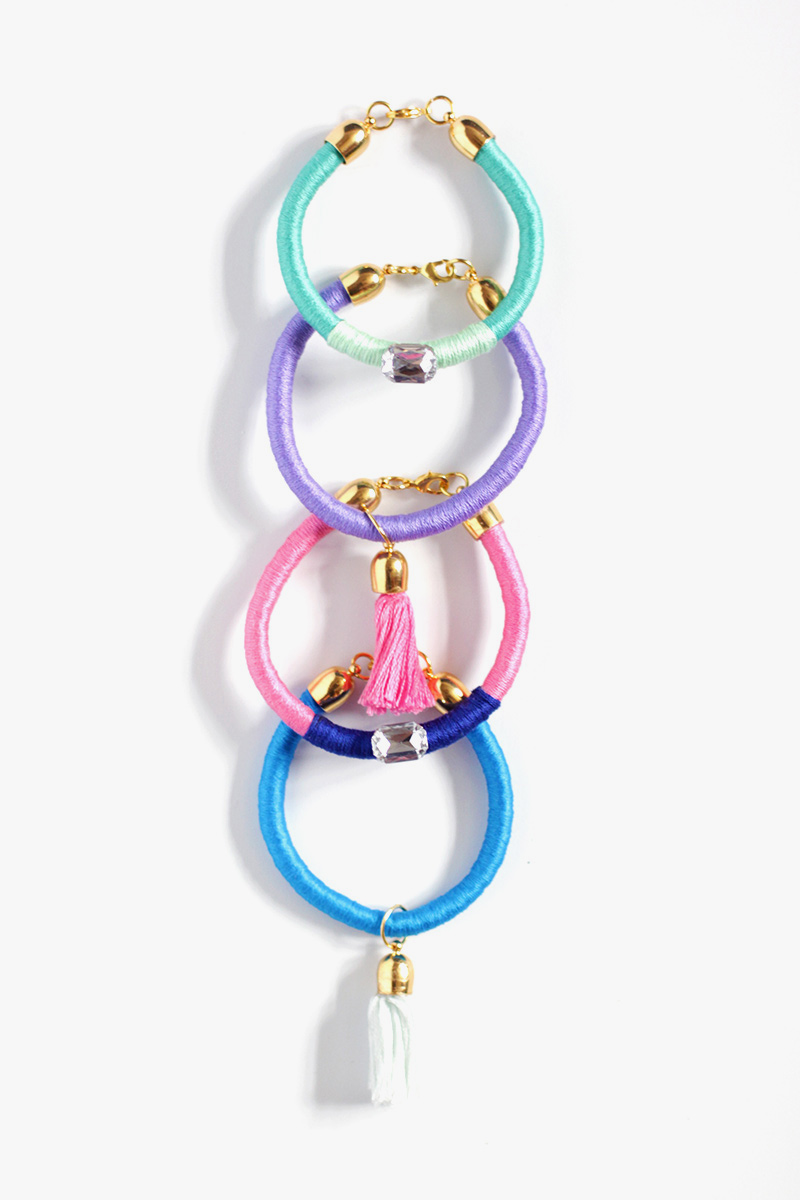
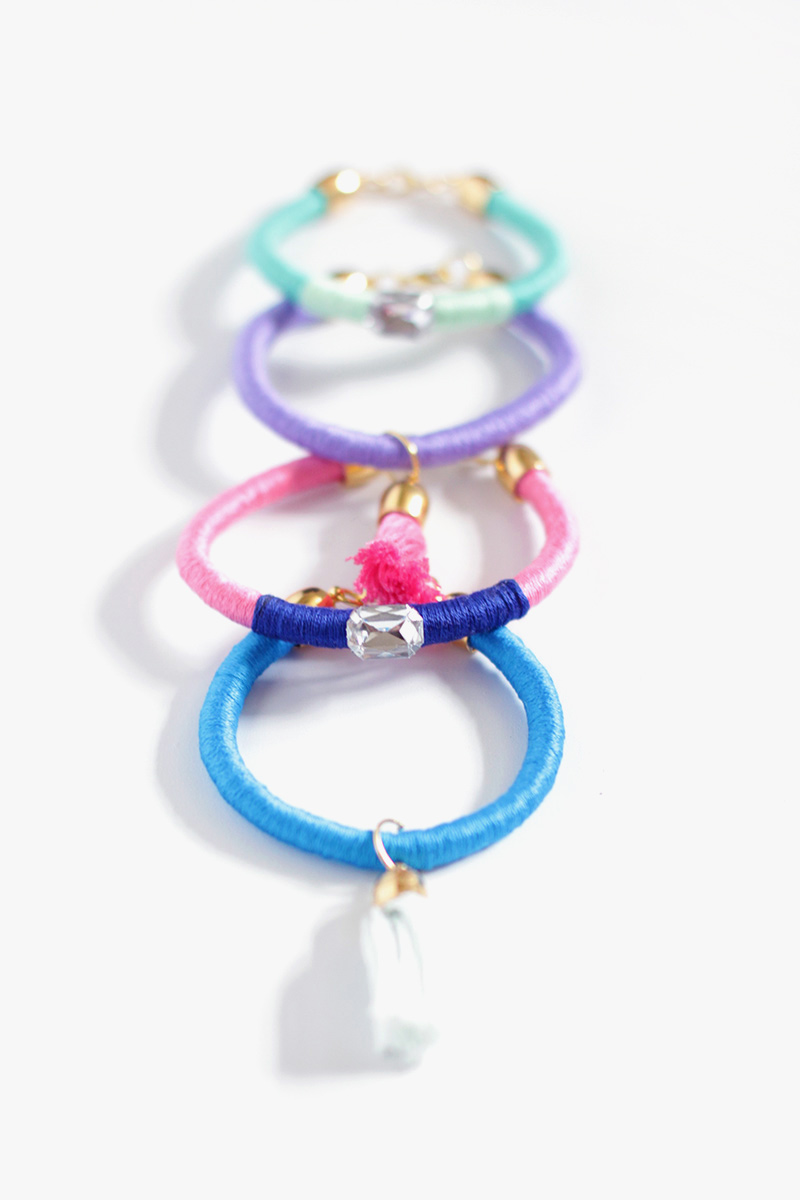
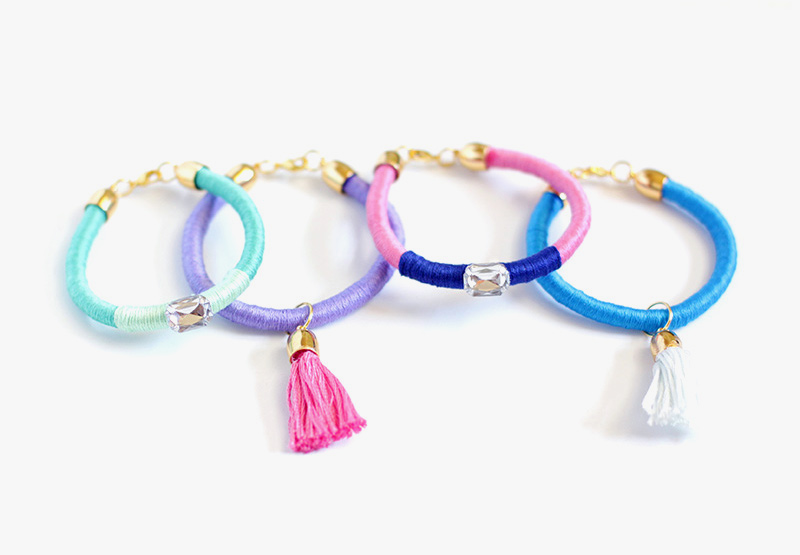
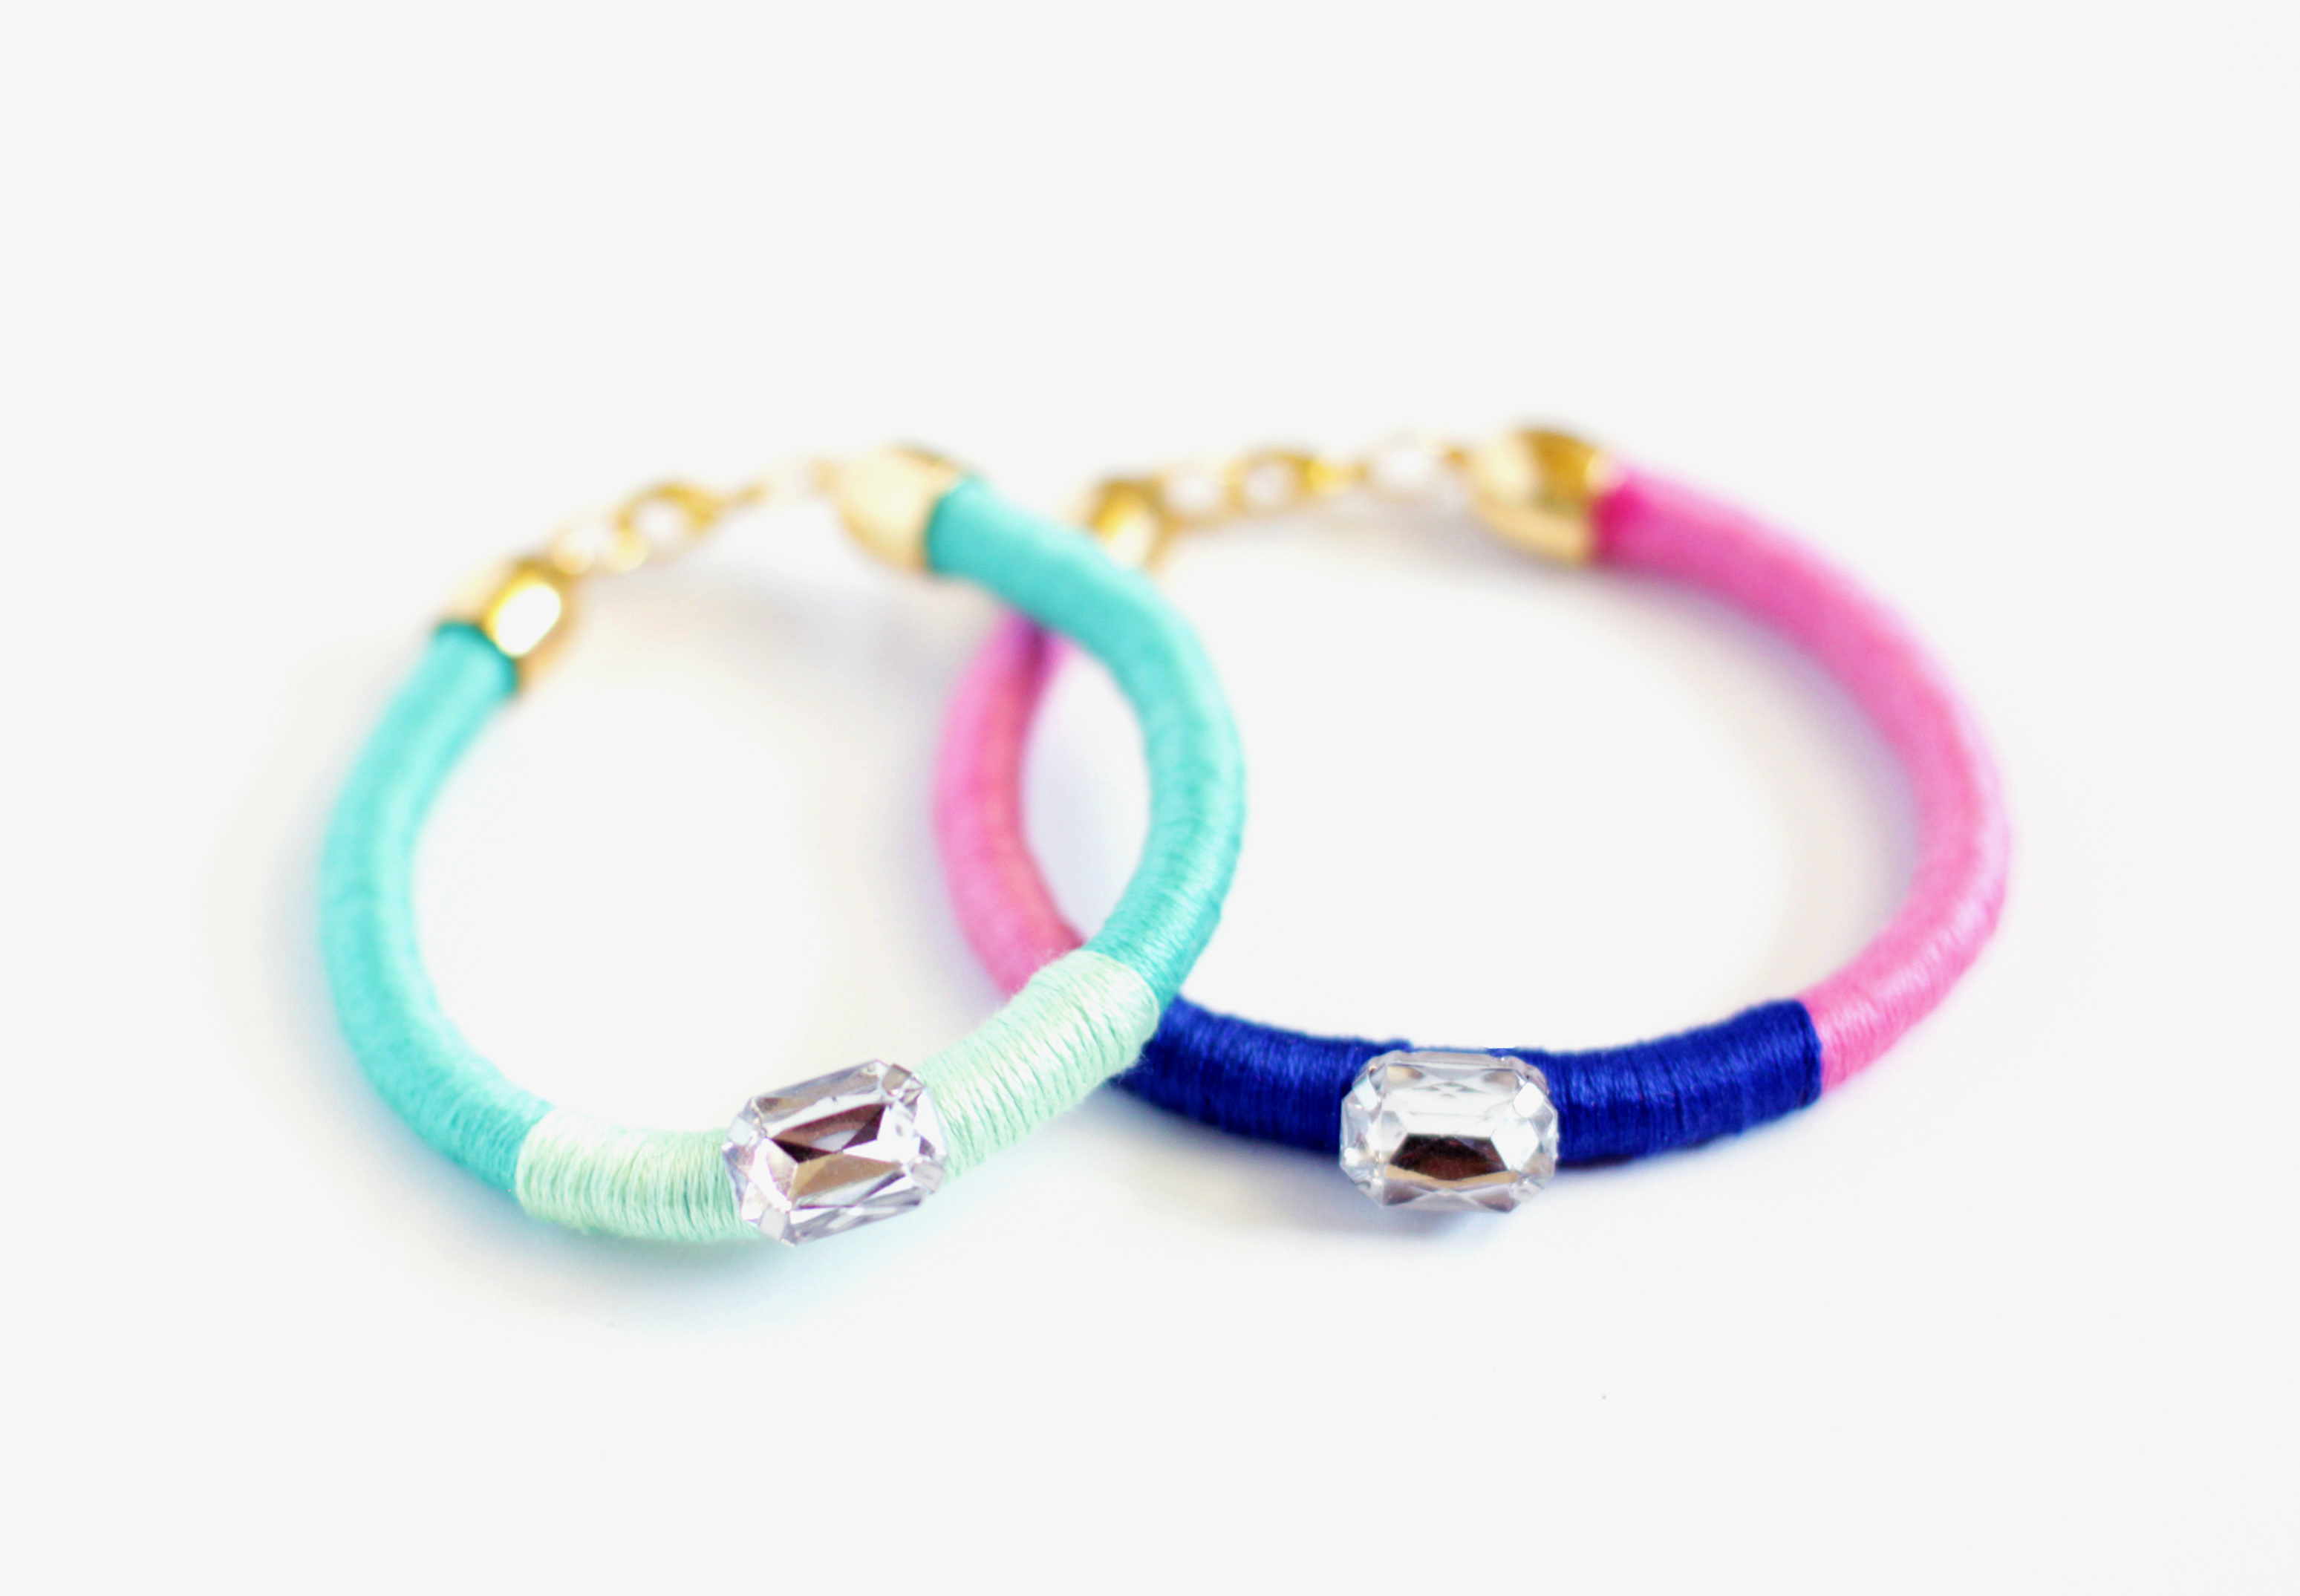
 It’s been a while since my latest DIY post. I haven’t been very inspired to create lately, so I thought I would revisit an old tutorial. It’s so weird (and slightly cringe worthy) reading my old blog posts. Even now I still have trouble thinking up what to say in these little introduction blurbs. Anyway, can you believe my DIY Thread Wrapped Bracelet post is from 3 years ago?! That post ended up being one of my most liked and shared DIY posts. It’s funny that as a blogger you can never predict what will be popular and what won’t. Even back then I thought about all the ways you could customize these bracelets so today I thought I’d share two of those ways!
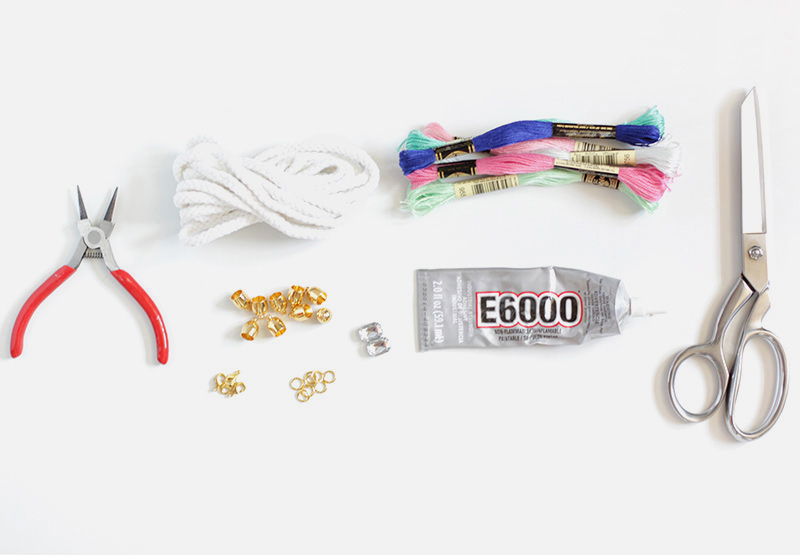
Materials
Rope, Embroidery Thread, Jump Rings, End Caps, Fasteners, Rhinestones, Super Glue, Scissors, Plyers
* I used 8mm end caps so make sure your rope in at least 6-8mm in diameter as well. I bought both the rope and rhinestone (with holes!) at AC Moore.*
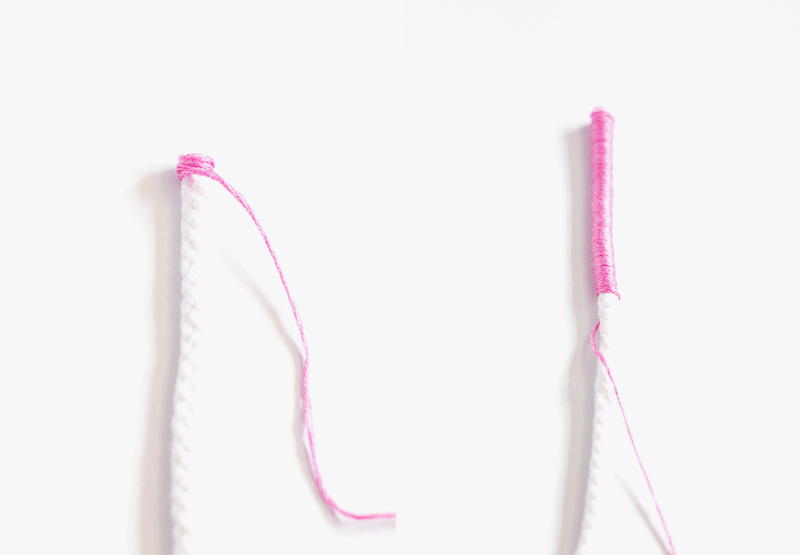 1. Start by cutting a piece of rope long enough to go around your wrist. I cut mine about an inch shorter than I needed it to wrap around my wrist to account for the end caps and fastening. Wrap your first color down the length of the cut rope and glue both ends.
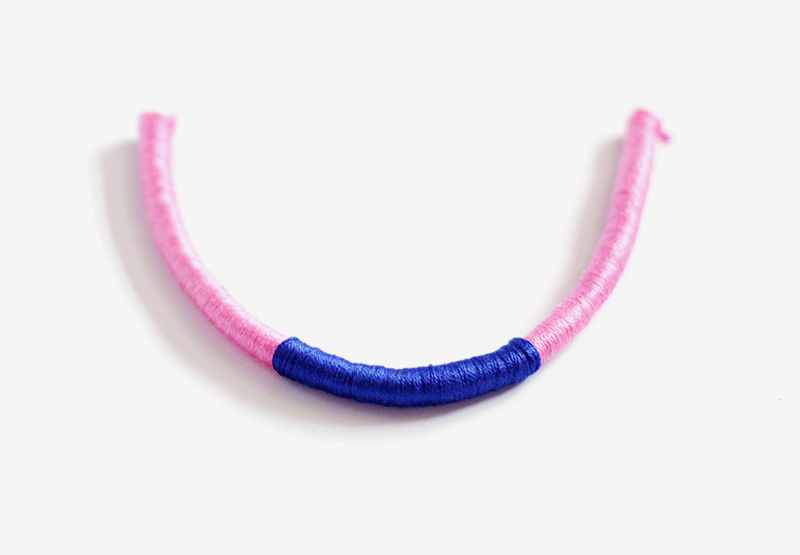 2.If you want to add a second color, glue one end and wrap the thread over the first color. You can bend the rope in half to check whether the color is centered and glue the second end.
 3. To add a rhinestone use the same color thread to tie the gem to the bracelet. Tie a double knot and trim the ends.
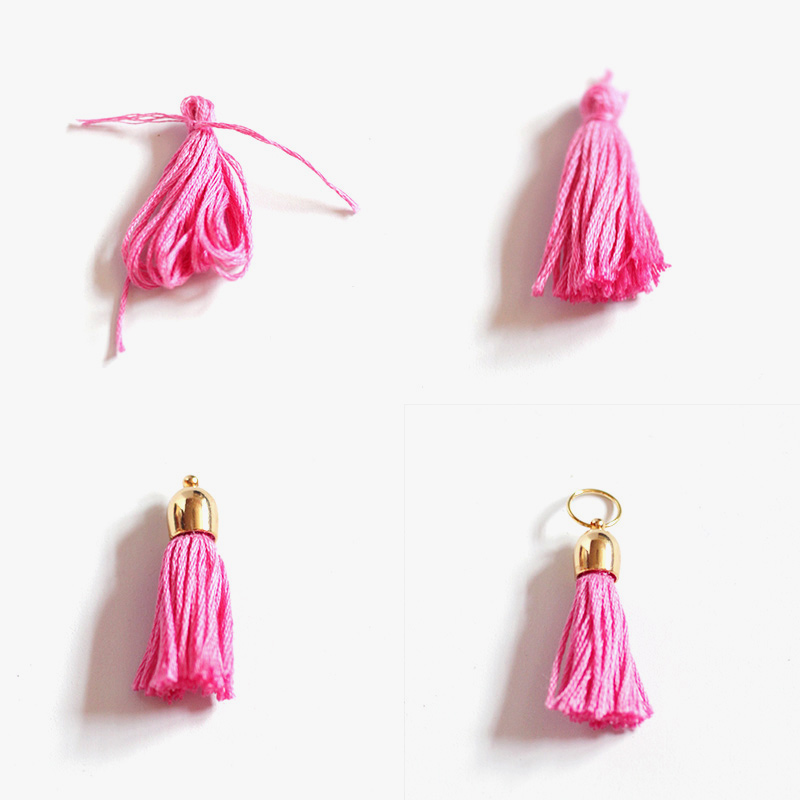 4. To add a tassel, glue the tied end of the tassel to the inside of an end cap. Add a larger sized jump ring to the end cap.
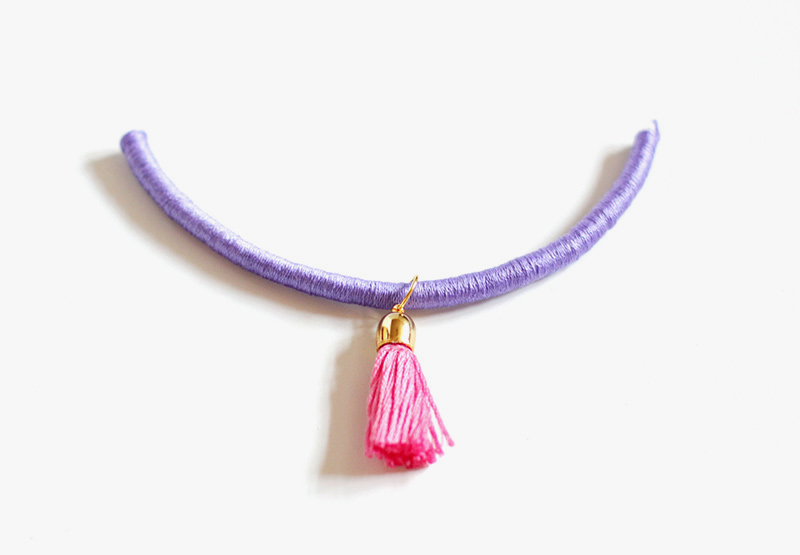 5. Add your tassel to the bracelet before finishing with end caps.
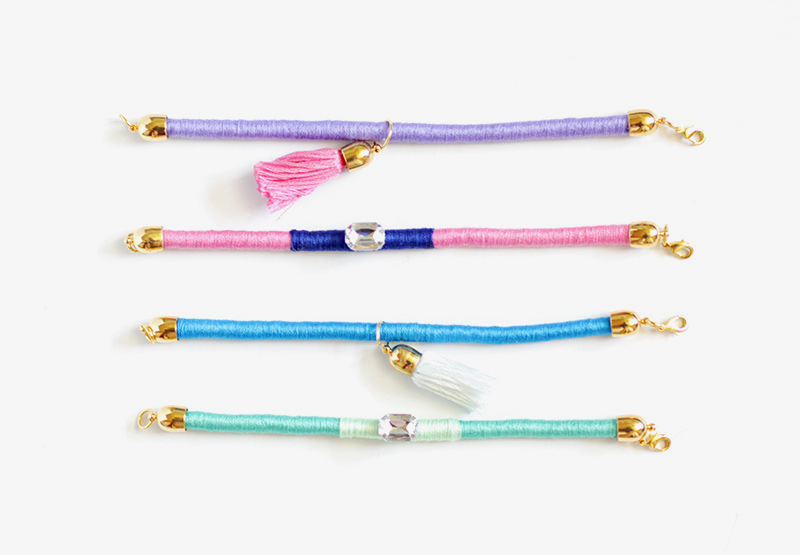 6. Glue end caps on both ends of your bracelets. Add a jump ring on one end cap, and a jump ring and fastener on the other. Let dry completely…and you’re done!

