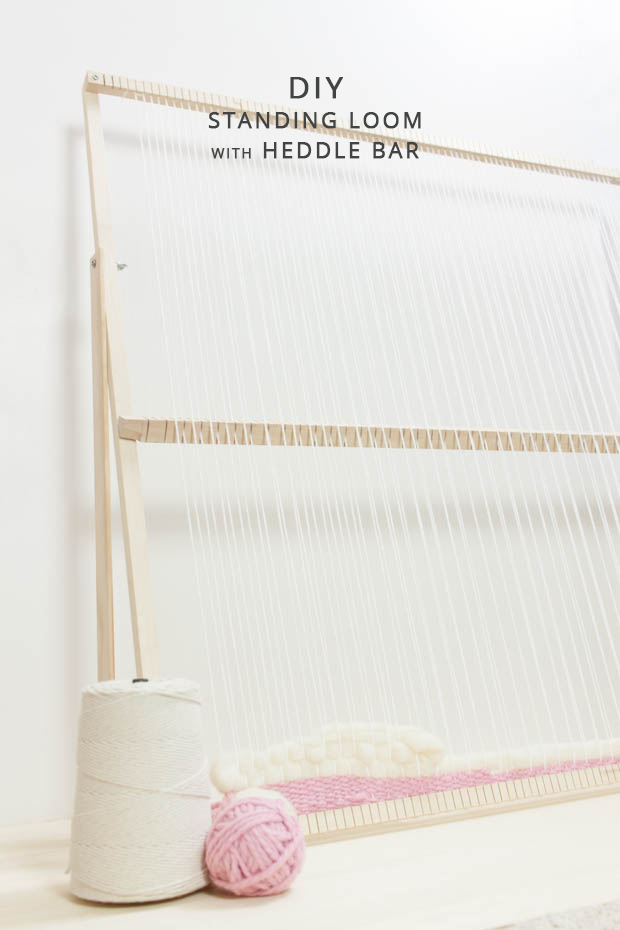
 I originally got into weaving when it was just becoming popular again. I bought a starter loom from Meghan Shimek that came with a heddle bar. The heddle bar made weaving so fast and easy. I then made a large DIY weaving loom on my own (with dad’s help of course) which was when I realized how tedious weaving actually was. It didn’t get a lot of use, but I’ve been itching to get back to it. I decided to make a new and improved giant loom.
There are a lot of tutorials for looms online. I referenced this one and based it off Shimek’s design. There are the more simple ones that just use a picture frame as the loom. Others use nails to hold your warp. I wanted a long lasting good quality one. I chose to cut notched into the wood because I find sometimes my warp continually comes off a nail loom. I also like a standing loom because you can move it anywhere and work comfortably.
I will warn you, this DIY weaving loom is not easy to make. It took me two whole days, and I’m still making adjustments to it. I wanted to use a dremel to cut the notches into the wood but I found the cutters I had were not powerful enough so I had to hand saw it. I’m really happy with how it turned out though. I made a few mistakes which you can now avoid if you want to make one too!
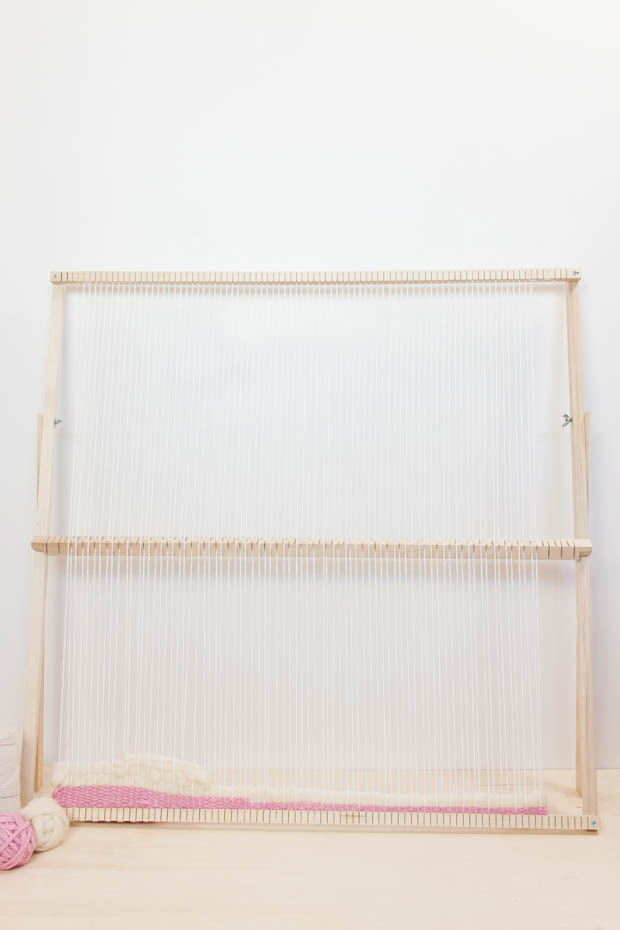
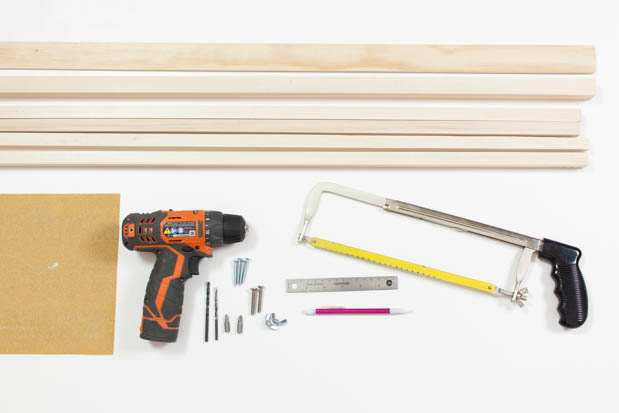
Materials:
– Four 36 inch long square dowels at least 3/4 inch (2 cm) in diameter
– One 36 inch long square dowel 1 in (2.5 cm) in diameter
– Wood plank (mine was 1.5 x 50 in) that I cut in half
– Screws and butterfly screws
– Electric Drill
– Ruler
– Saw
– Pencil
– Course Sand Paper
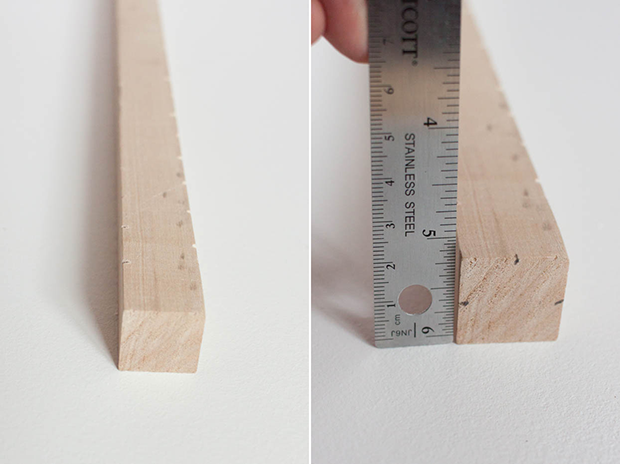
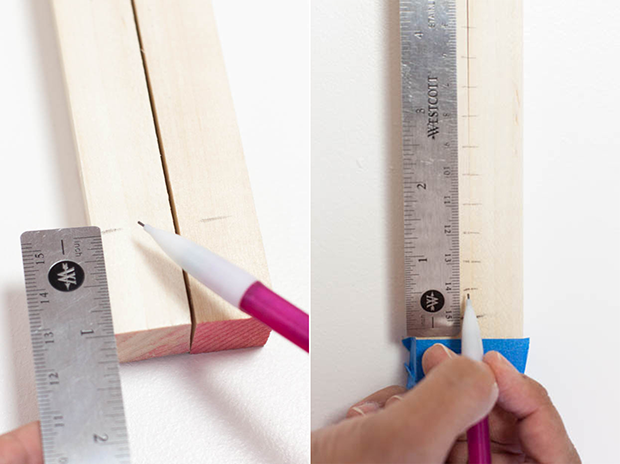 Start by measuring 1 inch on either end of the four square dowels. This is where the pieces will all connect so we don’t want to make any cuts in that area. To speed up the process of measuring and marking, tape two of the dowels together on either end. From the one inch mark you just made, make 1 cm marks along the entire length of both dowels until you reach the other end.
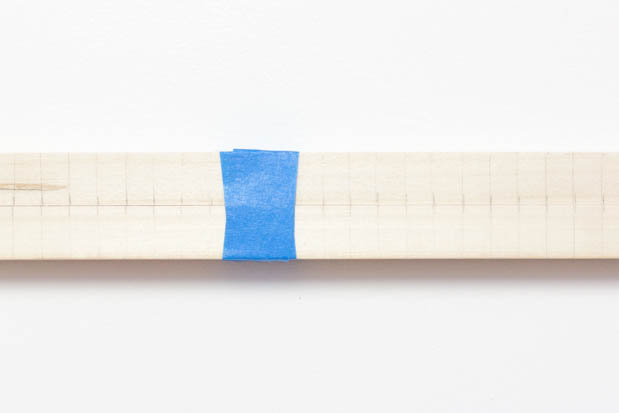 Use your ruler to make straight lines at each mark to help guide your cut.
 Carefully saw notches into the 1 cm measurements you just made only going 1/3 to 1/2 of the way into the dowel. Repeat with the second dowel.
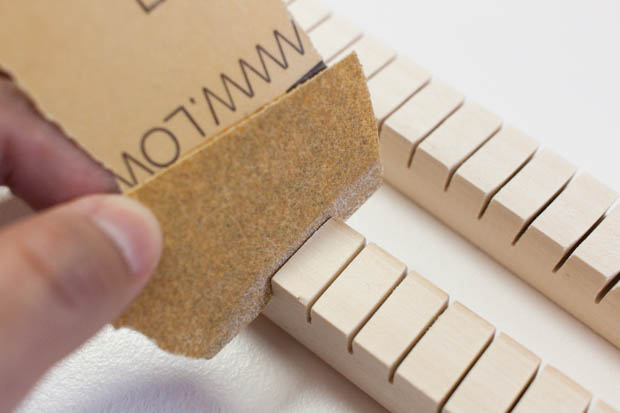 Sand down each notch until smooth.
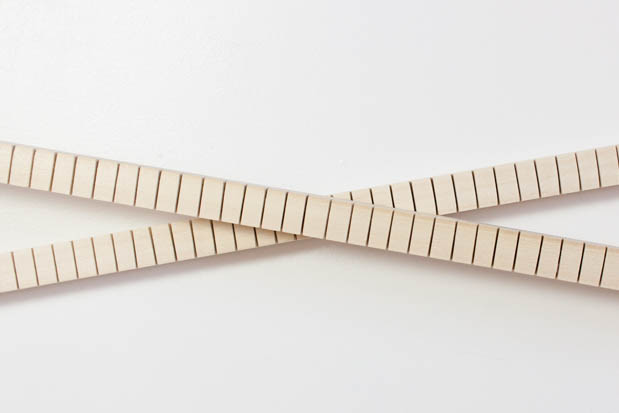 Tip: You can check with a piece of warp thread to make sure it fits comfortably in the notches. If not…keep sanding!
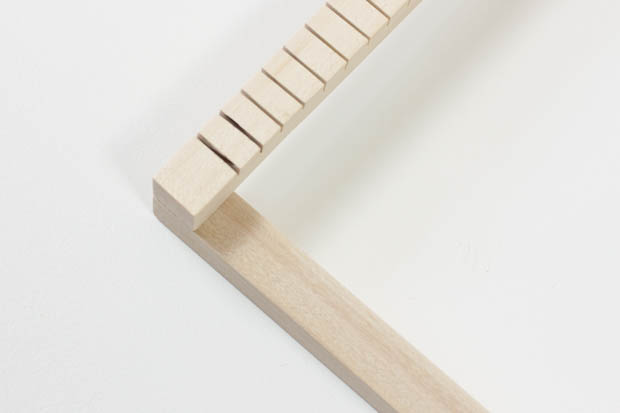 Line up the pieces you just cut perpendicular to the remaining two pieces. This is how you will attach all the dowels. Mark the width of the top dowel on the bottom dowel.
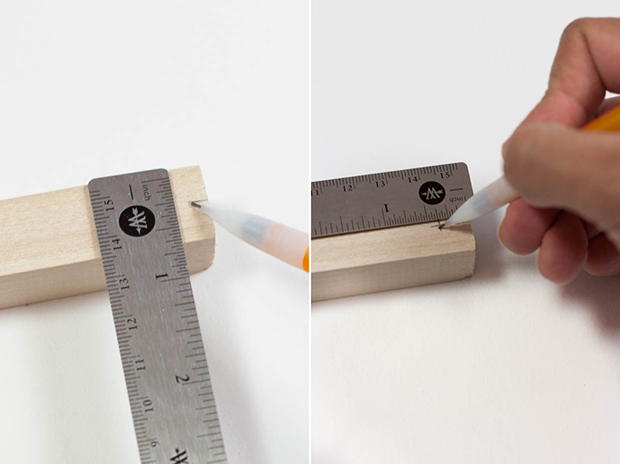 Measure the middle of the diameter of the dowel and make a mark. Repeat the same measurement perpendicular to the first to find the center point on the edge of the dowel. Repeat on each dowel.
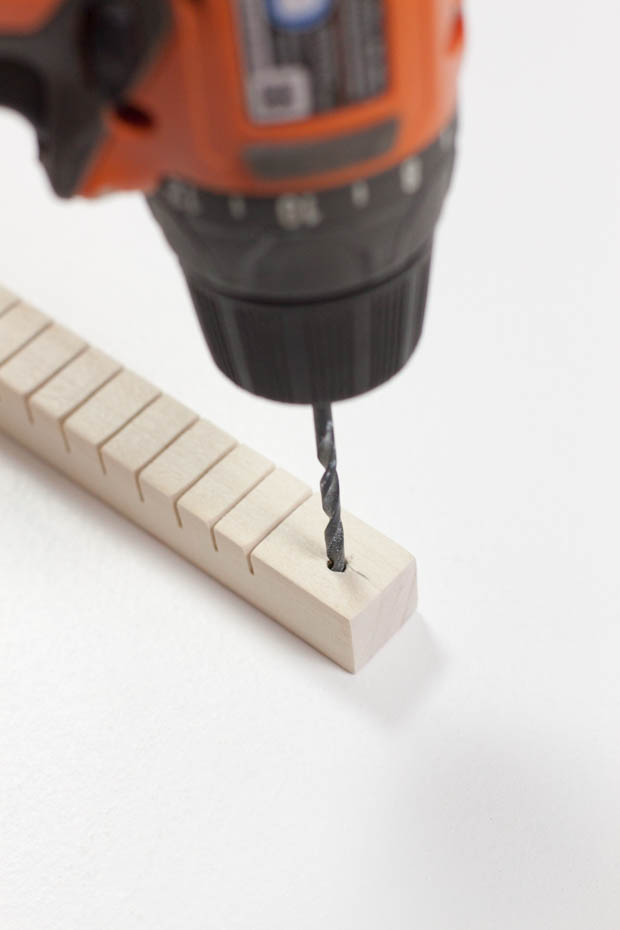 Drill a small hole in each mark you just measured.
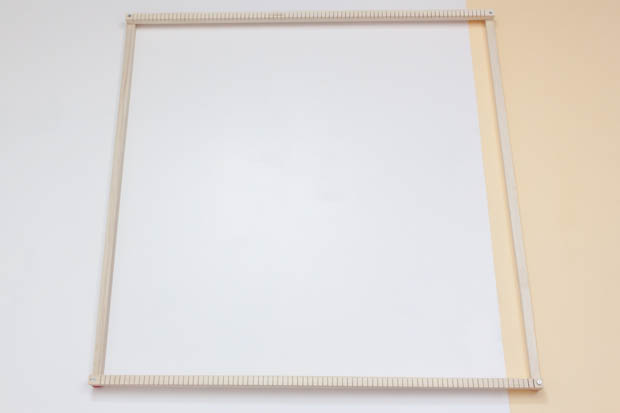 Screw the dowel pieces together laying the cut pieces on top and parallel to each other.
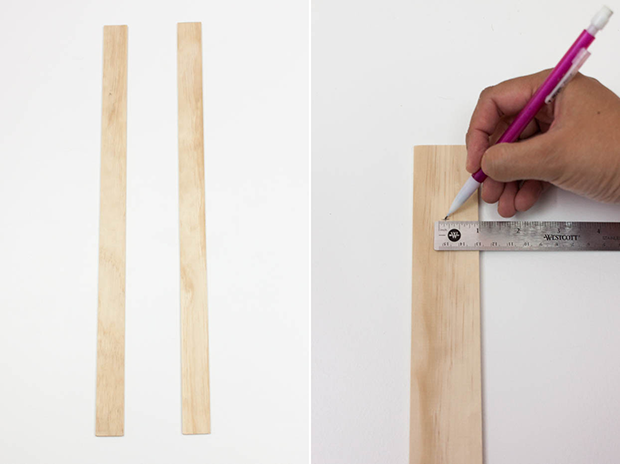 Cut your wood plank in half. Mine ended up measuring 25 inches in length which was perfect. The next step is where I messed up a bit. In the photo, I made a mark about two inches down the plank to drill a hole. When the legs where standing on the loom, the top edge to stick out too far for my liking so I ended up cutting the top so the hole for the screw was about 1/2 inch from the top and centered on either side.
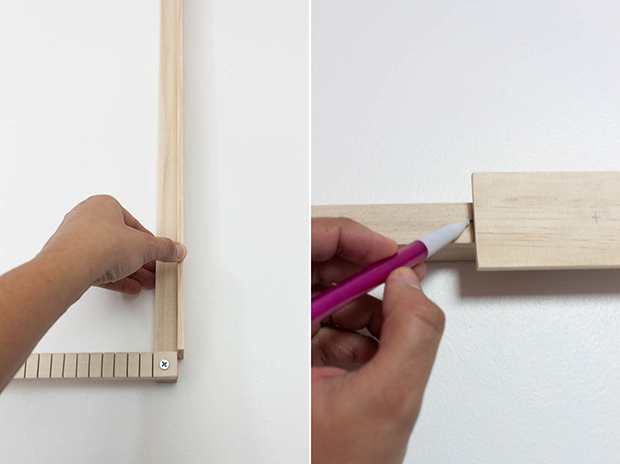 So the loom stands at an angle, you will want to attach it a little above the base, I just used the bottom dowel as a guide and set the plank right above it. Mark the top of the plank on the side of the dowel.
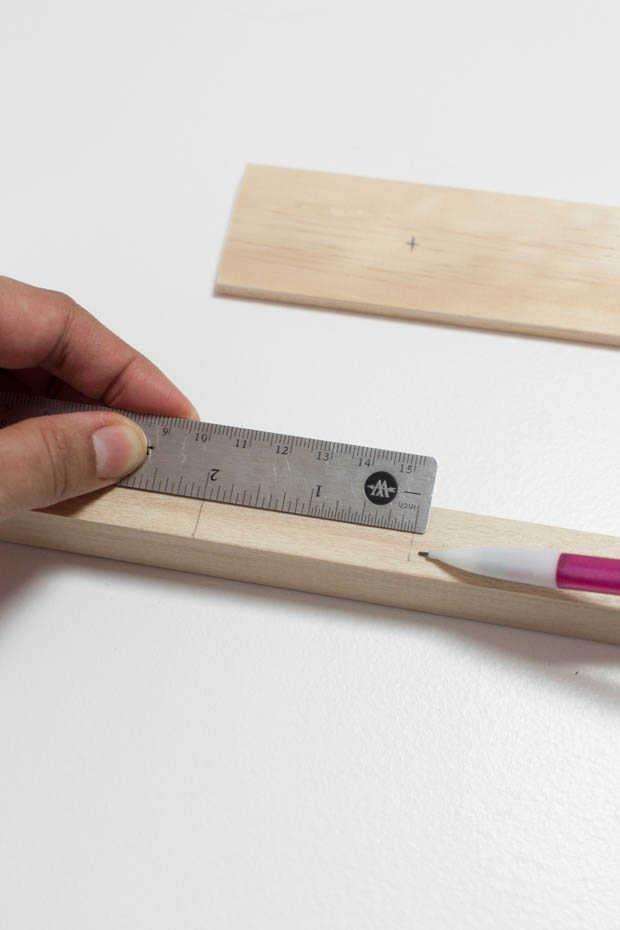 From the mark you just made, measure the same distance you used to mark the hole on your wood plank (1/2 inch, not 2 inches as shown in the photo!). This measurement is to make your holes so the legs line up on the sides of the loom.
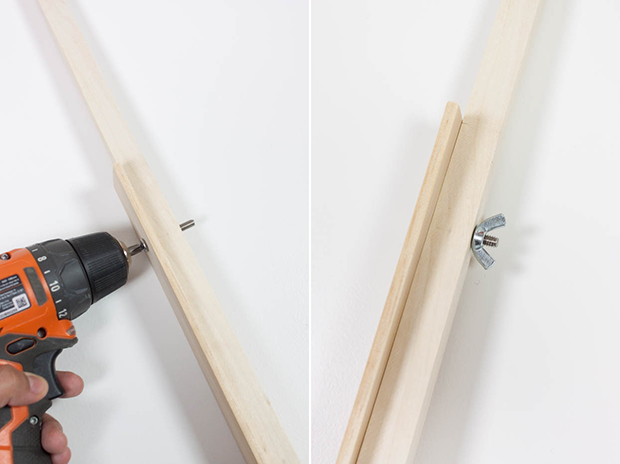 Drill a hole in both the wood plank and the sides of the loom where you just measured. Add your butterfly screw so you can tighten or loosen the legs as much as you want.
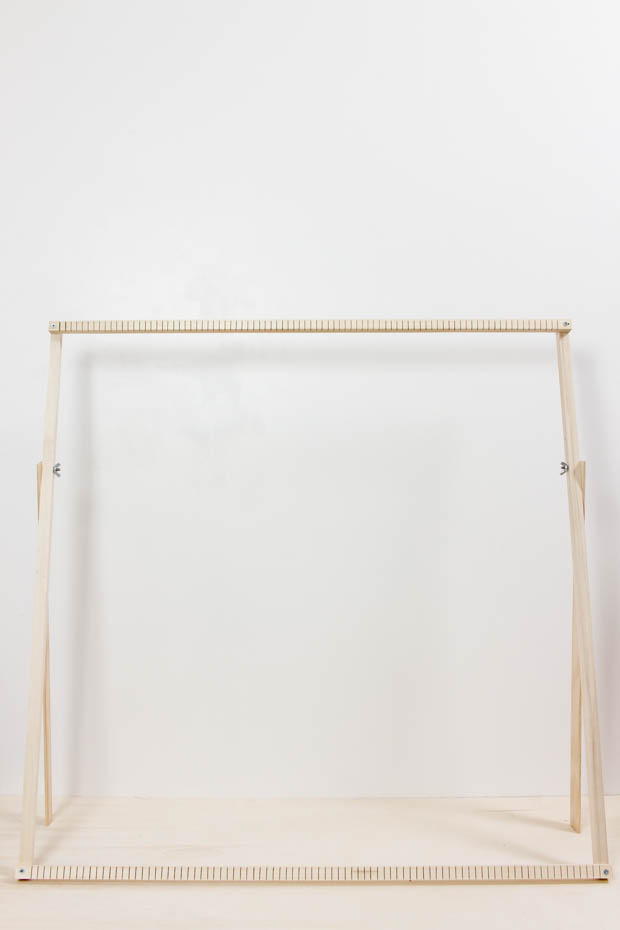 Congrats! You just finished the loom. Stand it up and admire your hard work!
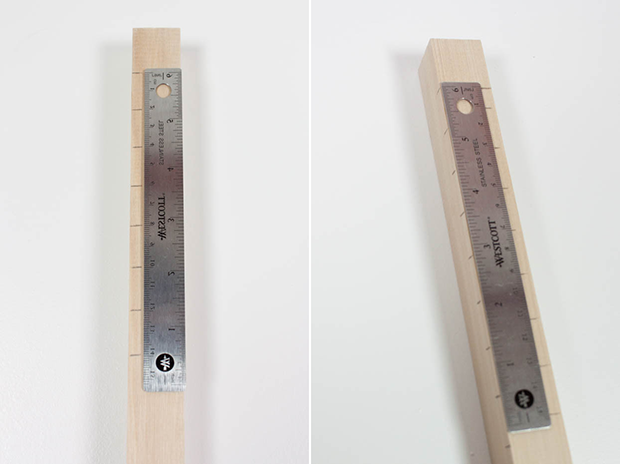 To make the heddle bar, make 3/4 in marks on either end of the larger dowel. (This is the diameter of the square dowels that make up the loom.) On one side of the dowel, make marks every 2 centimeters working down the even numbers, i.e. 2, 4, 6, etc. Then flip the dowel once on it’s side, and repeat the same steps, this time marking every odd number, i.e. 1, 3, 5, etc.
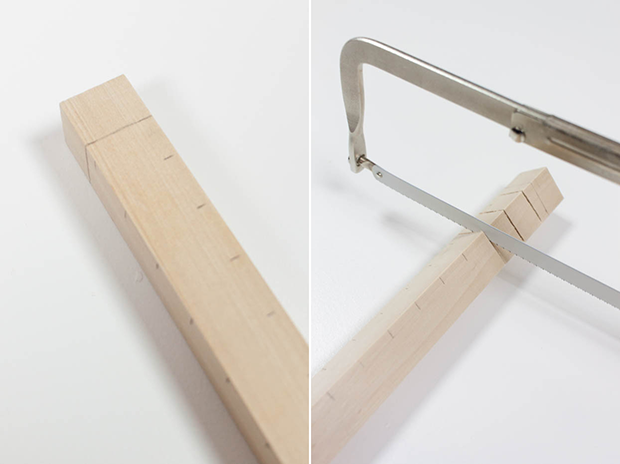 The marks should be alternating from one side to the other. This is because we’re going to make cuts at different angles on each side. Flip your dowel so that the edge of one side of your marks is pointing up. You’re going to make cuts from the top corner, down the middle to the next two corners and stop.
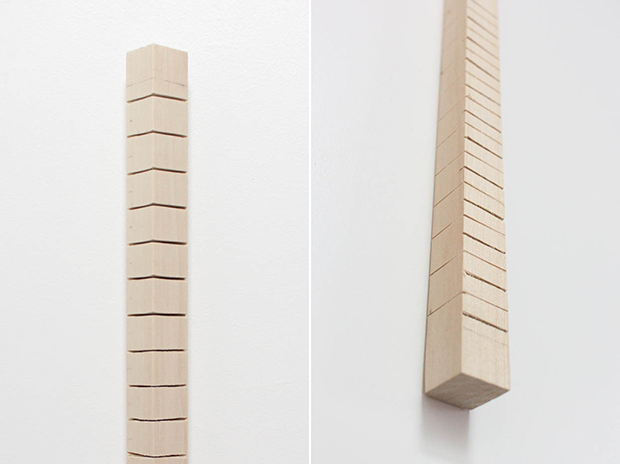 Continue making cuts at the same angle for the even numbered marks. For the odd numbered marks, you’re going to flip the dowel so the next cuts start at the next corner.
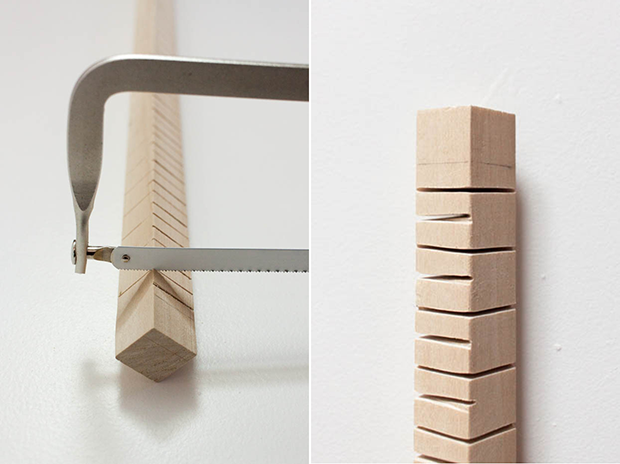 Make the cuts starting at the top of the corner, down to the other two corners. One side should have cuts at every mark just at different angles as shown in the top right picture.
 Next you’re going to cut the ends so the heddle bar can easily rotate along the sides of the loom. On either side, measure the center point of three sides of the dowel. The top will be the side of the dowel that has no cuts.
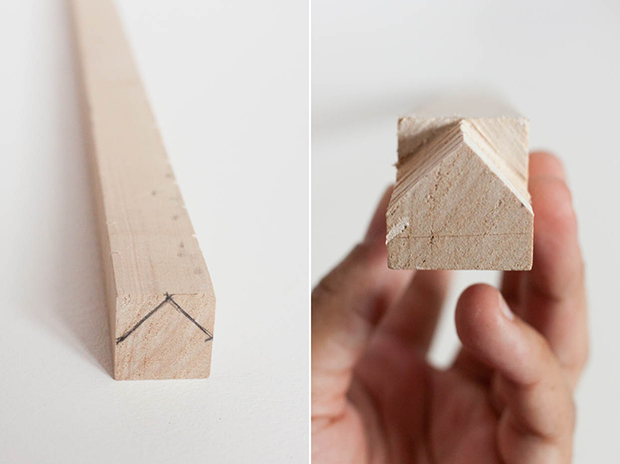 Connect the three points to create a little house shape. Again, the top point should line up with the side that has no cuts made to it. Cut down the sides of the marks you just made to the first measurement of 3/4 inch you made on your dowel.
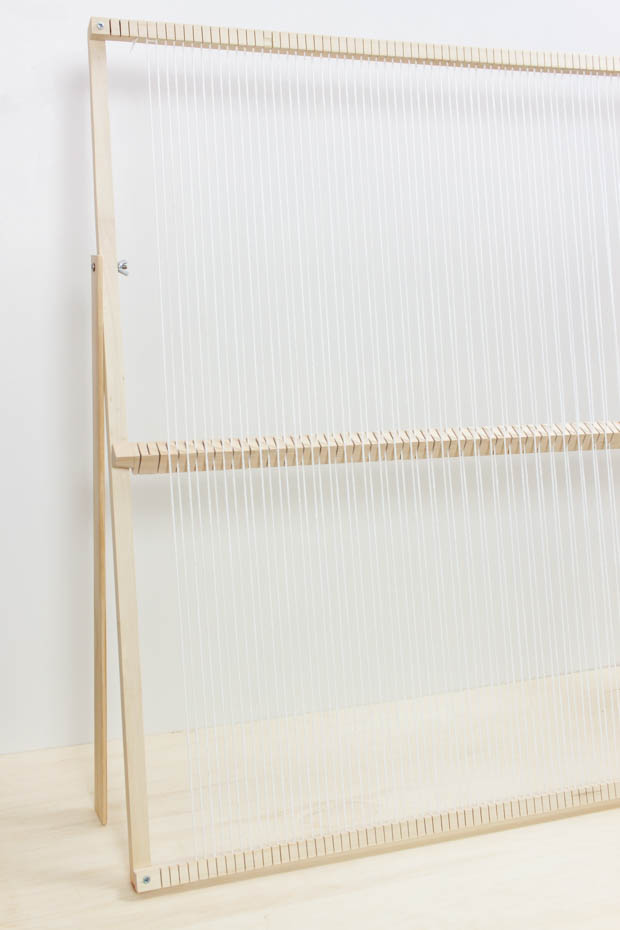 Sand down the cuts on your heddle bar, making sure your warp thread easily slides inside.

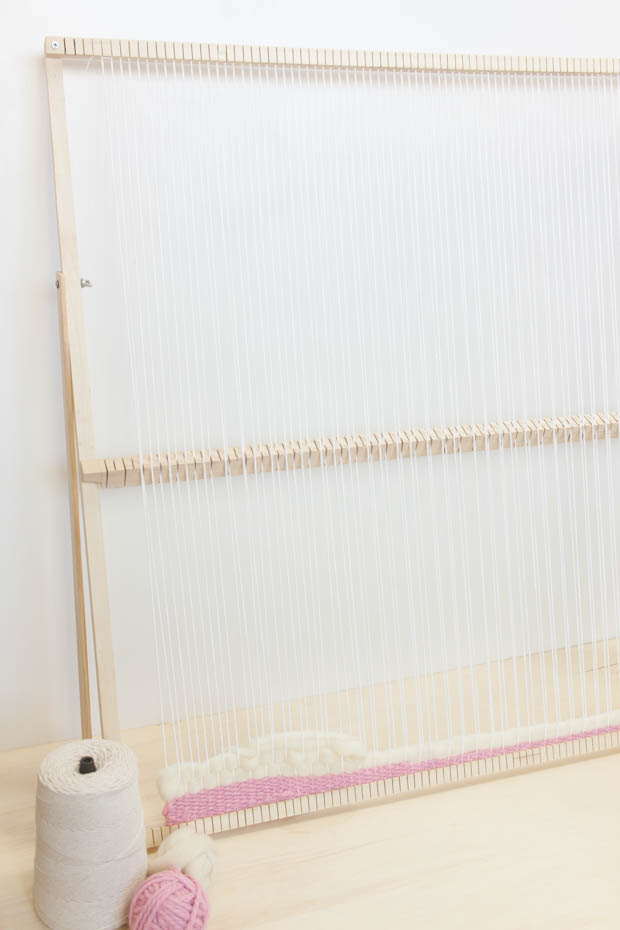
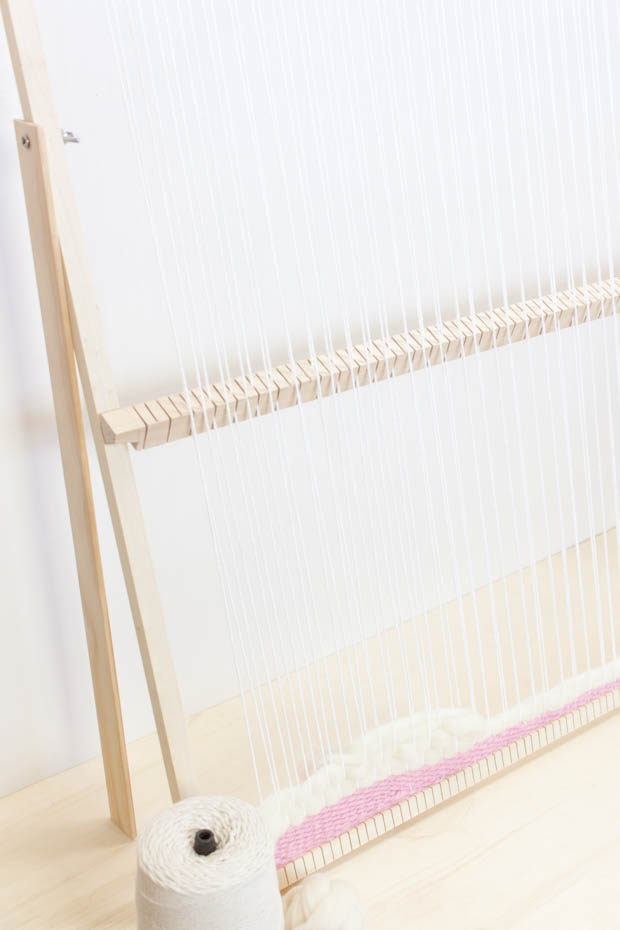
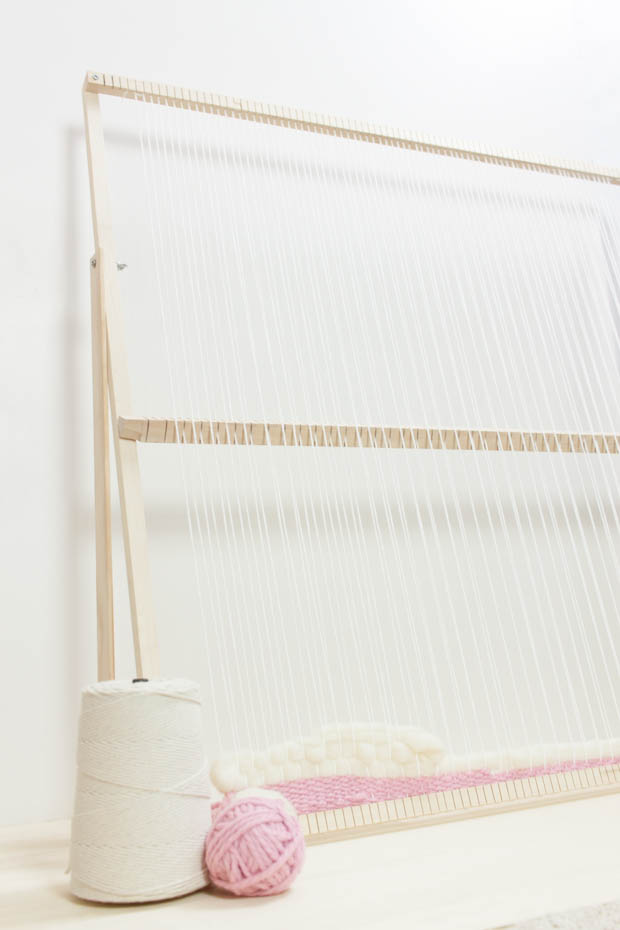 And you’re done!! Can’t wait to show you what I make on my new DIY weaving loom!
