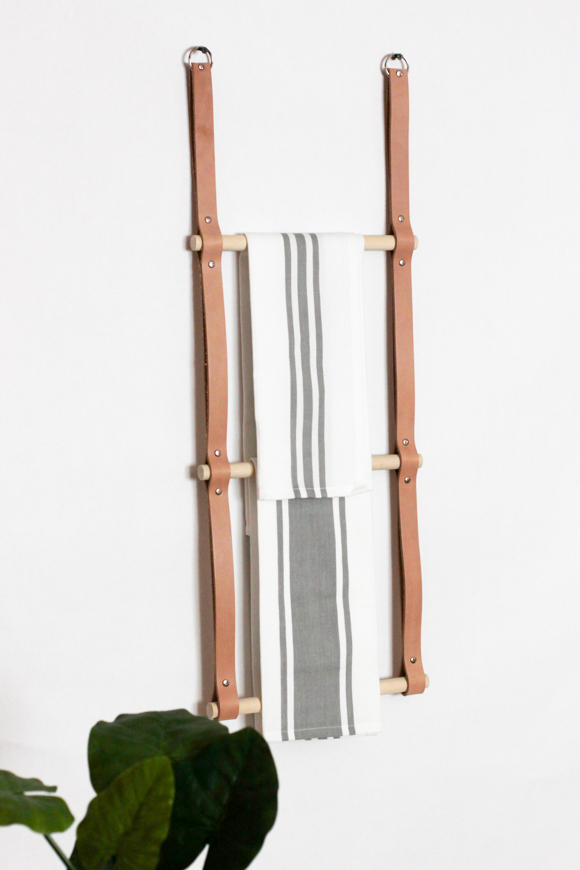
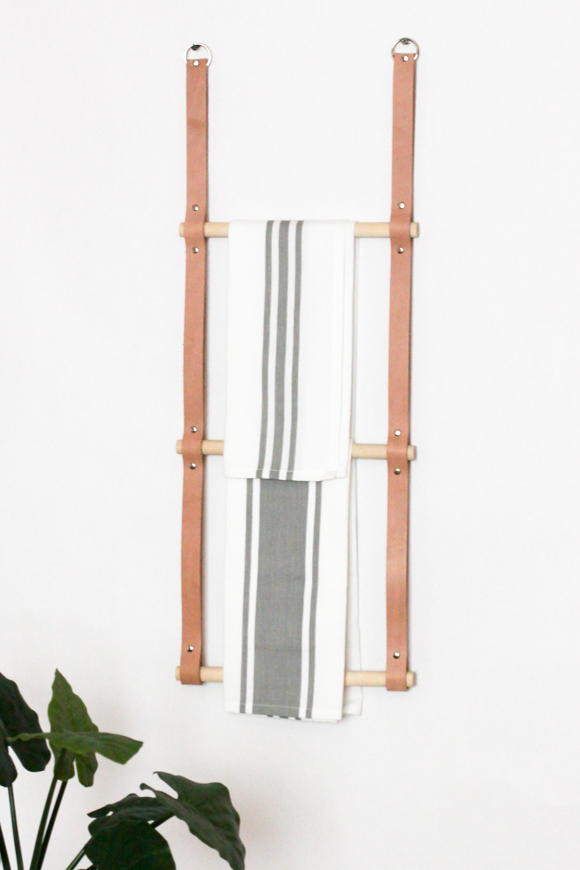
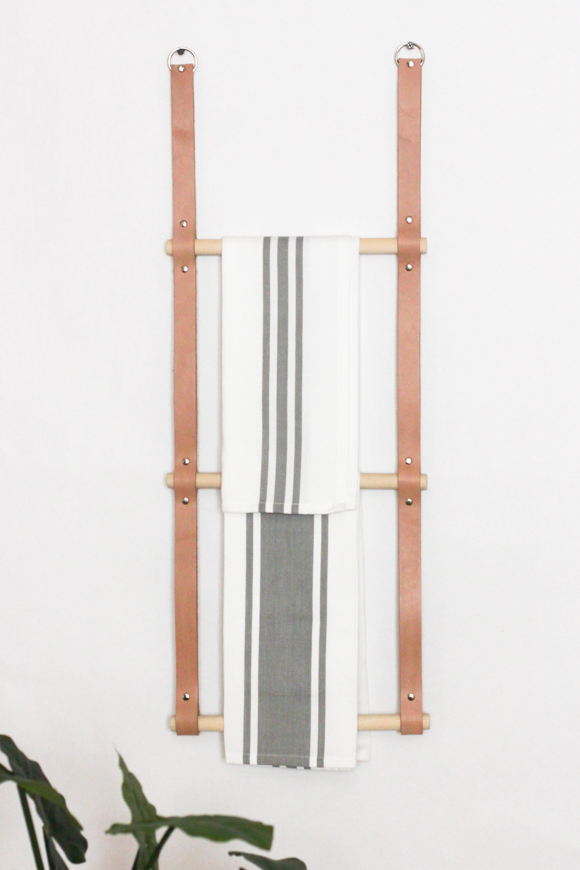
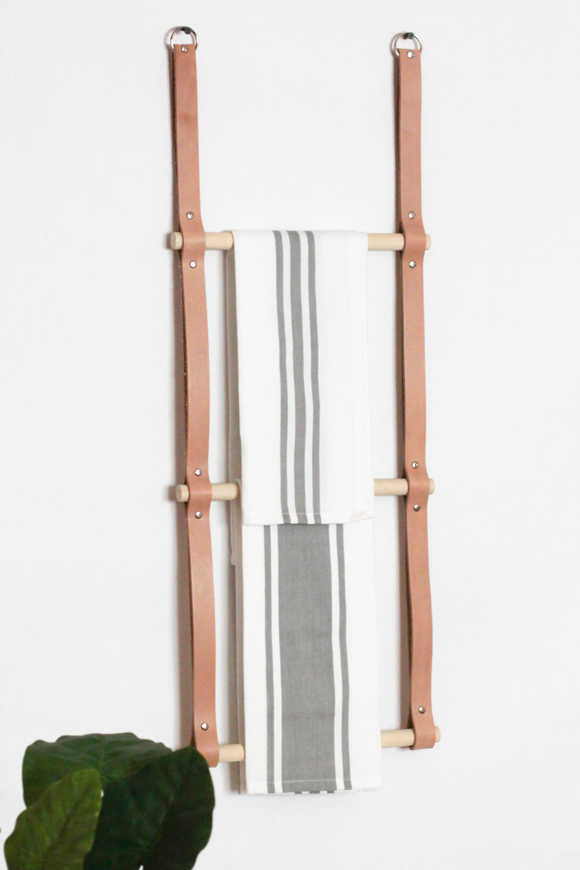
If you’re a long time reader you will already know that my favorite projects are easy and simple. Today’s DIY Hanging Leather Rack project is both. I saw a picture of this rack on Pinterest and knew right away I had to try and make my own. This was my first time working with real leather so it was definitely an educational experience as well.
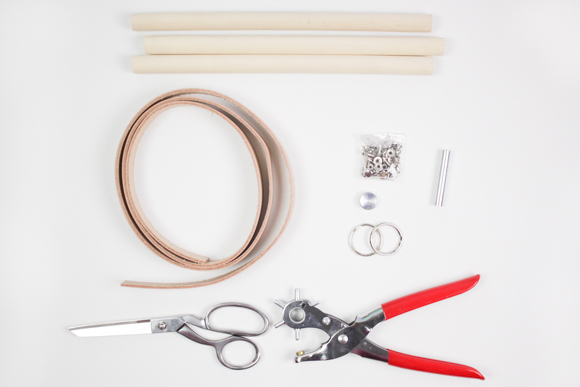
Two pieces leather (60 inches in length) | Wood Dowels minimum 12 inches long | Rivets and setter | Key Rings (I only had circular ones but D-shaped would work too) | Scissors | Hole Punch
| Pen | Measuring Tape
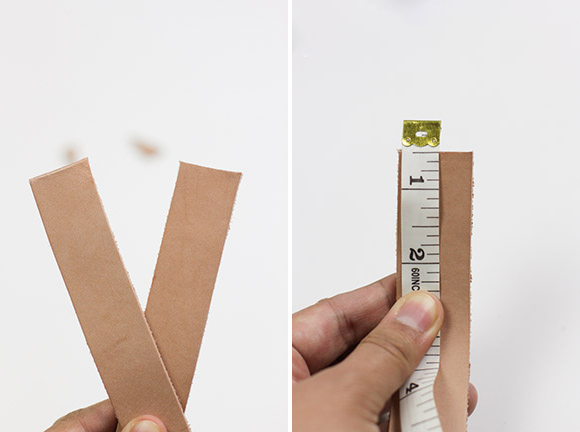 Start by making sure both pieces of leather are the same length and cut the ends straight across. I bought leather pieces from Etsy that came in 60 inch pieces so I only trimmed the very ends. At the ends of each piece, measure about 1/4 inch from the edge and make a mark.
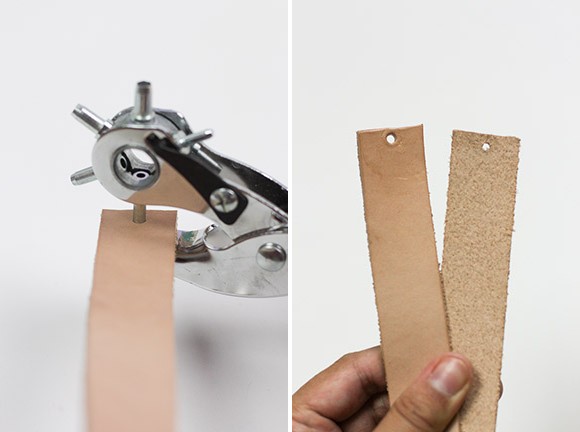 Punch a hole at one end of the leather. Line up the edges of the pieces of leather and punch your second hole through the first so they line up.
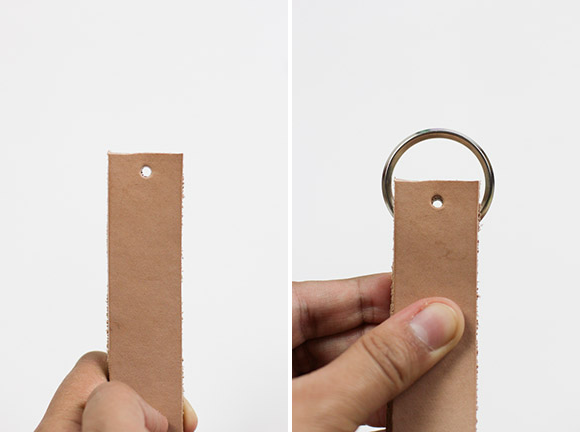 Add your metal ring between the two pieces of leather making sure the holes are still aligned.
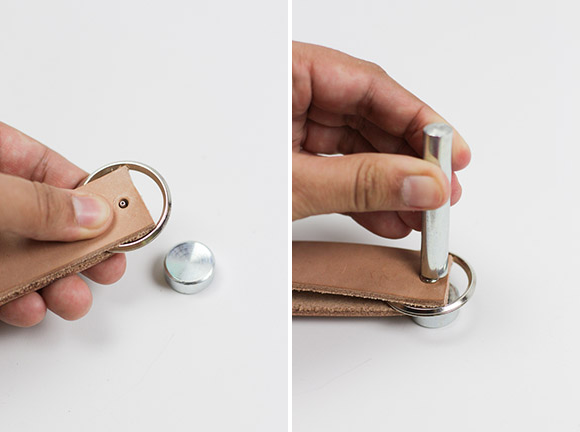 Add your rivet and hammer it to secure.
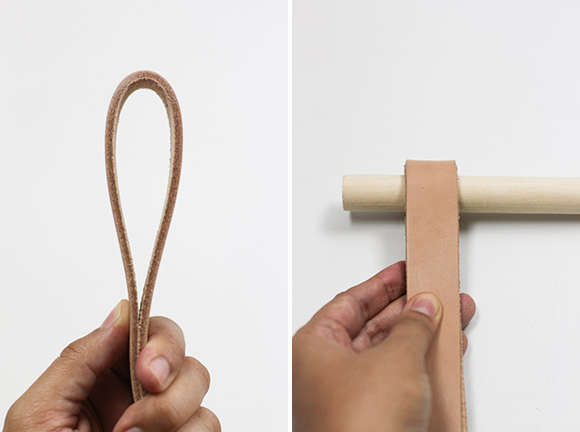 Now, let’s go down to the opposite end of the leather piece. Fold the leather as much as possible to make it more pliable and easier to work with. Put a wooden dowel on the inside to measure how the dowel will fit.
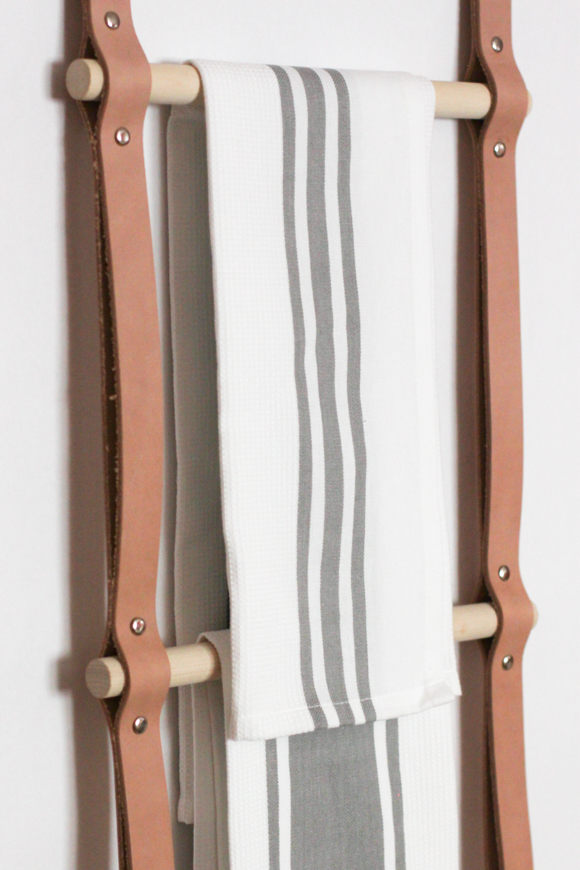
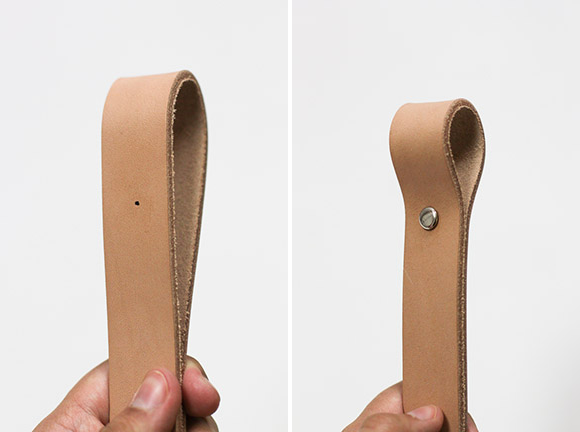 This is where I learned an important lesson working with leather. Real leather is super hard and difficult to shape. I had originally made the hole about 1.5 inches from the bend and the rivets kept popping off from the strength of the leather. That’s why I suggest you allow for 2 inches of space to fit your dowel if it’s thick like mine. Add another rivet and hammer closed.
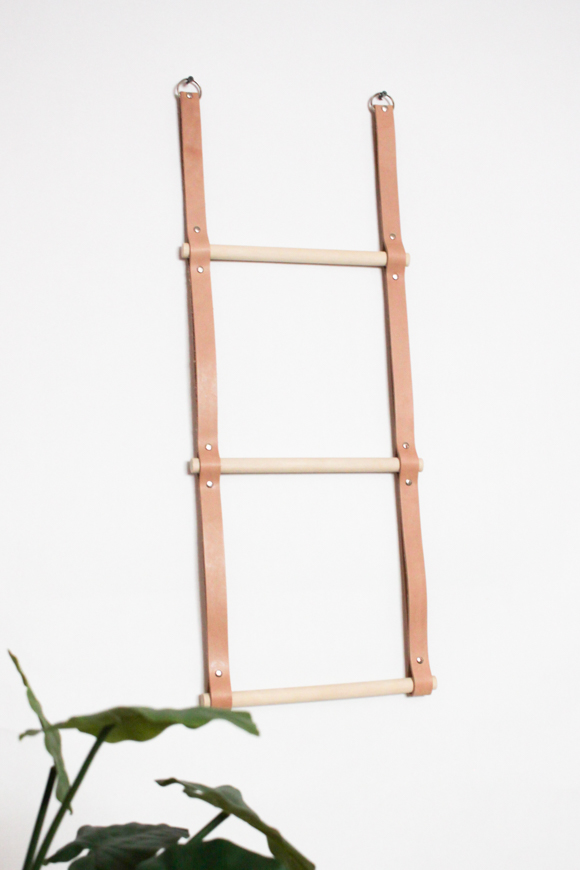
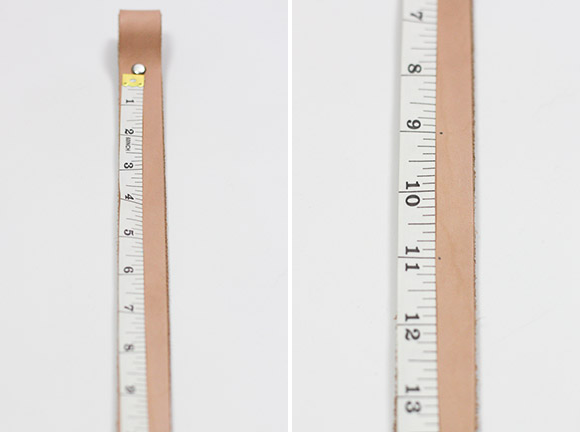 Working our way back up, measure about 9 inches from the rivet at the bottom of the rack. The picture only shows 2 inches of space for adding the next two rivets but I would bump it up to 2.5 inches at least to give the leather more room to accommodate the thick dowel. Add two more rivets.
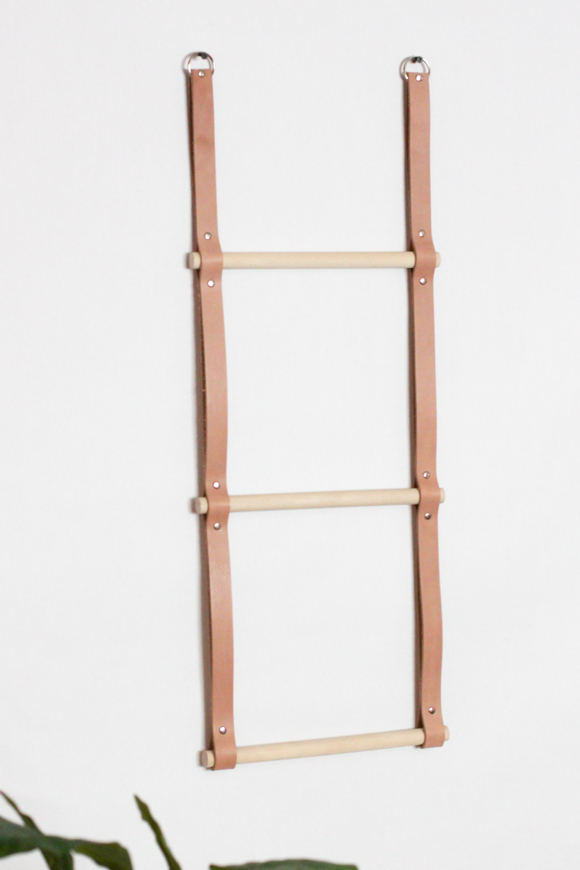 Repeat the process of leaving 9 inches of space between dowels and adding two more rivets. Insert your wooden dowels and hang your DIY Hanging Leather Rack! And you’re done!

