
My apartment is really starting to come along! All I have left to do is make some decor pieces for the space above my couch, reupholster a chair (easier said than done), and make endless covers for all my throw pillows. In order to make my bedroom area look more put together, I wanted a bench for the end of my bed. I decided on making my own wooden dowel bed bench, similar to the side table from a few weeks ago.
As timing would have it, I was asked to join a handful of other bloggers for a “Make It Challenge” inspired by the NBC show “Making It”. We challenged each other to use the same crafting item in a DIY. We settled on unfinished wood. This challenge was so fun, and I feel so lucky to be in the company of such inspiring bloggers! Check out their projects!!
 Now I’m thinking I need a bigger apartment to fit in all these DIY ideas because they are so good! Click through to see more of each project!
Mirror Shelf from Bliss Makes Blog
Wood Plant Hooks from Ctrl Curate
Wood Cutout Frame from Delineate Your Dwelling
DIY Peg Rail Organizer from Paper & Stitch
Plant Stands from The Beauty Dojo
Wood Toys from Spatial Dwelling
Triangular Wood Wall Hooks from Design Fixation
To make this project you’ll need:
(4) 1 1/2″ wooden dowels cut to 20″
*these are the vertical legs(4)
1″ wooden dowels cut to 12″
*these are the horizontal arms
(4) 1/2″ wooden dowels 48″ in length
11 1/2″ x 48″ piece of wood
Saw
Drill
1″ & 1/2″ Spade Drill Bits
1/4″ Drill Bit
Wood Glue
Sand Paper
1/4″ Dowel Pins
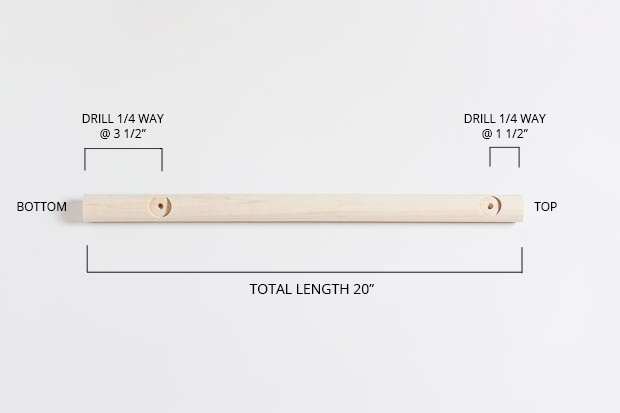 If necessary, cut your 1 1/2″ dowel into (4) 20″ pieces. Using a 1″ spade drill bit, drill two holes 1/4″ through the dowel. The center of one hole should measure 1 1/2″ from the top, the other 3 1/2″ from the bottom. Drill the center hole using a 1/4″ bit around halfway into the dowel.
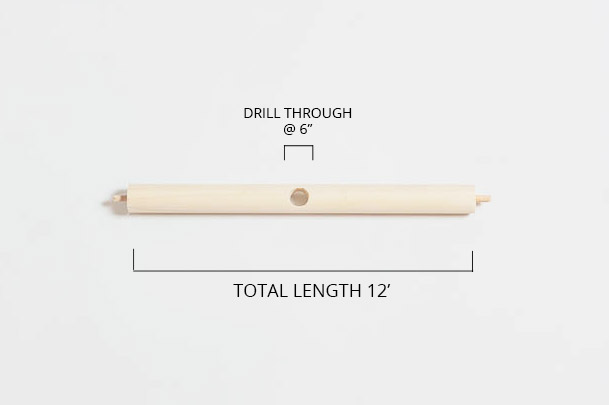 Cut the 1″ dowel into (4) 12″ pieces. For two of the pieces, use a 1/2 spade drill bit to drill a hole all the way through 6″ from one end of the dowel.
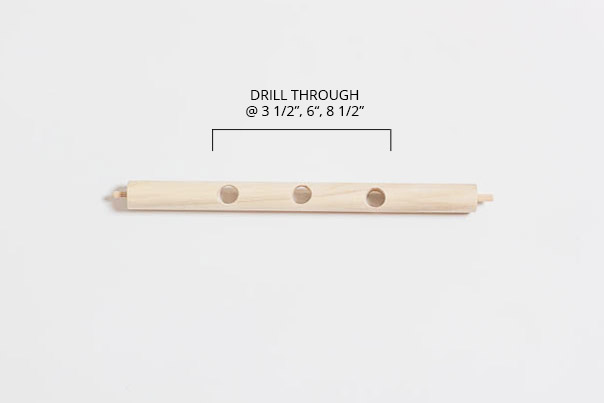 For the other two pieces, drill a hole all the way through at 3 1/2″, 6″, and 8 1/2″ from one end of the wooden dowel.
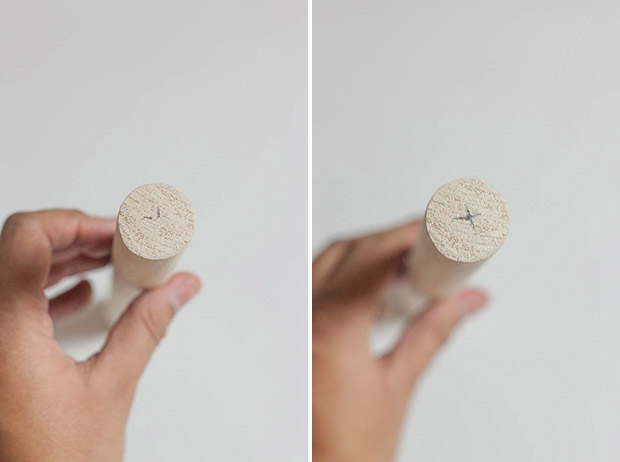 At the end of each 1″ wooden dowel, measure the center point on each end.
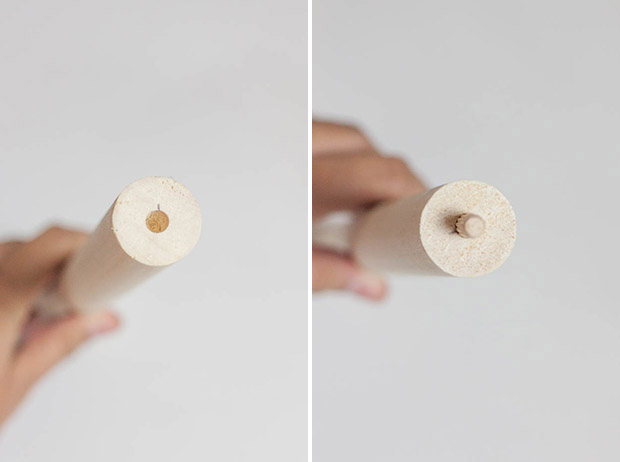 Using a 1/4″ drill bit, drill a hole about 1/2″ into the dowel. Add a drop of wood glue, and insert a dowel pin into the hole.
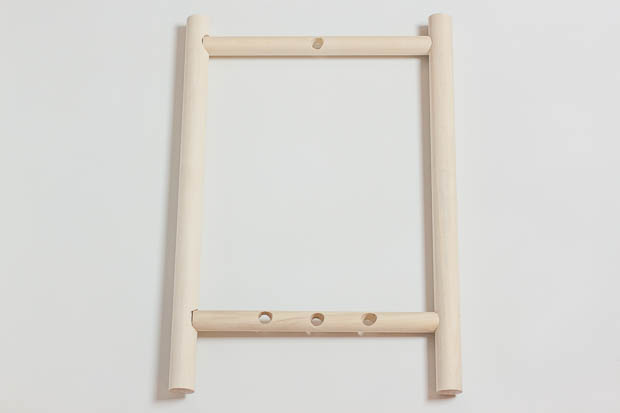 Connect the four dowel pieces together. For the legs, the holes that sit 1 1/2″ from one end will serve as the top of the bench and will connect to the dowel with just one center hole. The dowel with the tree holes will serve as the base. Using a rubber hammer (or a regular hammer wrapped in fabric) gently hammer the pieces together, working the dowel pins into the drilled holes. Use wood glue for extra hold.
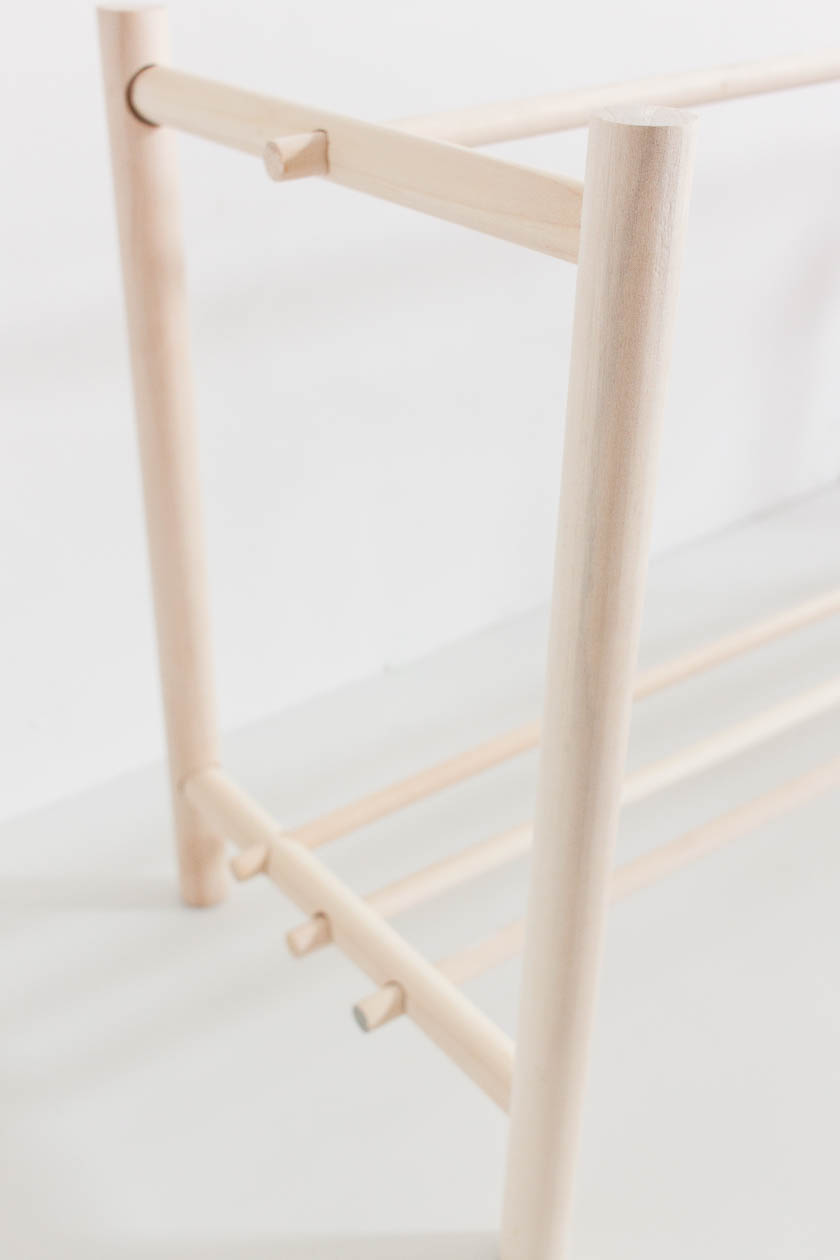 Stand your pieces up and add the 1/2″ dowels through the holes to connect the pieces. (You can add a drop of wood glue in each hold to secure the dowels in place.) I left about a 1/2″ because I liked the way it looked, but I also found it made the bench a little more sturdy than if the dowels were flush.
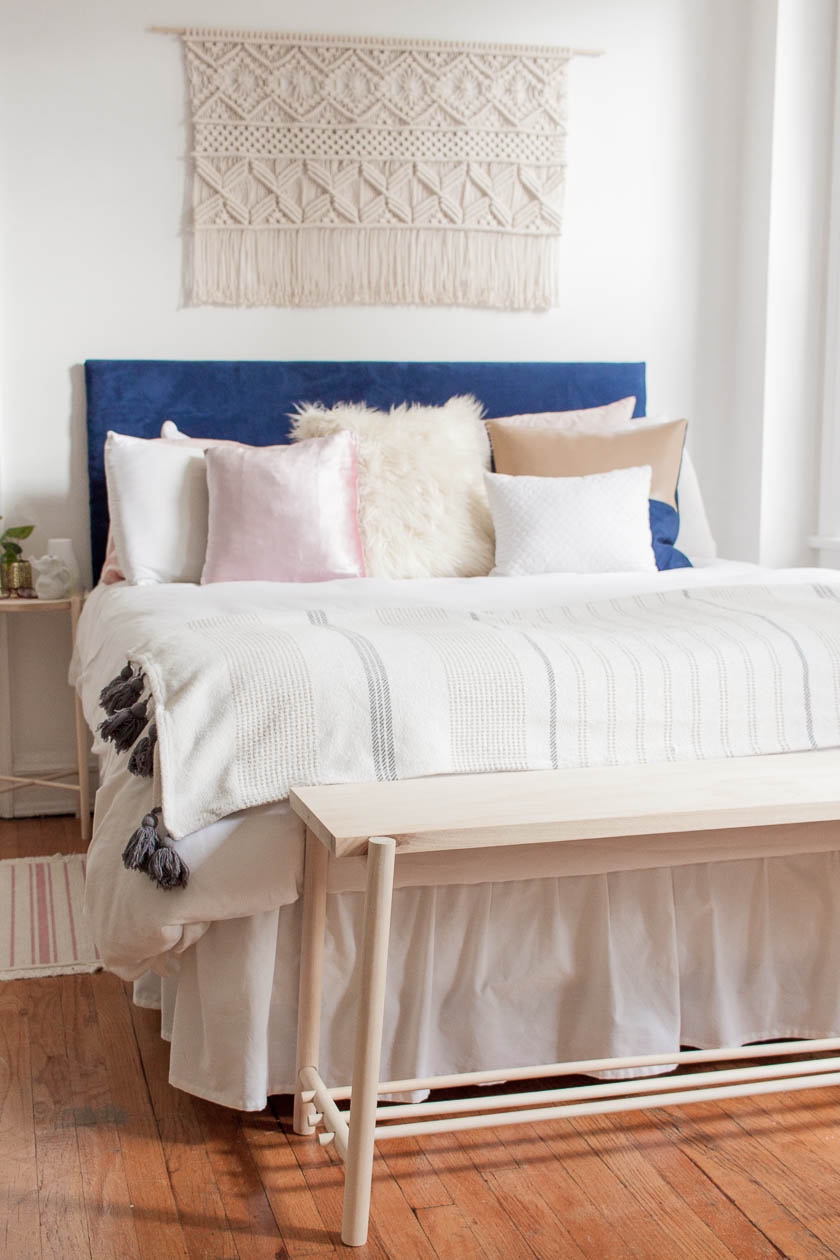
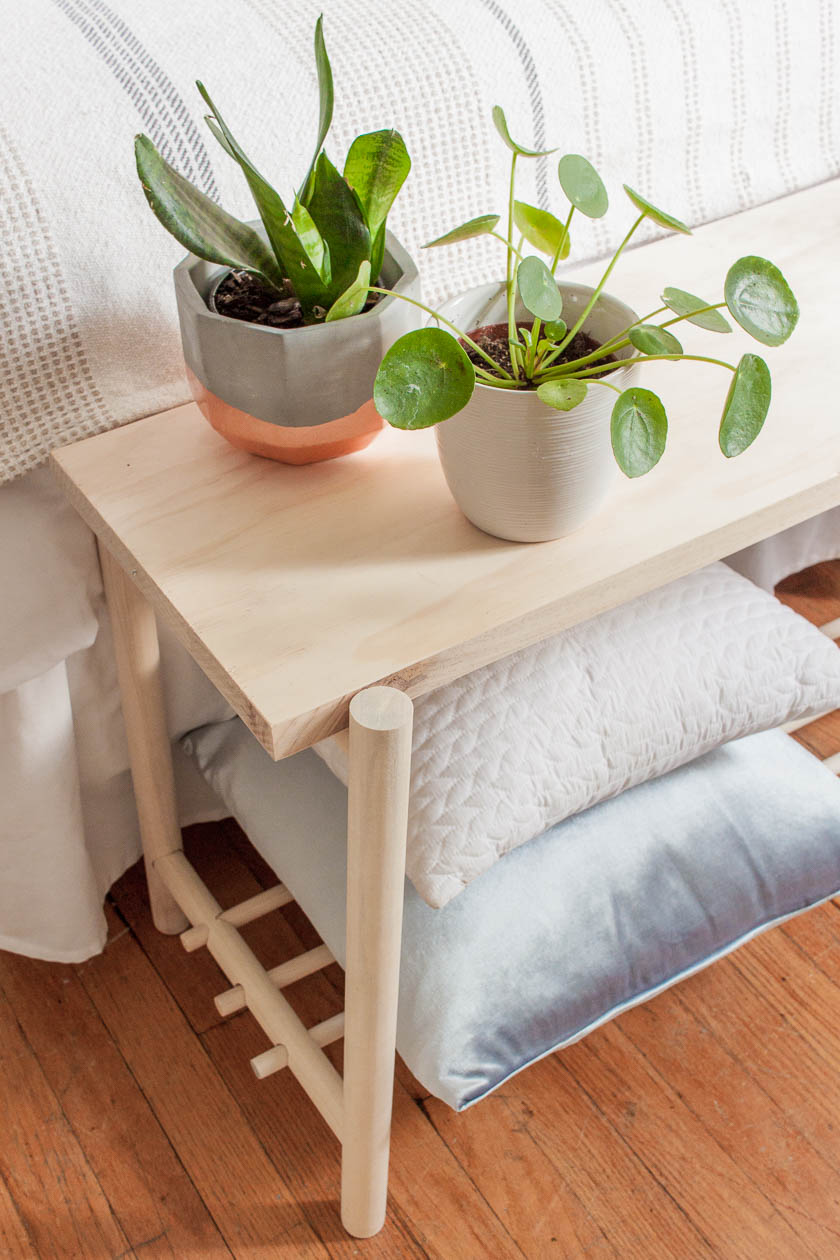
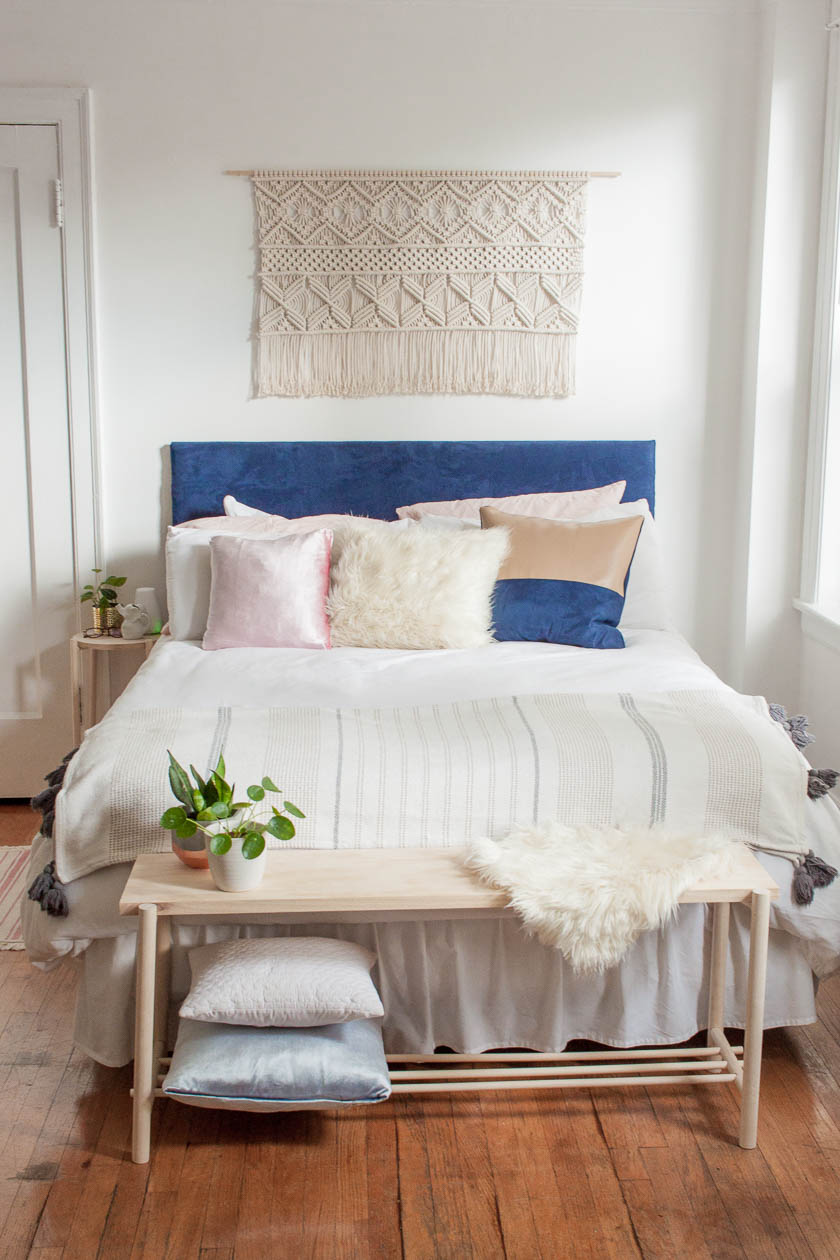

And you’re done! I love the way the bench turned out and the additional storage it provides in my small space. What do you think of this Dowel Bed Bench DIY?
