
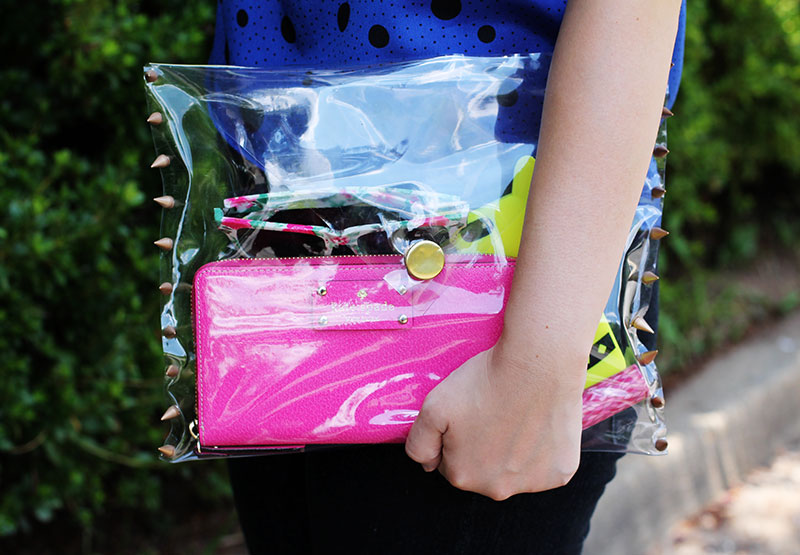
A few months ago I made this post all about the clear clutch. After spotting some vinyl at the fabric store, I finally got around to making my own. I originally tried my hand at making the Christopher Kane Jelly Clutch with dyed glycerin and vegetable oil. It went horribly wrong. The glue didn’t properly hold the “jelly” and the ends would come unstuck. After that DIY fail I decided on a simpler design. All it took was a few studs and a magnetic clasp.
 You will need:
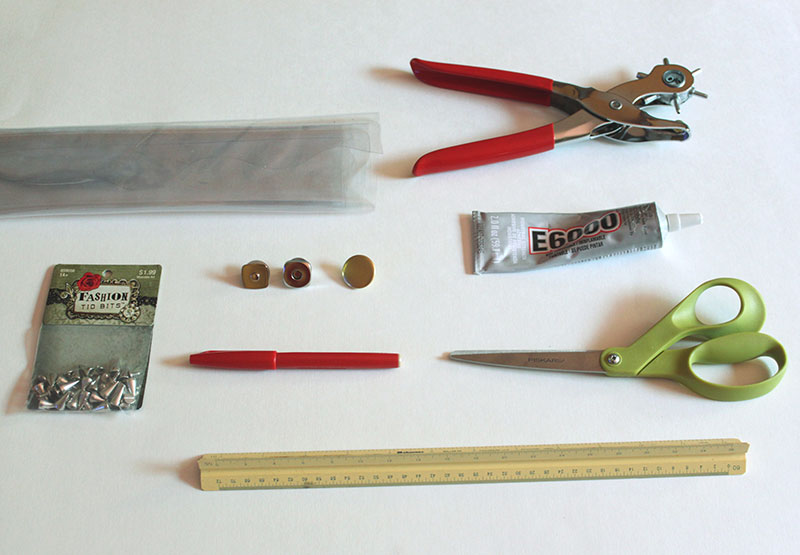
– Vinyl
– Studs with screws
– Magnetic Clasp
– Decorative Button
– Glue
– Scissors
– Ruler
– Multi hole punch
– Pen/marker
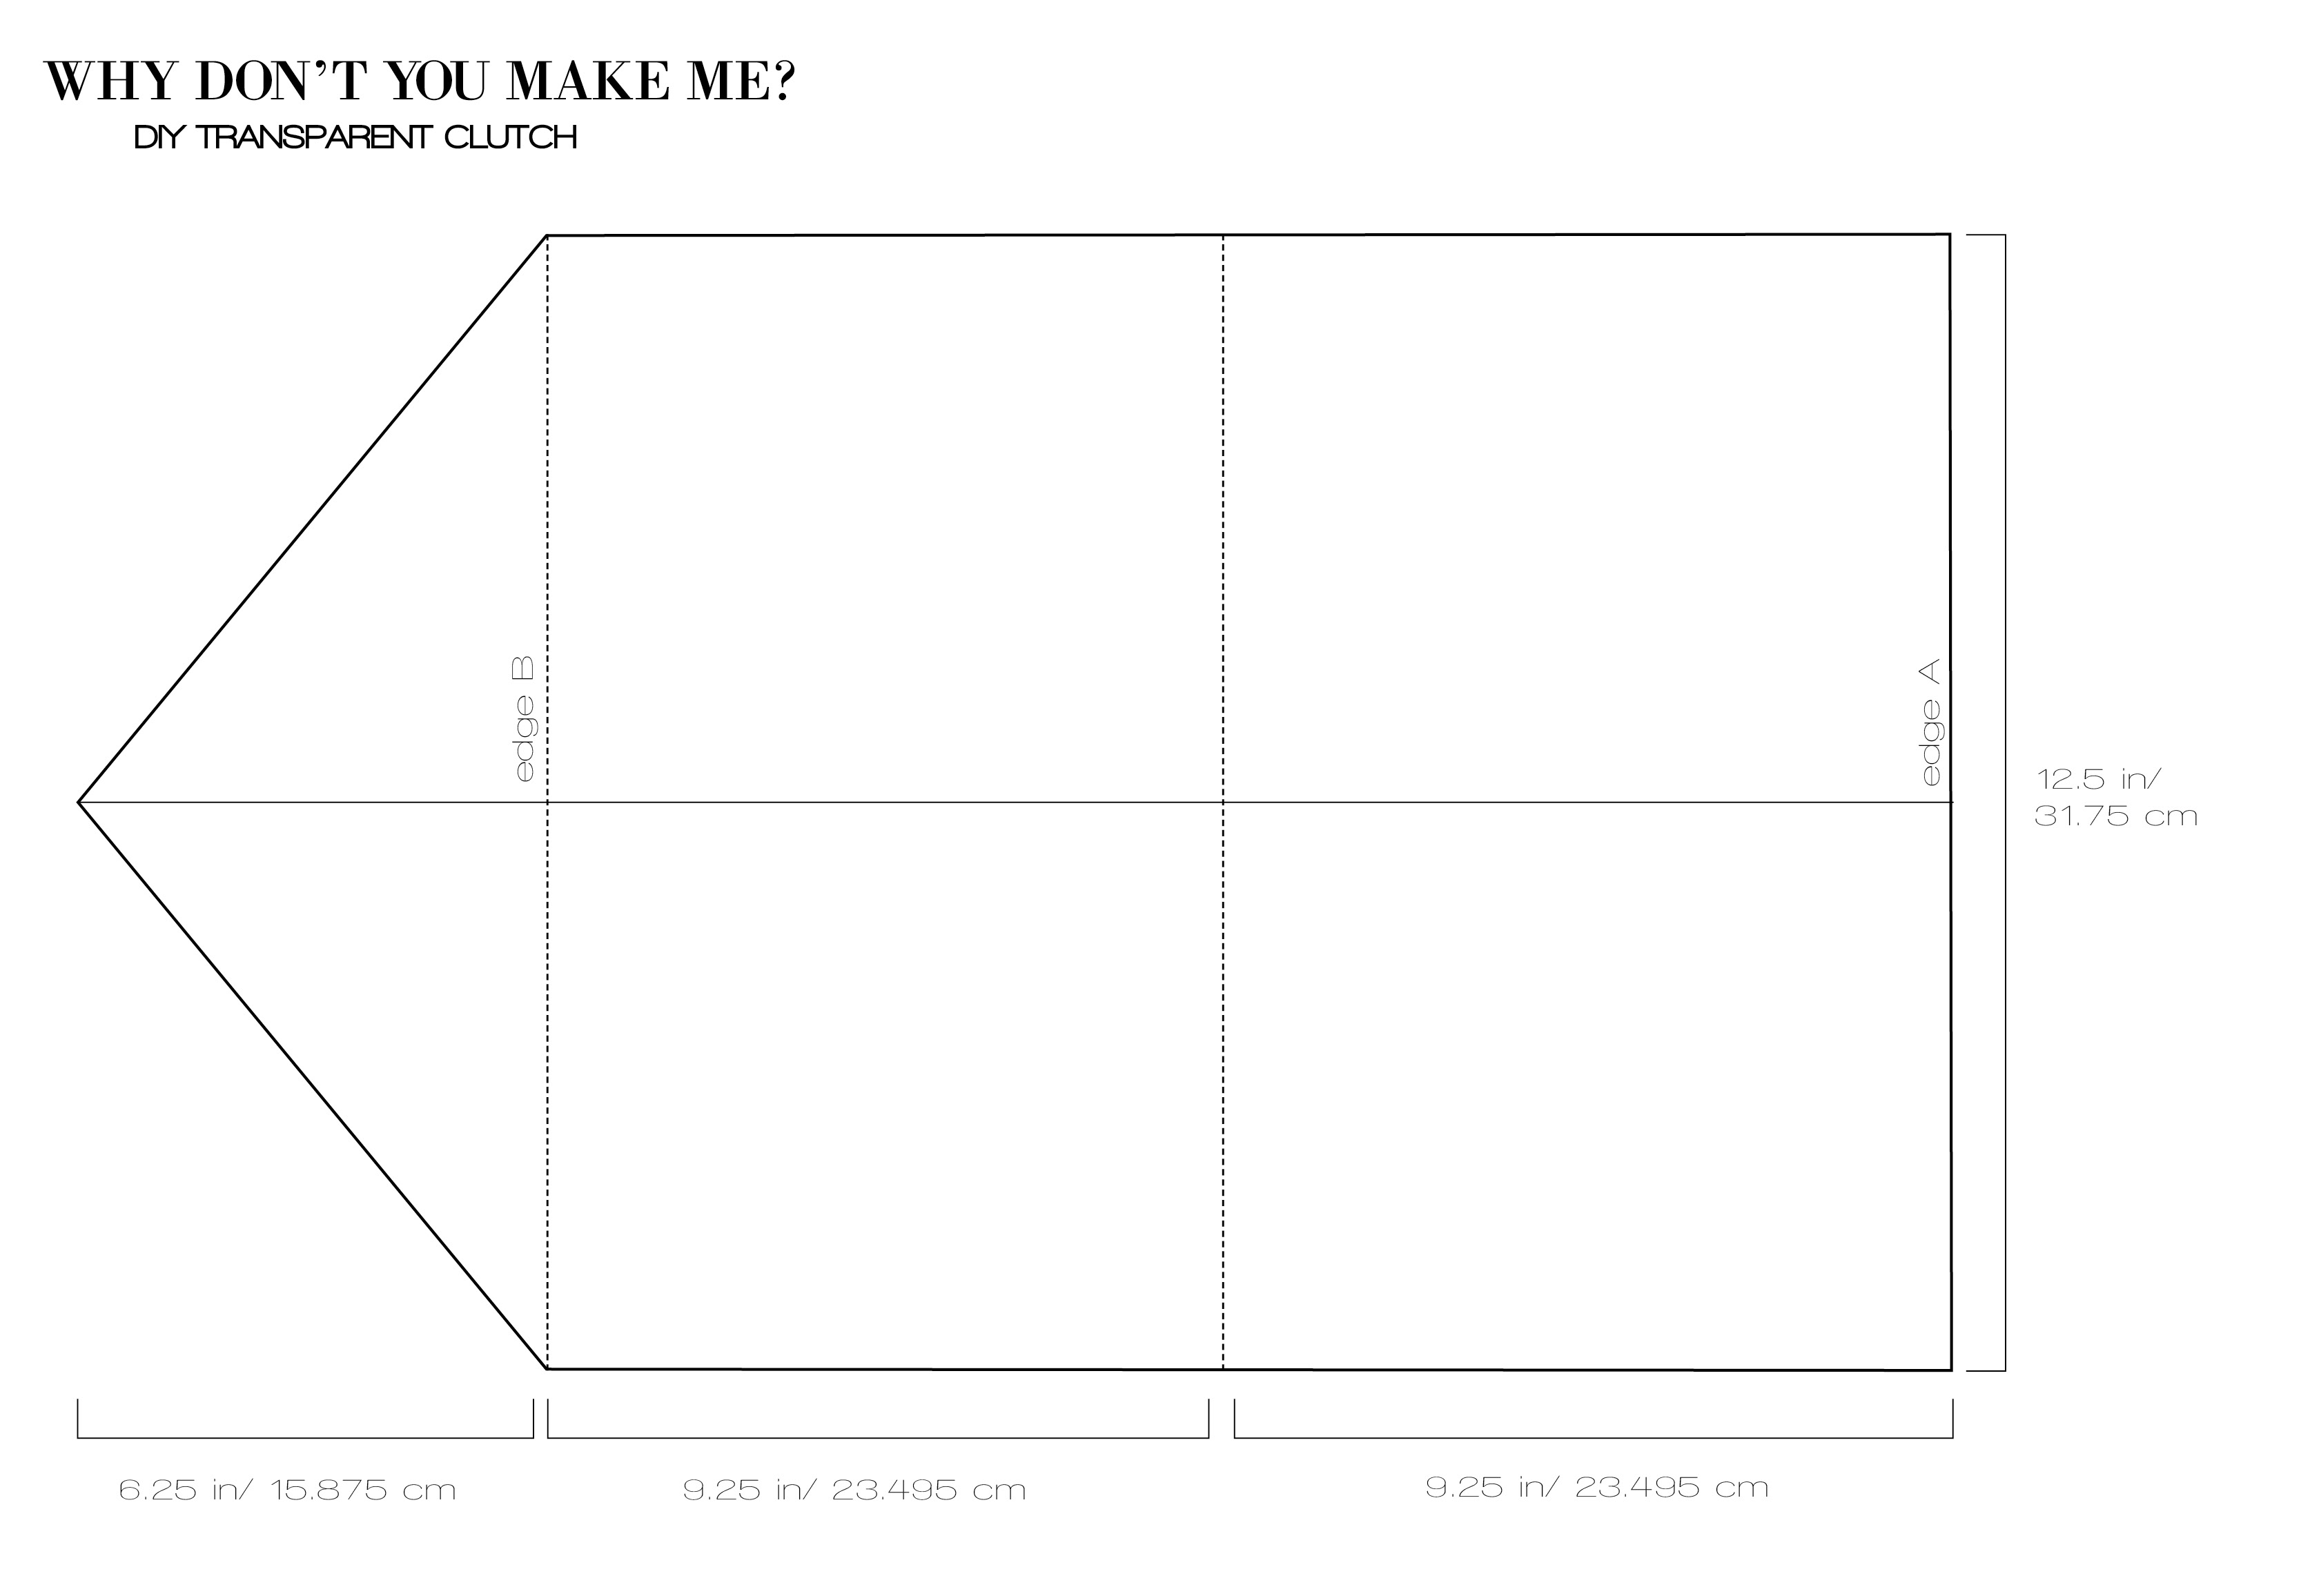 Step 1: Draw the template onto your vinyl using the measurements above. You can make it bigger or smaller depending on your preference. Once you have the pattern cut out, fold edge A up to meet edge B.
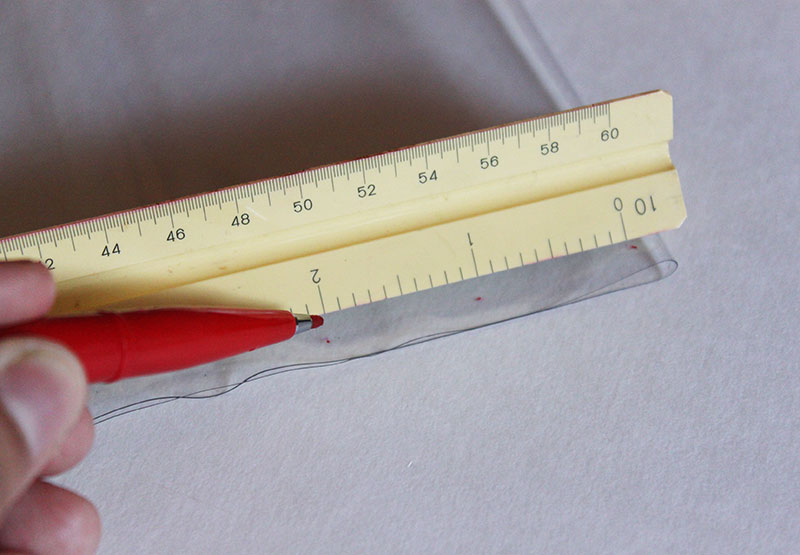 Step 2: On both sides of the clutch, use a ruler and make a mark at approximately every inch. If you used different dimensions, simply divide the clutch into even intervals.
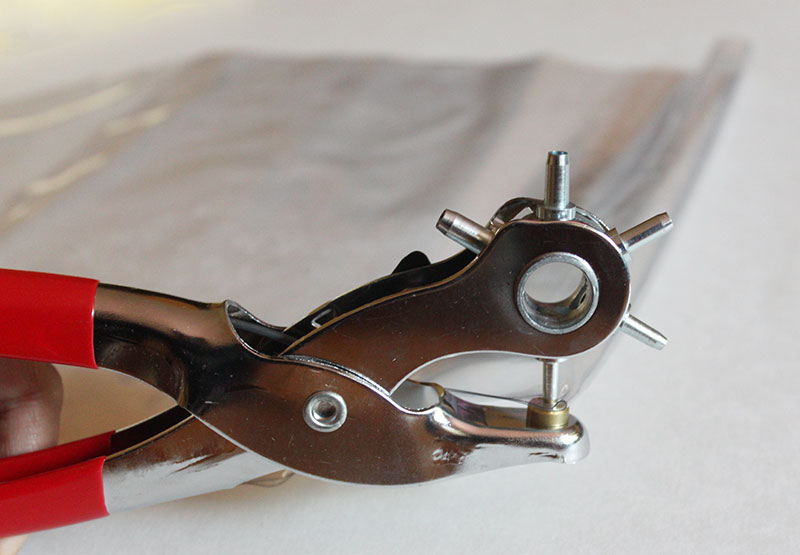 Step 3: Use the multi hole punch to punch holes at every mark.
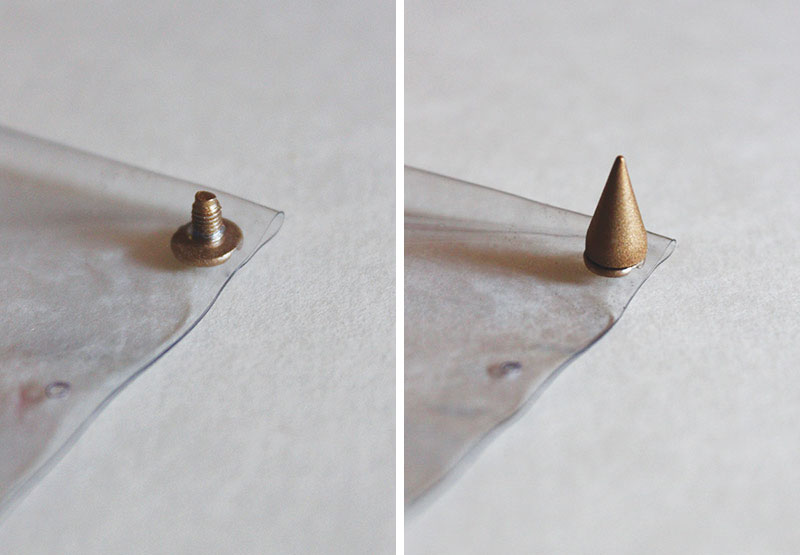 Step 4: Screw the spikes into the punched holes. Continued until you’ve filled all the holes.
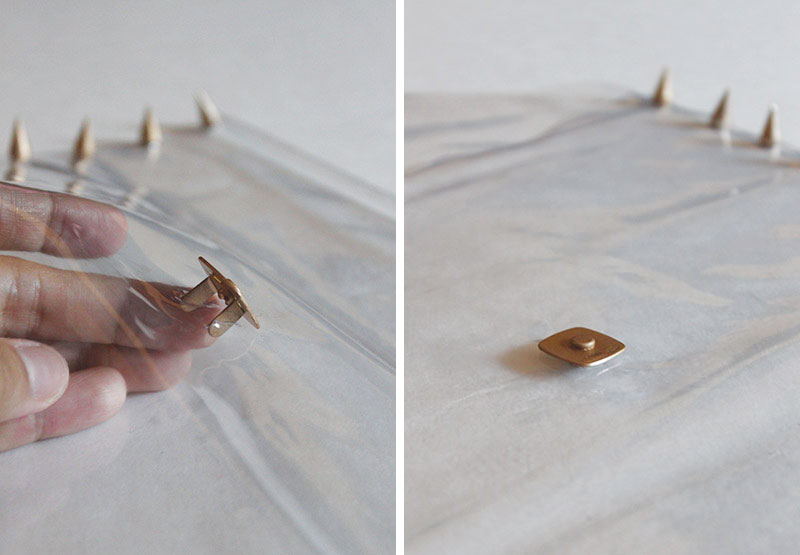 Step 5: Make two small, parallel slits approximately halfway down the clutch on the top piece. Attach one half of the magnetic clasp to the clutch.
 Step 6: Make a mark on the triangle piece of the clutch to make sure the second half of the magnetic clasp aligns with the first. Attach the clasp to the bottom of the vinyl.
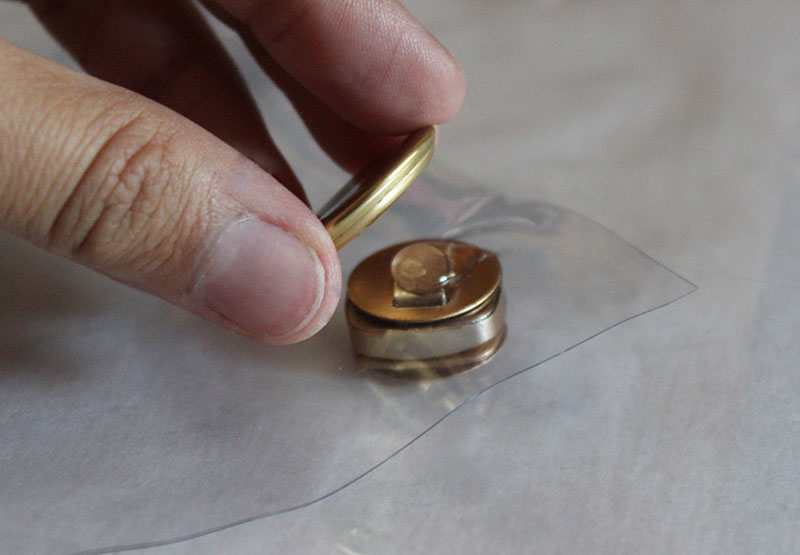 Step 6: Glue a decorative button over the magnetic closure.
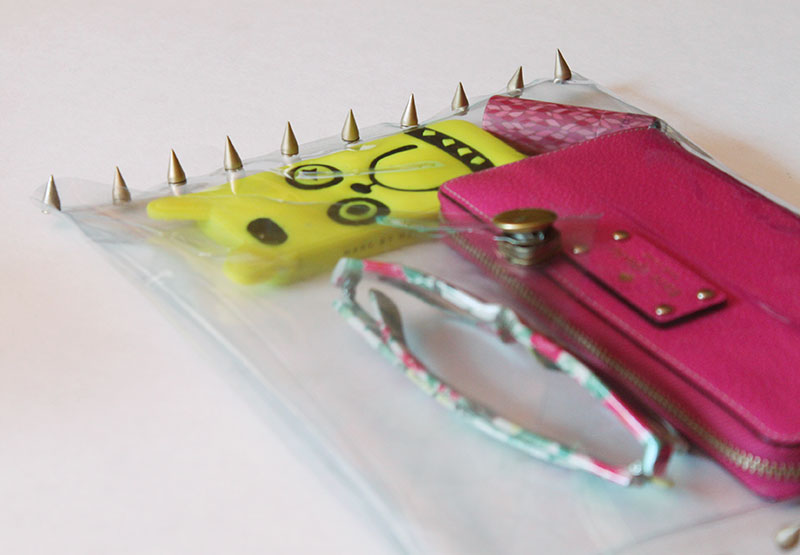
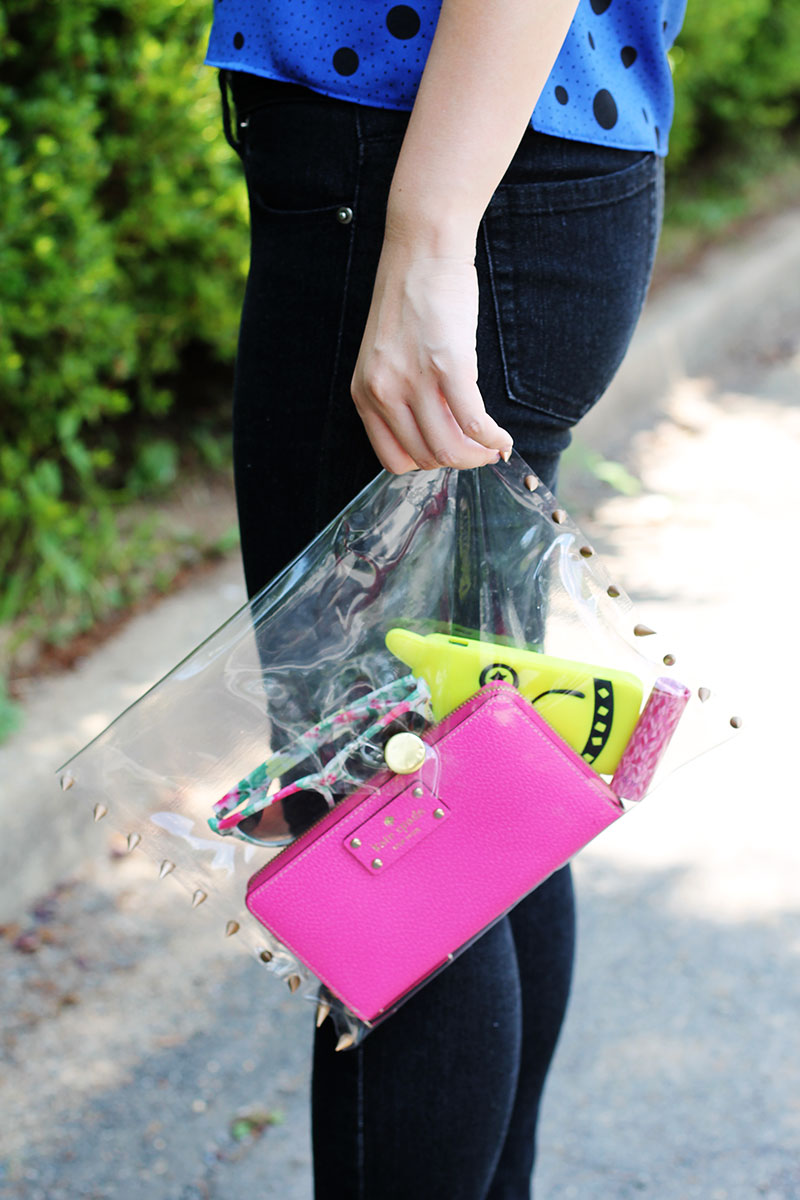 That’s it! Enjoy your clear clutch!