Photoshop Tutorial // Patterned Text

This tutorial will show you how you can add a pattern to a font! You’ll need a pattern and the font of your choice. My text is about flowers, so I decided on this gorgeous floral pattern. For the Font I kept it old school and used Impact.
*This tutorial is using Photoshop CS6. Click on images to enlarge.*
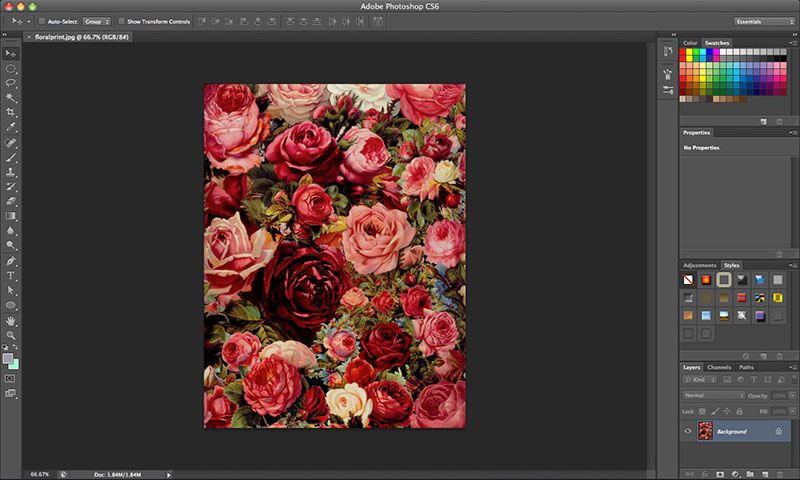 Step 1: First, we need to create the pattern. Save the image and open it in Photoshop.
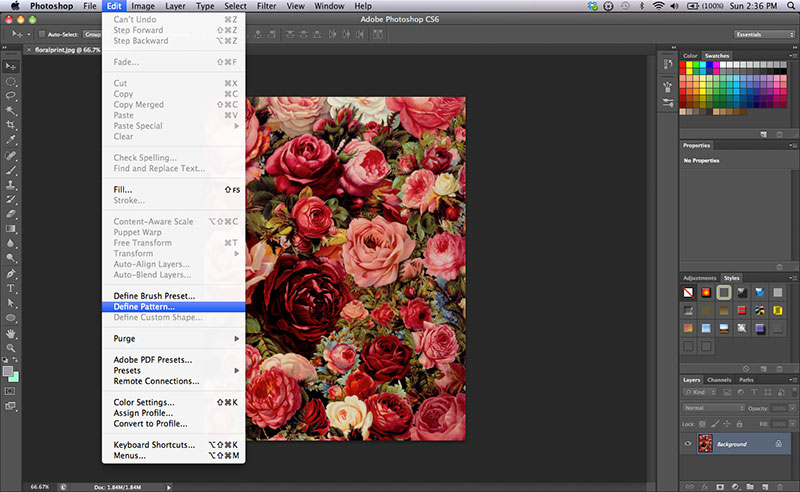 Step 2: Go to Edit>Define Pattern.
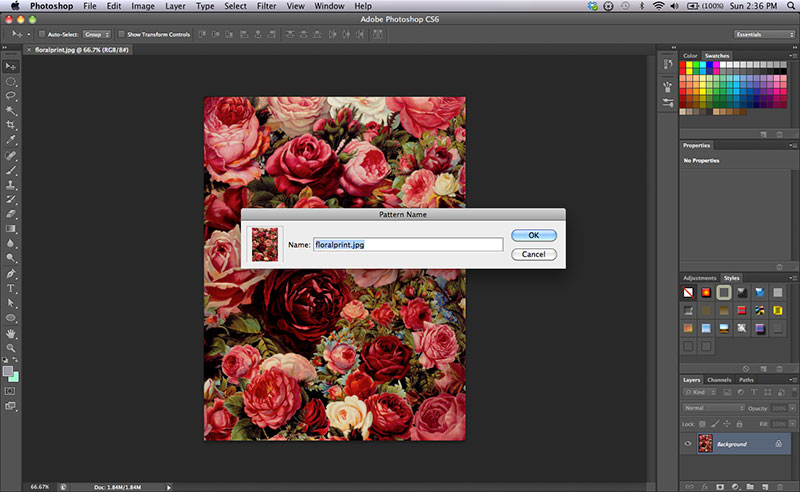 Step 3: Name your pattern and click ‘OK’.
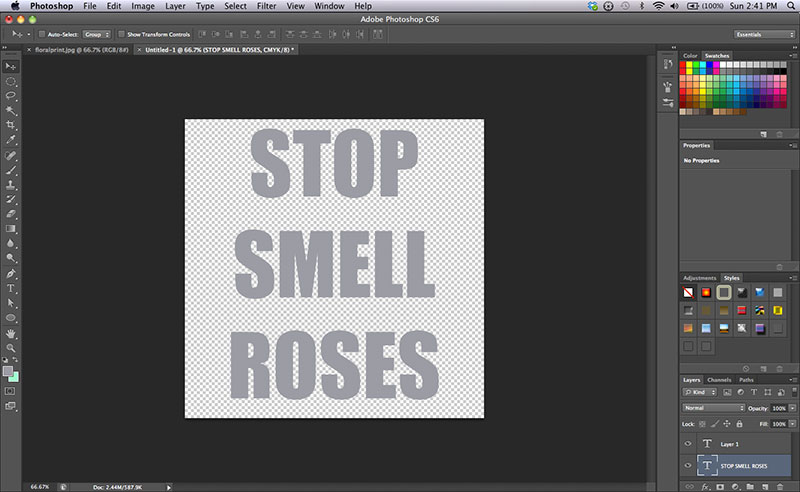 Step 4: Open a new document and make it any size you like. For this tutorial I made my document 800 x 800 pixels with a transparent background. Add a text box and type whatever you’d like. Edit the font however you want it.
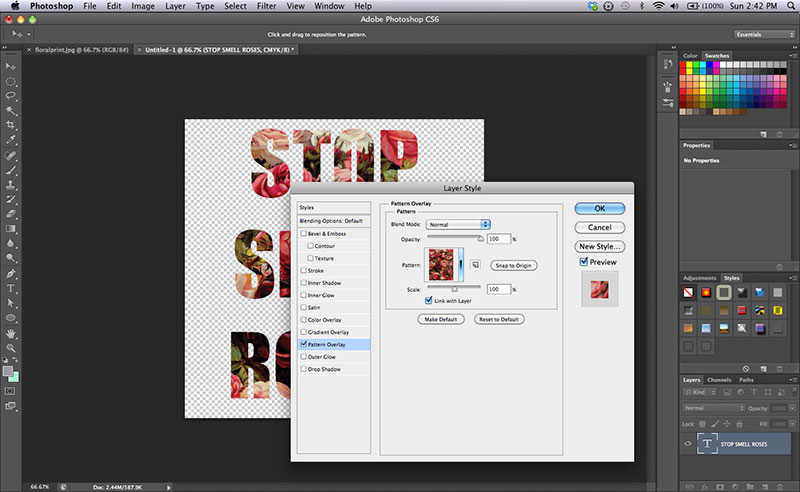 Step 5: Select Layer>Layer Style>Pattern Overlay. Find the pattern we just created and select it. Click ‘OK’.
 Step 6: Play around with opacity, or add additional text.
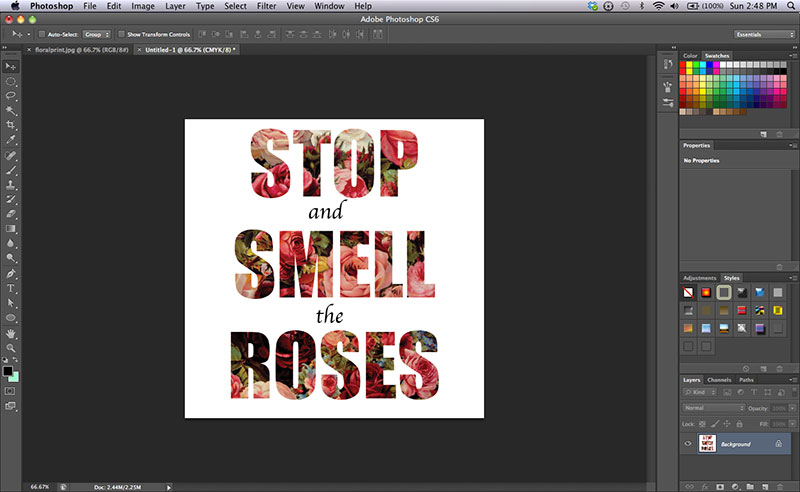 Step 7: If you want to keep the transparent background, save the file as a PNG. If not, flatten the image and save as a JPEG. And you’re done!


This is a super helpful tutorial! Thanks for sharing!
xoxo
Jolleen
simplyjolleen.com
Hi, I did the tutorial and it worked. However, no matter what font I used, it always left me with a pretty huge gap on each letter. Any suggestions to make the gap disappear? Thank you..
Hmm..I’m not really sure why this is happening. You could try to manually adjust the spacing between letters. Just click between the letters you want to move then for Windows hit Alt+Left/Right Arrow or Option+Left/Right Arrow for Mac.
I hope this helps!!
I did it and it works!Thank you so much..:)
http://qeenjournal.blogspot.com/