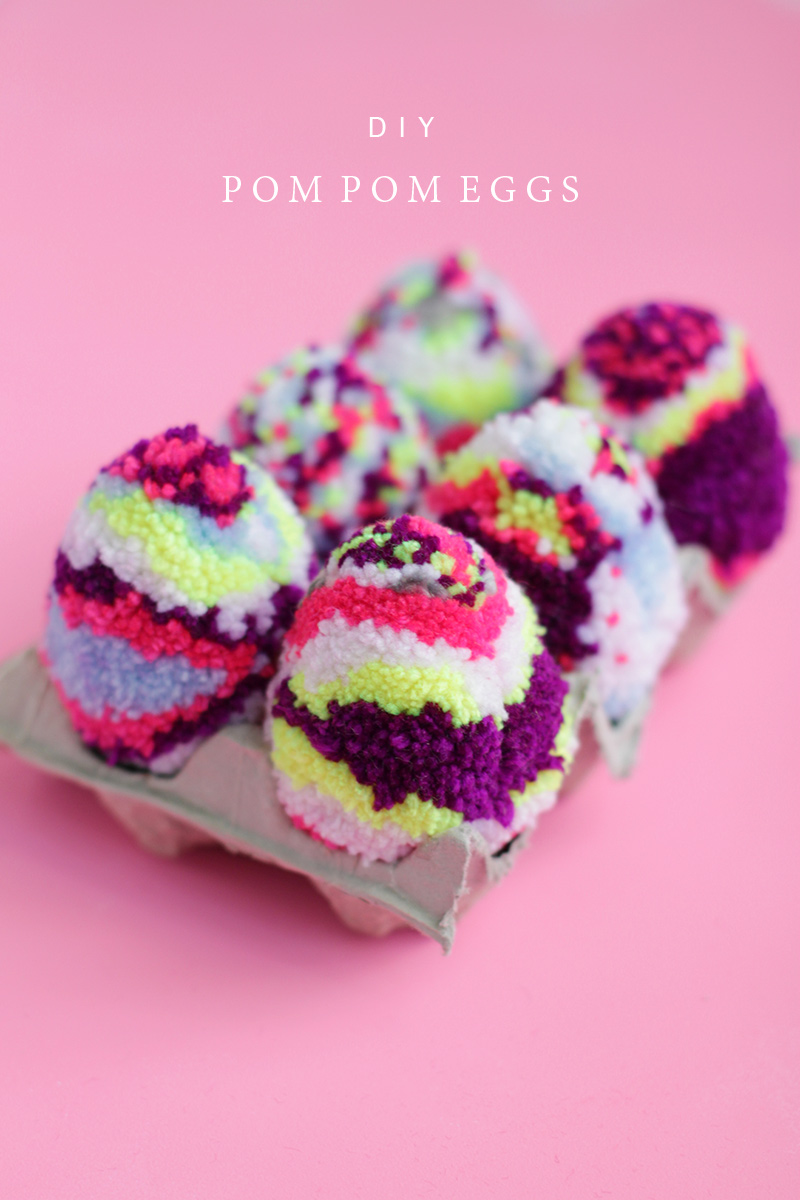
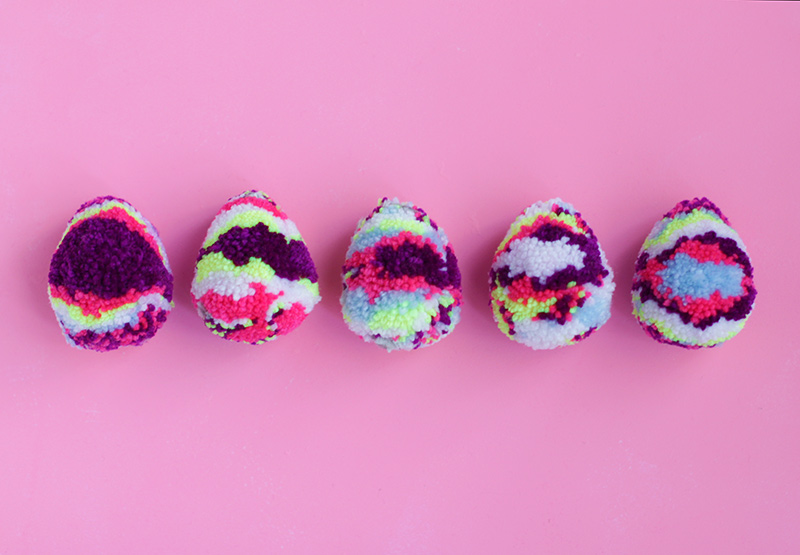
So excited about todays post! I’ve been working on these multicolored DIY pom pom eggs for quite some time now. They are an easy and relatively mindless activity to do while watching Netflix. But don’t be fooled…to get such a compact and perfect shape these poms take time. I probably spent around 30-40 mins on a single pom. So get yourself a good pair of scissors and get to crafting!
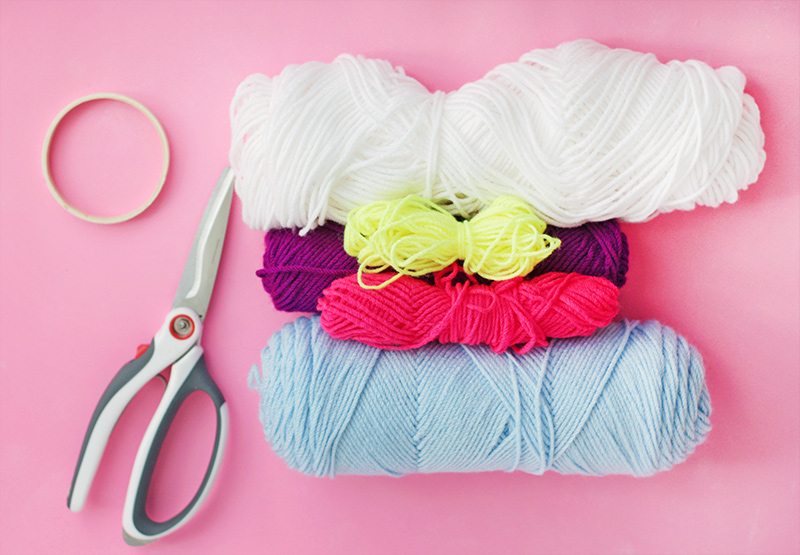
Materials for DIY Pom Pom Eggs
Yarn in multiple colors, scissors, 3 inch embroidery hoop* or pom maker
*There are many ways to make pom poms. I love using an embroidery hoop because it’s simple, fast, and the flat edges are great to keep the yarn from sliding around too much. However, the multicolored effect will work with whatever method you choose!
 Begin by wrapping the yarn around your embroidery hoop.
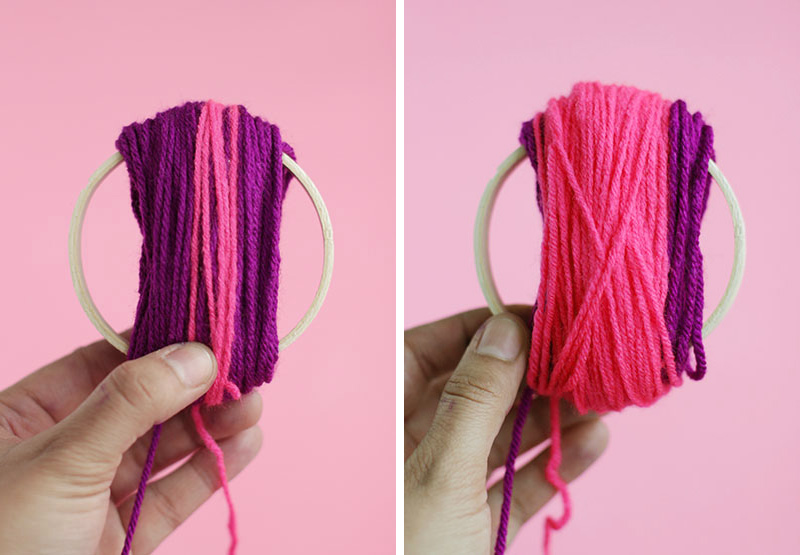 Then, take your second color and wrap it overtop of the first.
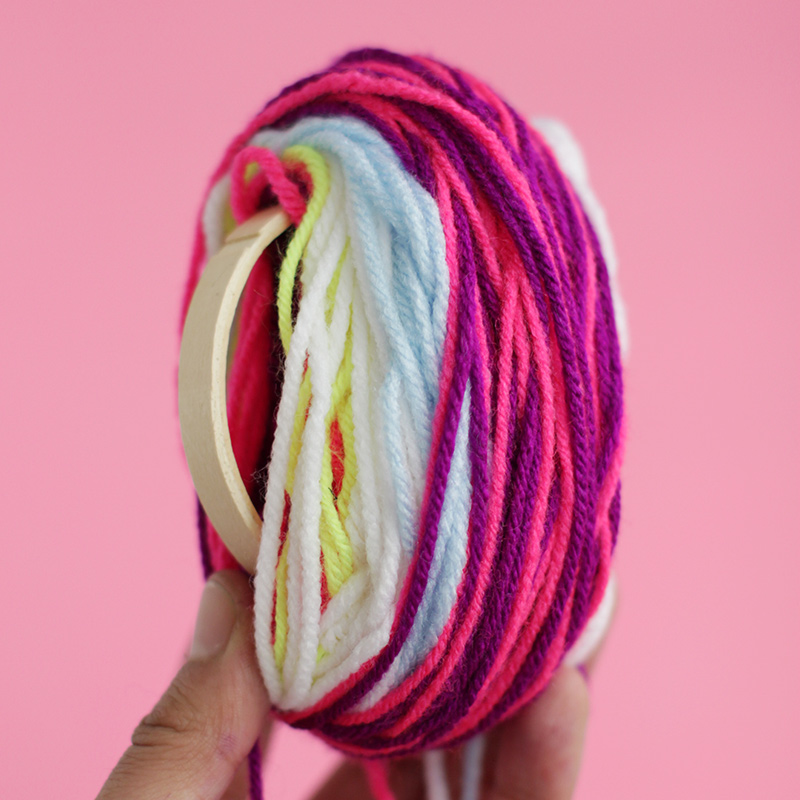 Continue to layer the colors on top of each other. You can do two colors at once for a speckled effect. The thicker you wrap, the tighter the shape you’ll be able to form.
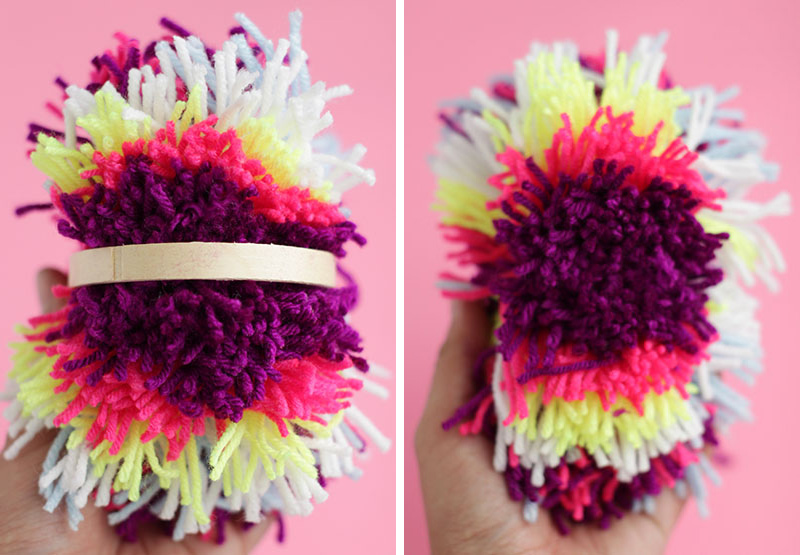 Once you’re done wrapping, cut a piece of yarn and tie it tightly around the middle of the wrapped yarn. Then cut the either end of the threads to free the pom from the embroidery hoop.
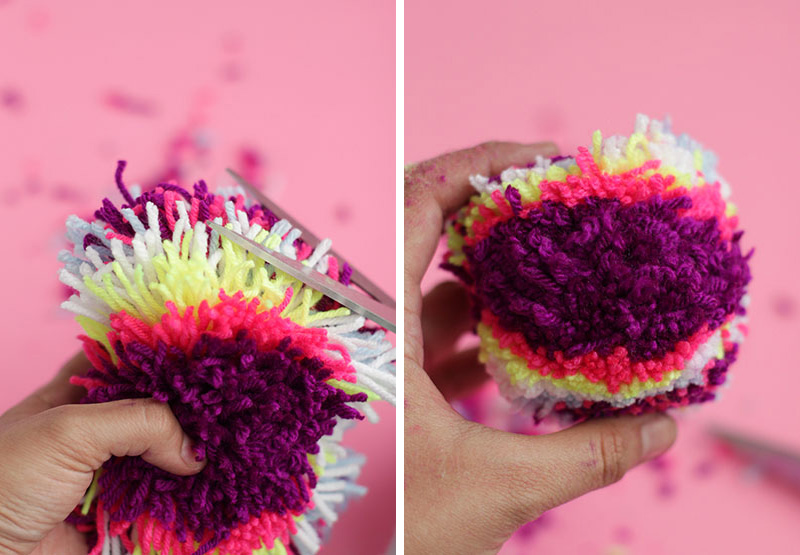 Start trimming your pom! At the beginning, there is no rhyme or reason to the cuts. Trim until the pom starts to gain shape.
 It’s hard to show in pictures how to form a pom. You could technically cut any shape you want. For an egg shape, you’ll want to keep the bottom more rounded with a rounded point on top. Keep going until you reach your desired shape. Trim slowly at the end so you don’t lose too much yarn evening out a large cut.
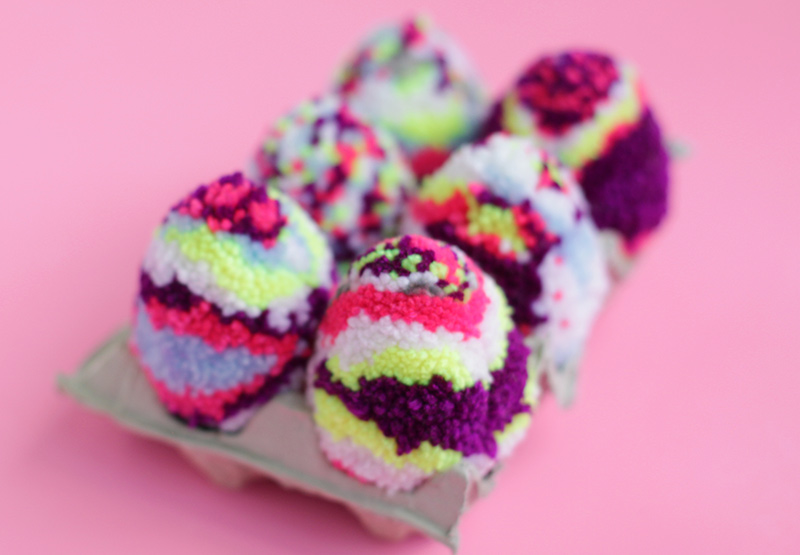 And you’re done! These will be great for hiding during an egg hunt! Happy Easter!!

