Ikea Hack: Painted Dresser

06.15.13

Ikea Hack Dresser

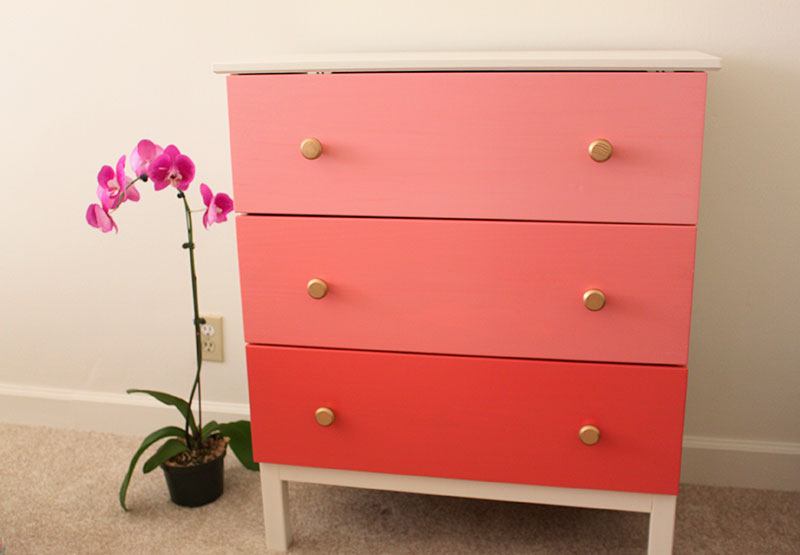
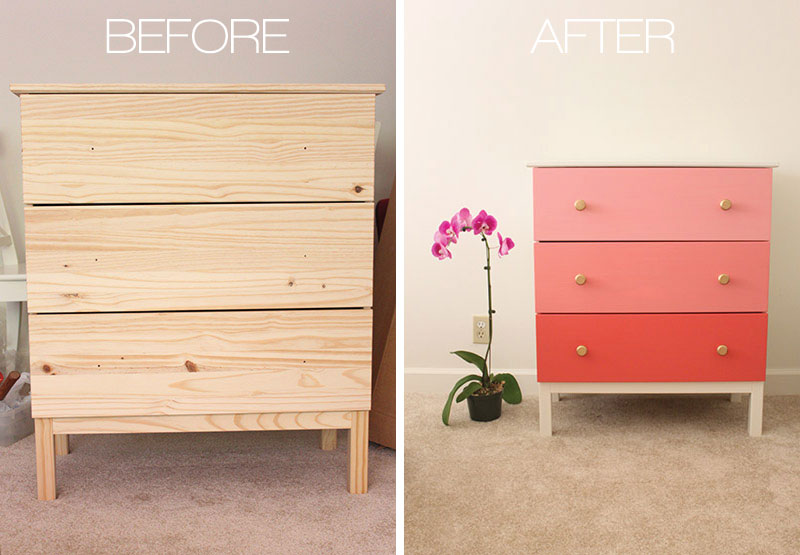
This Ikea hack dresser is one of my favorite DIY pieces from my sister’s new Chicago apartment. The Tarva 3 Door Chest is a bargain, but the unfinished wood is far from apartment ready. We bought a can of Behr Coral Expression and added white paint to create an ombre look. Here’s how we transformed the dresser.

1. Start by painting the body of the dresser white.
2. Paint one of the dresser drawers in Coral. Add two or three coats.
3. Add white paint to the coral to lighten it. Paint the second drawer like you did the first.
4. Add more white paint to the paint mixture to paint the third drawer.
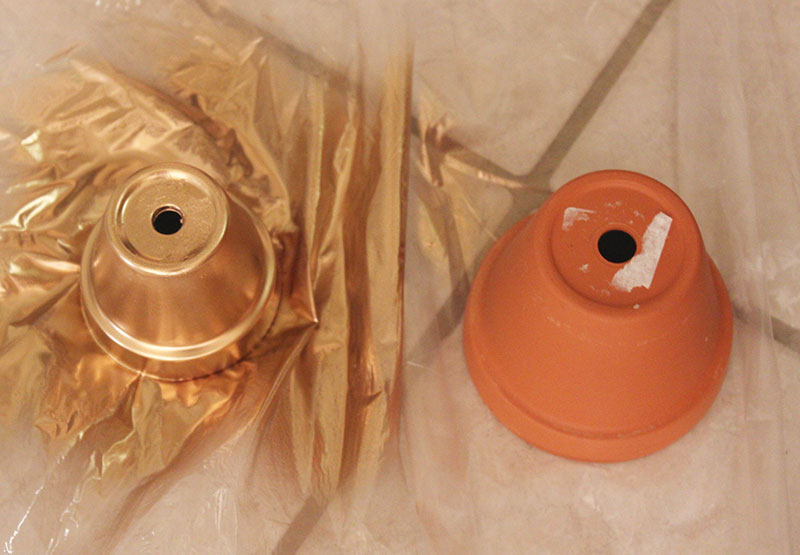
5. To add a bit of interest to the dresser, we spray painted the knobs gold.
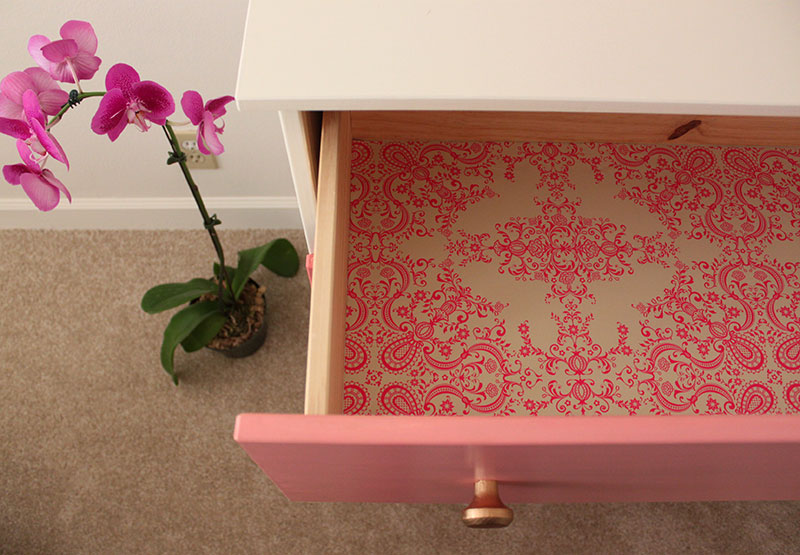
6. We lined the inside of the dressers with gift wrap paper we found at Marshalls. Measure the insides of the drawer and cut the paper to size. Mod podge it to the drawer.
7. Put it all together and you’re done!

Ikea Hack DresserIkea Hack Dresser

DIY Cat Ear Headband

06.15.13

DIY Cat Ear Headband

A few days ago I made this inspirational post on the cute and popular cat ear headband.Today, I’m going to show you how to make your own!

DIY-Cat-Ear-Headband

Materials:

– Metal Headband
– Wire (The thicker the better. I used 21 Gauge)
– Rhinestones
– Glue
– Pliers/ Wire cutter
– Gold Spraypaint (if your headband doesn’t match the wire)

DIY-Cat-Ear-Headband1. Cut two pieces of wire to approximately 7 inches in length. (Longer or shorter depending on how big/small you want the ears.) Bend the wire in half to form a triangular shape.

Read More →

DIY Painted Planters

06.14.13

Painted Planters

Earlier this week I posted on how to brighten up a clay planter with yarn. Today I’m featuring another easy way to add a bit of color to your home. All you need is some paint!

Painted Planters

What you’ll need:

– Planters and Plants
– Spray Paint
– Acrylic Paint
– Paint Brush
– Painter’s Tape

PaintedsPlanters1. Start by spray painting the pots. Let them dry.

Painted-Planters2. Using painters tape, tape off the section you want to paint.

Painted-Planters3. Paint the taped off section. I did two coats.

Painted-Planters4. Transfer your plant to your painted pot.

Painted-PlantersAnd you’re done!

Painted-Planters*How cute is this cactus?*


Dulce de Leche Recipe

06.13.13

Dulce-De-Leche

If you’ve never tried dulce de leche, then you are seriously missing out. If you don’t know what Dulce de Leche is, it’s a rich confection made by heating sweetened condensed milk. You can eat it on cookies or crackers, use it to fill cupcakes, or just eat it on it’s own! There are many different ways to make dulce de leche. I like to make it on the stovetop. Normally, I have my mom’s pressure cooker and cooking time only takes an hour. However, if you don’t own a pressure cooker, you can still make dulce de leche by following these steps.

Stove-top Dulce de Leche Recipe

1. Start by removing the label from your can of sweetened condensed milk.
2. Pierce three holes at the top of the can in a triangle formation. *This step is critical as it helps release the pressure from the heat, preventing the can from exploding.*
3. Place the can in a pot, and fill it with water 3/4 of the way up the side of the can.
4. Bring the water to a simmer and let the milk cook for about 3-4 hours. (Longer if you want a thicker consistency.) I usually cook mine for approximately 4 hours. If milk comes out of the piercings at the top of the can, make sure it doesn’t spill over.
5. Use tongs to remove the can from the water, and place it somewhere to cool.
6. Mix the dulce de leche until it is smooth. Let it cool before refrigerating.

Dulce-De-Leche-2