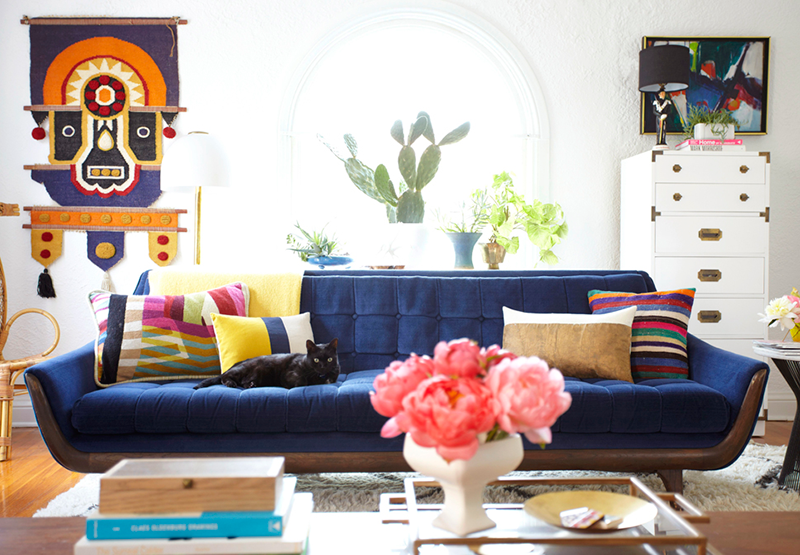
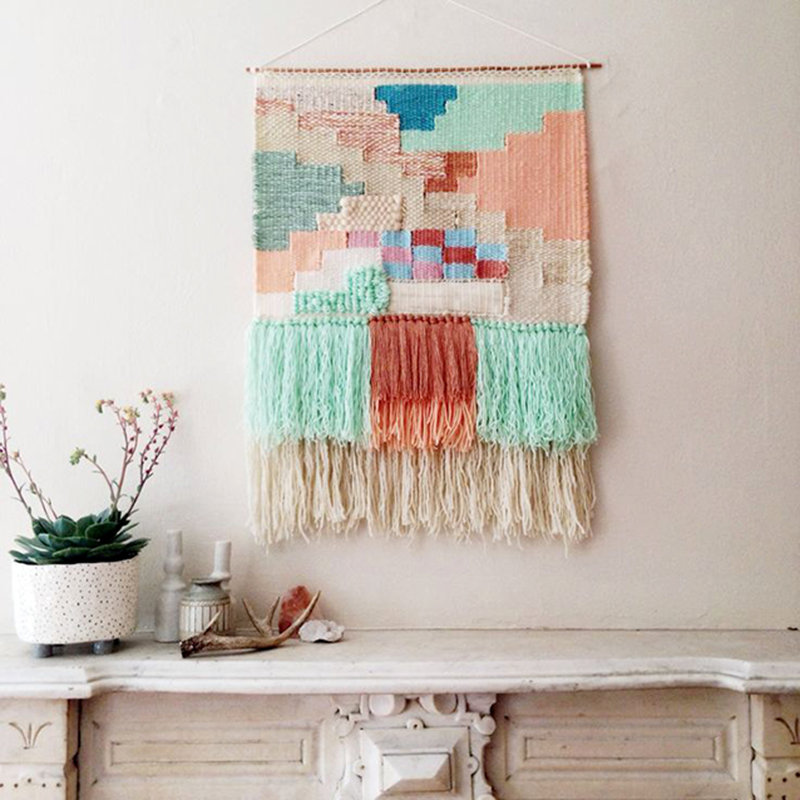
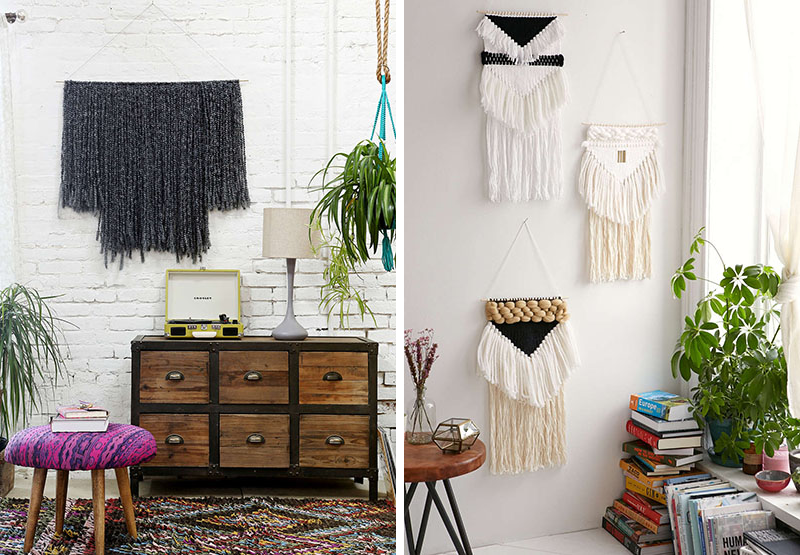
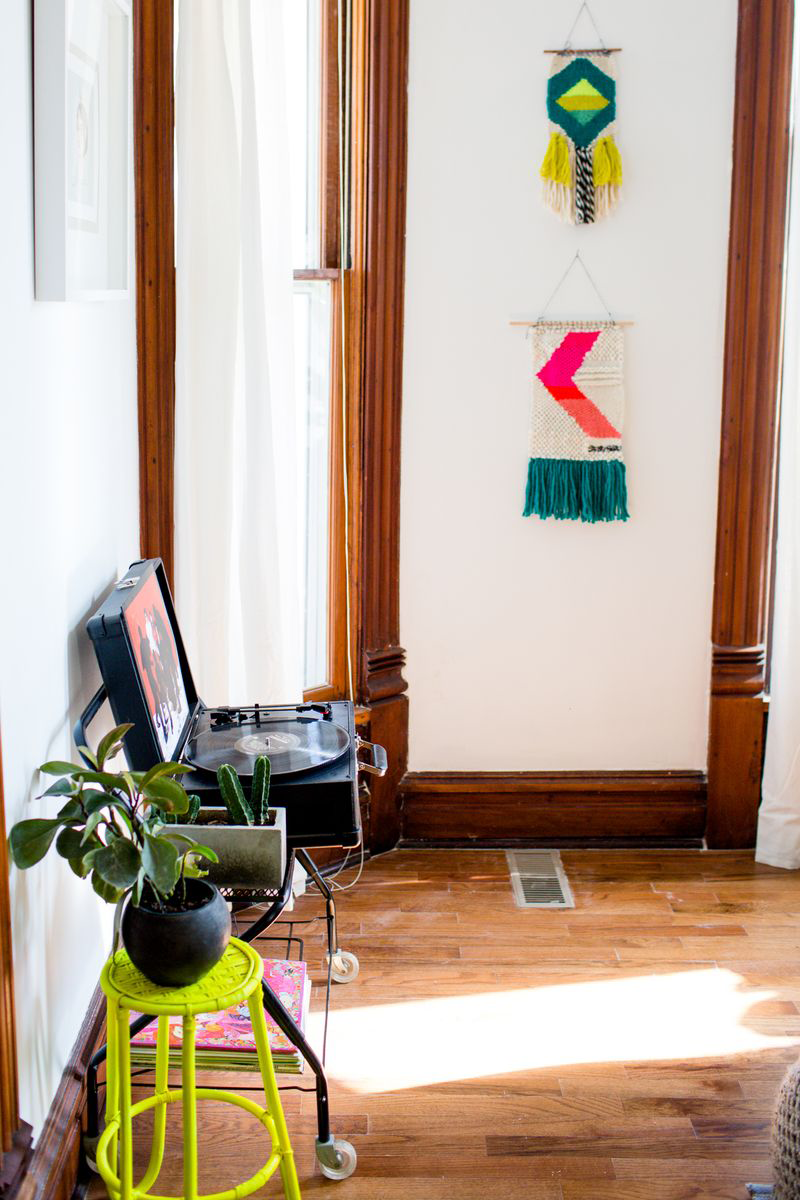
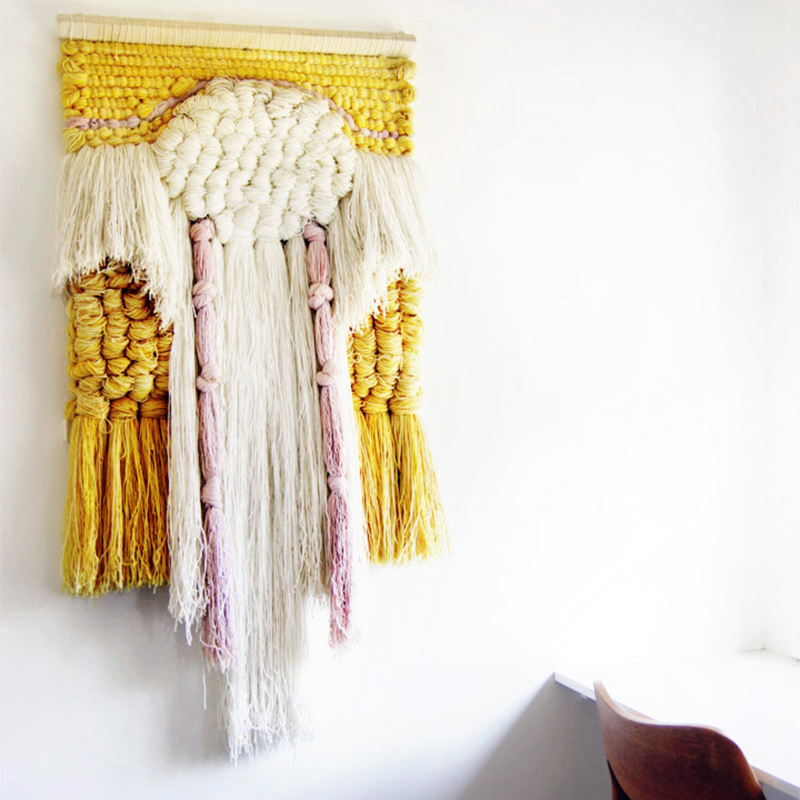
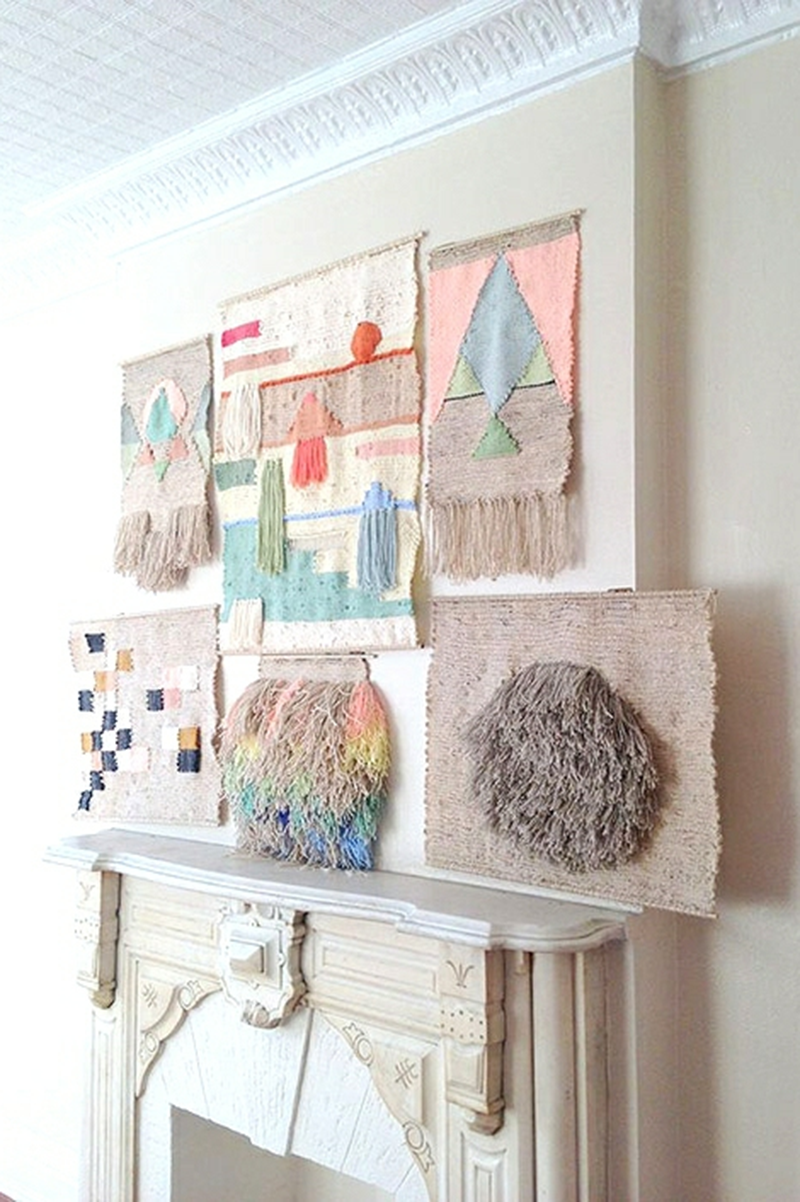
I apologize for my latest absence on the blog. I’m trying to be better about blogging, I promise! That being said, inspiration for DIYs comes to me on the daily, the latest of which is the incredibly beautiful revival of woven wall hangings. I’ve been following Maryanne Moodie’s work for some time now and have been completely enchanted by her work. My favorite thing about these woven wall hangings is all the different textures you can create. These works of art look incredibly difficult to create, but I wouldn’t be me if I didn’t try!
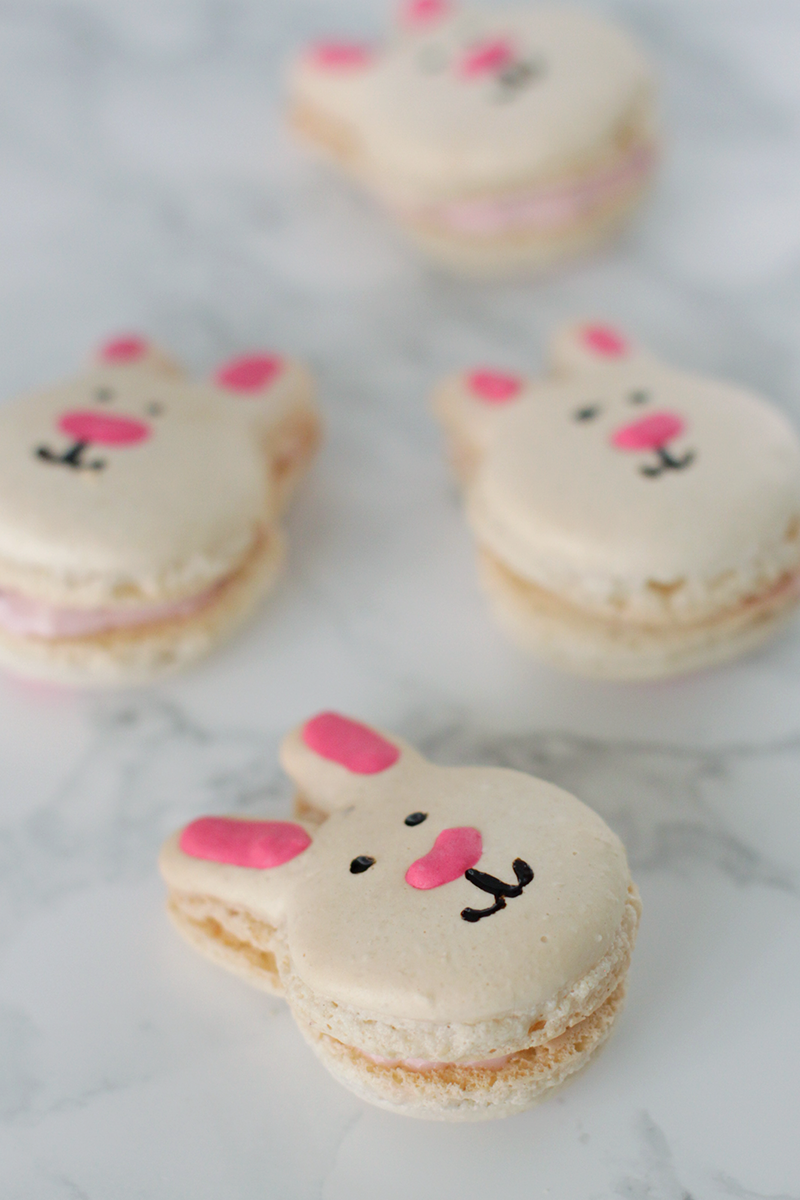
With the Easter Holiday right around the corner I knew I wanted to incorporate my love of macarons with this year’s dessert. I put the two together and decided on these adorable bunny macarons!
Easter Bunny Macarons Recipe
INGREDIENTS
150g Almond Meal
150g Powdered Sugar
55g Egg Whites (to be mixed into dry ingredients)
55g Egg Whites (for meringue)
150g Granulated Sugar
38g Water
INSTRUCTIONS
Use a food scale to measure out all the ingredients. Set aside 55g of egg whites for mixing into the dry ingredients and place the other 55g of egg whites into the bowl of an electric mixer.
Place the powdered sugar and almond meal into a food processor and grind them together until fine.
Sift the almond meal and the powdered sugar mixture. If there are any large pieces of almond flour leftover, run through the food processor again.
Take the 55g of egg whites and pour into the almond meal and powdered sugar mixture. Set it aside.
Pour the granulated sugar and water into a metal pot and cook on the stove on medium heat. Attach a candy thermometer to measure the temperature of the sugar and water as it heats.
Without stirring, allow the sugar and water mixture to heat to 115 degrees Celsius (239F). Once it heats to 115C, begin whisking the 55g of egg whites in the bowl of an electric mixture to soft peaks.
Once the water and sugar solution reaches 118C (245F), slowly pour it down the side of the mixing bowl of the whisking egg whites. Mix on high speed for 1 1/2 minutes.
Turn speed of mixture to medium speed and continue mixing another 3 minutes. Turn the mixer off and scrape the meringue out into the almond mixture.
Fold the meringue into the dry ingredients using a rubber spatula. Mix from the inside out, while simultaneously turning the bowl.
Continuing folding until the mixture is one color. At this point it is important not to over-fold the mixture. To check if your macaron mixture is ready, lift the spatula up in the air and let some of the mixture drip back onto the surface. Wait 15 seconds to see if the drip disappears back into the mixture. If it disappears, the mixture is ready. If not, fold another 10 seconds then repeat the drip test.
Prepare three separate piping bags. One with a large round tip, and two smaller rounds.
Hop on down below to see how I piped my bunny face macarons!
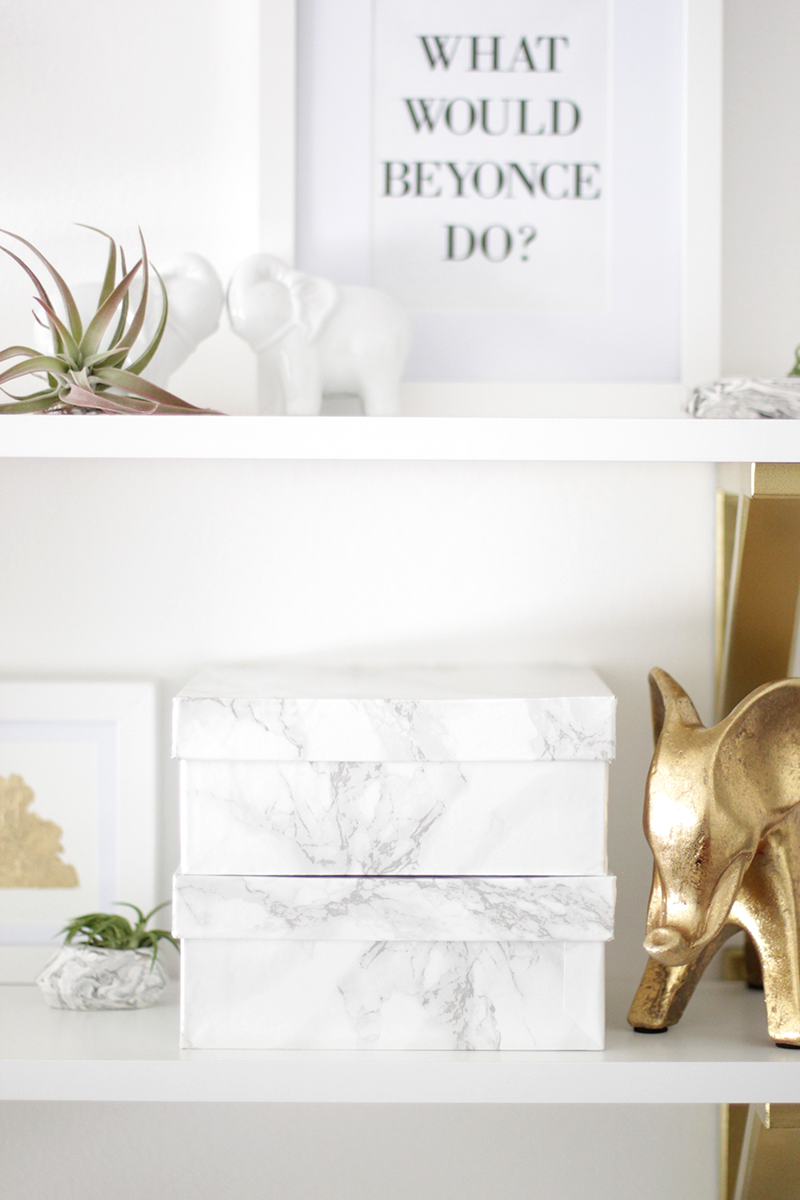
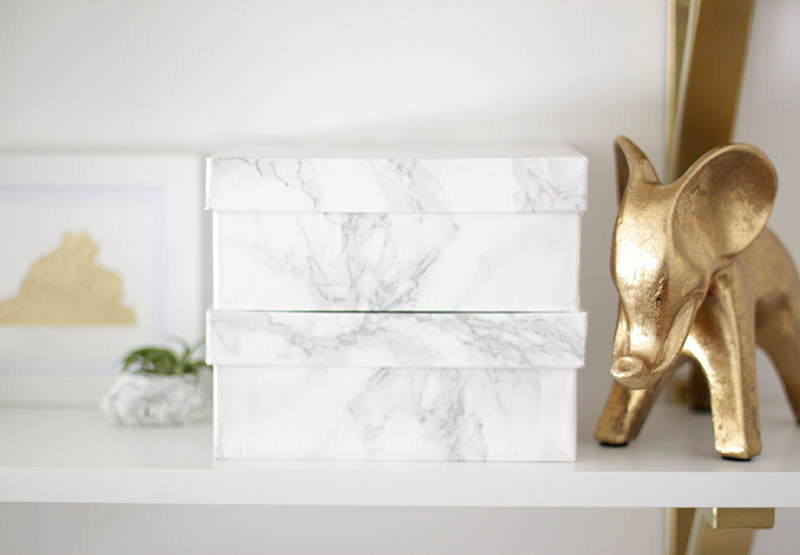
Staying true to my current marble obsession, I made these boxes to style my workspace shelves. It’s a good thing I believe that you can never have too much storage! I followed this easy tutorial for amazing and chic results!
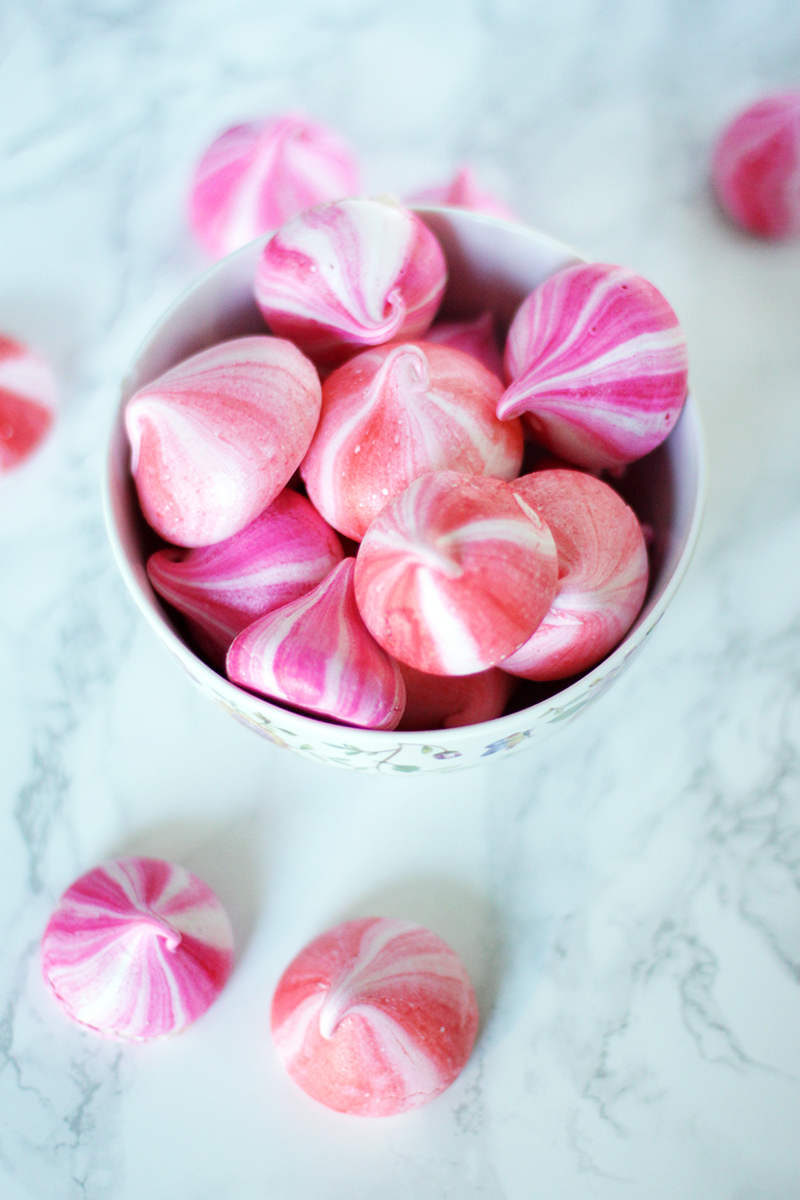
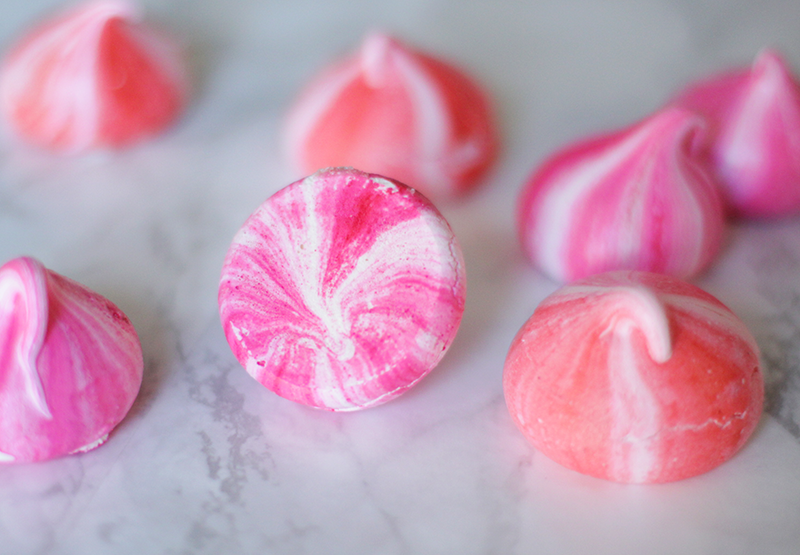
If you’re looking for a quick and easy last minute Valentine’s Day recipe, these marbled meringue kisses are the perfect treat!
They have a crunchy outer shell, and a chewy marshmallow center. These require knowing how to mix egg whites to soft peaks. You’ll know you have achieved soft peaks when you turn the whisk upside down, and the peaks are just starting to hold. This takes a little practice, so keep at it!
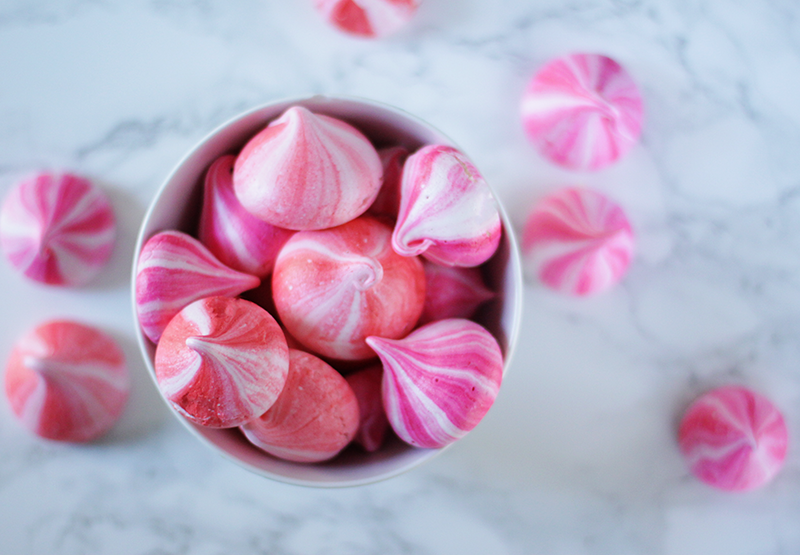
I must say these did not last very long at my house. Everyone loved them! Even my mom who is the opposite of a “sweet tooth” kept commenting on how good they were.
You can find the recipe below…
RECIPE
175g of egg whites (Approximately 5 large eggs) at room temperature
350g sugar
Pink and/or red food dye
Preheat oven to 200°F (90°C). Line 2 baking sheets with parchment paper.
Whisk the egg whites until soft peaks. Slowly add sugar. Continue whisking until stiff peaks; the time will vary depending on the temperature of your egg whites.
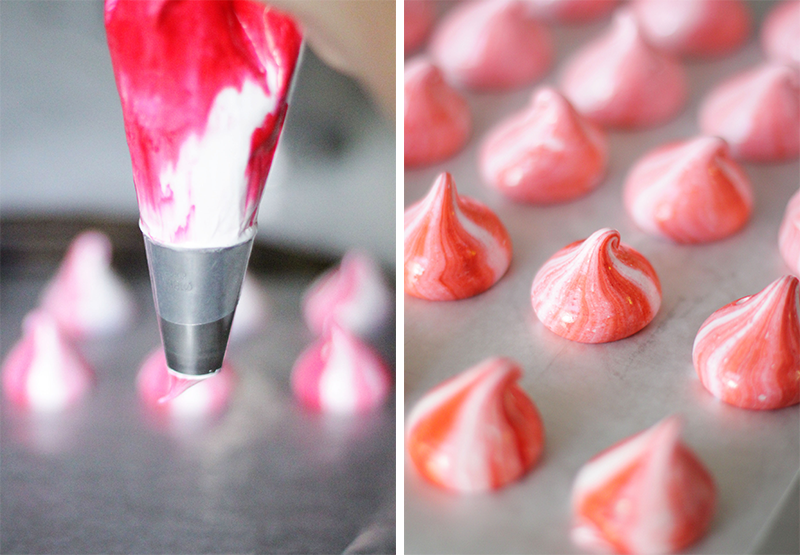
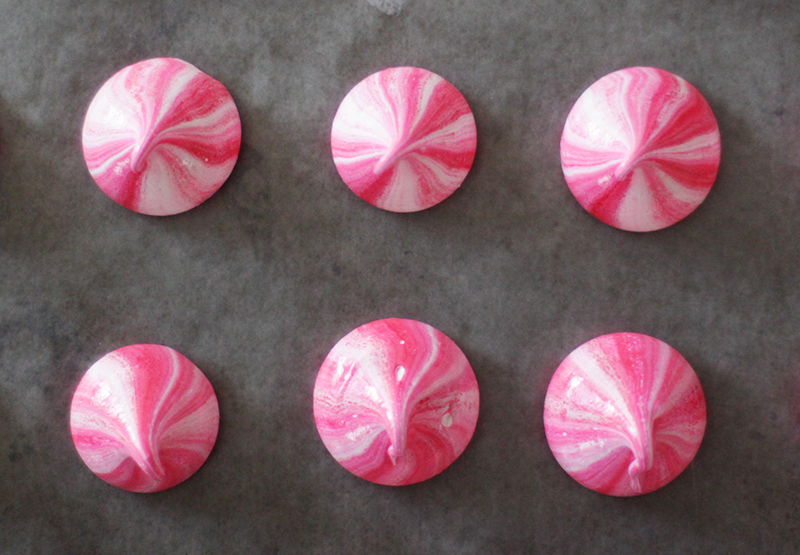
Prepare a pastry bag by cutting off the end and inserting a large round tip. (I used an 18mm.) Squeeze in some food coloring on either side of the piping bag. Careful not to add too much or the meringues could end up tasting bitter.
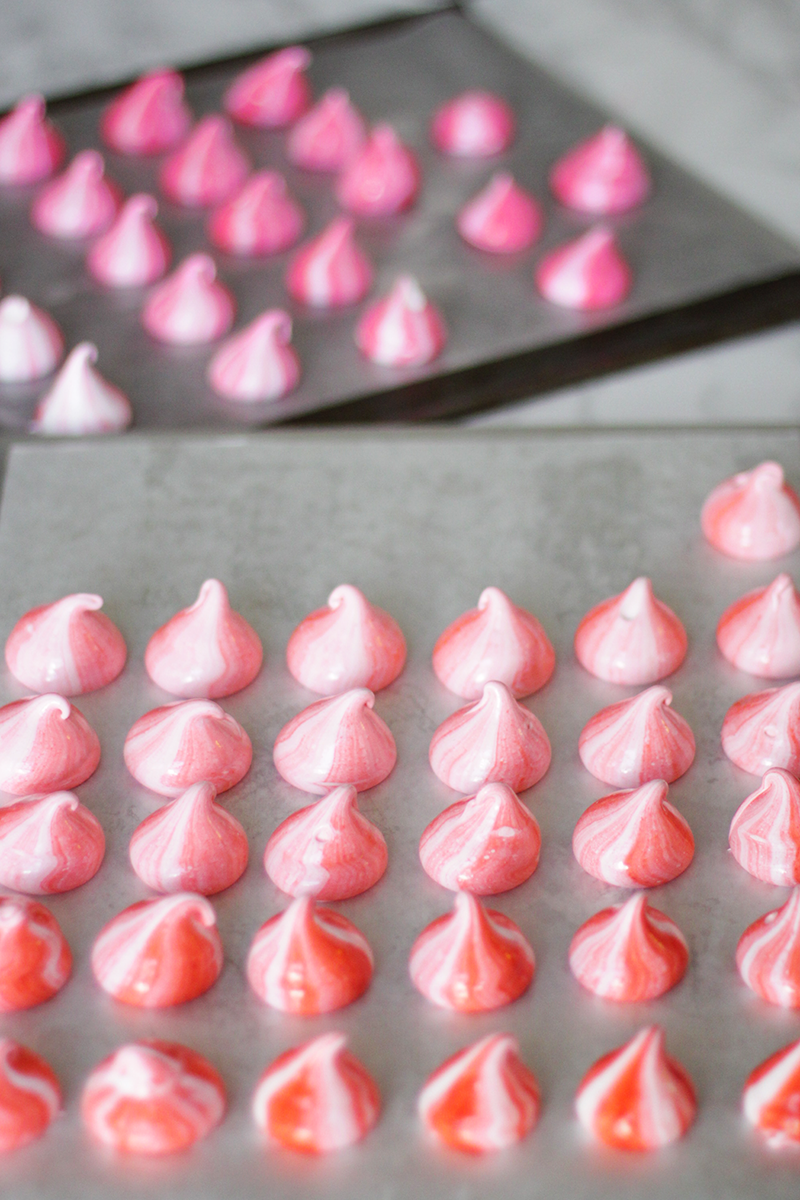
Pour half of the meringue mixture into the prepared piping bag. Pipe the kisses about one inch wide onto the baking sheet. Continue piping in rows until you’ve used all the meringue. Repeat with a new piping bag, and a different food color if desired.
Bake for approximately 1 1/2 hours or until they can be lifted cleanly from the parchment paper. Allow the meringues to cool completely before enjoying!
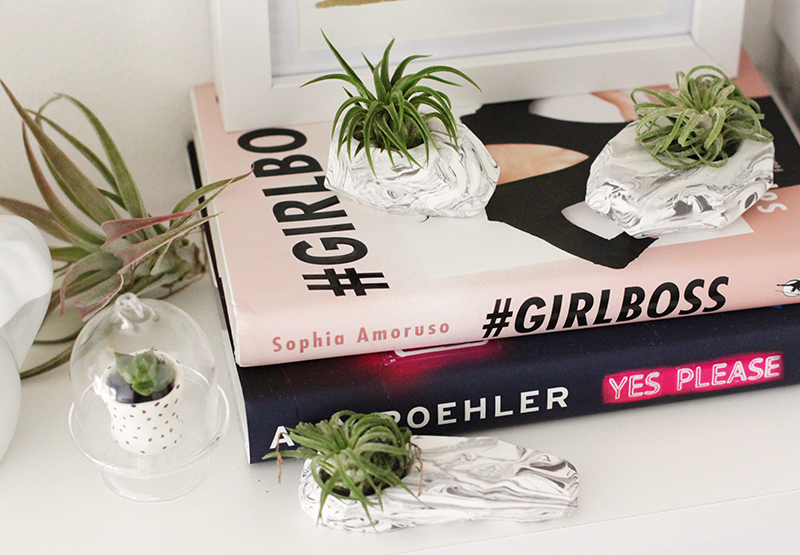
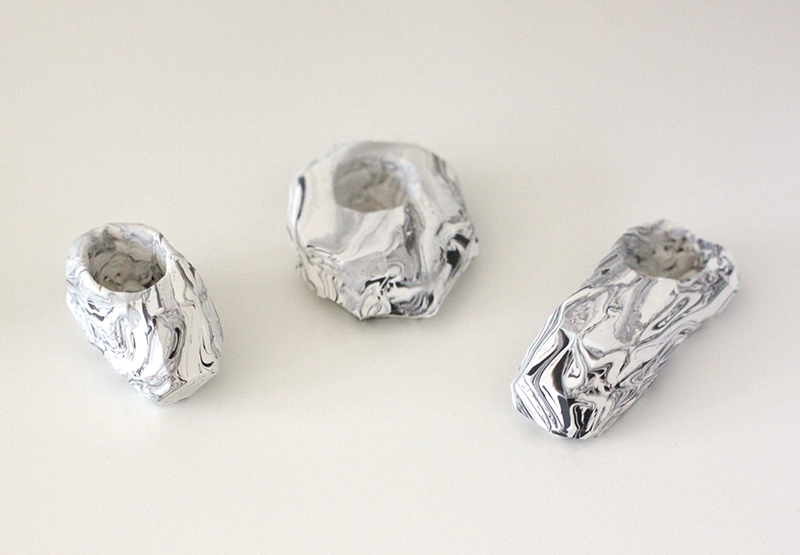
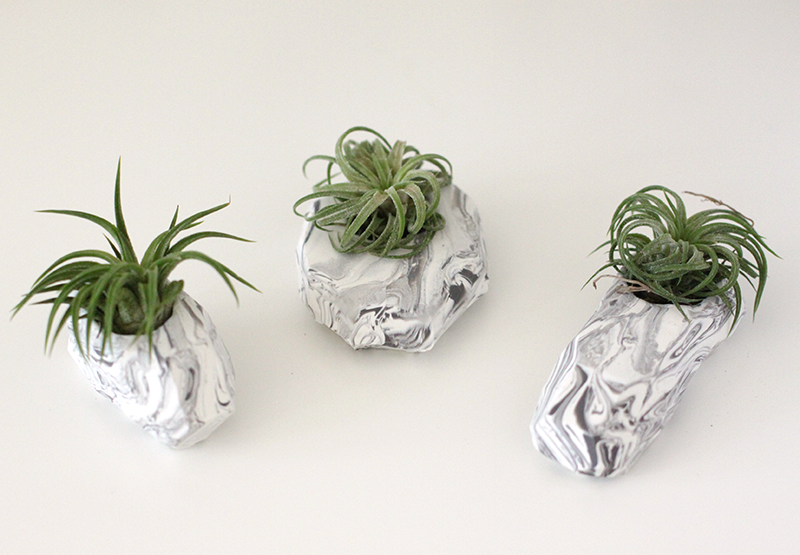
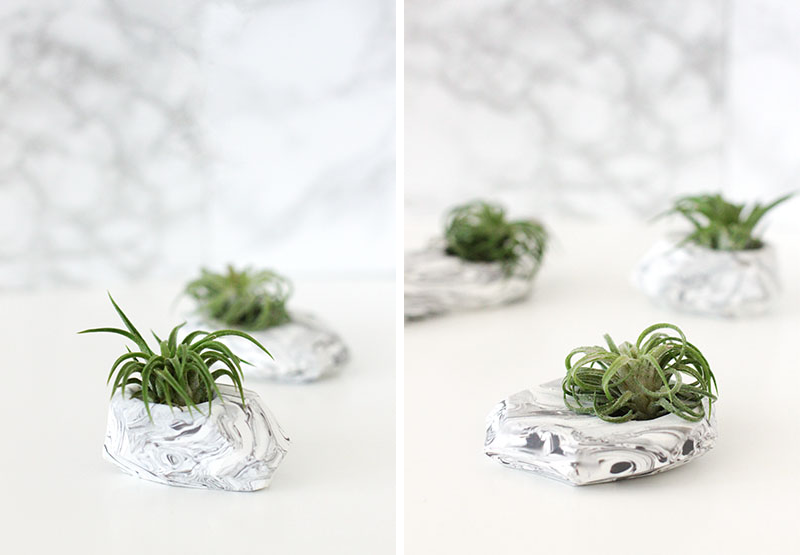
My biggest obsessions currently include air plants, as evidenced by this Instagram post, and all things marble. I thought long and hard about how to combine the two and came up with these marbled clay planters.
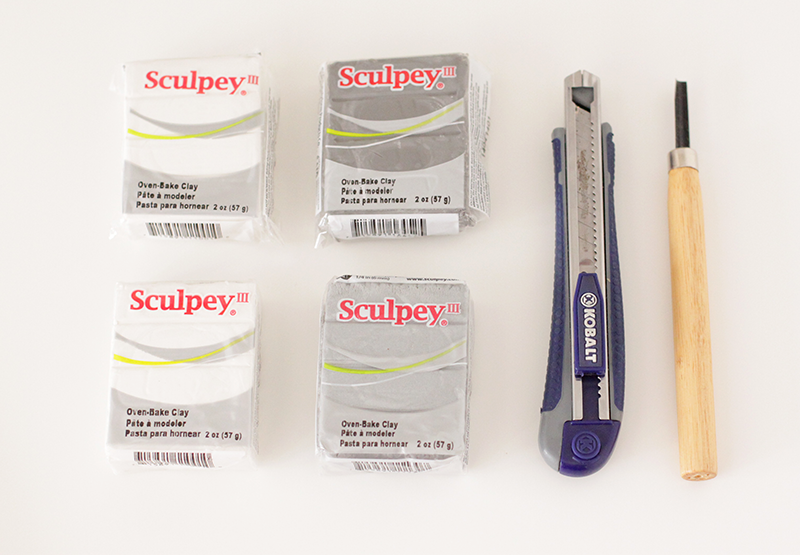
You’ll Need:
Two different colored oven-bake Clays
Xacto Knife
Clay carving tool
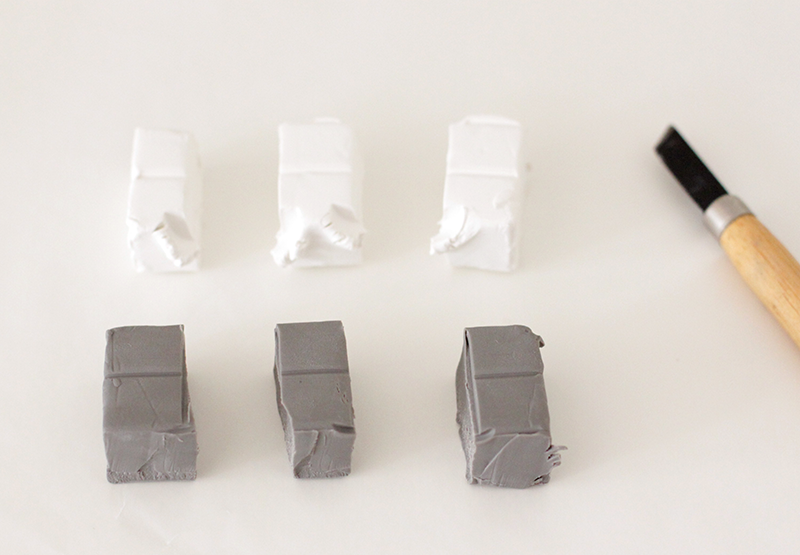
1. Start by cutting each color of clay into three separate pieces.
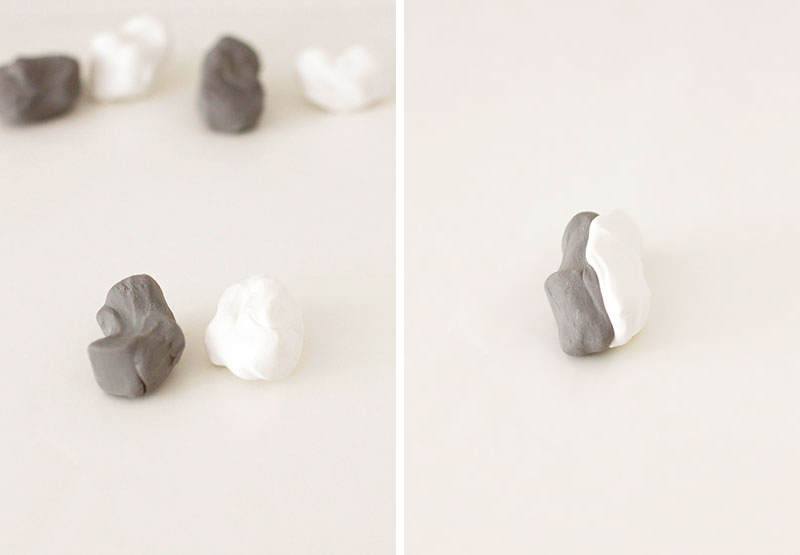
2. Work the clay in your hands until it is soft and pliable. Combine two pieces together.
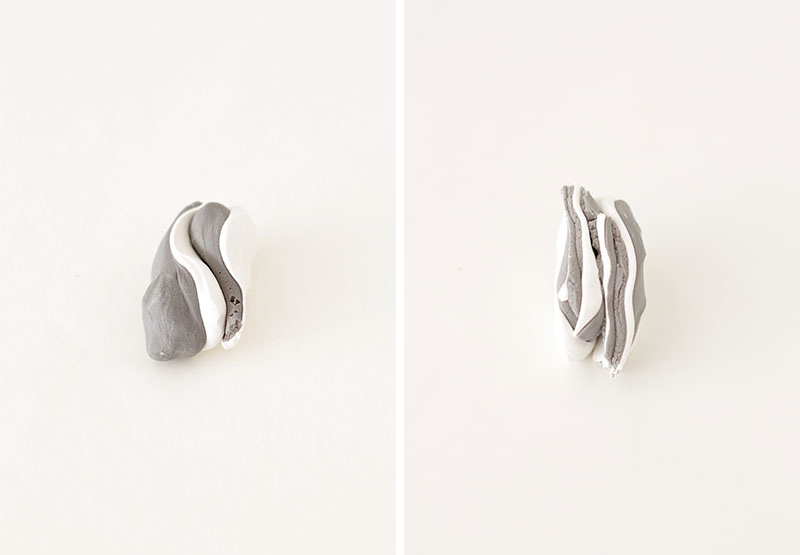
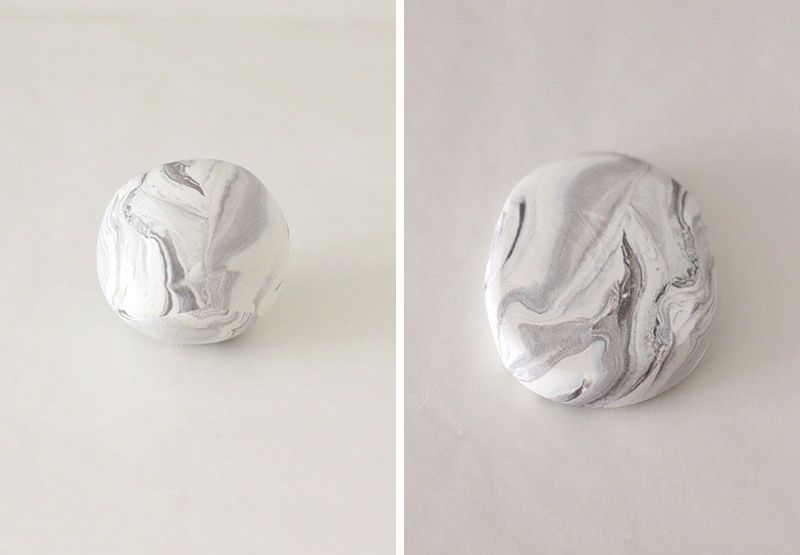
3. Continue combining the clay until you have added all your pieces. Once you have added all the clay, begin to pull apart and layer. Mix the clay together without fully combining the clay.
4. Roll the clay into a ball and decide what kind of shape you want for your planter. I wanted a short, oval look for my first planter. Flatten out the clay to about 1/4″ in height.
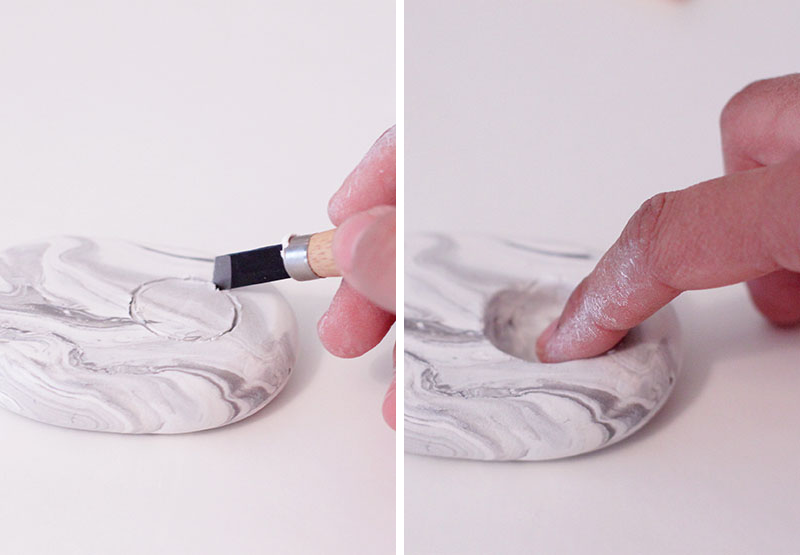
5. Using the clay tool, trace a circle in the clay. Carve out the circle but be careful to not go all the way through the clay.
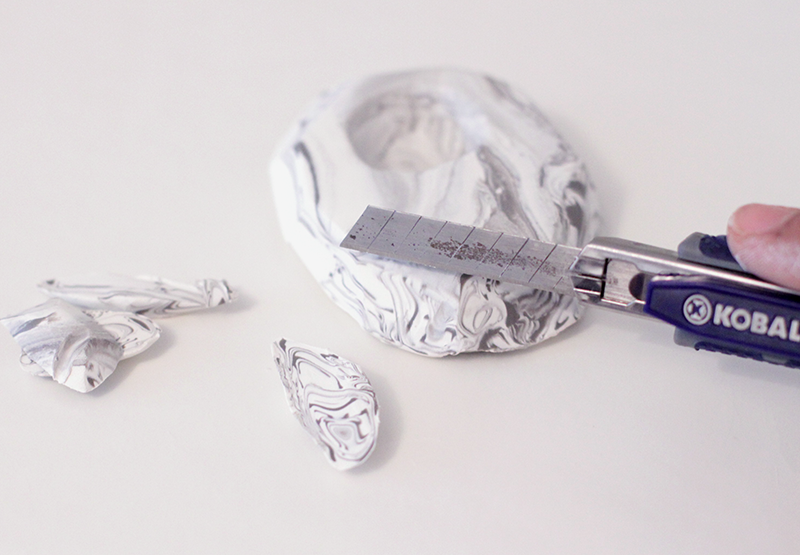
6. Using a sharp knife, start to trim away at the piece of clay. Hold the knife at an angle to create sharp angles along the top edge.
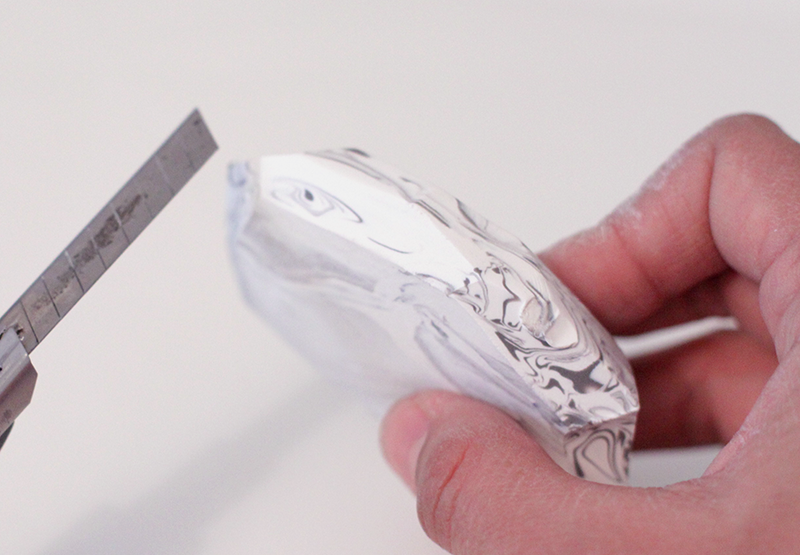
Repeat the previous step along the bottom edge of the planter.
Continuing making different styles and shapes! Bake your clay following the instructions on the packaging.