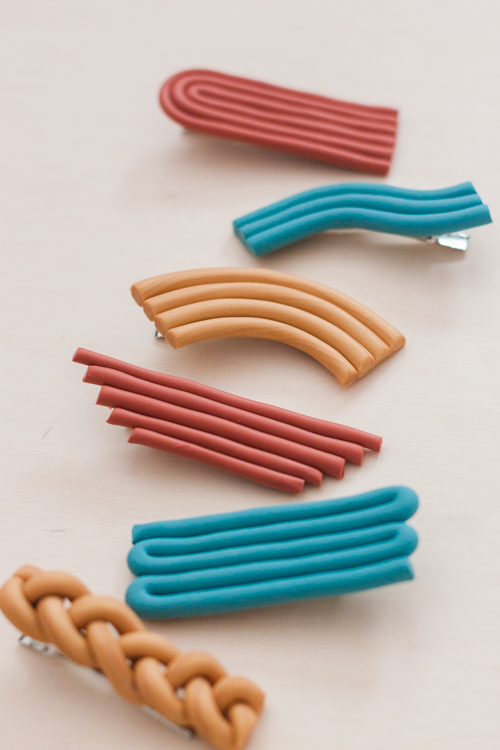
Since barely leaving my apartment last year I’ve been on a natural hair journey. I had been straightening my hair since middle school so it feels odd to wear my hair curly everyday. Because curly hair is such high maintenance, I wanted to opt for some easy and low-effort hairstyles. Thats’s there these DIY Clay Hair Clips come in. It’s so easy to just pull my hair back and also feel put together with these clips. Plus, they’re super easy and fun to make, and the design possibilities are endless!
Materials Needed
- polymer clay in chosen colors
- hair clips
- glue gun or super glue
- parchment paper
- tape
- x-acto knife
How to Make DIY Clay Hair Clips
Tape down a piece of parchment paper to a flat surface.
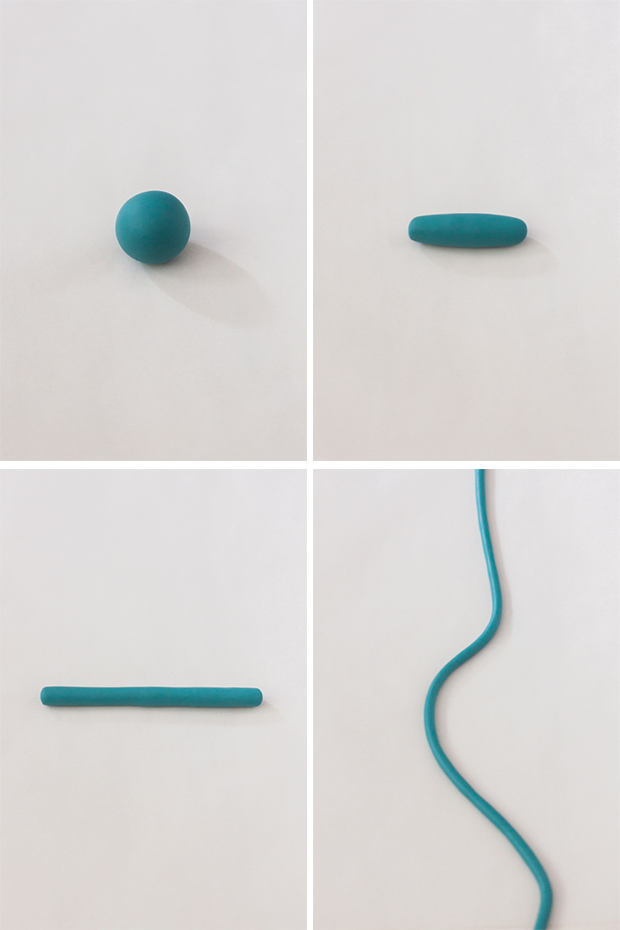
Take a piece of clay and warm it up in your hands to form a small cylinder. Use your fingers to roll the clay to your desired length and thickness.
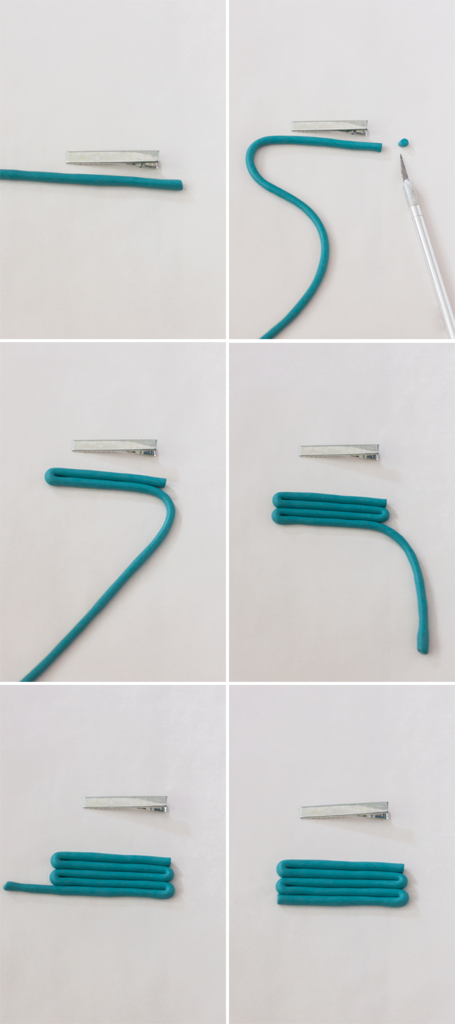
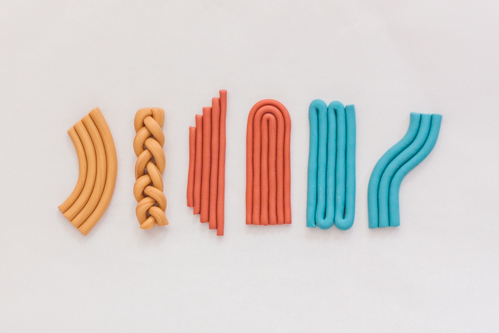
Form the shape of your clip whether it’s a straight line, arch, ‘s’ shape, or continuous bend. Roll additional pieces and add to the previous pieces. Cut the ends of the shapes to the desired length.
To make the braided clip, roll three pieces of clay the same thickness and braid. Cut off the ends.
Bake the clay following the manufacturer’s instructions. Let pieces cool completely.
Finally, add glue to the top of the clip and hold for at least 30 seconds. Let clips dry for 24 hours before wearing.