
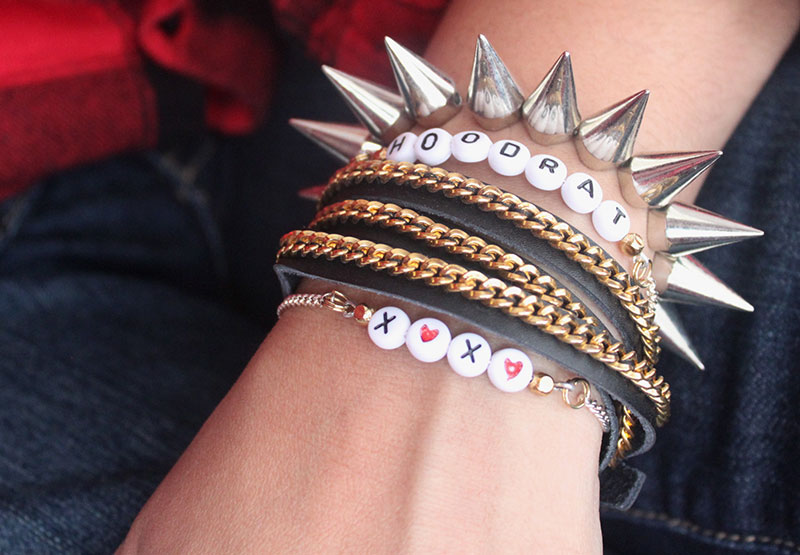
I’m back at blogging and I couldn’t be more excited! Between moving back home from Chicago and starting a new job, I haven’t had as much time for DIYing as I would like. There are so many projects I’ve been meaning to get to, including these Alphabet Bracelets you might remember from this post. Coming up with phrases was probably the best part!
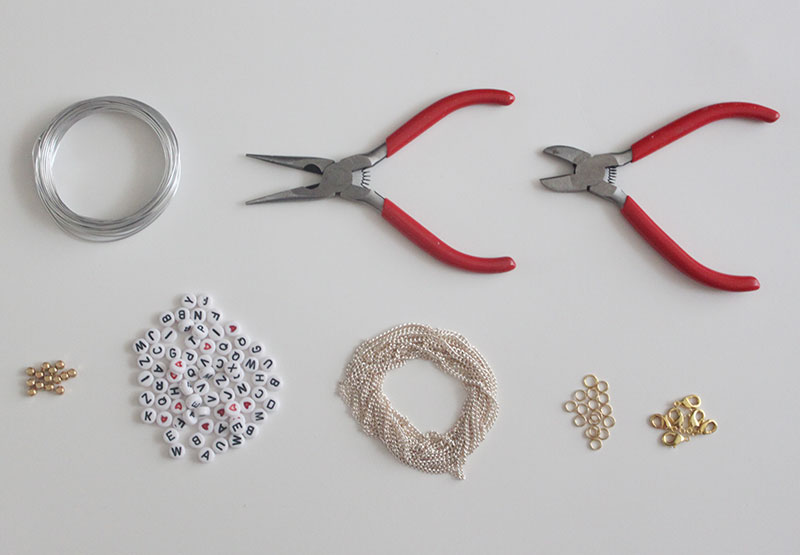
You’ll need:
– Pliers
– Wire Cutters
– Wire
– Chain
– Jump Rings
– Fasteners
– Alphabet Beads
– Gold Beads (optional)
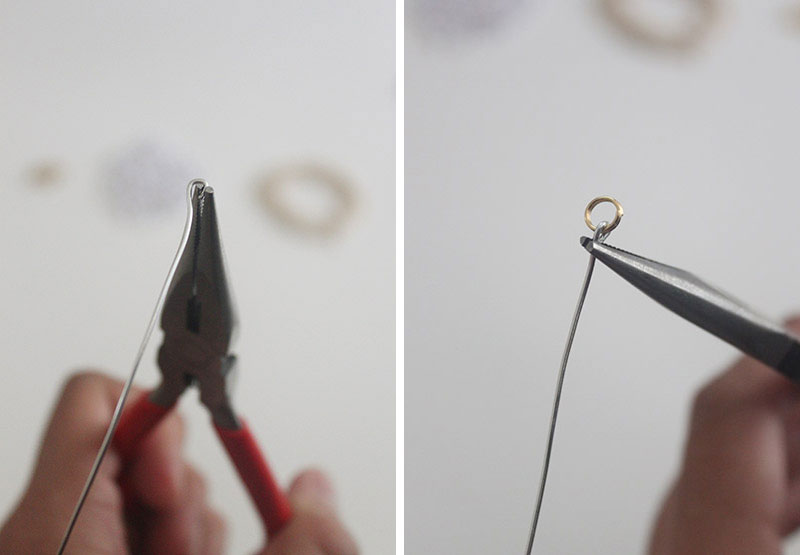 1. Using a pair of pliers, make a small loop at one end of the wire. Insert a jump ring and close the loop to secure.
 2. Arrange your phrase and measure it against the piece of wire.
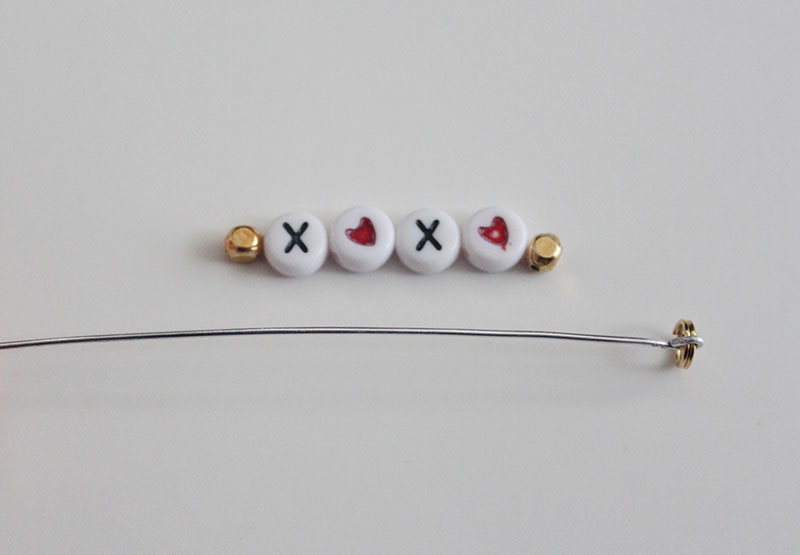
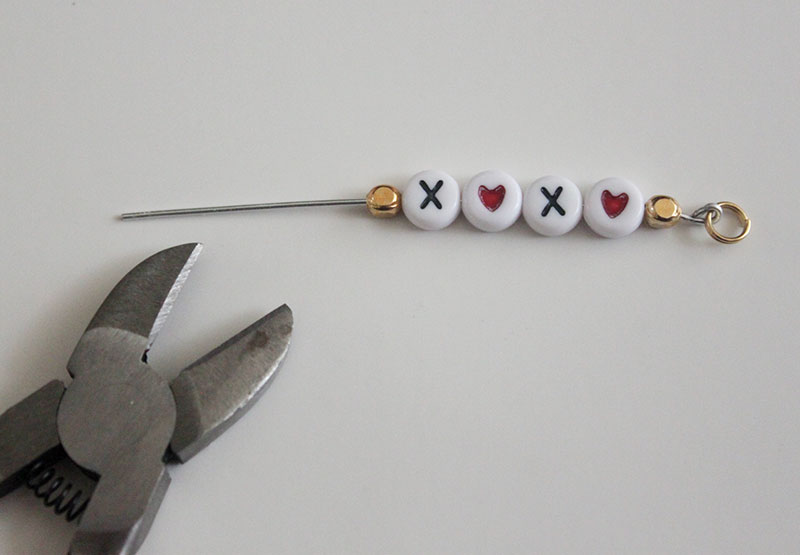 3. Cut the wire to the length of the phrase leaving some room for error. Place the beads onto the wire.
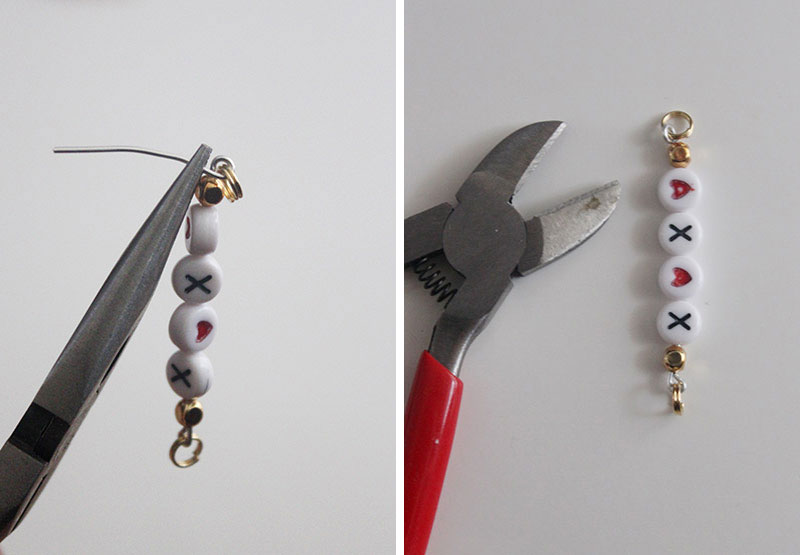 4. Attach a second jump ring to the open end of the wire and make a loop just like you did in step one. Trim any excess wire.
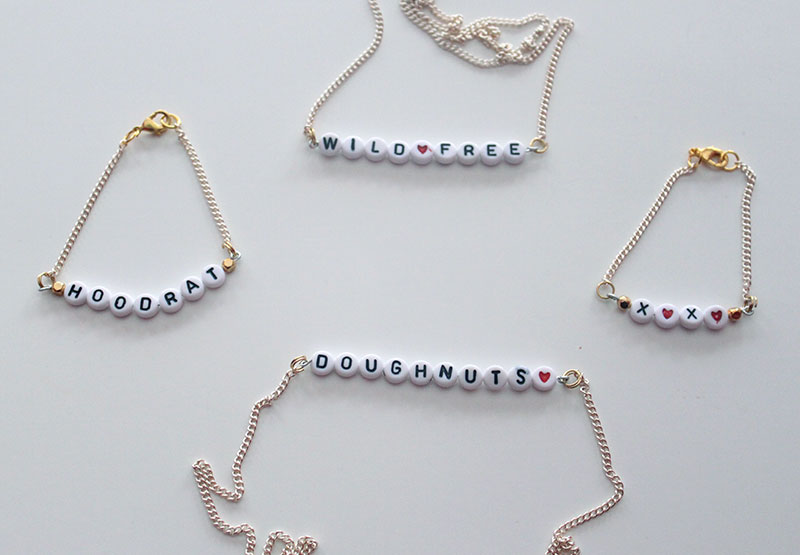
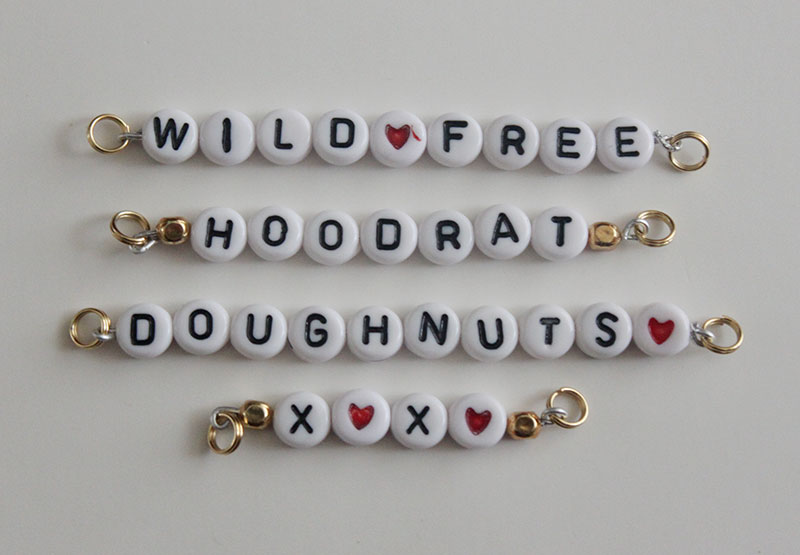 5. Make as many phrases as you can think of!
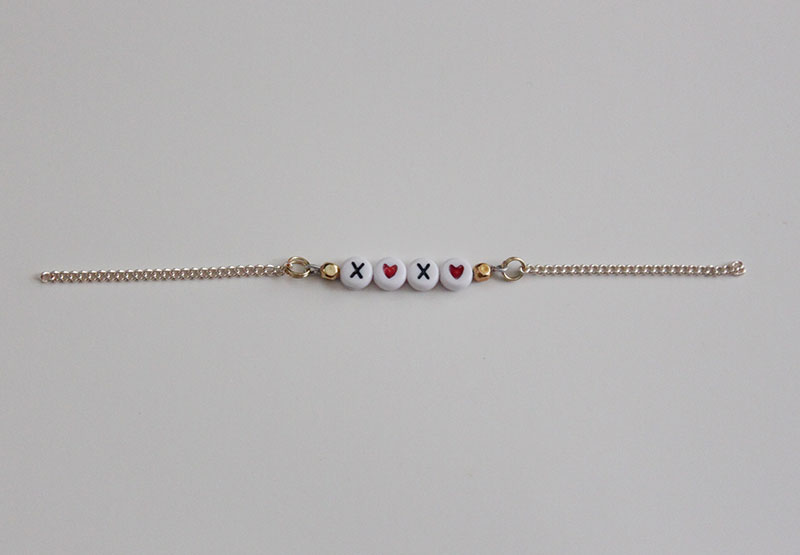 6. Measure the phrase against your wrist. Make a rough estimate as to how much chain you will need on either side. (It will vary depending on the length of your phrase!)
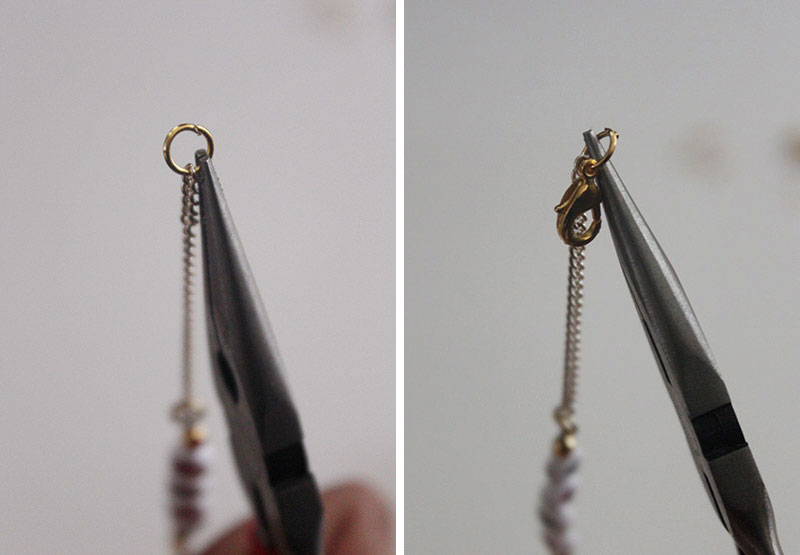 7. Attach a jump ring on one end of the bracelet, and jump ring and fastener on the other end.
 You can even cut a long chain and make a necklace instead!
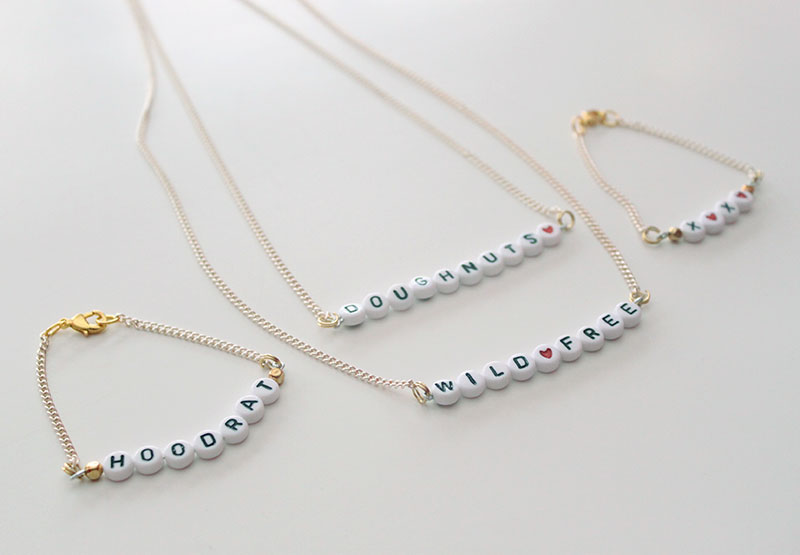 And you’re done! Enjoy your updated friendship bracelets (and necklaces)!