
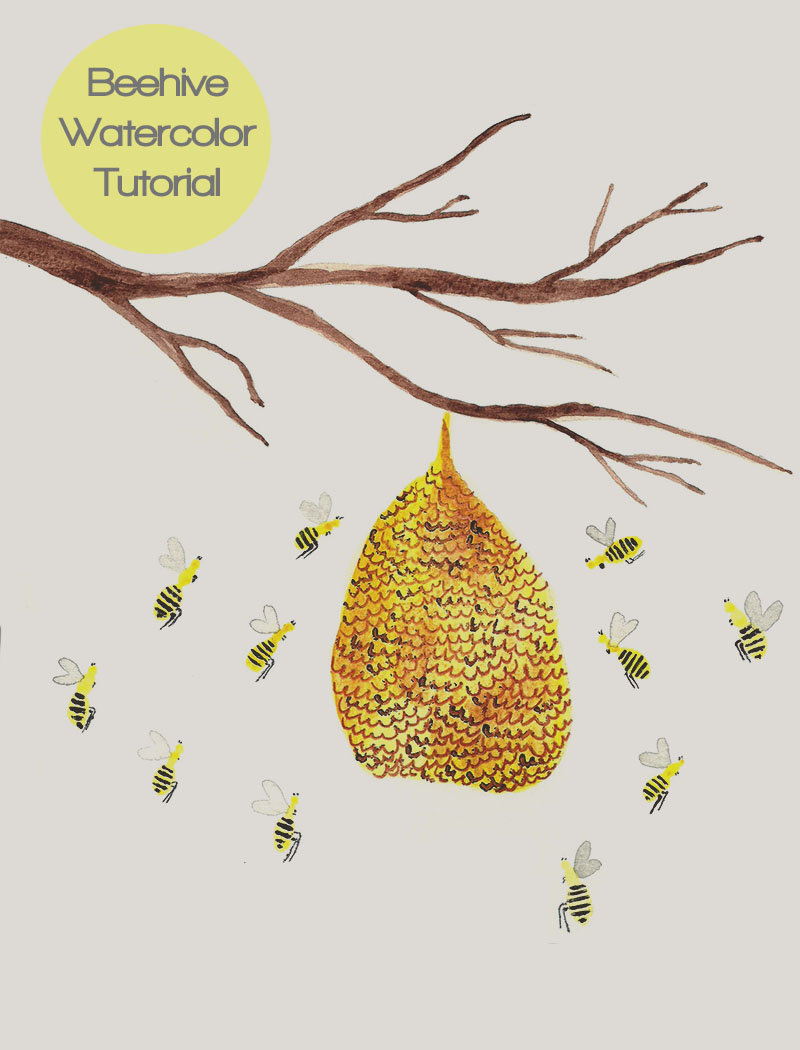
I love to watercolor. I love it more than just sketching. It is difficult though, and I’m still learning. I can watch youtube videos on different watercolor techniques for hours. I woke up this morning inspired to paint. My mind is on all things summer lately, so I chose to paint a simply beehive. It was fun to paint, though I made a few mistakes. But as Bob Ross use to say, “We don’t make mistakes, just happy little accidents”.
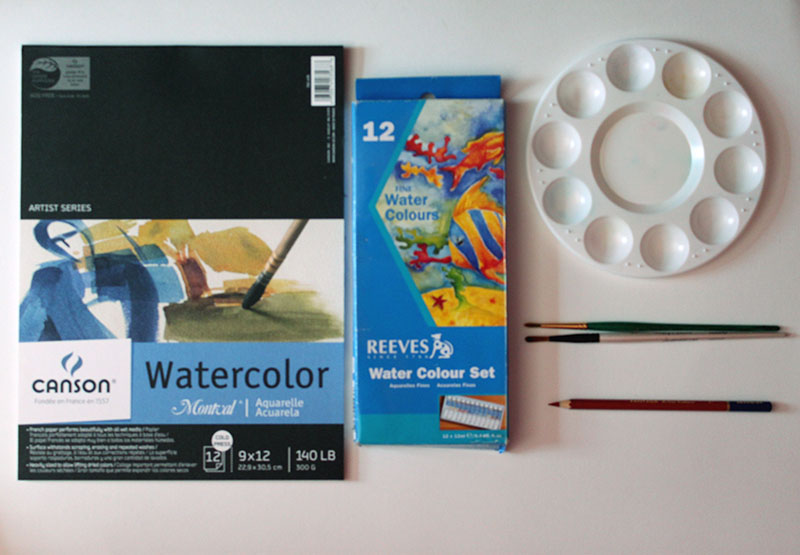
What you’ll need:
– Watercolor Paper
– Watercolor Paint
– Thin Paintbrushes
– Paint Palette
– Brown Color Pencil
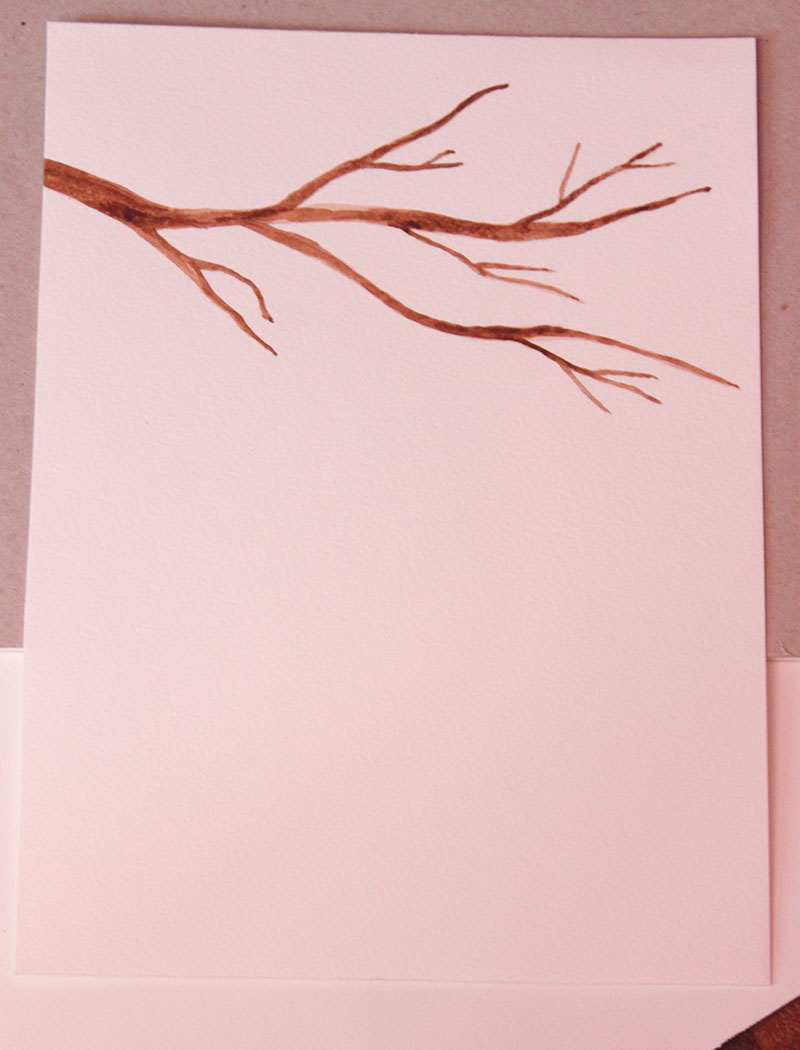 1. Start by tracing out the tree branch pattern lightly in pencil. Make a few larger branches with some smaller ones attached. Keep in mind where you want your beehive to hang. Paint your branches. I started by painting a faint brown layer, then going back and darkening some of the limbs.
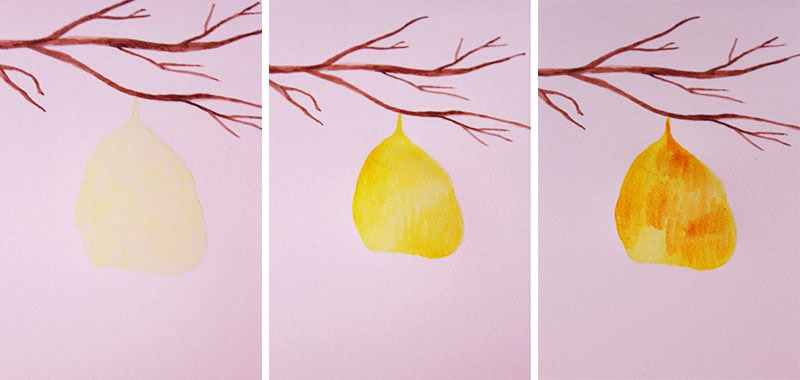 2. Trace the shape of your beehive lightly in pencil. Fill in the beehive with a transparent layer of yellow. Let it dry. Go back and fill in some areas with the same yellow. Then, using a darker shade of yellow, fill in a few areas. Make sure to leave some of the previous layers visible for contrast.
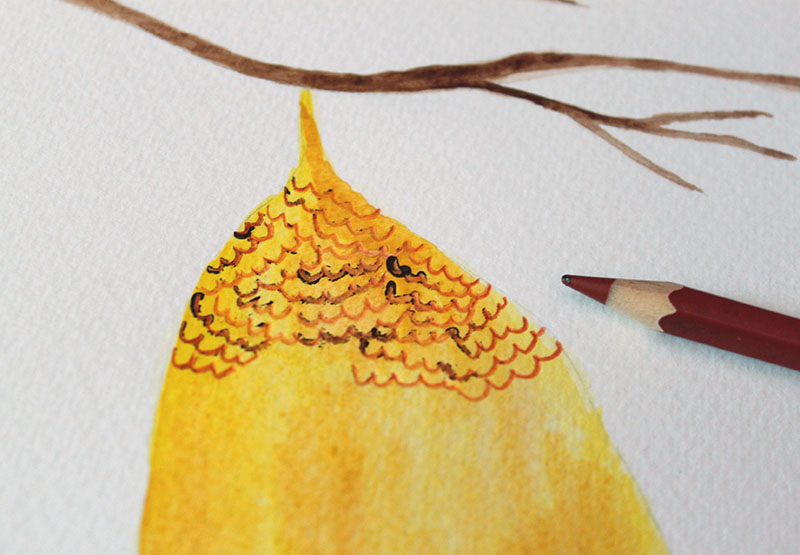 3. Using the brown colored pencil, add squiggly lines for the honeycombs. I dipped my colored pencil into brown paint to create some thicker, darker lines.
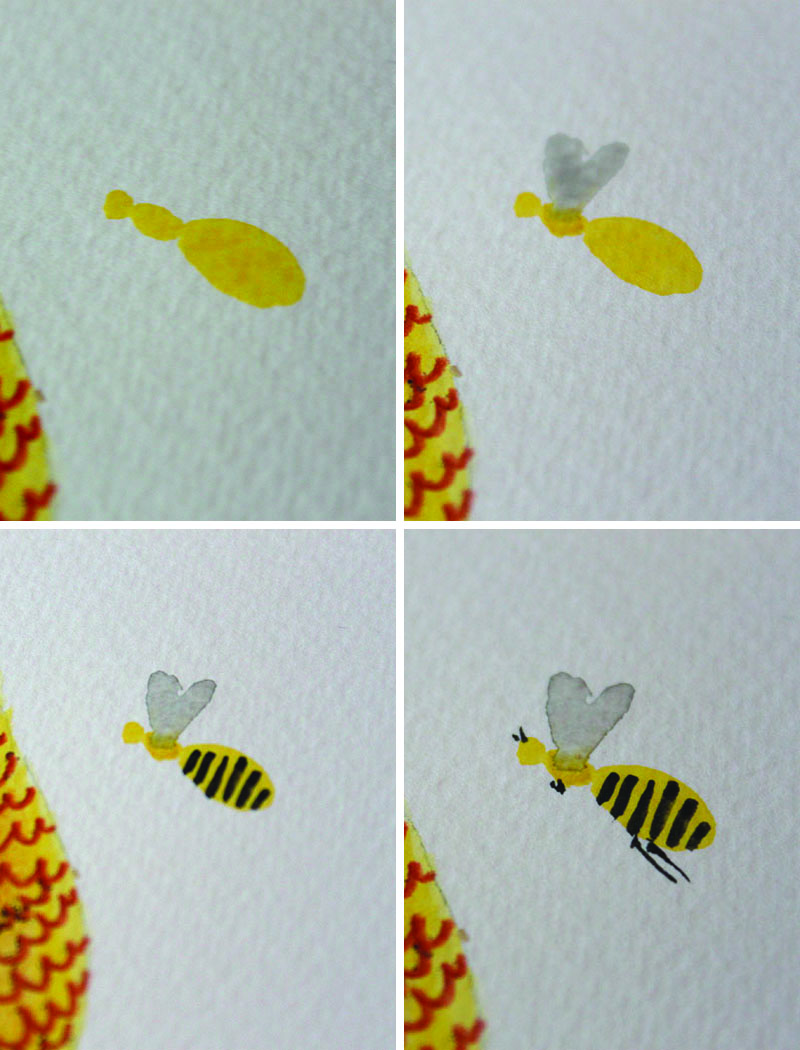 4. Add your bees! I separated the bee’s body into three sections. Then add wings, stripes, antennas, and limbs. Add as many bees as you want!
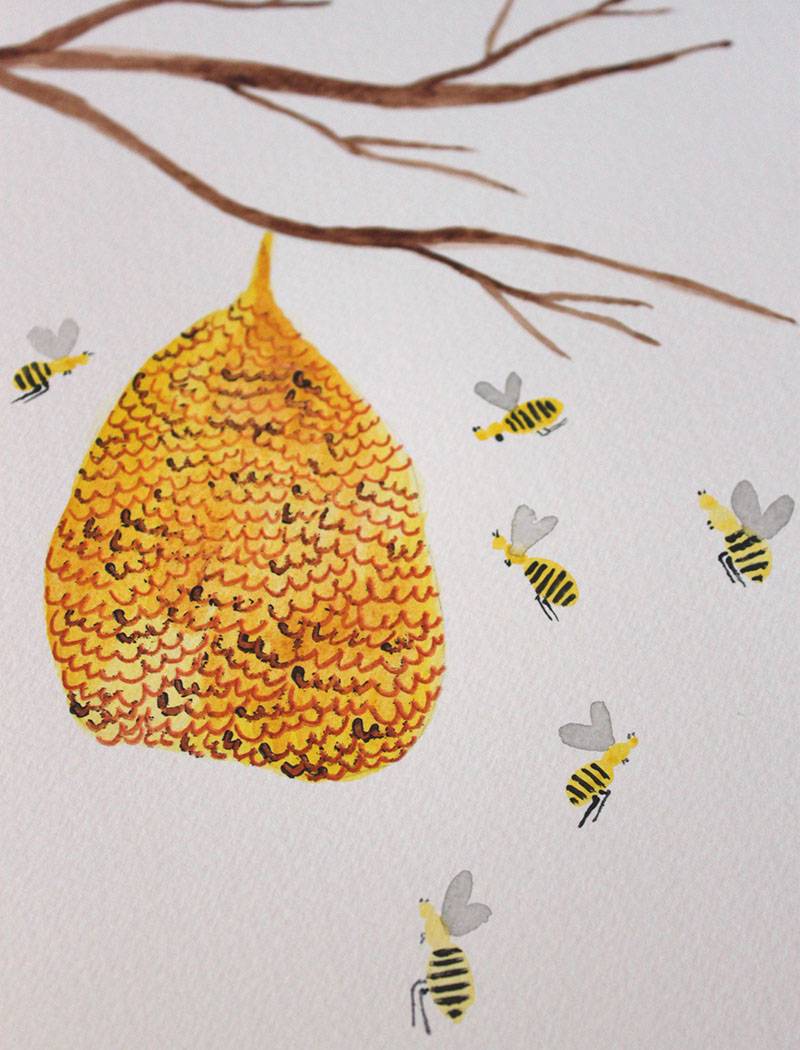
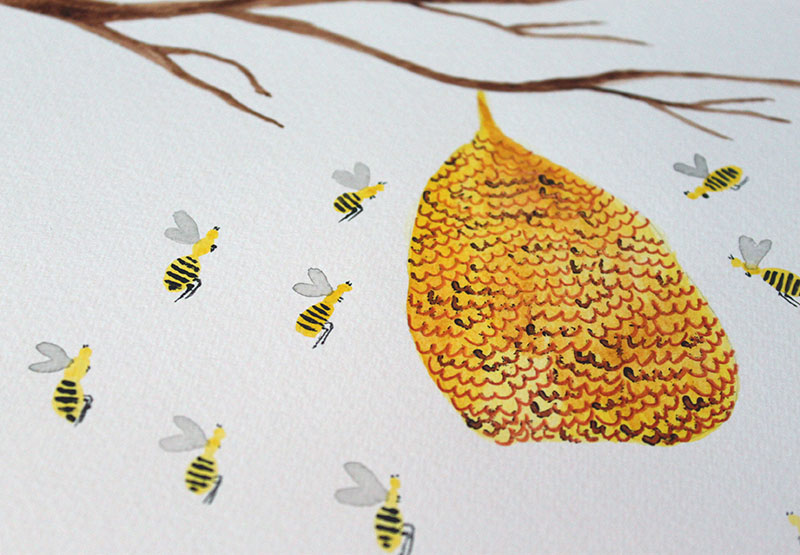 Voila! Your very own beehive painting. It would look great in a white mat frame!